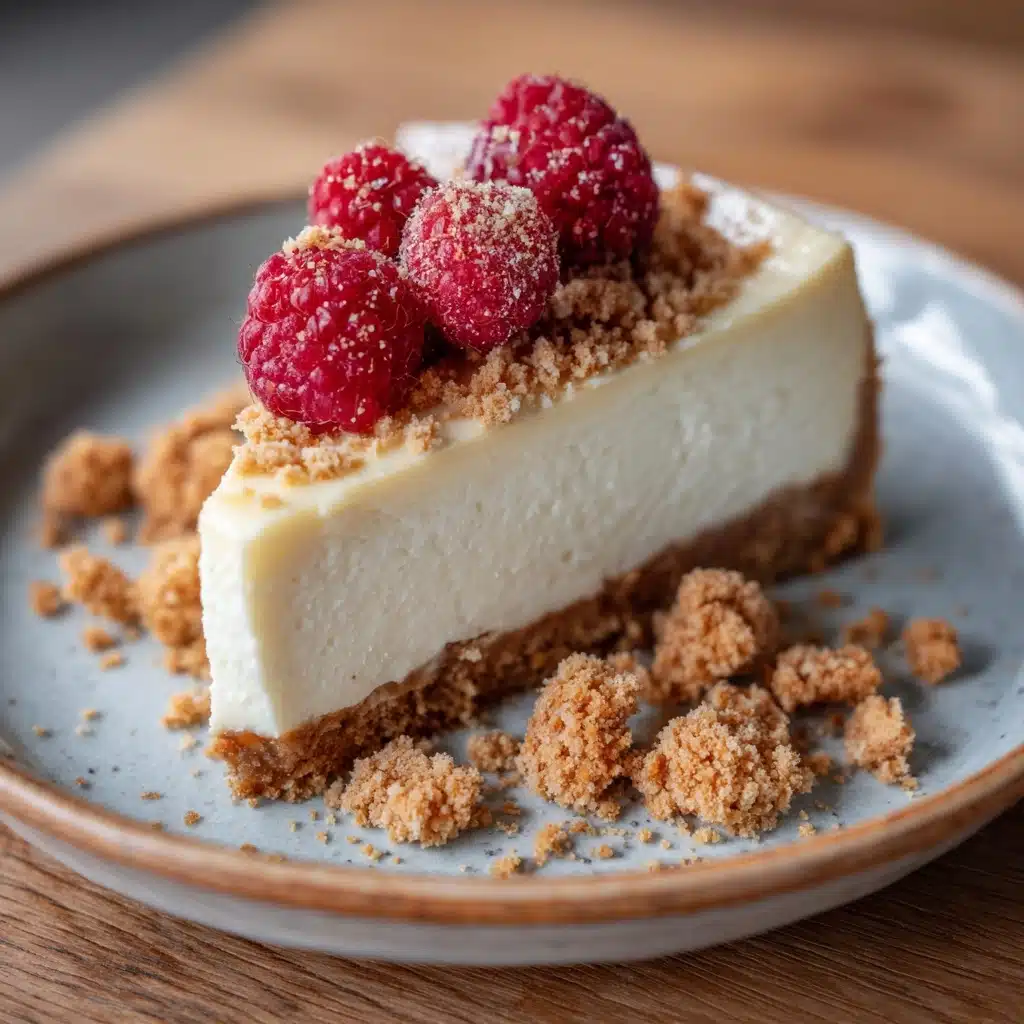
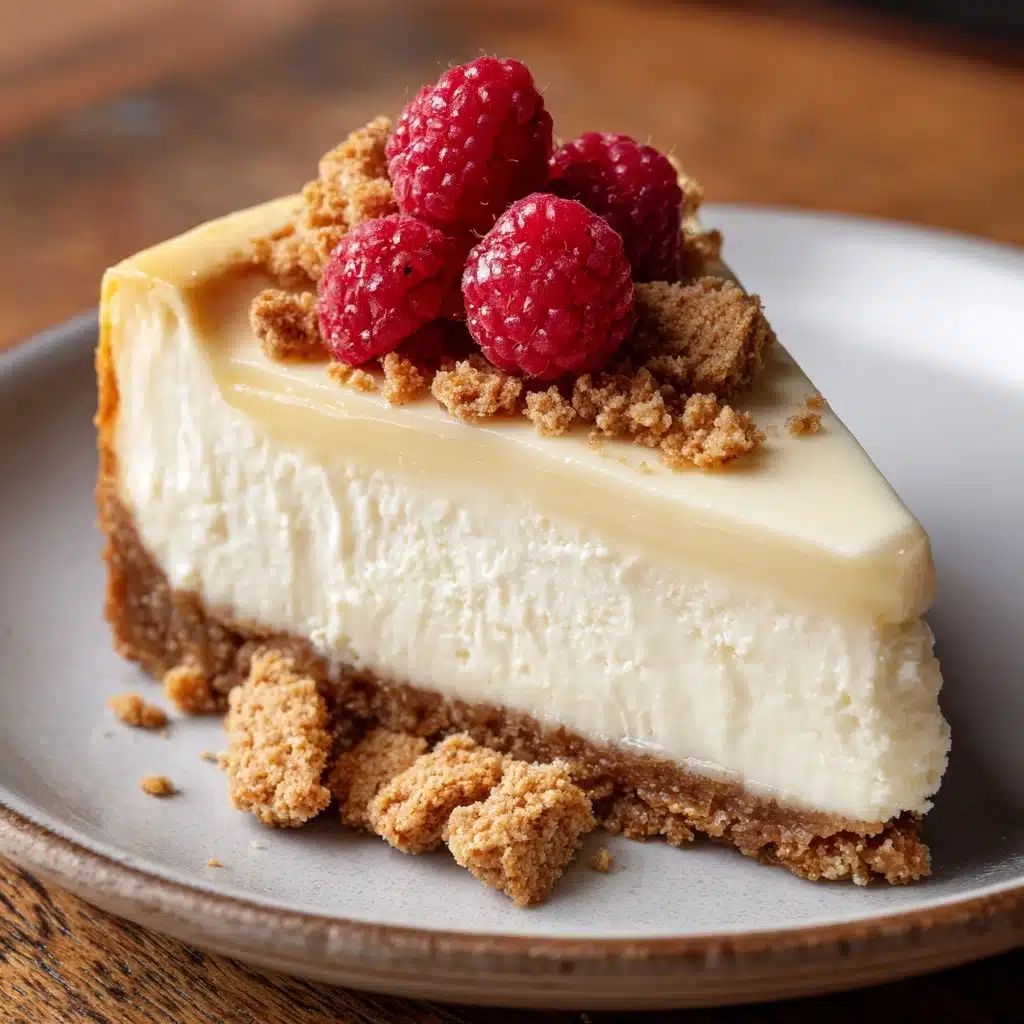
Meet your new favorite treat: the No-Bake Cheesecake Dessert. This creamy, dreamy delight checks every box for an easy yet impressive dessert: a crisp graham cracker crust, a luscious vanilla cream cheese filling, and a crown of fresh berries make it as gorgeous as it is delicious. Whether you’re hosting a summer party or need a quick family treat, this dessert brings big flavor without ever turning on the oven. If you love effortless desserts that don’t compromise on taste or texture, this No-Bake Cheesecake Dessert will win you over again and again!
Ingredients You’ll Need
There’s nothing fancy here, just honest ingredients working in harmony to create something magical. Each element is crucial, contributing just the right balance of crunch, creaminess, and sweetness that makes this dessert irresistible and visually stunning.
- Graham cracker crumbs: These are the backbone of your crust, offering a toasty, buttery crunch that sets off the creamy layer beautifully.
- Granulated sugar: A little sweetness lifts the flavor of the graham crust and helps it crisp up nicely.
- Unsalted butter, melted: This brings the crushed crumbs together and adds a rich, melt-in-your-mouth satisfaction.
- Cream cheese, softened: For the ultra-creamy, tangy filling that makes any No-Bake Cheesecake Dessert unforgettable.
- Powdered sugar: This blends in smoothly with the cream cheese, adding sweetness without grittiness.
- Vanilla extract: Just a teaspoon brings a warm, fragrant note that accentuates the creamy filling.
- Heavy whipping cream: Whipped to airy peaks, it lightens the filling, making each bite fluffy yet rich.
- Fresh berries or fruit topping: Not only does this add a burst of color and freshness, but it balances the creamy sweetness with a hint of tartness.
How to Make No-Bake Cheesecake Dessert
Step 1: Making the Graham Cracker Crust
Start your No-Bake Cheesecake Dessert journey by mixing the graham cracker crumbs, granulated sugar, and melted butter in a medium bowl. Stir until all the crumbs are evenly moistened. Pour the mixture into an 8×8-inch baking dish, then use your hands or the back of a measuring cup to press it firmly and evenly into the base. No oven needed—just pop it into the fridge to chill and set while you work on the filling.
Step 2: Preparing the Creamy Filling
In a large mixing bowl, add your softened cream cheese, powdered sugar, and vanilla extract. Beat this trio together with a hand mixer or stand mixer until the mixture is completely smooth and no lumps remain. Be patient—this step is all about achieving a silky texture that will set beautifully as your No-Bake Cheesecake Dessert chills.
Step 3: Whip the Cream
Grab a separate bowl and pour in the heavy whipping cream. Use clean, cold beaters to whip the cream until stiff peaks form—it should hold its shape if you lift the whisk. This whipped cream is the secret to a cloud-like, airy filling, and should be folded gently into the cream cheese mixture to keep all that precious volume intact.
Step 4: Fold and Assemble
Using a spatula, gently fold the whipped cream into the cream cheese mixture. Don’t rush: a soft, folding motion helps keep the filling fluffy instead of dense. Once combined, scoop the filling onto your chilled crust, smoothing out the top with an offset spatula for a polished finish.
Step 5: Chill Until Set
Cover your No-Bake Cheesecake Dessert and refrigerate it for at least 4 hours, or for best results, overnight. The filling needs time to firm up so it slices neatly. This chilling step is pure anticipation—the reward is a slice of creamy perfection the following day!
Step 6: Add Toppings and Serve
Right before serving, adorn your cheesecake with a flurry of fresh berries or your favorite fruit topping. This final flourish isn’t just for looks; it adds a layer of freshness that brings the whole dessert to life. Cut into neat squares and watch them disappear!
How to Serve No-Bake Cheesecake Dessert
Garnishes
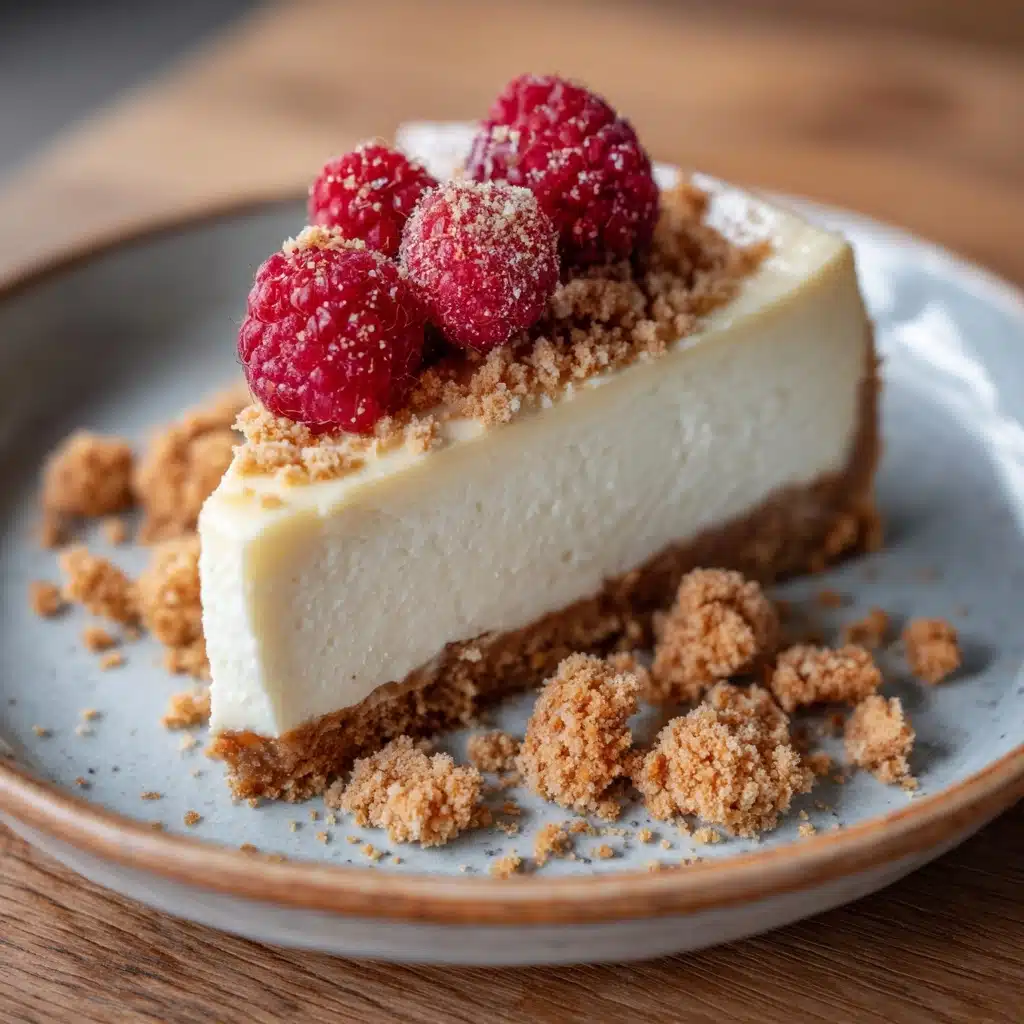
When it comes to topping your No-Bake Cheesecake Dessert, the sky’s the limit! Fresh strawberries, raspberries, blueberries, or even thinly sliced kiwis look stunning and add a juicy pop. If you feel extra indulgent, a drizzle of berry compote or a dusting of powdered sugar adds instant elegance.
Side Dishes
This dessert shines all on its own, but it also pairs beautifully with a cup of hot coffee or tea for a casual gathering. For a slightly more formal affair, serve it alongside a simple fruit salad or a glass of sweet sparkling wine to complement the creamy, tangy flavors.
Creative Ways to Present
If you want to up the fun factor, prepare the No-Bake Cheesecake Dessert in individual cups or jars. It’s a smart way to serve at parties—no slicing needed! You can also layer the crust and filling in parfait glasses for a showstopping effect. Don’t be afraid to play around and make it your own.
Make Ahead and Storage
Storing Leftovers
Keep any uneaten portions covered in the refrigerator for up to four days. The crust might soften slightly, but the creamy texture and fresh toppings will still be a delight. If your dish isn’t airtight, tuck a piece of plastic wrap directly onto the surface to prevent the filling from absorbing any fridge odors.
Freezing
Yes, you can freeze your No-Bake Cheesecake Dessert! Simply wrap the un-garnished chilled dessert tightly in plastic wrap and foil, then freeze for up to one month. Thaw overnight in the refrigerator before topping with fruit and serving. The texture stays wonderfully creamy, making it a fantastic make-ahead treat for future cravings.
Reheating
There’s no reheating required—this treat is best enjoyed cold from the fridge or after thawing. In fact, a slightly chilled No-Bake Cheesecake Dessert tastes extra refreshing and helps those clean slices stay picture-perfect.
FAQs
Can I use low-fat cream cheese for this recipe?
Absolutely, you can substitute low-fat cream cheese, but keep in mind that the filling may be slightly less rich and smooth. For the creamiest and most decadent No-Bake Cheesecake Dessert, full-fat cream cheese is the gold standard.
Is there a gluten-free option for the crust?
Definitely! Simply swap regular graham cracker crumbs for a gluten-free version. Most grocery stores carry them now, so you can enjoy every bite no matter your dietary needs.
How long does it take to fully set in the refrigerator?
For best results, allow your No-Bake Cheesecake Dessert to chill for at least 4 hours so the filling can firm up. If you can, refrigerate it overnight—you’ll get the cleanest slices and richest flavor that way.
Can I make this recipe in advance for a party?
This dessert is tailor-made for advance prep! Make it the night before, keep it chilled, and add your fruit toppings just before serving. Not only does this make entertaining a breeze, but the flavors actually get even better as it sits.
Can I swap out the fruit toppings?
Of course! Use whatever fresh or preserved fruits you love, from mango slices to cherry pie filling. The creamy base of your No-Bake Cheesecake Dessert pairs beautifully with nearly any fruit you’re craving or have on hand.
Final Thoughts
If you’re searching for a fuss-free, crowd-pleasing dessert that’s delightful in every season, you can’t go wrong with this No-Bake Cheesecake Dessert. I hope you give it a try—the simple prep and luscious results never fail to wow family and friends. Here’s to cheesecakes, smiles, and sweet memories!
Print
No-Bake Cheesecake Dessert Recipe
- Prep Time: 20 minutes
- Cook Time: 0 minutes
- Total Time: 20 minutes (plus chilling time)
- Yield: 9 servings
- Category: Dessert
- Method: No-Bake
- Cuisine: American
- Diet: Non-Vegetarian
Description
Indulge in this creamy and luscious No-Bake Cheesecake Dessert that’s perfect for satisfying your sweet tooth. With a buttery graham cracker crust and a velvety cream cheese filling, topped with fresh berries, this dessert is a delightful treat for any occasion.
Ingredients
Graham Cracker Crust:
- 1 1/2 cups graham cracker crumbs
- 1/4 cup granulated sugar
- 6 tablespoons unsalted butter, melted
Cheesecake Filling:
- 16 oz cream cheese, softened
- 1/2 cup powdered sugar
- 1 teaspoon vanilla extract
- 1 1/2 cups heavy whipping cream
Garnish:
- Fresh berries or fruit topping
Instructions
- Prepare the Crust: Mix graham cracker crumbs, sugar, and melted butter. Press into a baking dish.
- Make the Filling: Beat cream cheese, powdered sugar, and vanilla until smooth. Whip heavy cream and fold into cream cheese mixture.
- Assemble: Spread filling over crust. Chill for at least 4 hours.
- Serve: Top with berries or fruit before serving.
Notes
- For a firmer crust, briefly bake at 350°F for 8 minutes.
- This dessert can be prepared in individual cups for convenience.

