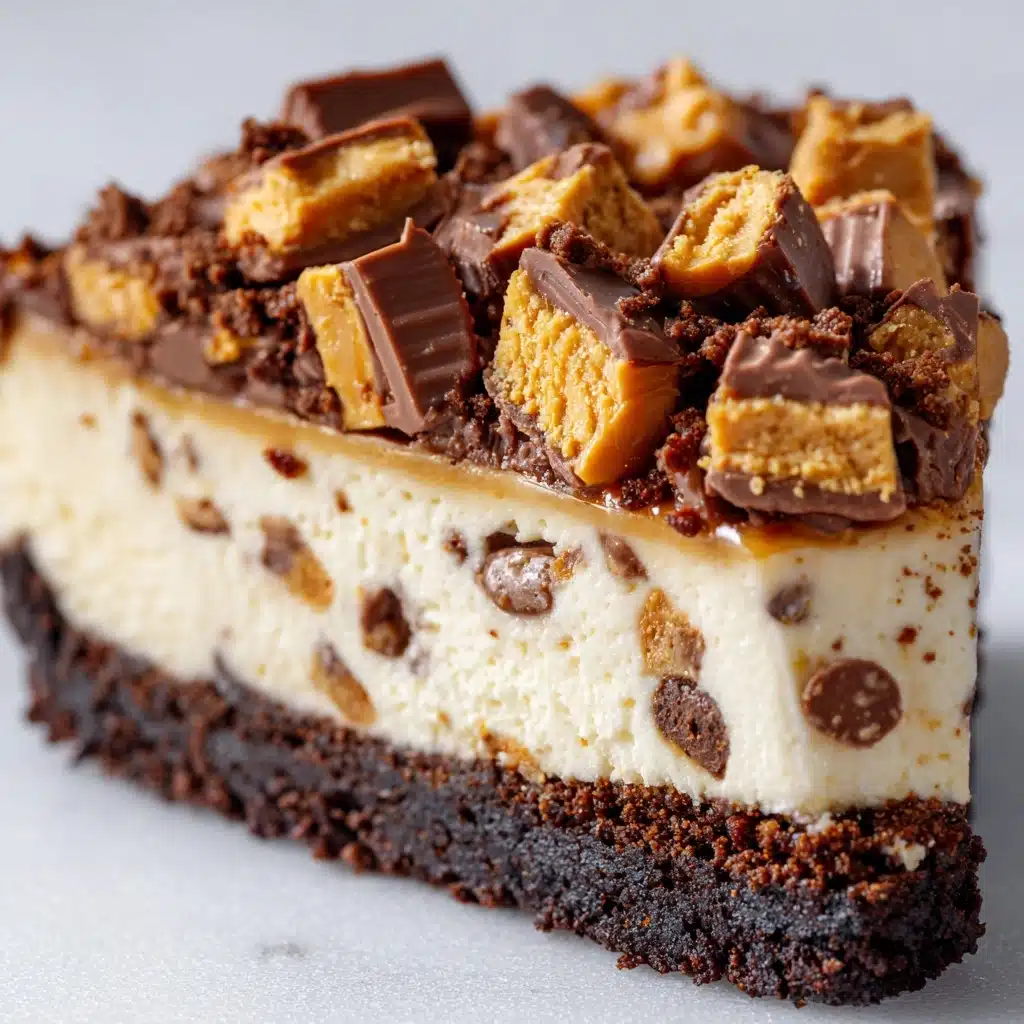
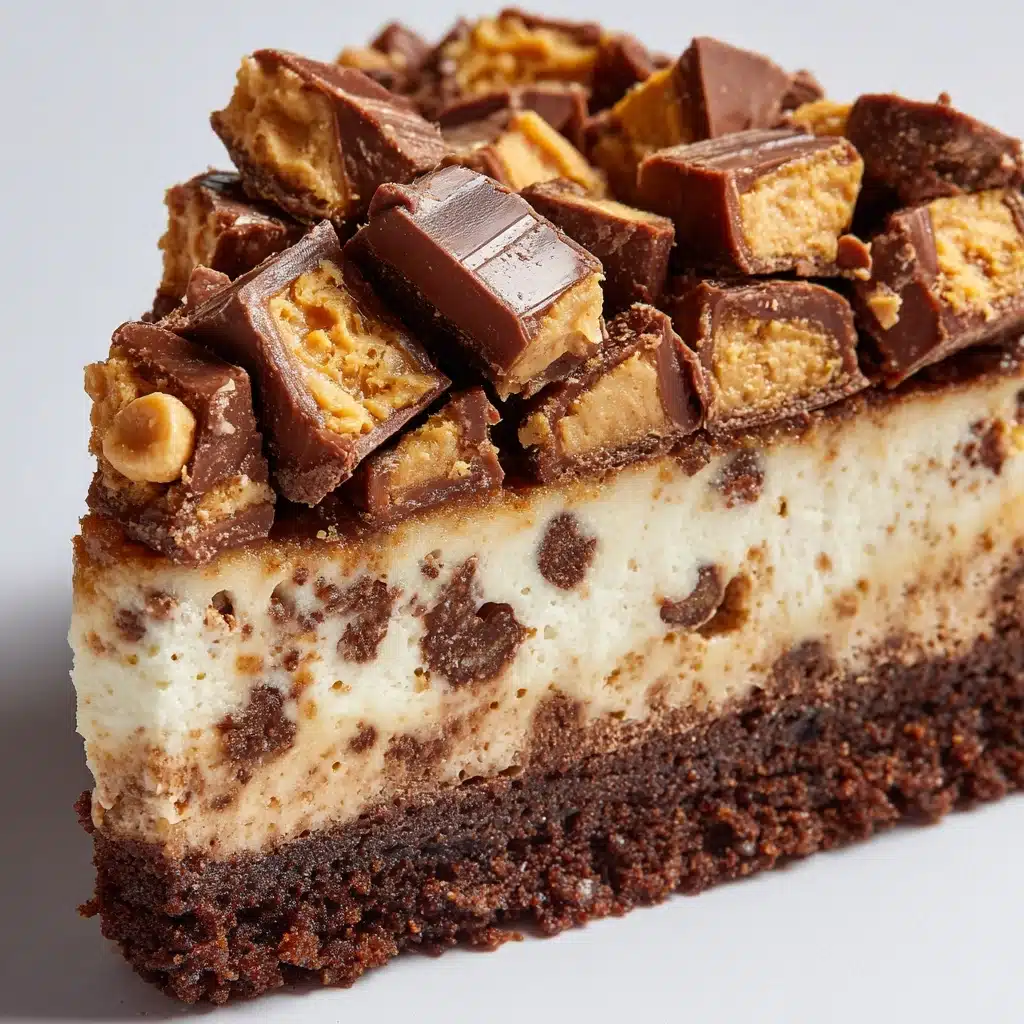
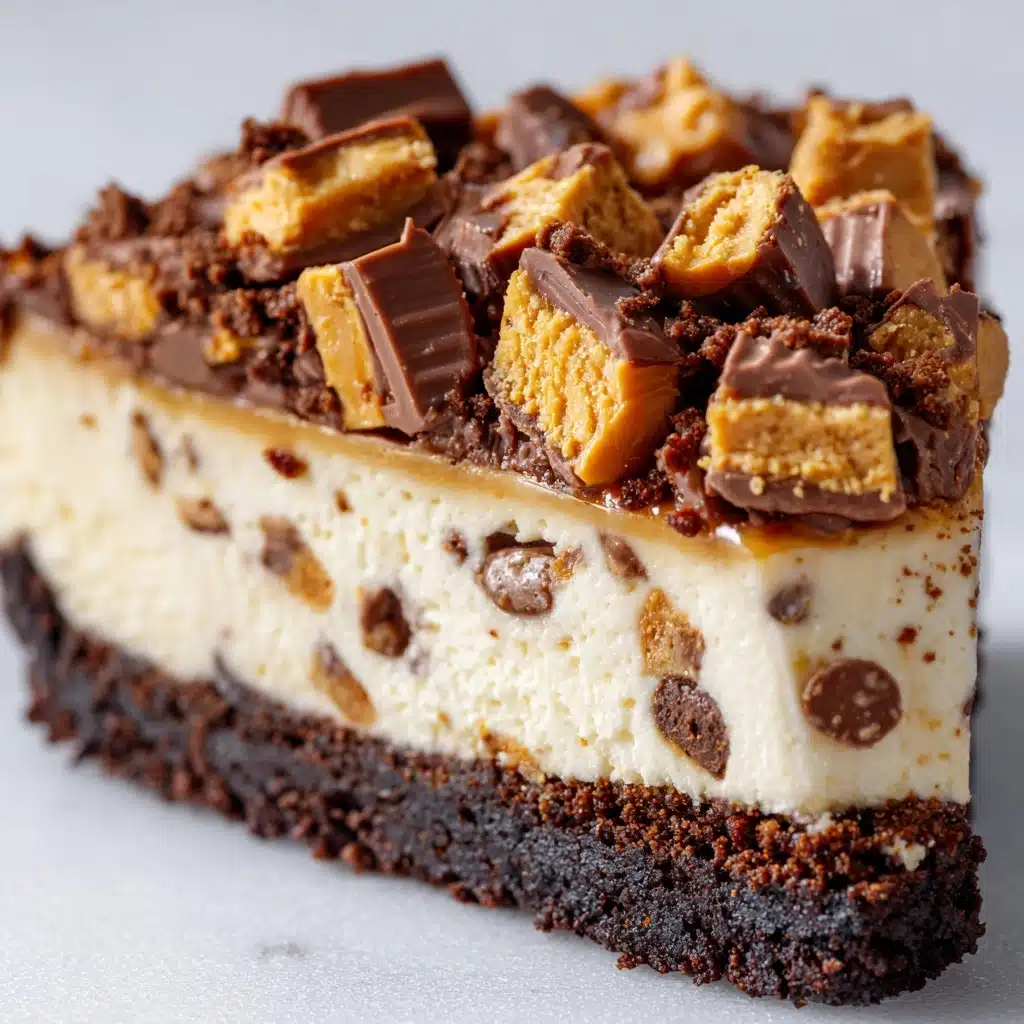
If you’re searching for a dessert that’s outrageously fun, full of childhood nostalgia, creamy as a cloud, yet simple enough for your busiest day, this No-Bake Butterfinger Pie is about to be your new go-to treat. Imagine a luscious filling loaded with crumbled Butterfinger bars, nestled into a buttery graham cracker crust, and finished off with a golden shower of candy bits—no oven required! Every bite is a dreamy combination of chocolate, peanut-butterscotch crunch, lush creaminess, and pure delight, making this pie truly unforgettable for family gatherings, potlucks, or whenever your sweet tooth strikes.
Ingredients You’ll Need
The magic of No-Bake Butterfinger Pie is how easy the ingredients come together for such a penthouse result. Each item plays an important role, from forming the perfect crust to amping up the creamy filling and bringing that signature candy bar crunch.
- Crushed graham crackers (1½ cups): Lays down a classic, slightly sweet base that holds everything together.
- Unsalted butter, melted (6 tablespoons): Helps bind the crust and adds that rich, buttery note we all crave.
- Cream cheese, softened (8 oz): Adds body and tang, giving the filling its gloriously smooth texture.
- Powdered sugar (1 cup): Sweetens and lightens the cream cheese without grittiness.
- Vanilla extract (1 teaspoon): Rounds out the flavor with a touch of warmth and depth.
- Heavy whipping cream (1½ cups): Creates a fluffy, mousse-like consistency for the filling.
- Chopped Butterfinger candy bars (2 cups, about 6 bars): The star of the show, bringing that signature chocolatey peanut butter crunch in every forkful.
- Crushed Butterfinger pieces (½ cup): A crowning touch for the top of the pie, adding irresistible crunch and visual appeal.
How to Make No-Bake Butterfinger Pie
Step 1: Build the Buttery Graham Cracker Crust
Start by swirling together your crushed graham crackers and melted butter in a medium bowl until every crumb glistens. Pour this fragrant mixture into a 9-inch pie dish, pressing it firmly into the bottom and up the sides with your fingers or a spoon. The key is a compact layer that will hold the creamy filling but still have a delicate crunch when sliced.
Step 2: Mix Up the Creamy Filling
In a large bowl, blend the softened cream cheese, powdered sugar, and vanilla extract until the mixture is perfectly smooth and creamy. It’s worth taking an extra minute here to be sure there are no lumps—a silky base makes a world of difference for our dreamy No-Bake Butterfinger Pie.
Step 3: Whip the Cream
Next, it’s time to whip the heavy cream. Using an electric mixer or stand mixer, beat the cream in a clean bowl until stiff peaks form. This step is pure kitchen magic, turning liquid cream into clouds of luscious fluff that will lighten your entire pie.
Step 4: Fold and Flavor
Now, gently fold the fluffy whipped cream into the cream cheese mixture, taking care not to deflate all that lovely volume. Once combined, pour in your chopped Butterfinger bars and fold again. Little pockets of crunchy, chocolatey candy will be studded throughout your filling, keeping every bite exciting.
Step 5: Assemble and Chill
Spread the decadent filling into your prepared crust, smoothing the top with a spatula. Sprinkle the reserved crushed Butterfinger pieces over the pie—don’t skimp! Cover and refrigerate for at least 4 hours, or overnight if you have the patience (the texture is best after a full chill!).
How to Serve No-Bake Butterfinger Pie
Garnishes
Amp up the wow factor by topping each slice with a dollop of freshly whipped cream, extra Butterfinger crumbles, or even a light drizzle of chocolate sauce. Those finishing touches turn an everyday No-Bake Butterfinger Pie into a bakery-worthy showstopper.
Side Dishes
Balance the richness of your pie with something simple and fresh, like a bowl of ripe berries, sliced bananas, or even a scoop of vanilla ice cream. On a celebration table, a mug of strong coffee or a glass of milk pairs perfectly with the sweet, candy-bar flavors.
Creative Ways to Present
Make individual No-Bake Butterfinger Pie cups by layering graham crust, filling, and candy in small mason jars—a hit at picnics! Or, for parties, cut the pie into squares and serve as bite-size “pie bars.” Either way, don’t be afraid to have a little fun with the format.
Make Ahead and Storage
Storing Leftovers
Got extra pie? Simply cover it tightly with plastic wrap or foil and store it in the refrigerator. No-Bake Butterfinger Pie keeps beautifully for up to three days—if it lasts that long! The crust remains crunchy, and the filling stays creamy and delightful.
Freezing
If you’d like to freeze your pie, go right ahead: after chilling the assembled pie, wrap it tightly in a couple layers of plastic and then foil. It will keep well in the freezer for up to a month. Thaw overnight in the fridge and add fresh toppings just before serving for best results.
Reheating
No need to worry about reheating—this pie is a chilled treat! Just let a frozen pie thaw in the refrigerator until it slices easily, and enjoy straight from the fridge for that cool, creamy, candy-bar bliss.
FAQs
Can I use a store-bought graham cracker crust?
Absolutely! If you’re short on time, a store-bought graham crust works well with No-Bake Butterfinger Pie. You’ll save a few minutes, and the pie will still taste fantastic.
Can I make this pie ahead for a party?
Yes, in fact, No-Bake Butterfinger Pie is tailor-made for making ahead. It needs at least 4 hours in the fridge to set, but tastes even better after chilling overnight—great news for busy hosts.
Are there any nut-free alternatives to Butterfinger bars for this recipe?
If you need a nut-free version, try using a crispy chocolate-coated candy like chopped KitKats or toffee bars. The texture will be a little different, but you’ll get a similar joyful crunch in every bite.
Can I lighten up this recipe?
You can experiment with reduced-fat cream cheese or a lighter whipped topping in place of heavy cream, though the filling may not be quite as rich. The pie will still be delicious but treat yourself to the classic version for special occasions!
Can I use other candy bars instead of Butterfinger?
Definitely! Feel free to swap in your favorite candy bars such as Snickers, Reese’s, or Milky Way to put your own twist on this pie. The no-bake method and creamy base work with all sorts of mix-ins—just have fun with it!
Final Thoughts
If you adore easy, joy-filled desserts as much as I do, you owe it to yourself to whip up No-Bake Butterfinger Pie. It’s nostalgic, crowd-pleasing, irresistible, and comes together with almost no effort. One chilled slice and you’ll see exactly why this pie always disappears at my table—give it a try and get ready for rave reviews!
Print
No-Bake Butterfinger Pie Recipe
- Prep Time: 20 minutes
- Cook Time: 0 minutes
- Total Time: 4 hours 20 minutes (including chilling)
- Yield: 8 servings
- Category: Dessert
- Method: No-Bake
- Cuisine: American
- Diet: Non-Vegetarian
Description
Indulge in this creamy and decadent No-Bake Butterfinger Pie that’s perfect for any sweet tooth. With a buttery graham cracker crust, a luscious cream cheese filling studded with chopped Butterfinger candy bars, and a crunchy Butterfinger topping, this dessert is a crowd-pleaser!
Ingredients
Graham Cracker Crust:
- 1½ cups crushed graham crackers
- 6 tablespoons unsalted butter, melted
Filling:
- 1 package (8 oz) cream cheese, softened
- 1 cup powdered sugar
- 1 teaspoon vanilla extract
- 1½ cups heavy whipping cream
- 2 cups chopped Butterfinger candy bars (about 6 standard bars)
- ½ cup crushed Butterfinger pieces (for topping)
Instructions
- Prepare the Crust: In a medium bowl, combine the crushed graham crackers and melted butter. Press the mixture into a 9-inch pie dish to form the crust.
- Make the Filling: Beat cream cheese, powdered sugar, and vanilla until smooth. Whip heavy cream separately until stiff peaks form. Fold whipped cream into cream cheese mixture, then add chopped Butterfinger bars.
- Assemble the Pie: Pour filling into crust, smooth the top, and sprinkle crushed Butterfinger pieces on top.
- Chill and Serve: Refrigerate for at least 4 hours before serving.
Notes
- For added crunch, toast the graham cracker crust before assembling.
- Store covered in the fridge for up to 3 days.

