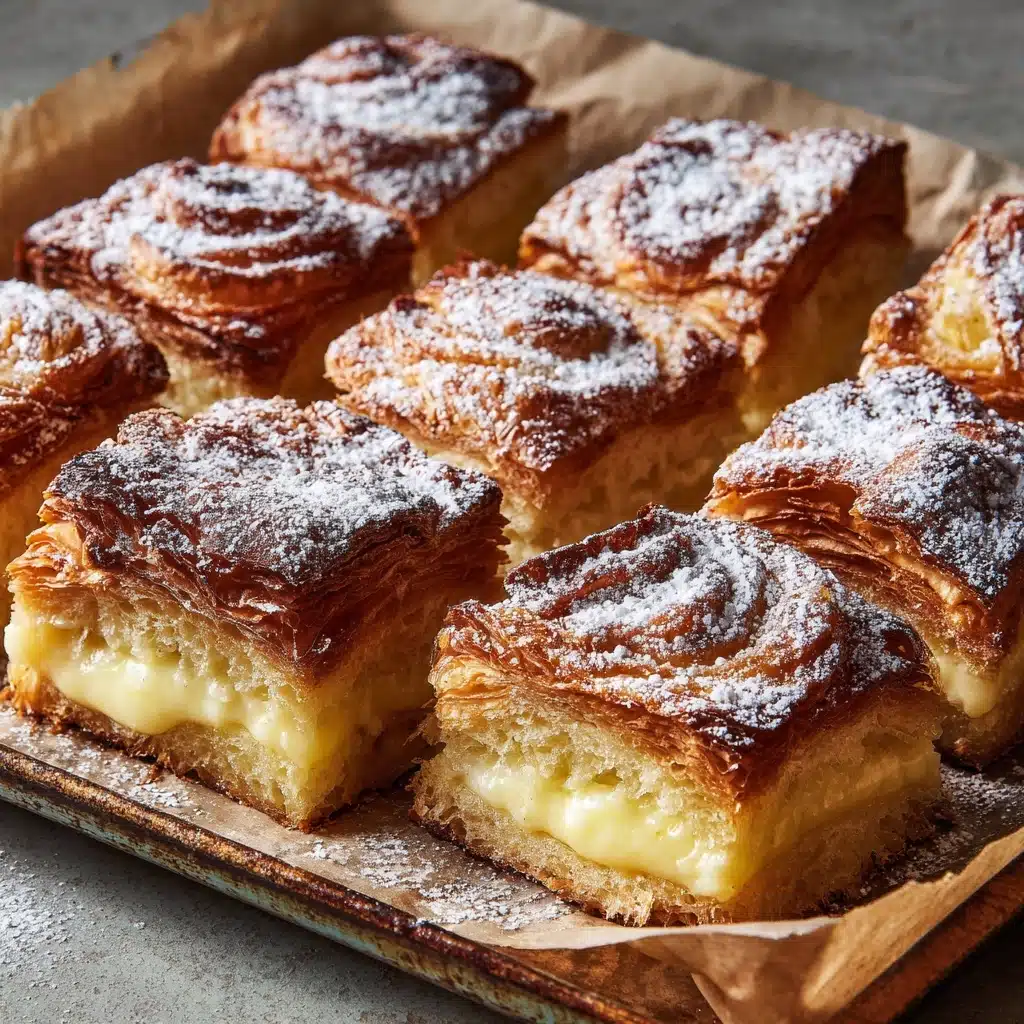
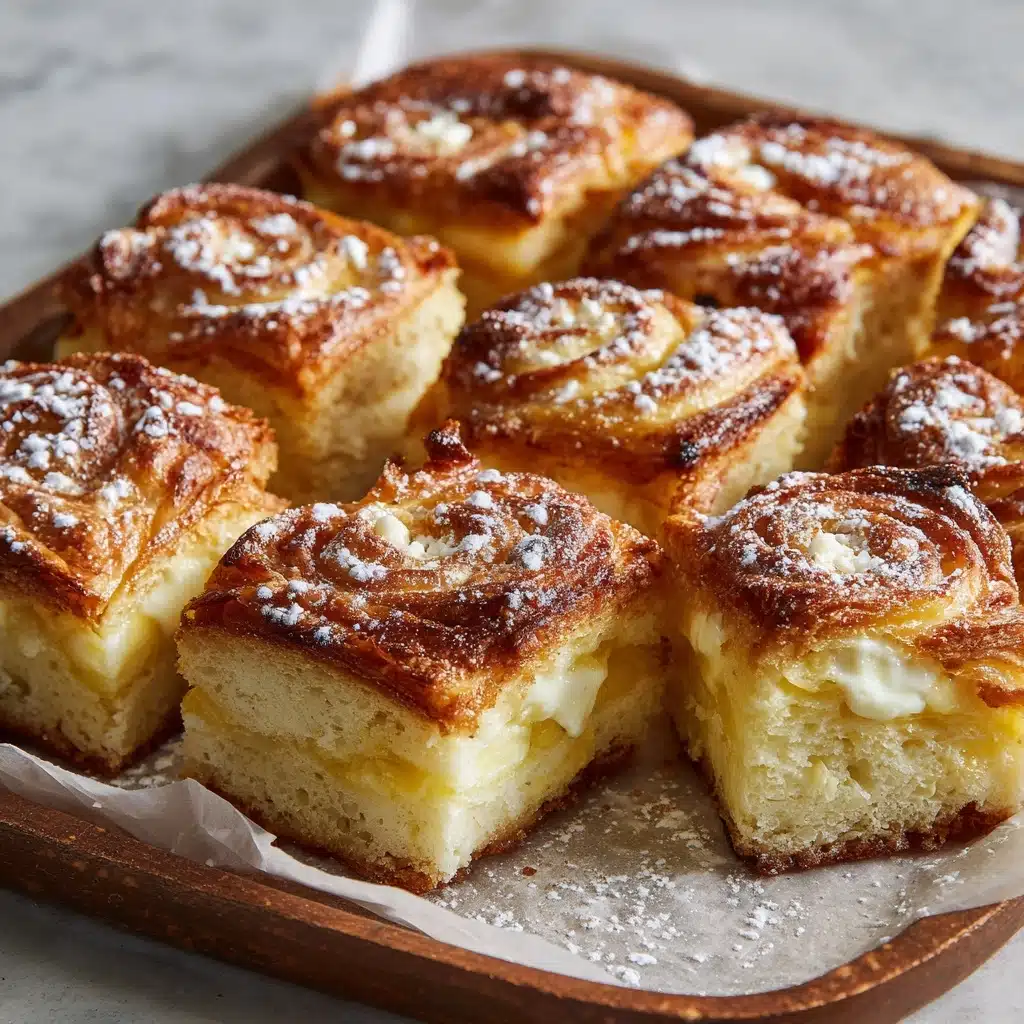
If there’s one treat that combines the fluffy magic of sweet rolls with the irresistible creaminess of cheesecake, it has to be the King’s Hawaiian Cheesecake Danish. These easy, bakery-worthy danishes bring together pillowy King’s Hawaiian rolls, a luscious cheesecake filling, and a tangy fruit topping, all crowned with a vanilla-scented glaze. Perfect for brunches, holidays, or whenever you crave something extra special, this is the sort of recipe that turns any day into a celebration.
Ingredients You’ll Need
Everything you need for these King’s Hawaiian Cheesecake Danish treats is probably already in your kitchen. Each ingredient serves a delicious purpose, from the sweet, airy rolls that form the “pastry” base to the creamy filling and glossy fruit topping that make every bite memorable.
- King’s Hawaiian sweet rolls: The secret ingredient that guarantees a soft, buttery danish with a gentle hint of sweetness.
- Cream cheese (softened): Essential for that rich, tangy cheesecake layer—make sure it’s soft for easy blending.
- Granulated sugar: Just enough to sweeten the filling and balance the tartness of your fruit topping.
- Vanilla extract: Adds classic warmth and a bakery-style aroma to the cream cheese mixture.
- Egg yolk: Binds the filling and gives it a luxurious texture without making it too eggy.
- Sour cream: The secret weapon for extra-smooth, slightly tangy cheesecake filling that never tastes dry.
- Fruit preserves or pie filling: Blueberry, strawberry, or cherry all work beautifully—pick your favorite or use a mix for a mosaic effect.
- Powdered sugar: This creates the signature sweet, silky glaze you’ll drizzle over the top.
- Milk: Just a splash to turn powdered sugar into pourable, luscious icing.
How to Make King’s Hawaiian Cheesecake Danish
Step 1: Prep Your Baking Sheet and Rolls
Start by preheating your oven to 350°F (175°C)—you’ll want it nice and hot for a perfect golden finish. Line a baking sheet with parchment paper, which will make clean-up a breeze and prevent sticking. Keeping the King’s Hawaiian rolls together in one slab, carefully slice them in half horizontally so you have a top and bottom layer. Set the bottom half on your prepared baking sheet for that beautiful danish base.
Step 2: Blend the Cheesecake Filling
In a medium mixing bowl, beat the softened cream cheese with granulated sugar, vanilla extract, egg yolk, and sour cream. The result should be creamy, smooth, and slightly tangy—almost like the inside of your favorite New York cheesecake. Take your time to ensure no lumps are left behind; a hand mixer works wonders here.
Step 3: Assemble with Filling and Fruit
Spread the cheesecake mixture evenly over the bottom slab of sweet rolls, reaching right to the edges for full flavor in every bite. Next, dollop spoonfuls of fruit preserves or pie filling across the creamy layer. Gently spread them to distribute, but don’t worry about perfection—a bit of swirl and color peeking through is part of this danish’s charm.
Step 4: Top, Bake, and Let Cool
Carefully position the top half of the rolls over your filled base, pressing down ever so gently to seal the layers together. Slide the whole pan into your preheated oven and bake for 18–22 minutes. You’re looking for golden, gently toasted tops and an interior that’s softly set. Once done, transfer the sheet to a cooling rack and let your masterpiece rest for about 10 minutes.
Step 5: Drizzle with Glaze and Serve
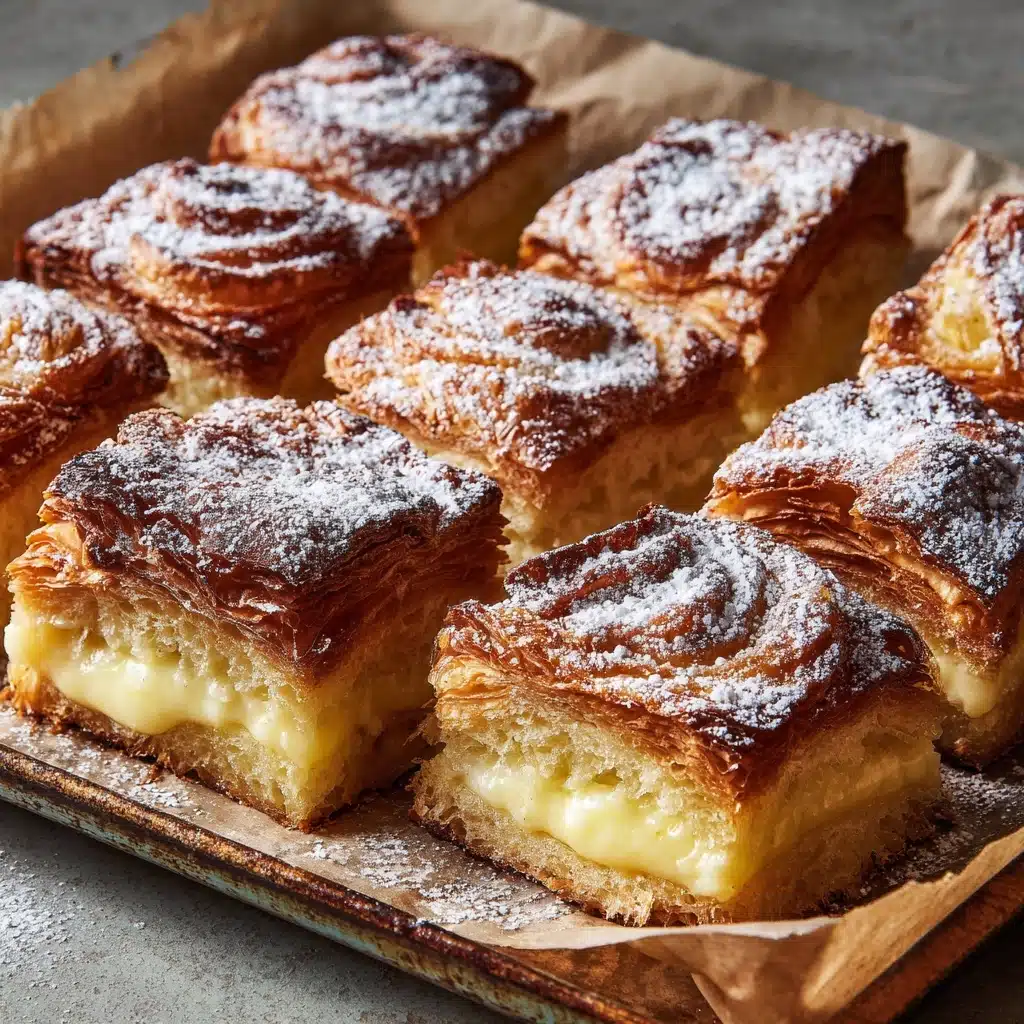
While the danish slab is cooling, whisk together the powdered sugar and just enough milk to create a smooth, pourable glaze. Drizzle it generously across the warm danish, letting sweet ribbons sink into the crevices and set into a glossy finish. Slice into 12 portions and prepare for oohs and aahs—you’ve just made a King’s Hawaiian Cheesecake Danish worth celebrating!
How to Serve King’s Hawaiian Cheesecake Danish
Garnishes
A sprinkle of fresh berries or zest of lemon can elevate each slice, but honestly, the silky glaze shimmering on top already delivers major wow factor. For extra flair, try a light dusting of powdered sugar or a few mint leaves for color—especially gorgeous if you’re serving these at brunch.
Side Dishes
Pairing is half the fun! A platter of fluffy scrambled eggs, seasonal fresh fruit salad, or a bowl of mixed berries complements the sweet creaminess of these King’s Hawaiian Cheesecake Danish pastries. For the ultimate brunch moment, serve with hot coffee, cold milk, or even a mimosa.
Creative Ways to Present
No need to stick with the standard squares (unless you love the classic look). Arrange the danish pieces on a tiered cake stand for a festive center-stage display, or cut smaller bites for a party platter. You can even serve individual danishes in decorative cupcake liners for grab-and-go gatherings or morning meetings.
Make Ahead and Storage
Storing Leftovers
King’s Hawaiian Cheesecake Danish stays remarkably fresh for up to three days when stored tightly covered in the refrigerator. The rolls maintain their plush texture, and the creaminess of the filling is preserved. To keep them from drying out, cover the slab (or individual portions) with plastic wrap or transfer to an airtight container.
Freezing
If you want to extend their life further, these danishes freeze well. Cool completely, slice, and wrap individual pieces tightly in plastic wrap before sealing in a freezer bag. They’ll keep nicely for about a month without sacrificing flavor or texture—just thaw overnight in the fridge before reheating.
Reheating
To recapture that fresh-from-the-oven magic, pop refrigerated or thawed danish slices in a 300°F (150°C) oven for about 10 minutes or until warmed through. Avoid microwaving if possible, since it can make the bread rubbery and affect the creamy filling. A quick warm-up revives the soft interior and keeps the glaze glossy!
FAQs
Can I use a different type Dessert
While nothing beats the classic flavor and texture of King’s Hawaiian, brioche rolls are a good substitute in a pinch. Just keep in mind the unique sweetness and pillowy crumb of King’s Hawaiian is what makes this danish extra special.
Can I make King’s Hawaiian Cheesecake Danish the night before?
Yes! You can assemble the danish (minus the glaze), cover it tightly, and refrigerate overnight. Bake in the morning, let cool slightly, drizzle with glaze, and serve fresh for a low-stress breakfast or brunch treat.
What are the best fruit fillings for this danish?
Any favorite fruit preserves or pie filling will shine here, but strawberry, cherry, and blueberry are especially delicious. For autumn, try apple or fig; for summer, a mixture of berries works wonders—feel free to get creative with what’s in season!
Can I make this recipe gluten-free?
If you can find gluten-free sweet rolls, you can absolutely adapt this recipe. Just be sure the rolls hold together well, since standard gluten-free bread can be more fragile when slicing and baking.
How do I keep the cheesecake filling from seeping out while baking?
Don’t overfill the danish and make sure to gently press the top rolls down before baking. The soft Hawaiian rolls help cradle the filling, so there’s less risk of leaks compared to traditional puff pastry danish!
Final Thoughts
There’s something magical about a recipe that’s easy enough for a weekday treat yet special enough for any celebration, and that’s exactly what you’ll get with King’s Hawaiian Cheesecake Danish. Every bite is pure comfort and joy, bursting with creamy sweetness and a burst of fruit. Give it a try and watch it become a cherished favorite in your home, too!
Print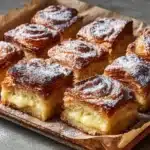
King’s Hawaiian Cheesecake Danish Recipe
- Prep Time: 15 minutes
- Cook Time: 20 minutes
- Total Time: 35 minutes
- Yield: 12 servings
- Category: Dessert
- Method: Baking
- Cuisine: American
- Diet: Vegetarian
Description
Indulge in the deliciousness of this King’s Hawaiian Cheesecake Danish, featuring a sweet and creamy cheesecake filling nestled within the iconic King’s Hawaiian sweet rolls. Perfect for brunch or dessert, this easy-to-make pastry is sure to impress.
Ingredients
King’s Hawaiian Cheesecake Danish:
- 1 package (12 rolls) King’s Hawaiian sweet rolls
- 8 oz cream cheese (softened)
- 1/4 cup granulated sugar
- 1 teaspoon vanilla extract
- 1 large egg yolk
- 1/4 cup sour cream
- 1/2 cup fruit preserves or pie filling (strawberry, cherry, or blueberry work well)
- 1/2 cup powdered sugar
- 1–2 teaspoons milk
Instructions
- Preheat oven and prepare the rolls: Preheat oven to 350°F (175°C) and line a baking sheet with parchment paper. Slice the entire package of Hawaiian rolls in half horizontally without separating them. Place the bottom half on the baking sheet.
- Prepare the cheesecake mixture: In a medium bowl, combine cream cheese, granulated sugar, vanilla, egg yolk, and sour cream until smooth. Spread this mixture over the bottom half of the rolls.
- Add fruit filling: Top the cheesecake layer with fruit preserves or pie filling.
- Assemble and bake: Place the top half of the rolls over the filling and press down gently. Bake for 18–22 minutes until golden and set.
- Make the glaze and serve: While the danish cools, mix powdered sugar and milk to create a glaze. Drizzle over the danish before slicing and serving.
Notes
- Experiment with different fruit fillings for variety.
- Best served warm but can be refrigerated and reheated.

