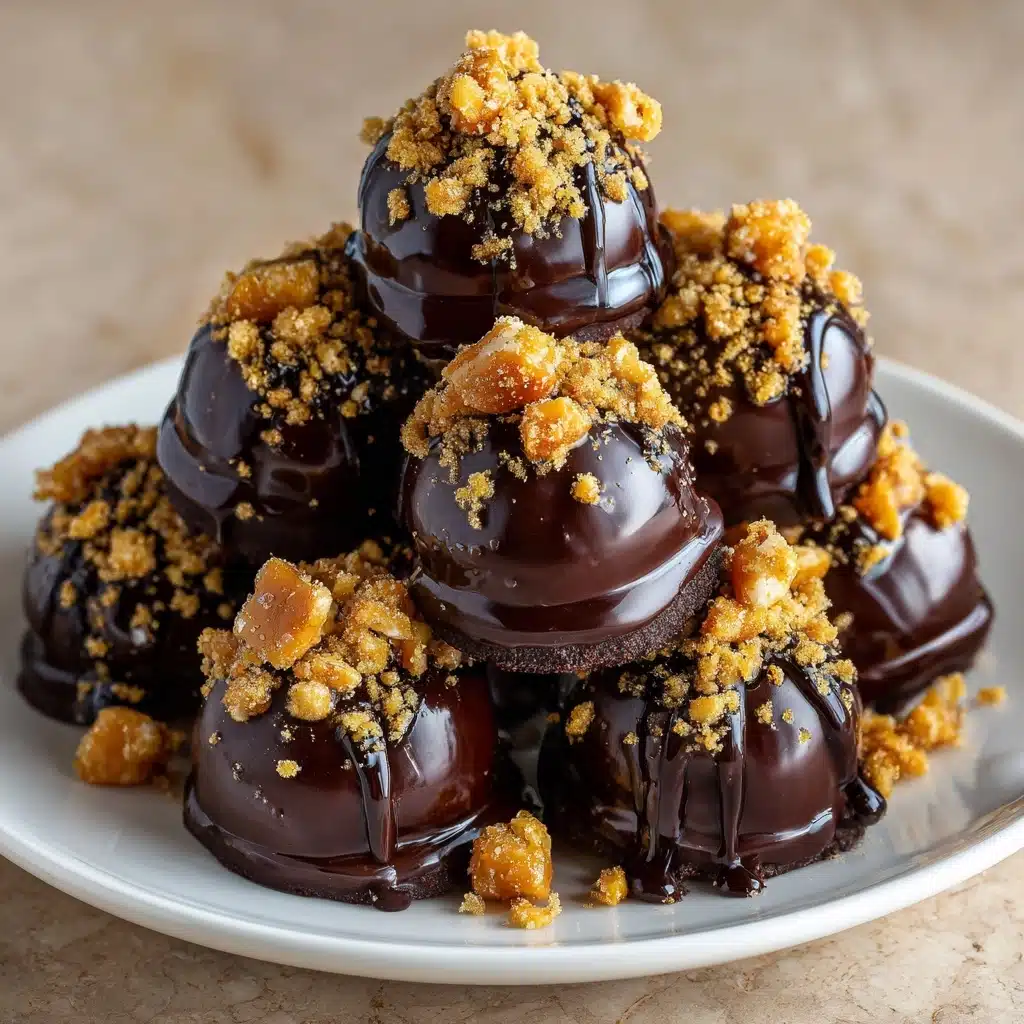
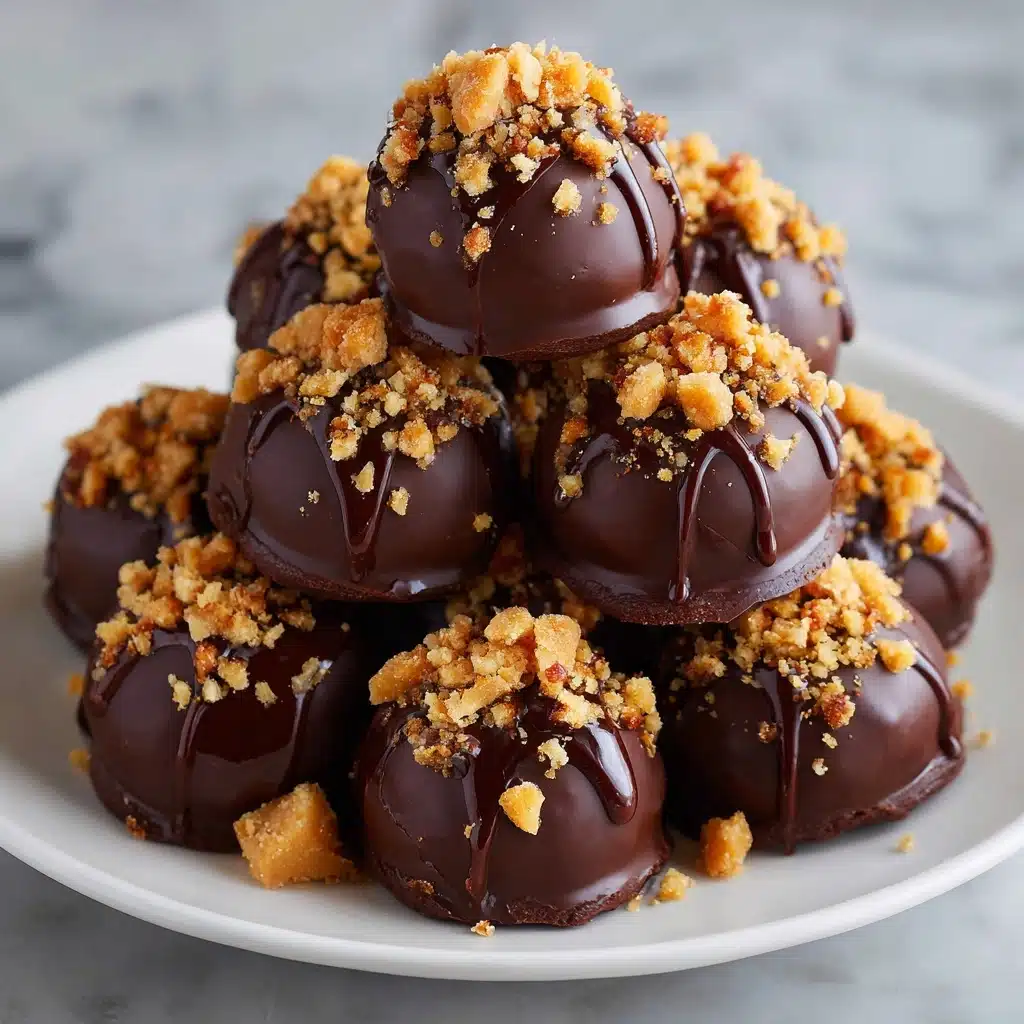
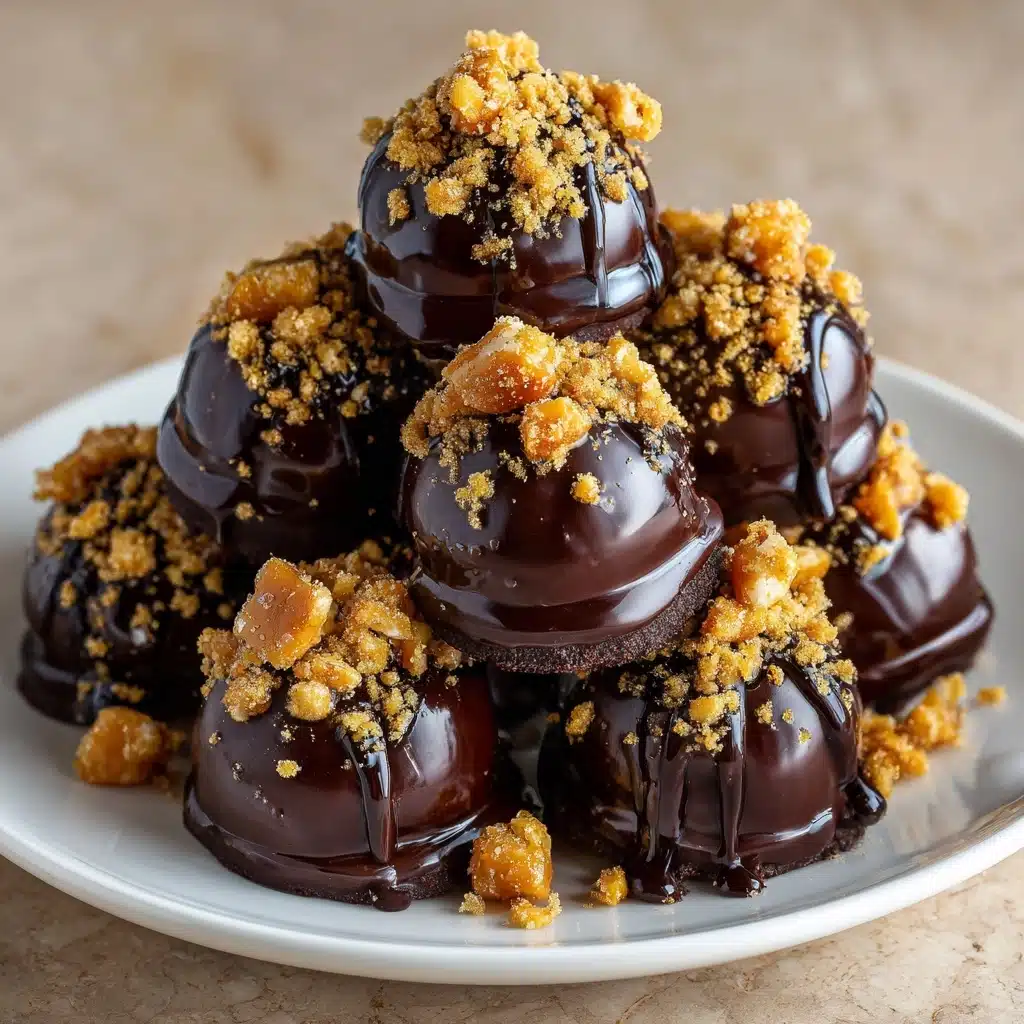
If you’re searching for a no-bake treat that’s outrageously delicious, addictively crunchy, and easy enough for any level baker, these Easy Butterfinger Balls are about to become your new go-to dessert. This recipe takes everything we love about creamy peanut butter, buttery smoothness, and crisp, candy-laced flavor, then wraps it all in a chocolate shell with a spectacular Butterfinger crunch on top. Every bite is a sweet, salty, melt-in-your-mouth delight, whether you whip up a batch for holidays, parties, or just because you deserve something a little special.
Ingredients You’ll Need
Part of what makes Easy Butterfinger Balls so magical is their simple, everyday ingredients, which each play a starring role in creating the perfect bite. You probably have most of these on hand already, and together they guarantee a balance of creamy, crispy, and chocolatey goodness with minimal fuss.
- Creamy peanut butter: Delivers that classic, nutty backbone—smooth is best for even mixing and rich flavor.
- Unsalted butter (softened): Adds luscious texture and helps hold everything together while keeping the sweetness in check.
- Powdered sugar: Melts in seamlessly, binding the filling with a soft sweetness and perfect consistency.
- Crushed Butterfinger candy bars: The show-stopper! These provide unmistakable crunch and that signature toffee-candy flavor—don’t skimp here.
- Semisweet chocolate chips: Create a glossy, dark shell that contrasts perfectly with the sweet peanut butter filling.
- Coconut oil or shortening (optional): When added to the chocolate, this ensures an extra-smooth dip and a flawless finish.
- Extra crushed Butterfinger (for topping): Just a sprinkle over the top takes these balls from delightful to irresistible.
How to Make Easy Butterfinger Balls
Step 1: Mix the Peanut Butter, Butter, and Sugar
Start by adding your creamy peanut butter, softened unsalted butter, and powdered sugar to a large mixing bowl. Use a sturdy spatula or hand mixer to beat them together until you have a completely smooth, thick, and creamy base. It should look light and even, with no streaks of butter or sugar left—this ensures every bite is pure peanut butter bliss.
Step 2: Fold In the Butterfinger Crunch
Now comes the fun part: fold in the crushed Butterfinger candy bars. Gently stir until the bits are evenly distributed throughout the dough. The Butterfinger not only delivers irresistible caramelized flavor and crunch but also gives these treats their unmistakable character.
Step 3: Shape Into Balls
Scoop out generous tablespoonfuls of the mixture and roll them between your palms into 1-inch balls. Arrange each one on a parchment-lined baking sheet, giving them a little space so they don’t stick together. If the mixture feels sticky, don’t worry—the chilling in the next step will firm them right up.
Step 4: Chill to Set
Place the shaped balls in the refrigerator for at least 30 minutes, or until they’re firm to the touch. This is essential, as it helps the balls hold together beautifully when dipped in chocolate and keeps them easy to handle.
Step 5: Melt the Chocolate
While your Butterfinger balls chill, place the semisweet chocolate chips and coconut oil (if using) in a microwave-safe bowl. Microwave in 30-second bursts, stirring well after each interval, until the chocolate is melted and velvety smooth. The coconut oil is optional but creates an extra-silky finish that’s bakery-shop gorgeous.
Step 6: Dip and Decorate
One at a time, dip each chilled ball into the melted chocolate, letting any excess drip back into the bowl. Set each ball back on the parchment, then immediately sprinkle with extra crushed Butterfinger while the chocolate is still wet. This little garnish provides a tasty clue to the deliciousness inside and makes your finished treats look professional and special.
Step 7: Let Set and Enjoy
Return your tray of chocolate-coated balls to the fridge for another 10–15 minutes, just until the chocolate has set. Now try to resist sneaking one—though who could blame you? These Easy Butterfinger Balls are ready to enjoy, gift, or share (if you’re feeling generous!).
How to Serve Easy Butterfinger Balls
Garnishes
A shower of extra crushed Butterfinger on top is classic, but you can also dust with a touch of flaky sea salt, drizzle with white chocolate for an elegant touch, or even roll them in colorful sprinkles for a festive vibe. Whatever you choose, a good garnish gives each bite a little flair and makes your batch stand out.
Side Dishes
These Easy Butterfinger Balls are sweet, so pair them with something to contrast or balance that richness. Think a platter with crisp apple slices, strong cold brew coffee, or even a scoop of vanilla ice cream if you’re feeling decadent. And for parties, display them alongside other bite-sized treats, like pretzel rods or fruit skewers, for a little variety.
Creative Ways to Present
Get playful: Stack your Butterfinger Balls in a pretty glass jar with a ribbon for a gift, or arrange them on a tiered dessert tray for a striking centerpiece. For parties, nestle each one in a mini cupcake liner or paper candy cup. They make a charming addition to holiday cookie boxes or bake sale platters too!
Make Ahead and Storage
Storing Leftovers
Keep any leftover Easy Butterfinger Balls in an airtight container in the refrigerator to maintain their fresh crunch and creamy texture. They’ll stay perfect for up to a full week—but don’t be surprised if they disappear much faster than that!
Freezing
If you want to prepare ahead, these freeze beautifully. Layer the balls between pieces of parchment paper in a freezer-safe container, sealing tightly. When you get a craving, just let them thaw in the refrigerator overnight, and they’ll be as wonderful as the day you made them.
Reheating
There’s no need to reheat Easy Butterfinger Balls, since they’re best served cold or at room temperature. If you’ve just pulled them from the freezer, allow them to thaw gently in the fridge or on the counter for 15–30 minutes before serving for the best texture and taste.
FAQs
Can I use crunchy peanut butter instead of creamy?
Absolutely! Crunchy peanut butter adds an even bigger texture boost, making the center chunkier and extra nutty. If you’re a fan of added crunch, give it a go—but keep in mind the Butterfinger pieces already bring a satisfying crispness.
How do I crush the Butterfinger bars for this recipe?
The easiest way is to place the candy bars in a zip-top bag, seal it, and use a rolling pin or the bottom of a glass to crush them into small pieces. Aim for a mix of tiny bits with a few larger shards for plenty of crunch in every bite.
Can I use milk chocolate instead of semisweet for the coating?
Yes! Milk chocolate will make the coating sweeter and creamier, which many people love. You could also try using dark chocolate if you want a slightly more grown-up twist and deeper chocolate flavor.
Are these suitable for people with nut allergies?
Since the recipe contains peanut butter, it’s not suitable for those with peanut allergies. If you need a nut-free version, you could try substituting sunflower seed butter and using a different crunchy candy bar, though the flavor will change.
Can I double the batch for a party?
Definitely—just multiply all the ingredients by two and follow the same steps. You may need an extra baking sheet for chilling and a little more melted chocolate, but Easy Butterfinger Balls are perfect for big gatherings and gifting!
Final Thoughts
I know you’ll fall hard for the irresistible combo of peanut butter, chocolate, and that signature Butterfinger crunch packed into these Easy Butterfinger Balls. They’re simple enough to whip up just because, but impressive enough for any occasion. Grab your ingredients, round up a friend or two, and see how fast they disappear—your sweet tooth will thank you!
Print
Easy Butterfinger Balls Recipe
- Prep Time: 20 minutes
- Cook Time: 0 minutes
- Total Time: 50 minutes (including chilling)
- Yield: 24 balls
- Category: Dessert
- Method: No-Bake
- Cuisine: American
- Diet: Vegetarian
Description
Indulge in these easy no-bake Butterfinger Balls for a sweet treat that combines creamy peanut butter, crunchy Butterfinger candy, and rich chocolate. Perfect for any occasion and sure to satisfy your sweet tooth!
Ingredients
For the Butterfinger Balls:
- 1 cup creamy peanut butter
- 1/4 cup unsalted butter, softened
- 1 1/2 cups powdered sugar
- 1 cup crushed Butterfinger candy bars, plus more for topping
For Coating:
- 2 cups semisweet chocolate chips
- 1 tablespoon coconut oil or shortening (optional, for smoother chocolate)
Instructions
- Mix the Peanut Butter Mixture: In a large bowl, combine peanut butter, softened butter, and powdered sugar until smooth.
- Add Butterfinger: Fold in the crushed Butterfinger candy.
- Shape the Balls: Roll the mixture into 1-inch balls and place on a parchment-lined baking sheet. Chill for 30 minutes.
- Melt Chocolate: In a microwave-safe bowl, melt chocolate chips with coconut oil in 30-second intervals.
- Coat the Balls: Dip each chilled ball in chocolate, sprinkle with crushed Butterfinger, and refrigerate until set.
Notes
- Store in an airtight container in the fridge for up to 1 week or freeze for longer storage.
- Great for holidays, parties, or as a delicious gift!

