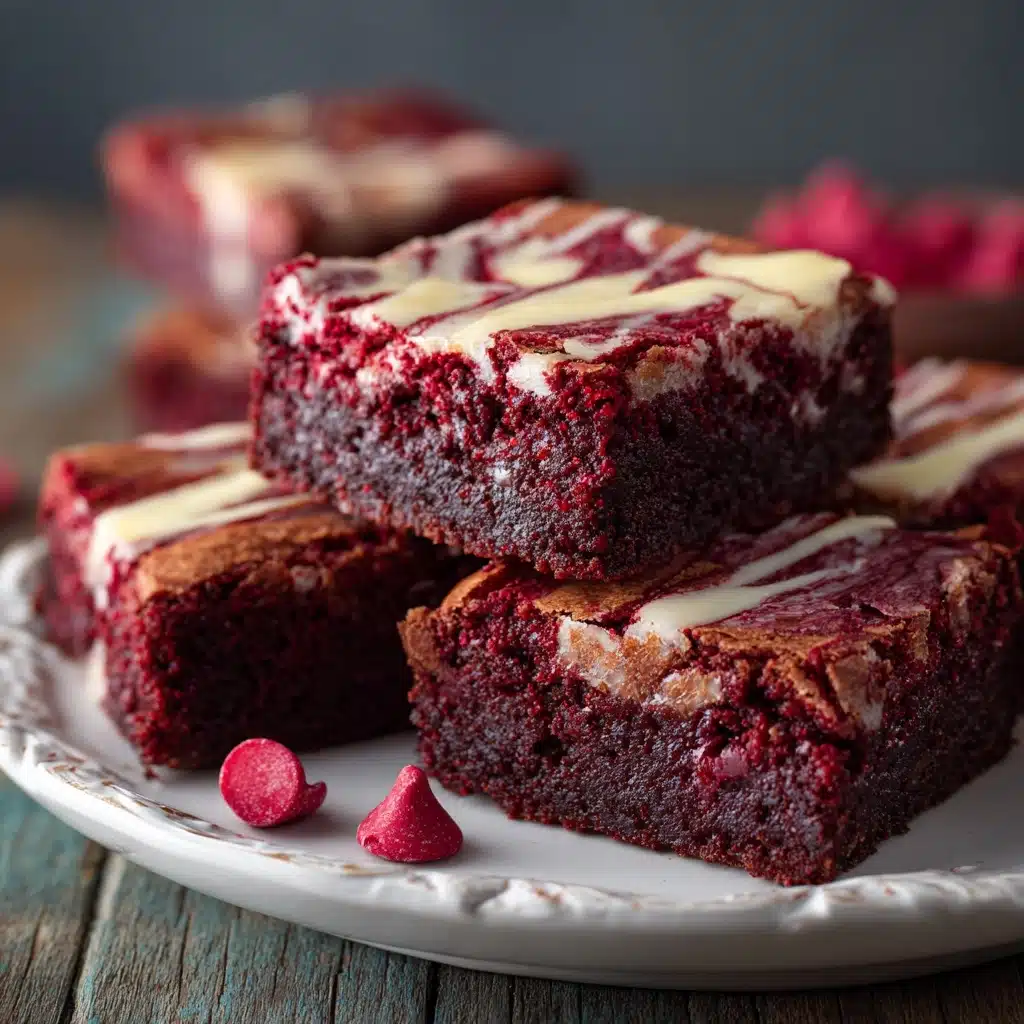
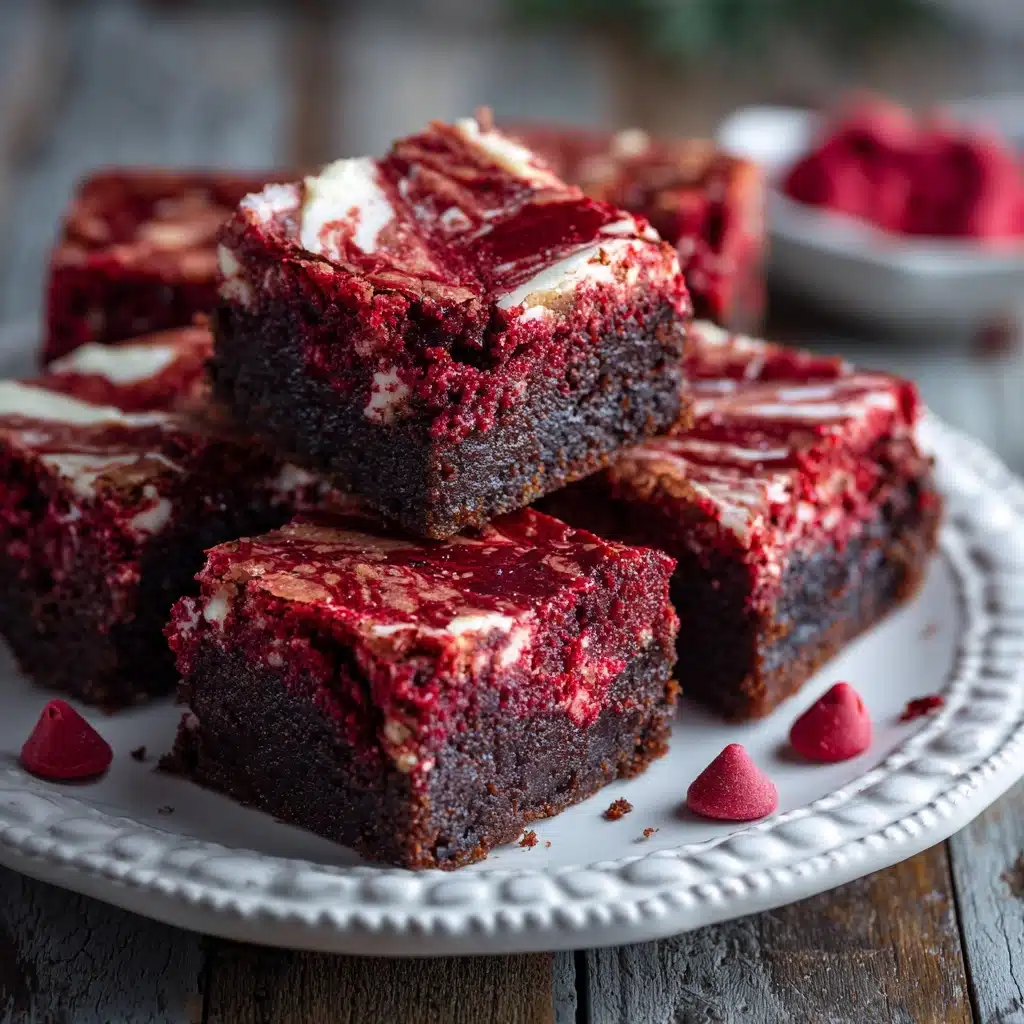
Incredibly rich, decadently fudgy, and guaranteed to surprise anyone lucky enough to taste them, Kiss Me Red Velvet Brownies are an all-time favorite for special occasions and everyday treats alike. Imagine classic red velvet flavor — with its subtle tang and deep cocoa notes — transformed into perfect, thick, luxurious brownies peppered with melty chocolate chips. Each bite delivers a dazzling hit of color and crave-worthy chew, making these brownies irresistible for bake sales, Valentine’s Day, or when you just need a bit of homemade joy.
Ingredients You’ll Need
These Kiss Me Red Velvet Brownies call for simple, easy-to-find ingredients, but each one plays a starring role in creating dense, chocolatey brownies with that signature red velvet hue. Let’s break down why each part of this lineup matters!
- Unsalted butter (¾ cup, melted and slightly cooled): Adds luscious moisture and richness, making the brownies tender and fudgy.
- Granulated sugar (1 cup): Contributes sweetness and helps create that shiny, crackly brownie top we all crave.
- Brown sugar (½ cup): Infuses extra depth and a hint of caramel flavor, plus a chewier texture.
- Large eggs (2): Bind everything together, giving structure and a silky finish.
- Red food coloring (1 tablespoon): The secret to the striking, classic red velvet color — don’t skimp here!
- Vanilla extract (1 teaspoon): Boosts the sweetness and completes that classic cake flavor profile.
- Unsweetened cocoa powder (⅓ cup): For a rich cocoa base that balances sweetness with depth.
- All-purpose flour (1 cup): Provides just enough structure while keeping things soft and moist.
- Salt (¼ teaspoon): A tiny amount that makes the chocolate flavors pop and cuts any cloying sweetness.
- Baking powder (½ teaspoon): Gives the brownies a gentle lift so they aren’t overly dense.
- White chocolate chips (½ cup): Lovely sweet pockets that play so well with the dark cocoa.
- Semi-sweet chocolate chips (½ cup): Double down on chocolatey goodness and texture.
How to Make Kiss Me Red Velvet Brownies
Step 1: Preheat and Prepare the Pan
Start by setting your oven to 350°F (175°C). While it’s heating up, line an 8×8-inch pan with parchment paper, letting a bit hang over two sides for easy brownie removal later. If you don’t have parchment, a light coat of nonstick spray or butter will work in a pinch. Prepping your pan properly ensures your brownies slip right out, with no frustrated pan-scraping required.
Step 2: Mix the Wet Ingredients
In a large mixing bowl, combine the melted (but slightly cooled) butter, the granulated sugar, and the brown sugar. Whisk them vigorously until the mixture is glossy and well-blended. Then, add the eggs one at a time, whisking after each addition until smooth. Now comes the magic touch: stir in the red food coloring and vanilla extract, swirling the mixture until you achieve a dramatically vibrant batter. This is where that iconic red velvet allure comes into play!
Step 3: Sift and Add the Dry Ingredients
In a separate bowl, sift together the unsweetened cocoa powder, flour, salt, and baking powder. Sifting eliminates lumps and makes for a more even batter, which is key to getting the dense yet soft crumb that sets Kiss Me Red Velvet Brownies apart. Gently fold the dry mixture into the wet mixture, stirring just until combined — over-mixing can lead to tough brownies, so a few streaks are okay here.
Step 4: Fold in the Chocolate Chips
Fold in the white chocolate and semi-sweet chocolate chips, distributing them evenly but gently through the batter. These gooey, melty bites tucked inside every square make each piece extra special. If you want to up the wow-factor, save a handful to sprinkle on top just before baking!
Step 5: Bake to Fudgy Perfection
Pour the thick red velvet brownie batter into your prepared pan and smooth the surface with a spatula, making sure it’s even all around. Slide it into your preheated oven and bake for 28 to 32 minutes. The brownies should puff slightly at the edges but still have a center that feels just set when tested with a toothpick — you’re looking for a few moist crumbs, not a completely clean tester. Let the brownies cool completely in the pan before lifting and slicing into neat squares. This wait is the hardest part, but trust me: it’s worth it for perfect slices!
How to Serve Kiss Me Red Velvet Brownies
Garnishes
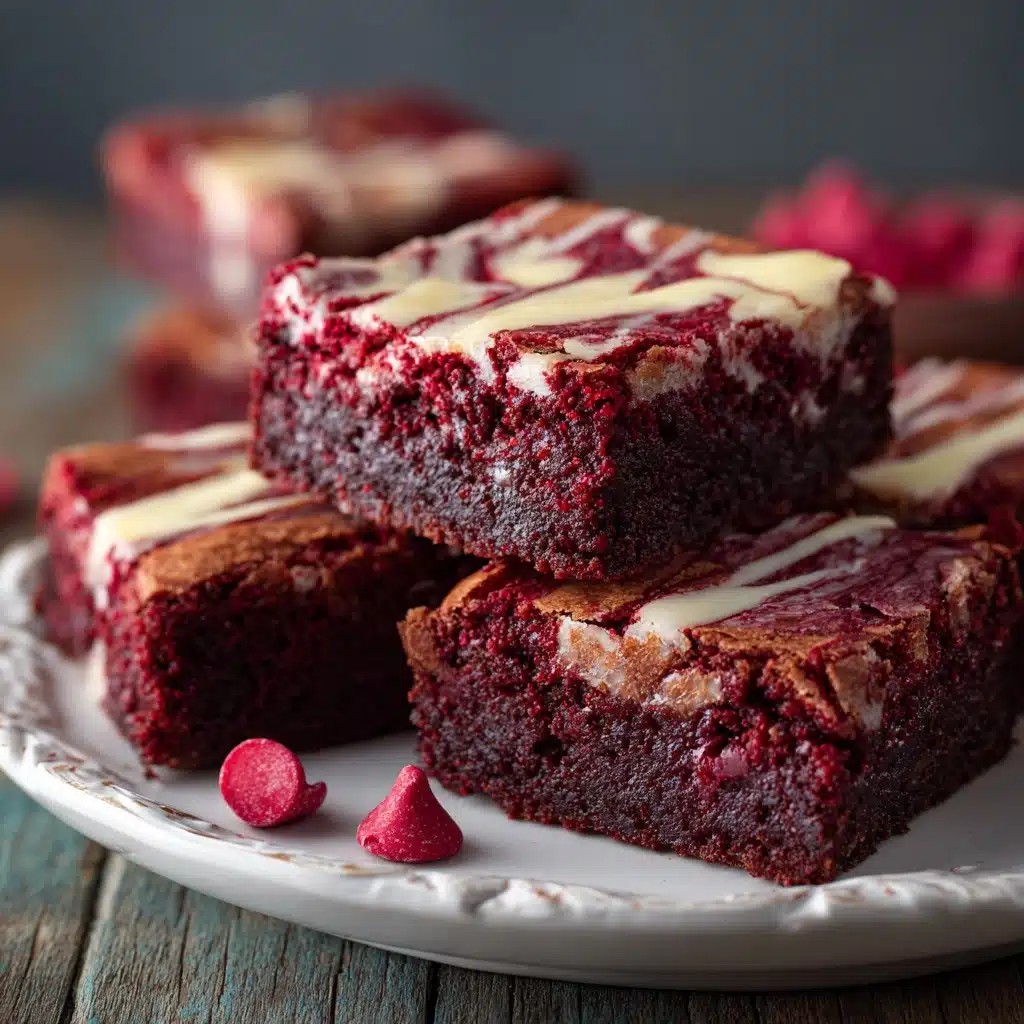
Dress up your Kiss Me Red Velvet Brownies with a flurry of powdered sugar, a drizzle of melted white or dark chocolate, or a scattering of extra chocolate chips on top. For a truly decadent finish, top each brownie with a swirl of cream cheese frosting or a tiny dollop of whipped cream and a fresh berry to echo that Valentine’s Day vibe.
Side Dishes
These brownies are so rich and satisfying that they hardly need accompaniments, but they pair beautifully with a scoop of vanilla bean ice cream or a glass of icy-cold milk. For a fancier affair, serve them alongside a vibrant berry compote or light yogurt parfait for contrast in both flavor and color.
Kiss Me Red Velvet Brownies: Creative Ways to Present
If you’re gifting or entertaining, package Kiss Me Red Velvet Brownies in pretty cellophane bags tied with red ribbon, or arrange them in a heart-shaped box for a show-stopping Valentine’s surprise. For individual servings, use mini square molds or muffin tins for bite-sized portions, or cut the brownies with a heart-shaped cookie cutter for a playful, love-themed presentation.
Make Ahead and Storage
Storing Leftovers
Kiss Me Red Velvet Brownies stay incredibly moist for days! Store any leftovers in an airtight container at room temperature for up to 4 days. If your kitchen runs warm, refrigerating them helps maintain that fudgy texture. Just be sure to let them come to room temp before serving for the best flavor and chew.
Freezing
Need to make ahead? These brownies freeze beautifully. Once completely cool, wrap individual squares tightly in plastic wrap, then place in a freezer-safe bag or container. They’ll keep for up to 2 months without losing their luscious texture or color. Thaw at room temperature for a few hours or overnight in the fridge when ready to enjoy.
Reheating
If you love warm, gooey brownies, reheat Kiss Me Red Velvet Brownies in the microwave for 10–15 seconds. This brings back their just-baked softness and makes the chocolate chips melty once more. For a slightly crisp edge, a minute in a low oven (around 300°F) works, too!
FAQs
Can I substitute the red food coloring with something natural?
You can use beet juice or a natural food coloring for a subtler hue, though the color may not be as vibrant. The red food coloring gives Kiss Me Red Velvet Brownies their signature, eye-popping look, but natural alternatives will still deliver a lovely result.
Can I add nuts or other mix-ins?
Absolutely! Chopped walnuts, pecans, or even dried fruit are wonderful stirred into the batter alongside the chocolate chips. Just keep add-ins to about ½ cup total to avoid overwhelming the batter.
Why do my brownies sometimes come out cakey instead of fudgy?
Over-baking or over-mixing can lead to cakey brownies. For that irresistible fudgy texture, pull the Kiss Me Red Velvet Brownies from the oven when a toothpick shows just a few moist crumbs and chill before slicing if needed.
Is it possible to double this recipe for a crowd?
Yes, you can double the recipe and bake it in a 9×13-inch pan. Keep an eye on the baking time — you may need to add a few extra minutes, but still check for doneness using the toothpick method for best results.
Can I use Dutch-processed cocoa powder?
For classic red velvet flavor, natural cocoa is ideal because it reacts with baking powder for lift and keeps the brownies tender. Dutch-processed cocoa will work in a pinch but will change the flavor and color slightly.
Final Thoughts
When you’re craving a treat that’s as beautiful as it is delicious, Kiss Me Red Velvet Brownies are the answer. Each square is a little love letter made of chocolate, color, and pure joy — ideal for sharing or savoring solo. Give them a try and you’ll want to make them part of every celebration, big or small!
Print
Kiss Me Red Velvet Brownies Recipe
- Prep Time: 10 minutes
- Cook Time: 30 minutes
- Total Time: 40 minutes
- Yield: 16 brownies
- Category: Dessert
- Method: Baking
- Cuisine: American
- Diet: Vegetarian
Description
These Kiss Me Red Velvet Brownies are the perfect treat for Valentine’s Day or any day you’re craving a rich, chocolatey dessert. With a fudgy texture and a hint of red velvet flavor, these brownies are sure to impress your loved ones.
Ingredients
For the Brownies:
- ¾ cup unsalted butter, melted and slightly cooled
- 1 cup granulated sugar
- ½ cup brown sugar
- 2 large eggs
- 1 tablespoon red food coloring
- 1 teaspoon vanilla extract
- ⅓ cup unsweetened cocoa powder
- 1 cup all-purpose flour
- ¼ teaspoon salt
- ½ teaspoon baking powder
- ½ cup white chocolate chips
- ½ cup semi-sweet chocolate chips
Instructions
- Preheat the Oven: Preheat the oven to 350°F (175°C) and prepare an 8×8-inch baking pan with parchment paper or grease.
- Mix Wet Ingredients: In a large bowl, combine melted butter with granulated and brown sugar. Add eggs, red food coloring, and vanilla extract.
- Combine Dry Ingredients: In a separate bowl, sift together cocoa powder, flour, salt, and baking powder. Gradually add to the wet mixture.
- Add Chocolate Chips: Fold in white and semi-sweet chocolate chips.
- Bake: Pour batter into the pan and bake for 28–32 minutes. Let cool before slicing.
Notes
- For a fudgier texture, slightly underbake and chill before serving.
- Enhance with cream cheese swirls or frosting for extra richness.

