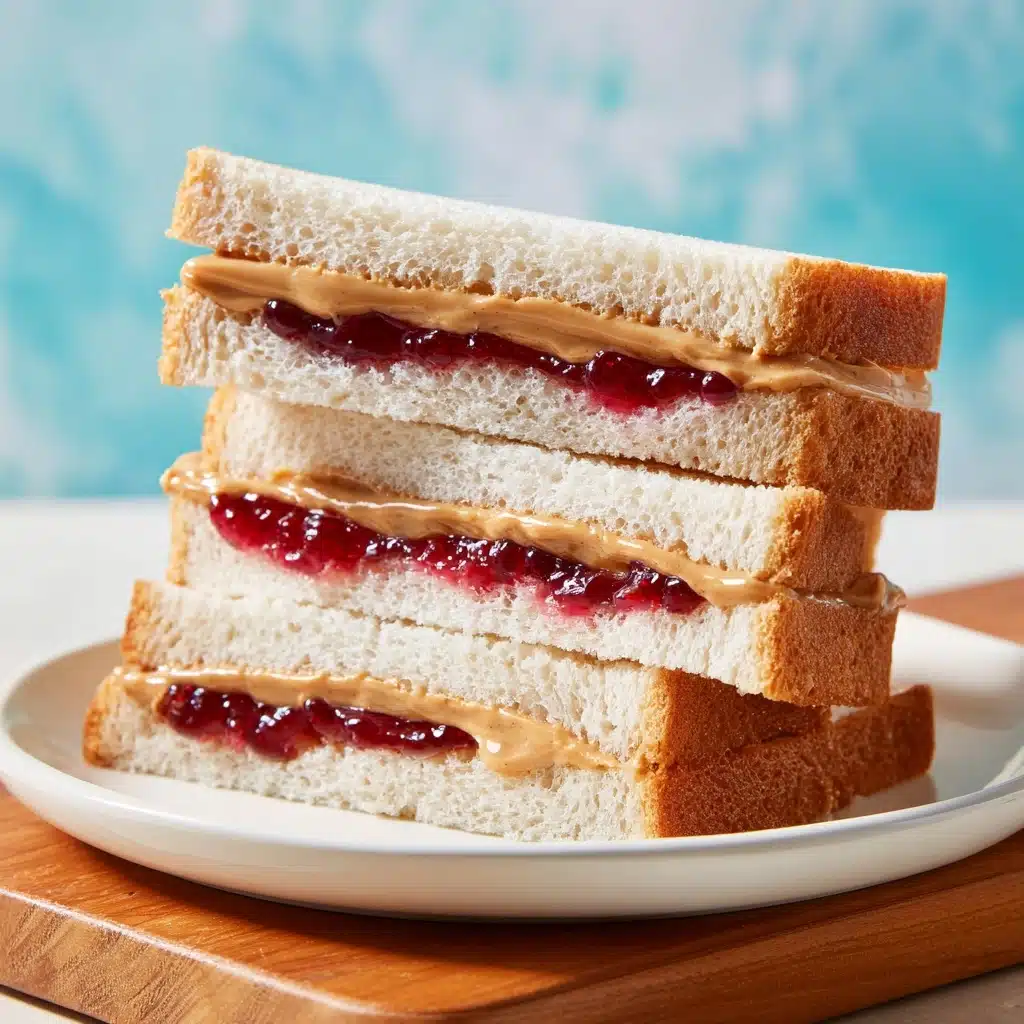
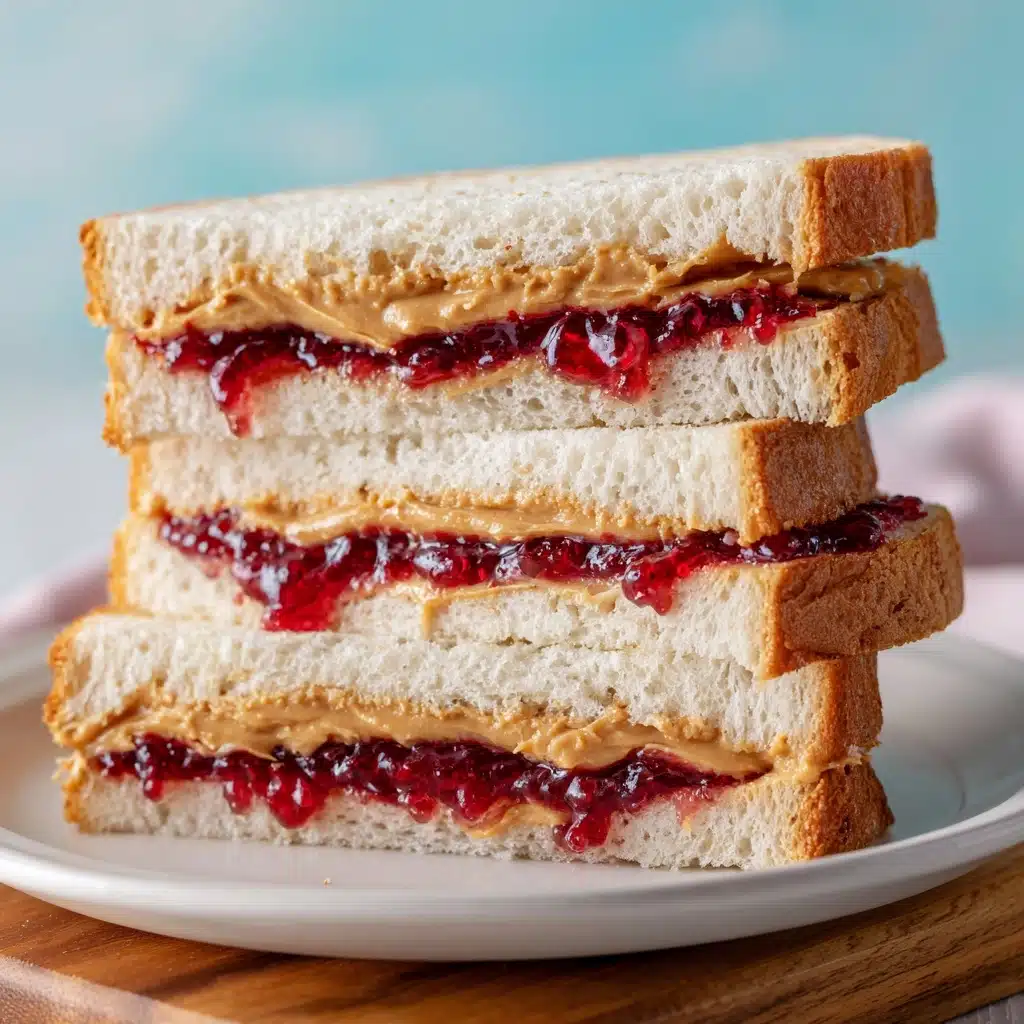
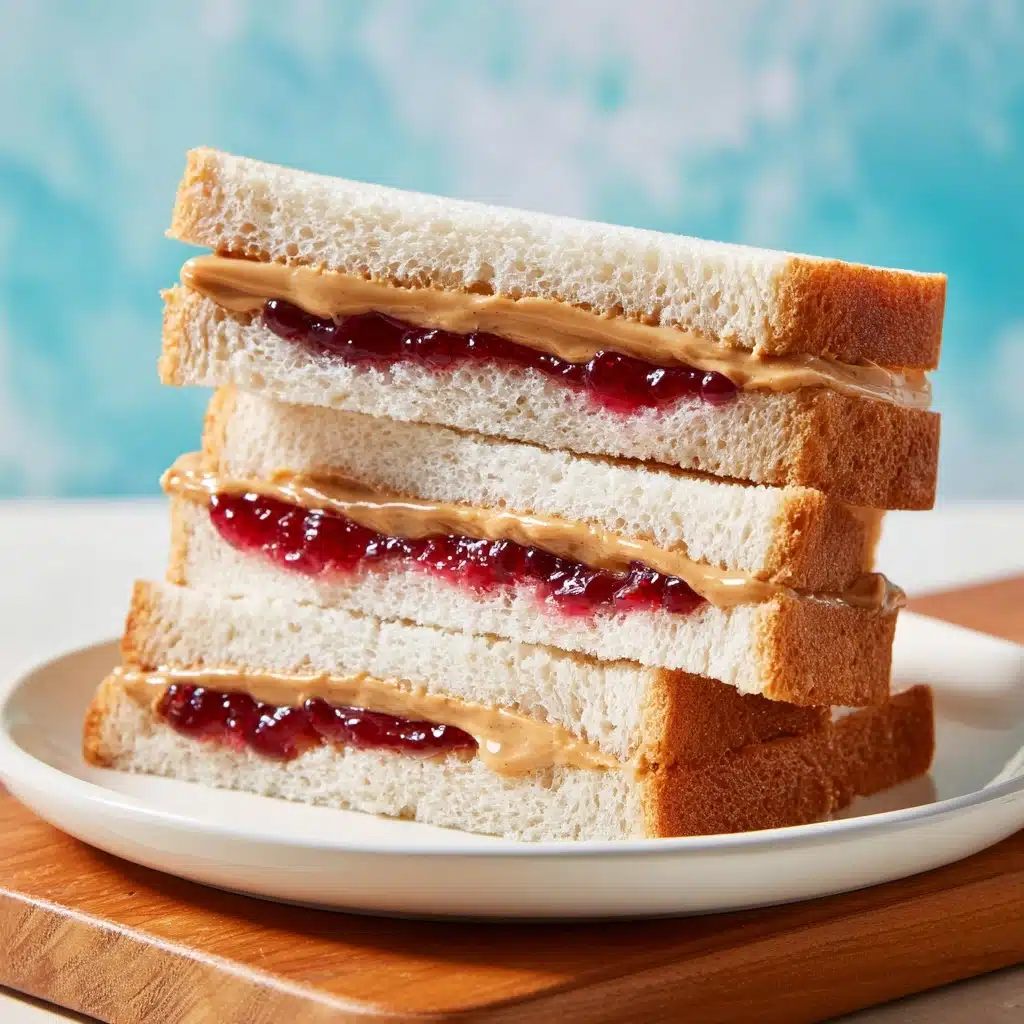
If there’s one lunch that never goes out of style, it’s the Classic Peanut Butter and Jelly Sandwich. Loved by kids and grown-ups alike, this sweet and salty duo delivers comfort, nostalgia, and unbeatable flavor in every bite. Whether you’re packing a quick meal to-go, prepping a snack between meetings, or simply giving in to a craving for something simple and satisfying, this recipe is your go-to. The magic is in the balance: creamy (or crunchy) peanut butter, your favorite jam, and soft slices of bread. Let’s dive into the pure, uncomplicated delight that is the Classic Peanut Butter and Jelly Sandwich!
Ingredients You’ll Need
-
Bread:
- 2 slices of sandwich bread (white, wheat, or your choice)
Peanut Butter:
- 2 tablespoons peanut butter (creamy or crunchy)
Jelly or Jam:
- 2 tablespoons jelly or jam (any flavor, such as grape or strawberry)
How to Make Classic Peanut Butter and Jelly Sandwich
Step 1: Lay Out Your Bread
Start by placing two slices of your chosen bread on a clean surface. This might sound basic, but having an uncluttered space makes assembly easier and keeps your sandwich looking neat. Whole wheat, sourdough, or classic white—each choice will bring its own personality to your Classic Peanut Butter and Jelly Sandwich.
Step 2: Spread the Peanut Butter
Use a butter knife or small spatula to spread two tablespoons of peanut butter evenly over one slice of bread. If you like a rich, hearty flavor, go a little thicker, or thin it out for a lighter touch. Creamy peanut butter will give a smooth sandwich, while crunchy provides delightful texture with every bite.
Step 3: Spread the Jelly or Jam
On the second slice, spread two tablespoons of your chosen jelly or jam. Make sure you get right up to the edges so every corner of your Classic Peanut Butter and Jelly Sandwich bursts with fruity flavor. You can even try mixing two jams for a creative spin!
Step 4: Press the Slices Together
Now, the moment of truth: carefully press the two slices together, with the peanut butter and jelly sides facing. A gentle press is all you need—just enough to help those spreads stick together and marry the flavors, creating that iconic, mouthwatering middle.
Step 5: Slice and Serve
If you’d like, slice your sandwich in half—diagonally for a nostalgic touch or straight down the middle if you like clean, even edges. Serve right away for the softest texture, or wrap it up to enjoy later. That’s it: your Classic Peanut Butter and Jelly Sandwich is ready to steal the spotlight!
How to Serve Classic Peanut Butter and Jelly Sandwich
Garnishes
A little flourish can elevate your sandwich from everyday to extraordinary. Sprinkle the plate with a dusting of powdered sugar, add some fresh berries on the side, or even a drizzle of honey if you’re feeling indulgent. Sometimes, simple is best—just let those vibrant colors and glossy spreads be the stars.
Side Dishes
Turn your Classic Peanut Butter and Jelly Sandwich into a meal with crunchy apple slices, baby carrots, or a cup of creamy yogurt. A tall glass of cold milk or a handful of salty pretzels locks in that perfect balance of flavors and textures, making snack time or lunchtime a real treat.
Creative Ways to Present
Think outside the box by cutting your sandwich into playful shapes with cookie cutters for kiddos, stacking little tea-style triangles for parties, or even grilling it for a warm, melted twist. The Classic Peanut Butter and Jelly Sandwich can be as fun or as fancy as you make it—let your imagination run wild!
Make Ahead and Storage
Storing Leftovers
If you have an extra sandwich or want to prep ahead, simply wrap your Classic Peanut Butter and Jelly Sandwich tightly in plastic wrap or store it in an airtight container. It’ll stay fresh for a day at room temperature or up to two days in the fridge, perfect for grab-and-go lunches or late-night snacks.
Freezing
Yes, you can freeze PB&J! Wrap each sandwich individually in plastic wrap, then place them in a freezer bag. They’ll keep well for up to 1 month. To enjoy, just let your Classic Peanut Butter and Jelly Sandwich thaw at room temperature for a few hours—ideal for packed lunches and busy schedules.
Reheating
Typically, this sandwich is served at room temperature, but if you want something extra cozy, pop your unwrapped Classic Peanut Butter and Jelly Sandwich onto a panini press or warm skillet just until the bread is toasty and the peanut butter begins to melt. It’s an ultra-comforting twist that’s hard to resist.
FAQs
Can I use almond or other nut butters instead of peanut butter?
Absolutely! Swap in almond, cashew, sunflower seed, or even hazelnut spreads for a fun and allergy-friendly spin on the Classic Peanut Butter and Jelly Sandwich. Each butter brings its own unique flavor, so experiment to find your favorite combo.
What’s the best bread to use for this sandwich?
Classic soft white bread is a timeless choice, but whole wheat, multigrain, or even gluten-free breads work beautifully. The key is selecting a slice that’s fresh and sturdy enough to hold your spreads without falling apart.
Should I toast the bread?
Toasting is a fabulous option if you love a bit of crunch or want to keep your sandwich from getting soggy in a lunchbox. Just be sure to let the bread cool slightly before spreading, so the peanut butter and jelly don’t melt and run.
Can this sandwich be made ahead for school lunches?
Definitely! Build your Classic Peanut Butter and Jelly Sandwich the night before, wrap it tightly, and store it in the fridge. In the morning, it’s ready to pop into a lunchbox—no stress, just wholesome homemade goodness.
What is the difference between jelly and jam for this recipe?
Jelly is made from fruit juice and is usually clear and smooth, while jam is made from crushed fruit and tends to be thicker with little bits of fruit. Both work perfectly—just choose whichever you love most in a Classic Peanut Butter and Jelly Sandwich!
Final Thoughts
There’s a reason the Classic Peanut Butter and Jelly Sandwich has stood the test of time: it’s delicious, comforting, endlessly customizable, and always ready in minutes. Give it a spot in your lunch rotation or treat yourself to a childhood favorite blur of sweet, salty, and satisfying flavor. You’re only five minutes away from the ultimate bite of nostalgia—enjoy!
Print
Classic Peanut Butter and Jelly Sandwich Recipe
- Prep Time: 5 minutes
- Cook Time: 0 minutes
- Total Time: 5 minutes
- Yield: 1 sandwich
- Category: Snack
- Method: No-Cook
- Cuisine: American
- Diet: Vegetarian
Description
A classic peanut butter and jelly sandwich is a timeless favorite that appeals to both kids and adults. This simple yet satisfying combination of creamy peanut butter and fruity jelly or jam, sandwiched between two slices of bread, is a go-to snack or quick meal for any time of day.
Ingredients
Bread:
- 2 slices of sandwich bread (white, wheat, or your choice)
Peanut Butter:
- 2 tablespoons peanut butter (creamy or crunchy)
Jelly or Jam:
- 2 tablespoons jelly or jam (any flavor, such as grape or strawberry)
Instructions
- Lay both slices of bread on a clean surface. Spread peanut butter evenly over one slice.
- Spread jelly or jam evenly over the other slice.
- Press the two slices together, spreads facing each other.
- Slice in half diagonally or down the middle, if desired.
- Serve immediately or wrap for later.
Notes
- For a twist, toast the bread first or use flavored nut butters and artisan jams.
- This sandwich travels well for lunches and picnics.

