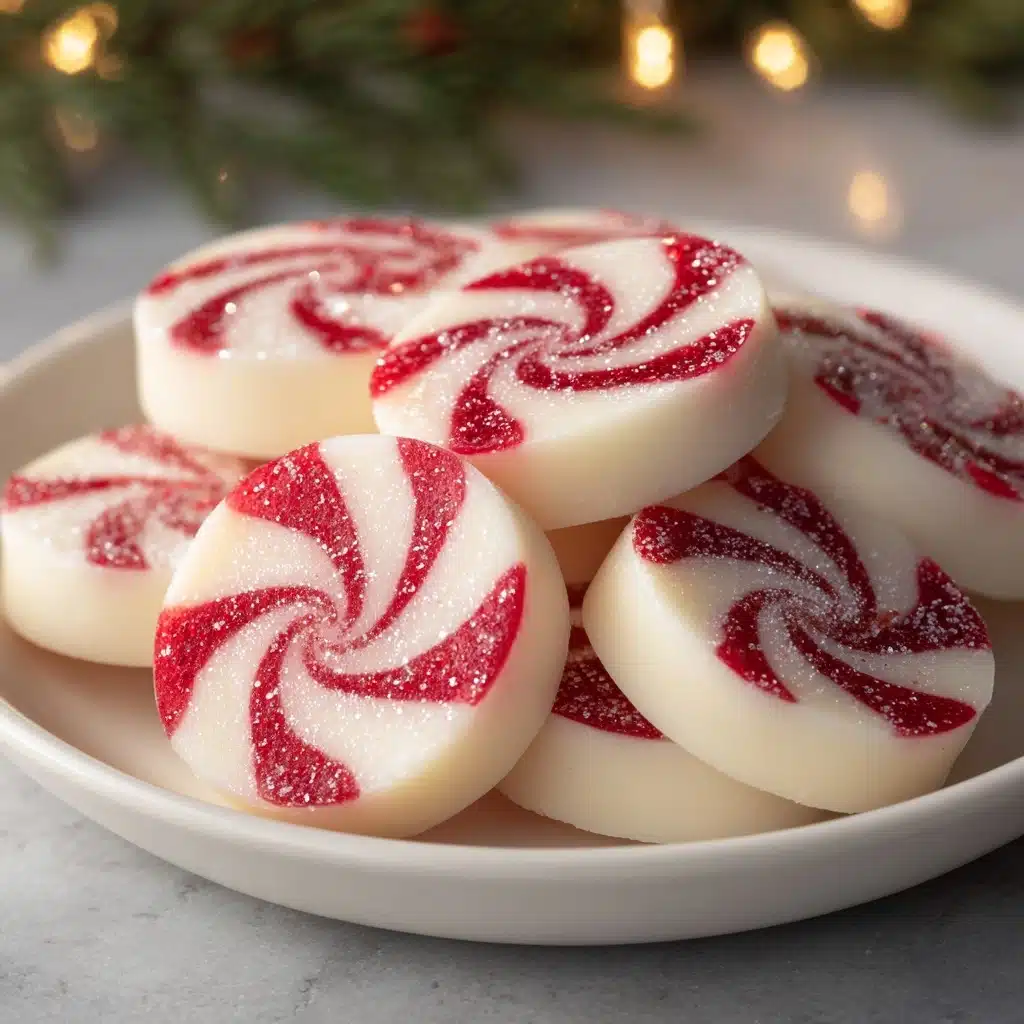
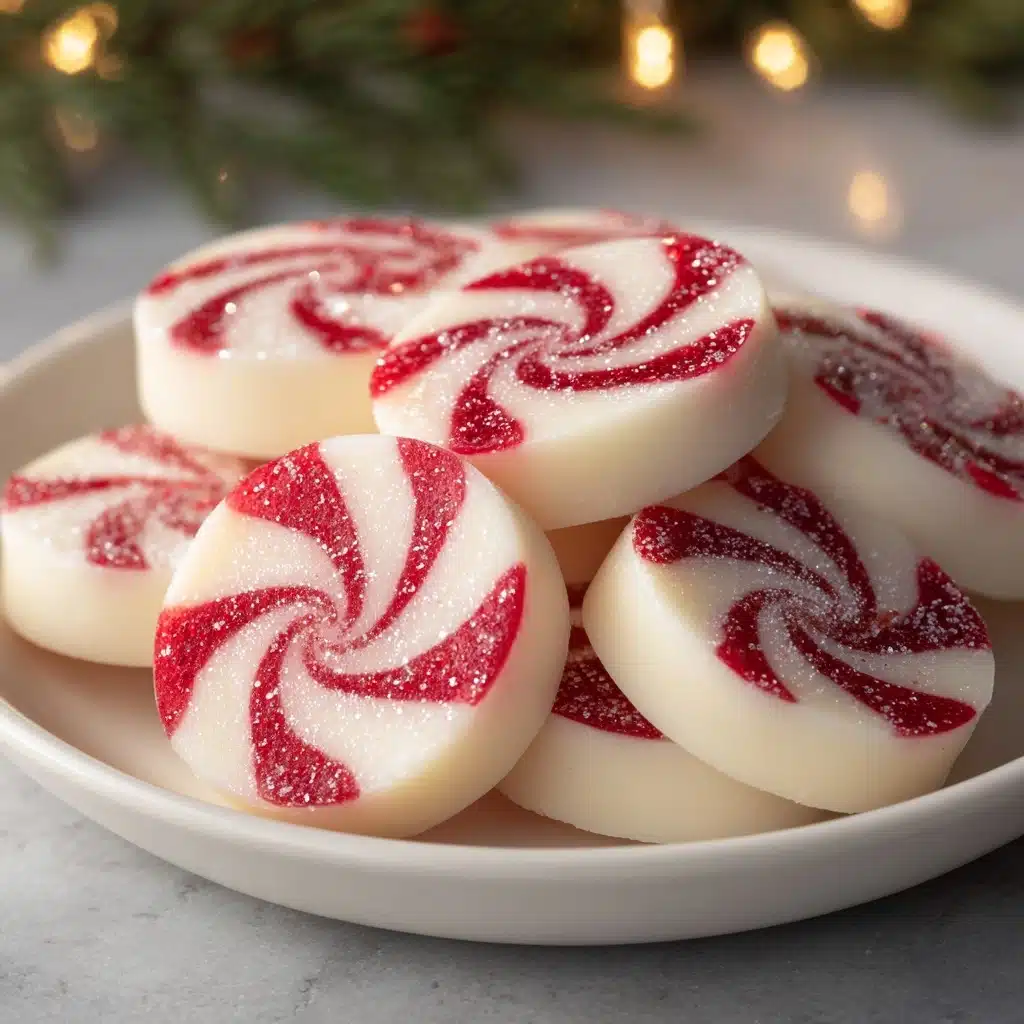
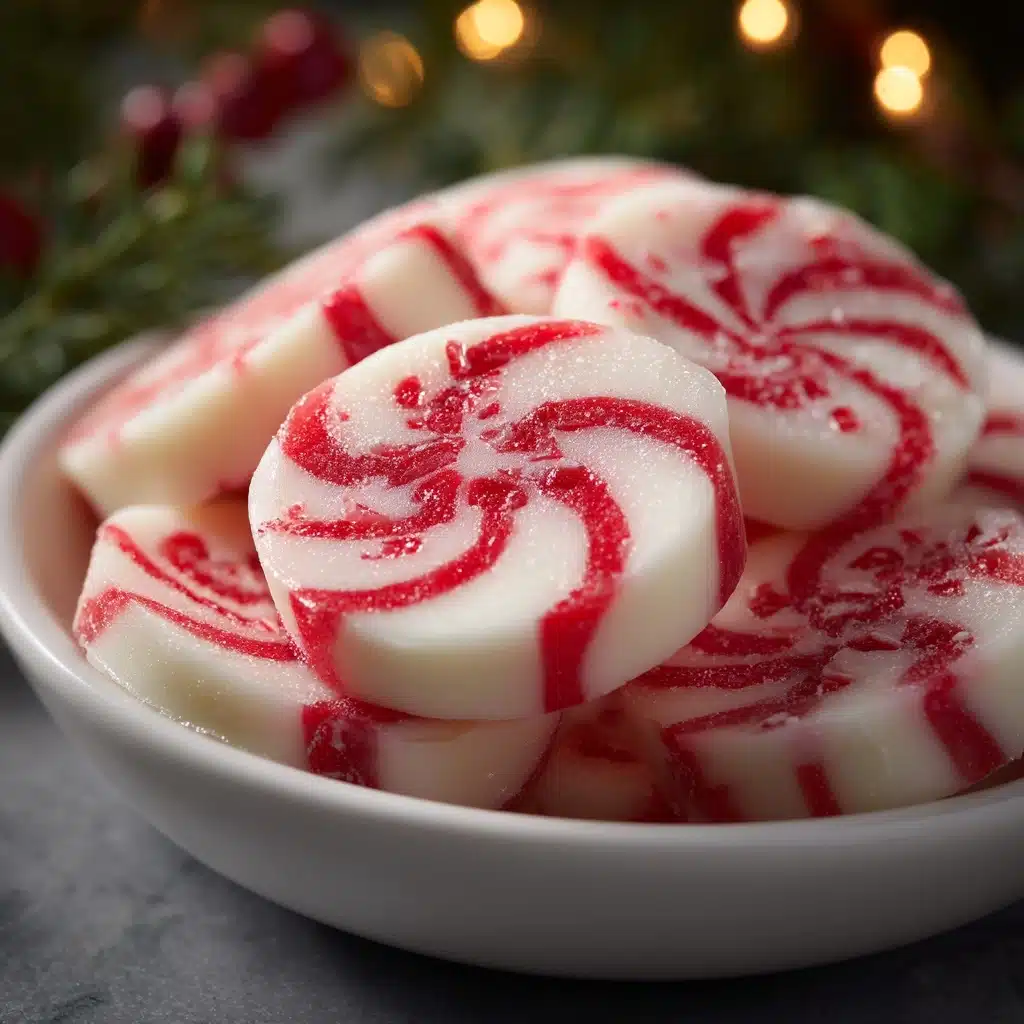
Soft Christmas Peppermints are little bites of holiday nostalgia—tender, creamy, and kissed with just the right amount of peppermint. Making these melt-in-your-mouth treats is a true Christmas tradition in my kitchen. Whether you’re filling goodie bags, tucking a few onto a festive cookie tray, or simply sneaking one after wrapping gifts, there’s simply nothing more magical than these homemade candies. They’re easy, adorable, and full of cheer for every sweet tooth at your celebration.
Ingredients You’ll Need
Gathering just a handful of ingredients is all it takes to create the irresistible texture and flavor of Soft Christmas Peppermints. Each element brings something special—creaminess, refreshing mint, and stunning jewel-tone color—to make these candies memorable.
- Powdered Sugar (4 cups): Forms the sweet, smooth structure and ensures the mints set up perfectly soft.
- Cream Cheese, softened (4 oz): Gives these mints their melt-in-your-mouth creaminess and subtle tang.
- Peppermint Extract (1/2 tsp): Adds that unmistakable refreshing zing—be sure to use pure extract for the best holiday flavor.
- Gel Food Coloring (red and green): For those vibrant, festive hues that pop on your dessert table and make every bite merry.
- Granulated Sugar (for rolling): Gives every mint a twinkly, sparkling finish and prevents sticking.
How to Make Soft Christmas Peppermints
Step 1: Beat the Cream Cheese
Start by placing the softened cream cheese in a large mixing bowl. With a hand mixer or stand mixer, beat the cream cheese until it’s completely smooth and lump-free. This silky base is what gives Soft Christmas Peppermints their beautiful, creamy texture later on.
Step 2: Add Peppermint Extract
Pour in the peppermint extract and give it another quick whip. You’ll notice that fragrant peppermint scent drifting up immediately—trust me, this step sets the holiday mood in your kitchen right away!
Step 3: Incorporate the Powdered Sugar
Now, gradually add the powdered sugar, one cup at a time, mixing well after each addition. As the last bit of sugar goes in, the mixture will become quite thick—this is exactly what you want. Once a stiff, workable dough forms, you’re ready for the next step.
Step 4: Color the Dough
Divide the dough into as many portions as you’d like colors (classic red, green, and white are always festive). Wearing gloves, knead a tiny dot of gel food coloring into each portion. The gel is intense—a little goes a long way! If you prefer, leave some mints white for a classic touch.
Step 5: Shape and Decorate
Pinch off small pieces of dough and roll them into 1/2-inch balls. For a traditional wreath look, gently press each ball with a fork, or use a mini mold or holiday cookie stamp for extra flair. Roll the shaped mints in granulated sugar to give them that sparkly finish. It’s almost impossible not to sneak a taste at this stage!
Step 6: Dry the Mints
Arrange all your Soft Christmas Peppermints on a parchment-lined baking sheet, making sure they aren’t touching. Let them air-dry at room temperature for at least 12 hours, or until they are firm to the touch. This helps them hold their shape while still staying soft and creamy inside.
How to Serve Soft Christmas Peppermints

Garnishes
For a bit of extra sparkle, try dusting your mints with a touch more granulated sugar just before serving. Top each with edible glitter or a tiny festive sprinkle for a show-stopping holiday look that will have everyone reaching for seconds.
Side Dishes
Soft Christmas Peppermints pair wonderfully with an array of Christmas cookies, biscotti, or buttery shortbread on a dessert platter. They’re also delightful alongside coffee, hot cocoa, or even served after a large holiday meal as a refreshing palate cleanser.
Creative Ways to Present
Package a handful of these bright mints in clear treat bags tied with decorative ribbon for the perfect edible gift. Arrange them in little candy cups for party favors, or stack red, green, and white mints in glass jars for a colorful centerpiece that doubles as a sweet snack station.
Make Ahead and Storage
Storing Leftovers
Keep any leftover Soft Christmas Peppermints in an airtight container at room temperature. They’ll stay perfectly fresh and soft for up to two weeks—ideal for prepping ahead during the busiest holiday stretch.
Freezing
If you want to get a head start on holiday candy-making, these mints freeze beautifully. Store them in a single layer between sheets of wax or parchment paper in an airtight container. When ready to serve, let them thaw at room temperature uncovered for about an hour to keep their signature softness.
Reheating
These mints are best enjoyed at room temperature, but if they seem too firm after freezing or chilling, simply let them sit out for a bit before eating. No microwave or oven needed—their soft texture will return in no time.
FAQs
Can I use liquid food coloring instead of gel?
It’s possible, but gel food coloring is highly recommended because it delivers vibrant color without thinning the dough. If using liquid, add cautiously to avoid a sticky mixture, and consider reducing by a drop or two at a time for the right consistency.
How do I prevent the dough from sticking to my hands?
If the dough feels sticky while shaping your Soft Christmas Peppermints, dust your hands lightly with powdered sugar. You can also chill the dough for 10-15 minutes before rolling for easier handling.
Can I make these mints in other flavors?
Absolutely! Swap the peppermint extract for other extracts like vanilla, almond, or even lemon for a twist. Just remember, some extracts are stronger than others, so always start with less and taste as you go.
Do the mints have to dry for a full 12 hours?
Drying for 12 hours ensures the mints hold their shape but remain soft inside. If you’re in a rush, check after 6-8 hours—depending on temperature and humidity, they may be ready a bit sooner, but they could be slightly softer and more delicate.
Are these safe to ship as gifts?
Soft Christmas Peppermints are perfect for gifting and mailing. Be sure they’re completely dry and place them in tins or sturdy containers with parchment between layers to keep them from sticking or getting crushed during transit.
Final Thoughts
If you’ve never tried making Soft Christmas Peppermints, I promise you’re in for a delightful treat! This simple, nostalgic recipe fills the holidays with homemade joy and a dose of colorful cheer. Gather your ingredients and share these sweet, pepperminty bites with everyone you love this season—trust me, they’ll be the treat that vanishes first from every candy dish!
Print
Soft Christmas Peppermints Recipe
- Prep Time: 30 minutes
- Cook Time: 0 minutes
- Total Time: 30 minutes (plus drying time)
- Yield: 60 mints
- Category: Candy
- Method: No-Bake
- Cuisine: American
- Diet: Vegetarian
Description
These Soft Christmas Peppermints are a delightful holiday treat that are easy to make and perfect for gifting. Creamy and minty, these homemade mints are sure to be a hit at any festive gathering.
Ingredients
Powdered Sugar:
4 cups;
Cream Cheese, softened:
4 oz;
Peppermint Extract:
1/2 tsp;
Gel Food Coloring (red and green):
as needed;
Granulated Sugar for Rolling:
as needed
Instructions
- Prepare the Dough: In a large mixing bowl, beat the softened cream cheese until smooth. Add peppermint extract and beat again. Gradually add powdered sugar, one cup at a time, mixing until a stiff dough forms.
- Tint and Shape: Divide the dough into portions and tint each with food coloring as desired. Roll small portions of dough into 1/2-inch balls, then press gently with a fork or shape with a small mold or cookie stamp.
- Coat and Dry: Roll the shaped mints in granulated sugar to coat. Place them on a parchment-lined baking sheet and let them air-dry at room temperature for at least 12 hours, or until firm to the touch.
- Store: Store the mints in an airtight container at room temperature for up to 2 weeks.
Notes
- Use gel food coloring for vibrant holiday colors without changing the dough consistency.
- You can skip coloring and keep them classic white.
- These make great edible gifts!


