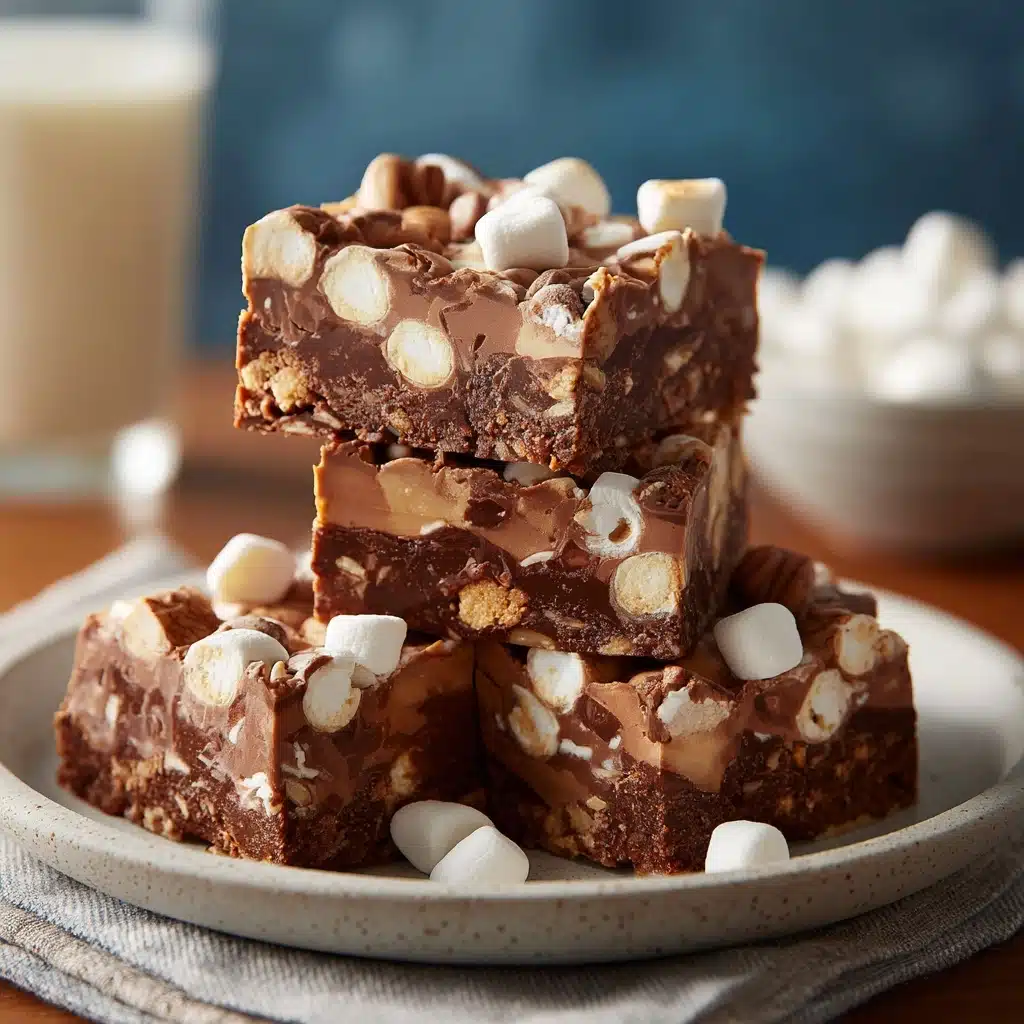
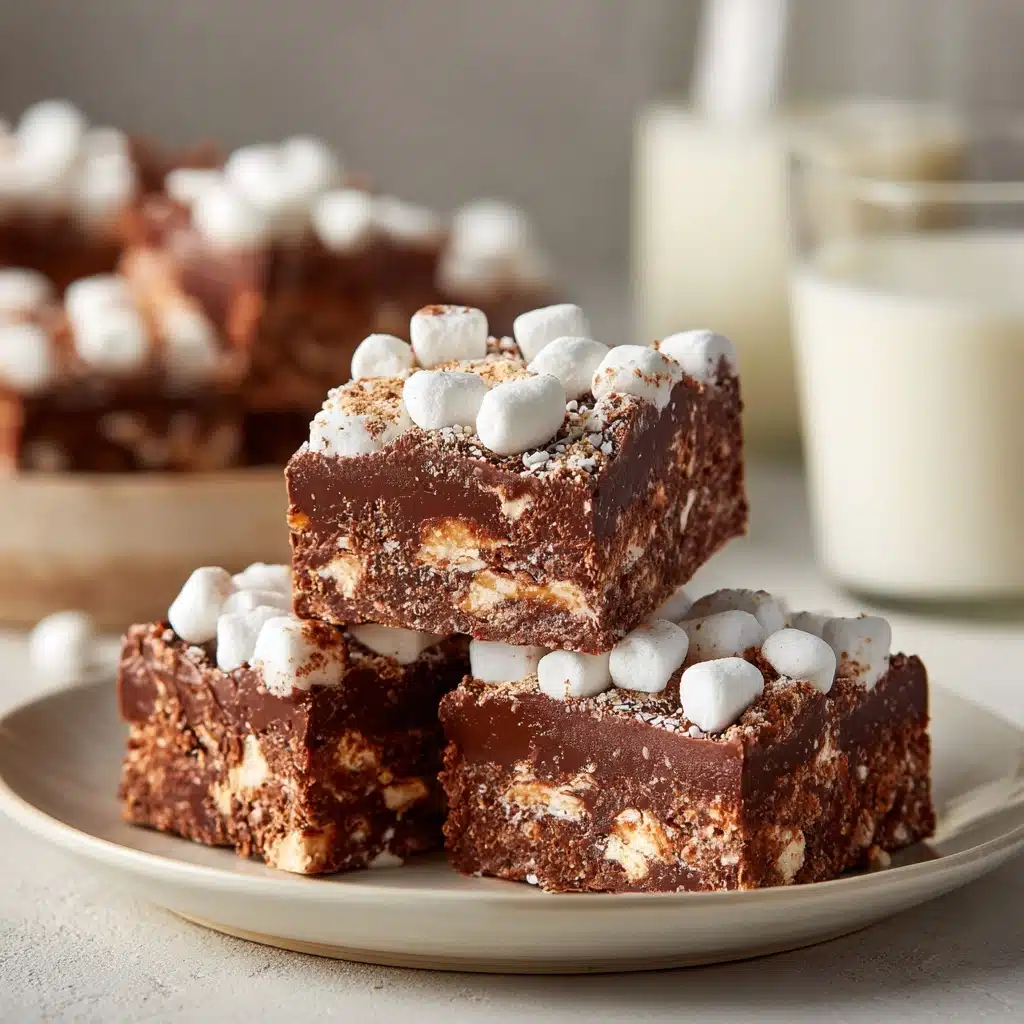
Imagine a treat so chocolatey, nutty, and delightfully chewy that every bite takes you back to your happiest childhood memories—those are exactly the vibes you get with No-Bake Rocky Road Squares. This easy, fuss-free dessert bursts with gooey marshmallows, rich chocolate, crunchy peanuts, and a whisper of butterscotch, all nestled together in every indulgent square. Whether you’re prepping for a party, potluck, or simply craving a homemade sweet fix without turning on the oven, No-Bake Rocky Road Squares are unmatched in taste, texture, and sheer nostalgic charm.
Ingredients You’ll Need
Ingredients You’ll Need
One of the best parts of making No-Bake Rocky Road Squares is how each simple ingredient brings its own unique flair—whether it’s creamy, crunchy, or sweet, together they create a dessert that’s as fun to eat as it is to make. Don’t skip or swap without care, as each plays a delicious role in this treat’s signature flavor!
- Mini Marshmallows: These soften into pillowy pockets as they mix in, creating that classic rocky road texture and look.
- Semi-Sweet Chocolate Chips: The backbone of the bars, lending decadent richness while balancing the sweetness of other add-ins.
- Butterscotch Chips: They add a subtle caramel undertone, making every bite even more irresistible.
- Creamy Peanut Butter: Smooth and salty, peanut butter ties all the flavors together and makes the base extra luscious.
- Chopped Roasted Peanuts: A must for crunch and a boost of nutty flavor—plus they’re perfect with both the chocolate and peanut butter.
- Crushed Graham Crackers or Digestive Biscuits: These bits give your squares structure and a little chew, so they slice and hold together perfectly.
How to Make No-Bake Rocky Road Squares
Step 1: Prep Your Pan
Start by lining a 9×13-inch baking dish with parchment paper. This simple step ensures your No-Bake Rocky Road Squares will lift out effortlessly later (and makes cleanup a breeze!). Leave some overhang so you can grab the edges and pull everything out in one piece.
Step 2: Make the Chocolate-Butterscotch Base
In a large saucepan over low heat, combine the semi-sweet chocolate chips, butterscotch chips, and creamy peanut butter. Stir constantly and patiently—you want a glossy, smooth mixture with no lumps. Let the mixture cool for about 3 to 5 minutes so you don’t accidentally melt your marshmallows in the next step.
Step 3: Add the Crunch
Stir in the crushed graham crackers (or digestive biscuits) and chopped roasted peanuts. Make sure every bit gets coated in that chocolatey goodness—this is what gives your squares their crave-worthy chew and nutty bite.
Step 4: Fold in Mini Marshmallows
Next, gently fold in your mini marshmallows. You want them evenly distributed without melting, so use a light hand and work quickly. The marshmallows will stand out as fun little pops of chewy sweetness in every bar.
Step 5: Press and Chill
Pour the mixture into your prepared pan. Use a spatula or the back of a spoon to press it into an even layer, but don’t squish it too tightly. This helps keep that wonderful rocky, melty texture. Pop the pan into the fridge and let it chill for at least 2 hours—or until everything is firm and beautifully set.
Step 6: Slice and Savor
Once set, lift the slab out of the pan using your parchment paper overhang. Place it on a board and use a sharp knife to cut your No-Bake Rocky Road Squares into generous pieces. Each square is a mini celebration of gooey, crunchy, chocolatey perfection!
How to Serve No-Bake Rocky Road Squares
Garnishes
For a showstopping finish, try dusting your No-Bake Rocky Road Squares with a sprinkle of powdered sugar, a handful of extra chopped peanuts, or even a drizzle of melted chocolate. A festive dash of colorful sprinkles or a handful of mini marshmallows on top can add a ton of visual appeal—especially for birthday parties!
Side Dishes
Pair these rich squares with a tall glass of cold milk, a creamy hot chocolate, or even a scoop of vanilla ice cream for the ultimate treat. The sweet and salty flavors also work wonderfully alongside a bowl of fresh berries or fruit salad, which offer a nice contrast and a pop of freshness.
Creative Ways to Present
Take your dessert game up a notch by cutting No-Bake Rocky Road Squares into fun shapes using cookie cutters—think stars, hearts, or whatever suits the occasion! Stack squares high on a rustic cake stand, tuck them into colorful cupcake liners, or even wrap them in parchment and tie with twine for adorable edible gifts.
Make Ahead and Storage
Storing Leftovers
No-Bake Rocky Road Squares keep beautifully in an airtight container in the fridge for up to a week. Just be sure to separate any stacked layers with parchment or wax paper to prevent sticking. They stay chewy and delicious, so you can make them ahead and snack all week.
Freezing
If you want to stock up or prep for upcoming festivities, freezing is your friend! Place the squares in a single layer on a baking sheet and freeze until solid, then transfer to a zip-top bag or container. They’ll last for up to 2 months this way. If you like them extra firm, enjoy straight from the freezer—otherwise, let them sit at room temperature for a few minutes before biting in.
Reheating
Reheating isn’t typically needed for No-Bake Rocky Road Squares, since they’re meant to be enjoyed chilled or at room temperature. If you prefer a slightly softer texture, leave them out for 10–15 minutes before serving. Resist microwaving, as this can melt the chocolate and ruin their classic texture.
FAQs
Can I use other nuts in No-Bake Rocky Road Squares?
Absolutely! Feel free to swap out roasted peanuts for walnuts, almonds, pecans, or even a mix of your favorites. Each brings a slightly different flavor and crunch, so have fun with it.
What’s the best way to crush the graham crackers or digestive biscuits?
Place them in a zip-top bag and use a rolling pin to gently crush them into small pieces. You want a mix of fine crumbs and slightly larger chunks—this keeps the bars interesting without getting too dense.
Can I add other mix-ins to No-Bake Rocky Road Squares?
Definitely! Try adding chopped dried fruit like cherries or apricots, shredded coconut, or even tiny pretzel bits for added crunch and flavor. Just don’t overload the mix, or the bars may not hold together as well.
How long do No-Bake Rocky Road Squares need to chill?
At least 2 hours in the fridge gives you firm, easy-to-slice squares. In a rush? Pop the pan in the freezer for 30–45 minutes. Just make sure they’ve set before cutting into squares.
Are No-Bake Rocky Road Squares gluten-free?
They can be! Just use gluten-free graham crackers or digestive biscuits. Double-check your mix-ins to ensure everything is gluten-free for a safe, scrumptious treat.
Final Thoughts
If you’re looking for an easy, crowd-pleasing dessert that’s equal parts fun and delicious, give these No-Bake Rocky Road Squares a try. They’re the kind of treat that’s impossible to stop at just one and guaranteed to make everyone smile. Happy snacking!
Print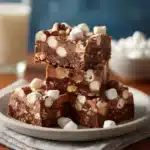
No-Bake Rocky Road Squares Recipe
- Prep Time: 10 minutes
- Cook Time: 5 minutes
- Total Time: 15 minutes (plus chilling)
- Yield: 24 squares
- Category: Dessert
- Method: No-Bake
- Cuisine: American
- Diet: Non-Vegetarian
Description
Indulge in these irresistible No-Bake Rocky Road Squares for a quick and easy treat that combines chocolate, peanut butter, marshmallows, and nuts in every bite.
Ingredients
For the Rocky Road Squares:
- 3 cups mini marshmallows
- 2 cups semi-sweet chocolate chips
- 1 cup butterscotch chips
- ½ cup creamy peanut butter
- 1 ½ cups chopped roasted peanuts
- 1 ½ cups crushed graham crackers or digestive biscuits
Instructions
- Prepare the Base: Line a 9×13-inch baking dish with parchment paper.
- Melt the Ingredients: In a large saucepan over low heat, melt the chocolate chips, butterscotch chips, and peanut butter together until smooth.
- Add Mix-Ins: Remove from heat, stir in crushed graham crackers and peanuts until coated. Fold in mini marshmallows.
- Chill and Serve: Spread mixture into the dish, refrigerate for 2 hours, then cut into squares and enjoy!
Notes
- You can customize with dried fruit or different nuts.
- Store leftovers in the fridge, or freeze for a firmer texture.

