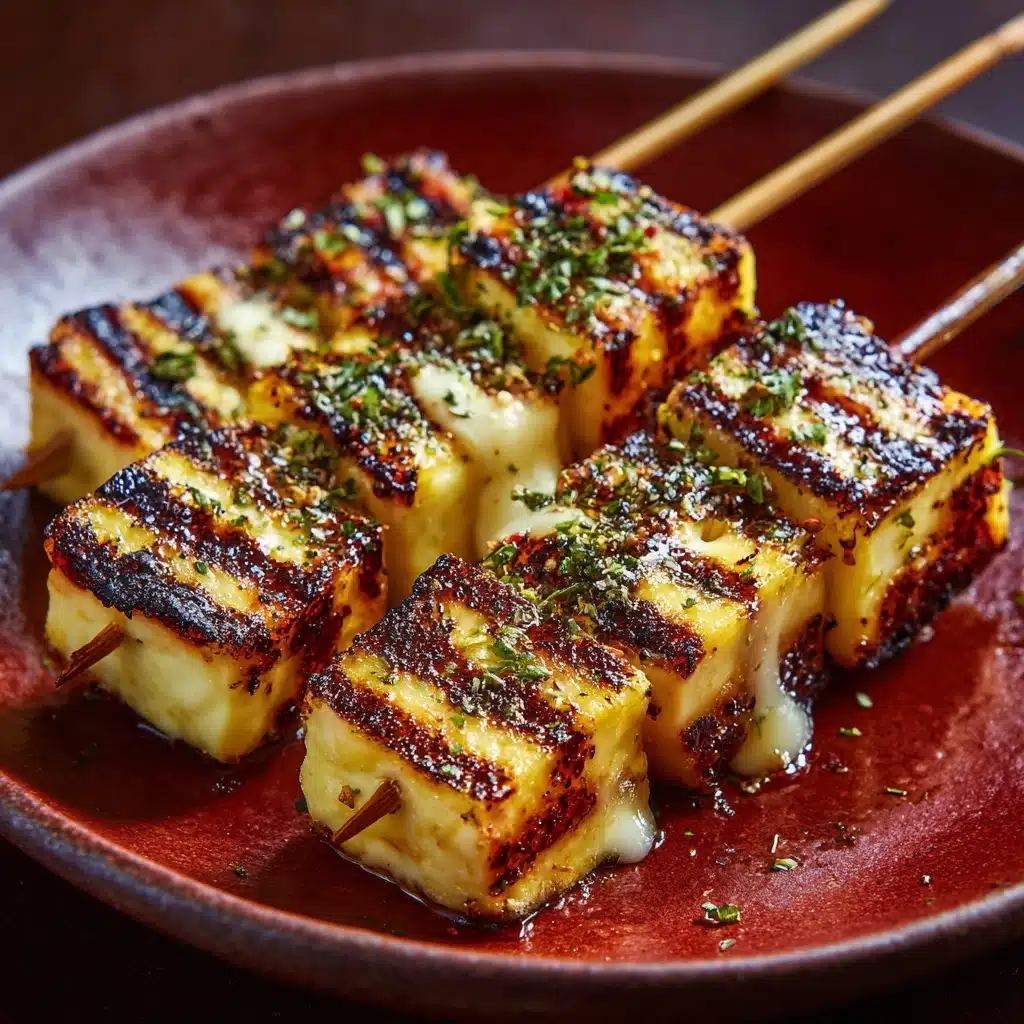
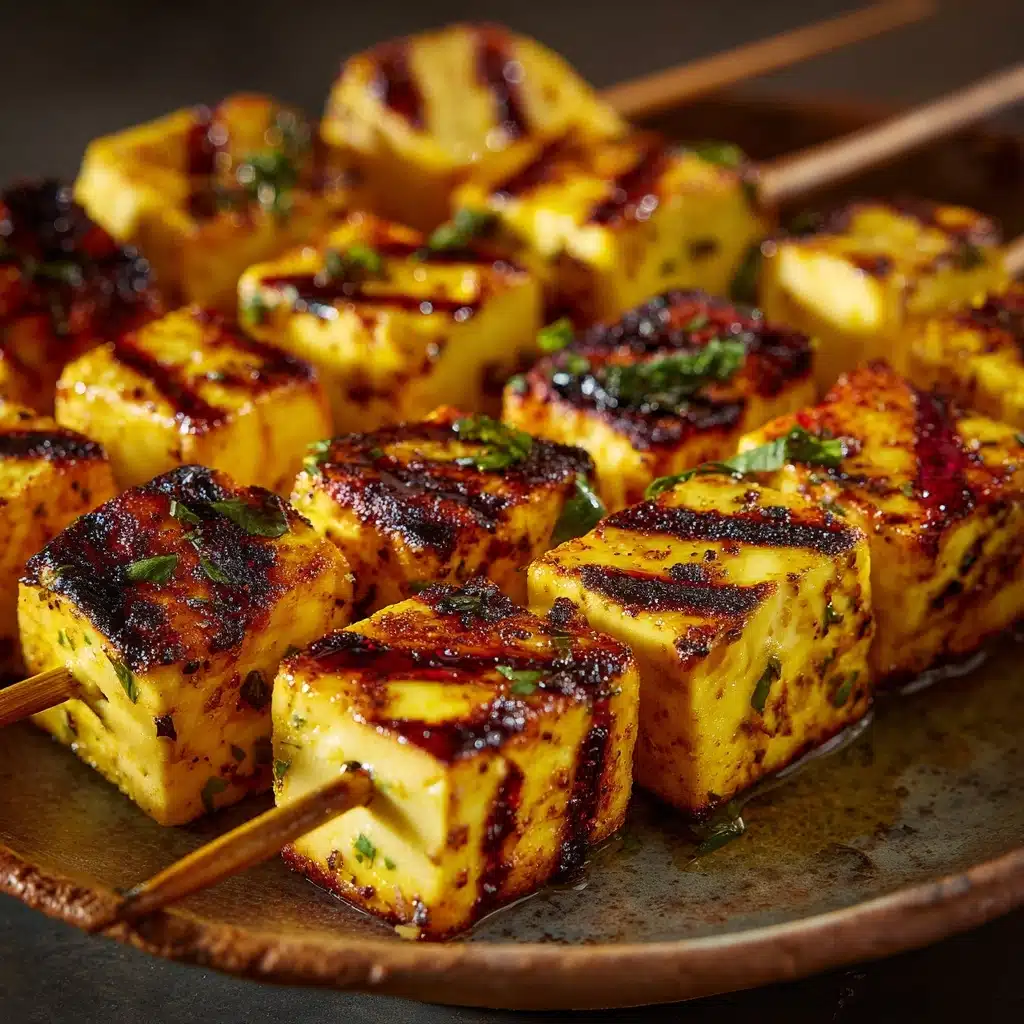
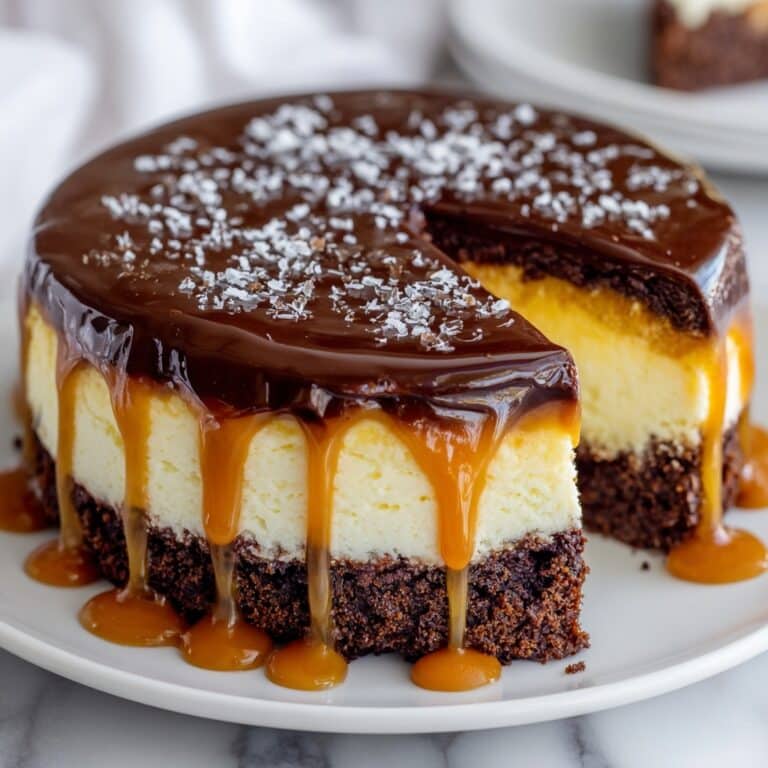
If you ever wished your favorite comfort food could transform into a shareable, party-ready treat, let me introduce you to Grilled Cheese Skewers. Cheesy, buttery, and crisp in every bite, these playful little creations take the essence of a classic grilled cheese sandwich and turn it into pure finger food magic. Perfect for gatherings, late-night snacks, or pairing with a bowl of soup, these Grilled Cheese Skewers capture everything we love about gooey cheese and crunchy bread, but with a fun twist that makes them irresistible to kids and grown-ups alike.
Ingredients You’ll Need
Part of the beauty of Grilled Cheese Skewers is how simple and flexible the ingredients are. Each one has a purpose: melty cheese for richness, soft bread for texture, and a little butter and oil for that signature golden finish. Feel free to put your own spin on the seasonings and cheese selection!
- 8 slices of bread, crusts removed: Classic white or whole wheat both work—removing the crusts gives each bite that perfect soft-on-the-inside, crisp-on-the-outside texture.
- 4 slices of cheddar cheese (or cheese of choice): Cheddar melts beautifully, but mozzarella, pepper jack, or Swiss are all delicious swap-ins for different flavors.
- 2 tablespoons melted butter: Brushing the sandwiches with butter is the secret to a crisp, golden exterior.
- 1 tablespoon olive oil: A little olive oil adds depth and helps prevent sticking when grilling.
- Optional: garlic powder, Italian seasoning, or chopped fresh herbs: Sprinkle over the skewers for a burst of flavor—try rosemary or parsley for a fresh touch!
- Wooden skewers: These hold your sandwich cubes together and make serving and dipping a breeze.
How to Make Grilled Cheese Skewers
Step 1: Build the Cheese Sandwiches
Start by laying out your bread slices and nestling half a slice of cheese between each pair to form four sandwiches. Press them together gently so they hold their shape. Don’t worry if the cheese sticks out a bit—it’ll get extra melty and delicious.
Step 2: Flatten and Cut
Take a rolling pin and lightly roll each sandwich until it’s about half its original height. Flattening helps the bread toast up evenly and makes it easier to thread onto the skewers. Next, cut each sandwich into four equal squares—these bite-sized pieces are what make Grilled Cheese Skewers so fun to eat.
Step 3: Thread onto Skewers
Carefully thread three or four sandwich squares onto each wooden skewer, making sure the bread holds together and nothing falls apart. If you’re using shorter skewers, two or three cubes are plenty. This is where you can get creative and alternate with ham or tomato for extra flair!
Step 4: Add Buttery Goodness
Brush every side of the sandwich cubes with melted butter and olive oil. Get into the nooks and crannies to ensure maximum golden crunch! Sprinkle your favorite seasonings, if you’re using them—this really elevates the flavor of your Grilled Cheese Skewers.
Step 5: Grill Until Golden
Preheat a grill pan or skillet over medium heat. Once it’s hot, carefully lay down the skewers. Grill for 2 to 3 minutes per side, turning so all the edges get beautifully toasted and the cheese inside is irresistibly gooey. A little patience here will reward you with perfect results!
How to Serve Grilled Cheese Skewers
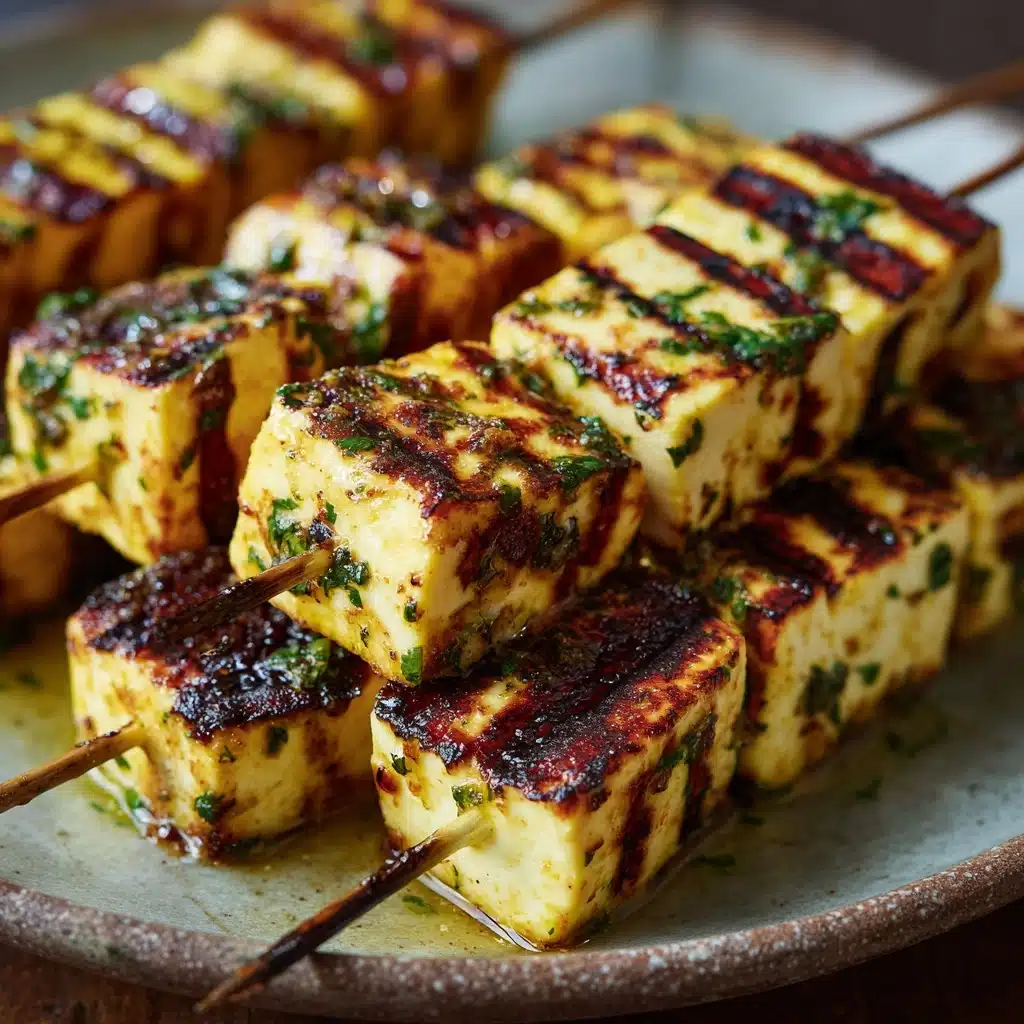
Garnishes
Top your Grilled Cheese Skewers with a sprinkle of freshly chopped herbs like parsley, or a dusting of grated Parmesan for a savory finish. You can even add a dash of smoked paprika or chili flakes for a hit of color and subtle heat. Presentation is half the fun, so make it pop with a colorful garnish!
Side Dishes
These skewers were made for dipping! Serve alongside tomato soup, marinara, or even cool ranch dressing. For a snack platter, pair with crunchy pickles, olives, or a simple green salad to balance the richness. They’re also perfect next to roasted veggies or a cup of creamy soup for a comforting meal.
Creative Ways to Present
Arrange your Grilled Cheese Skewers in a basket lined with parchment for rustic charm, or stand the skewers upright in a mason jar for a playful display. For parties, set up a DIY dipping station with several sauces and toppings. They look just as great fanned out on a platter, ready for grabbing and dunking!
Make Ahead and Storage
Storing Leftovers
If you find yourself with leftover Grilled Cheese Skewers (which rarely happens!), let them cool to room temperature first. Wrap them in foil or store them in an airtight container in the refrigerator for up to two days. The texture is best the day they’re made, but they do reheat surprisingly well!
Freezing
You can freeze uncooked, assembled skewers for up to a month; just wrap tightly in plastic wrap and place in a freezer bag. When you’re ready to enjoy, thaw in the fridge overnight before grilling. Already grilled leftovers can be frozen, but note the bread may lose a bit of its crispness upon reheating.
Reheating
To bring leftover skewers back to life, pop them in a toaster oven or oven at 350°F for about 5 minutes until hot and crisped up. Avoid microwaving if possible, as it tends to make the bread soft. If needed, a quick stint in a hot skillet will refresh that golden crunch!
FAQs
Can I use different types of bread for Grilled Cheese Skewers?
Absolutely! While classic white bread is traditional, whole wheat, sourdough, or even gluten-free loaves all work. The key is to remove the crusts and use a bread with a tight crumb, so each bite holds together on the skewer.
What other cheeses work well for Grilled Cheese Skewers?
You can use almost any melting cheese you love! Mozzarella, Swiss, pepper jack, provolone, and gouda all bring unique flavors. Experiment to find your favorite combination, or mix two cheeses together for extra gooeyness.
Can I add proteins or veggies inside?
Definitely! Add thin slices of ham, turkey, or even tomato inside the sandwiches before rolling and skewering. Just keep fillings thin so everything melts together easily and stays bite-sized.
How do I keep the bread from sticking to the pan?
Brushing all sides with the butter and olive oil combo helps prevent sticking. Also, make sure your grill pan or skillet is well-heated and nonstick or lightly greased before adding the skewers. Turning the skewers gently with tongs helps toast all sides without tearing.
Are Grilled Cheese Skewers good for making ahead for parties?
Yes! You can assemble the sandwiches and even thread them onto skewers a few hours ahead. Cover and refrigerate until ready to grill. That way, you can spend more time with guests and less time at the stove.
Final Thoughts
Grilled Cheese Skewers might just be the ultimate crowd-pleaser. There’s something so satisfying about reinventing a beloved classic in such a fun, dippable way! Whether you’re feeding a group or simply craving a cozy snack, give these Grilled Cheese Skewers a try—you’ll be amazed how quickly they disappear!
Print
Grilled Cheese Skewers Recipe
- Prep Time: 10 minutes
- Cook Time: 10 minutes
- Total Time: 20 minutes
- Yield: 4 servings
- Category: Appetizer
- Method: Grilling
- Cuisine: American
- Diet: Vegetarian
Description
These Grilled Cheese Skewers are a fun twist on the classic grilled cheese sandwich, perfect for parties or as a tasty appetizer. Cheese-filled bread squares are skewered, grilled to golden perfection, and served with your favorite dipping sauces.
Ingredients
Bread Squares:
- 8 slices of bread, crusts removed
Cheese Filling:
- 4 slices of cheddar cheese (or cheese of choice)
Additional:
- 2 tablespoons melted butter
- 1 tablespoon olive oil
- Optional: garlic powder, Italian seasoning, or chopped fresh herbs for extra flavor
- Wooden skewers
Instructions
- Prepare Bread Squares: Make sandwiches with bread and cheese slices, flatten with a rolling pin, and cut into squares.
- Skewer Assembly: Thread the sandwich squares onto skewers.
- Grilling: Brush skewers with butter and oil, season if desired, then grill until golden and cheese is melted.
- Serve: Enjoy warm with dipping sauces like tomato soup, marinara, or ranch.
Notes
- Experiment with different cheeses and add-ons like ham or turkey.
- Prepare ahead by assembling skewers and refrigerating before grilling.

