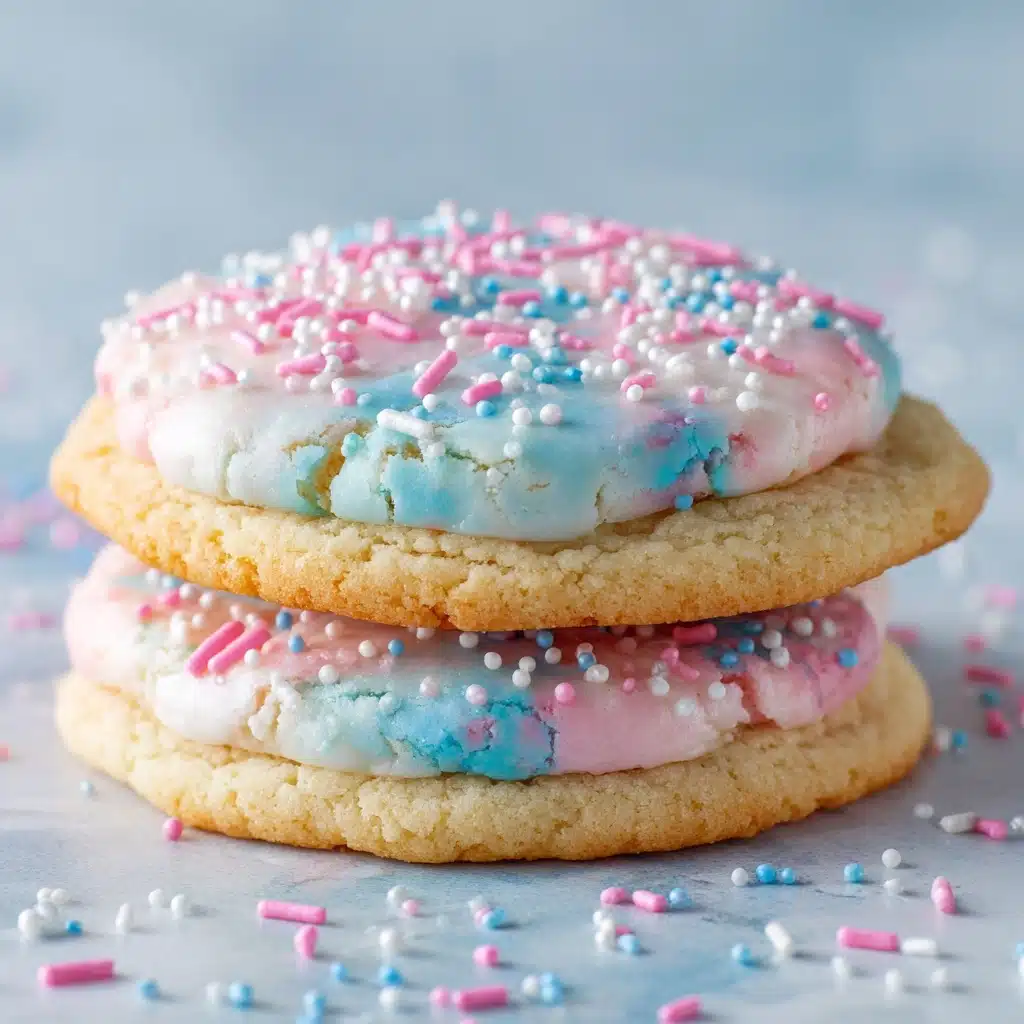
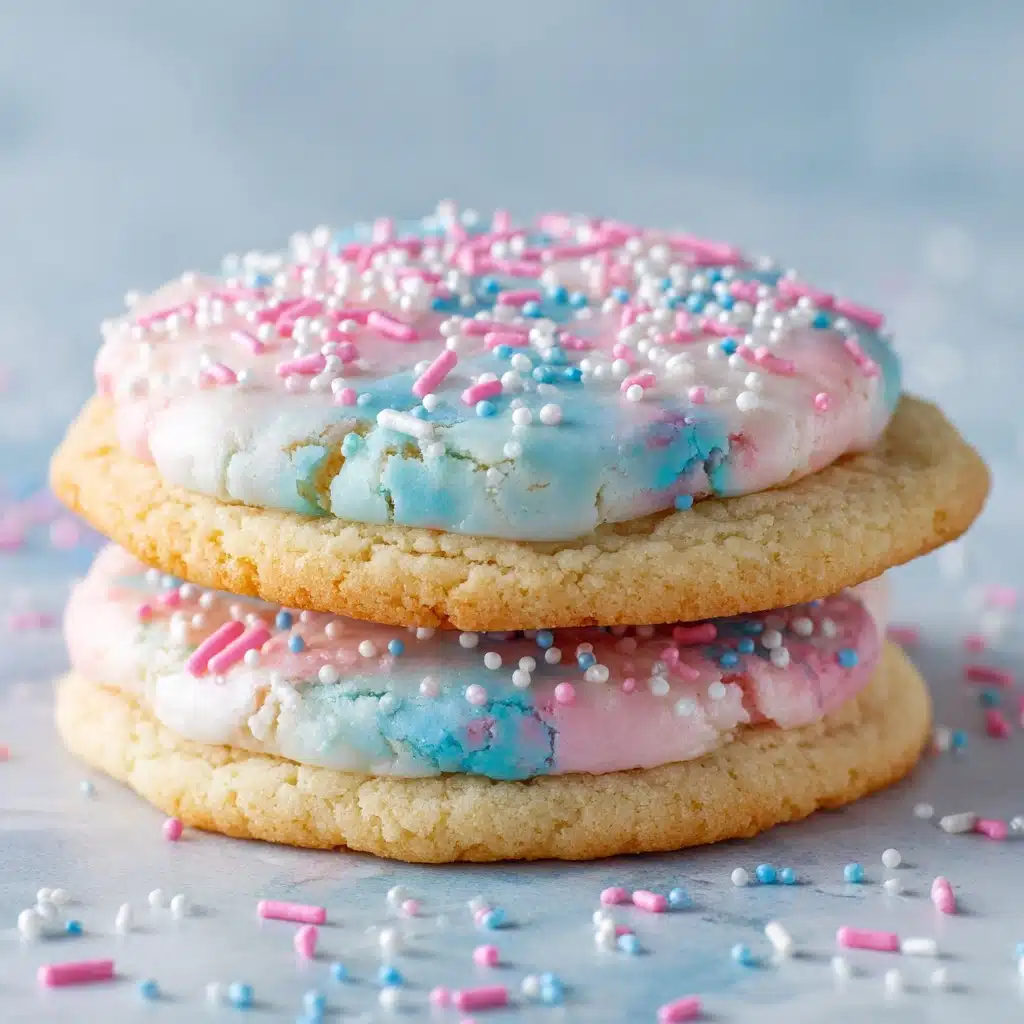
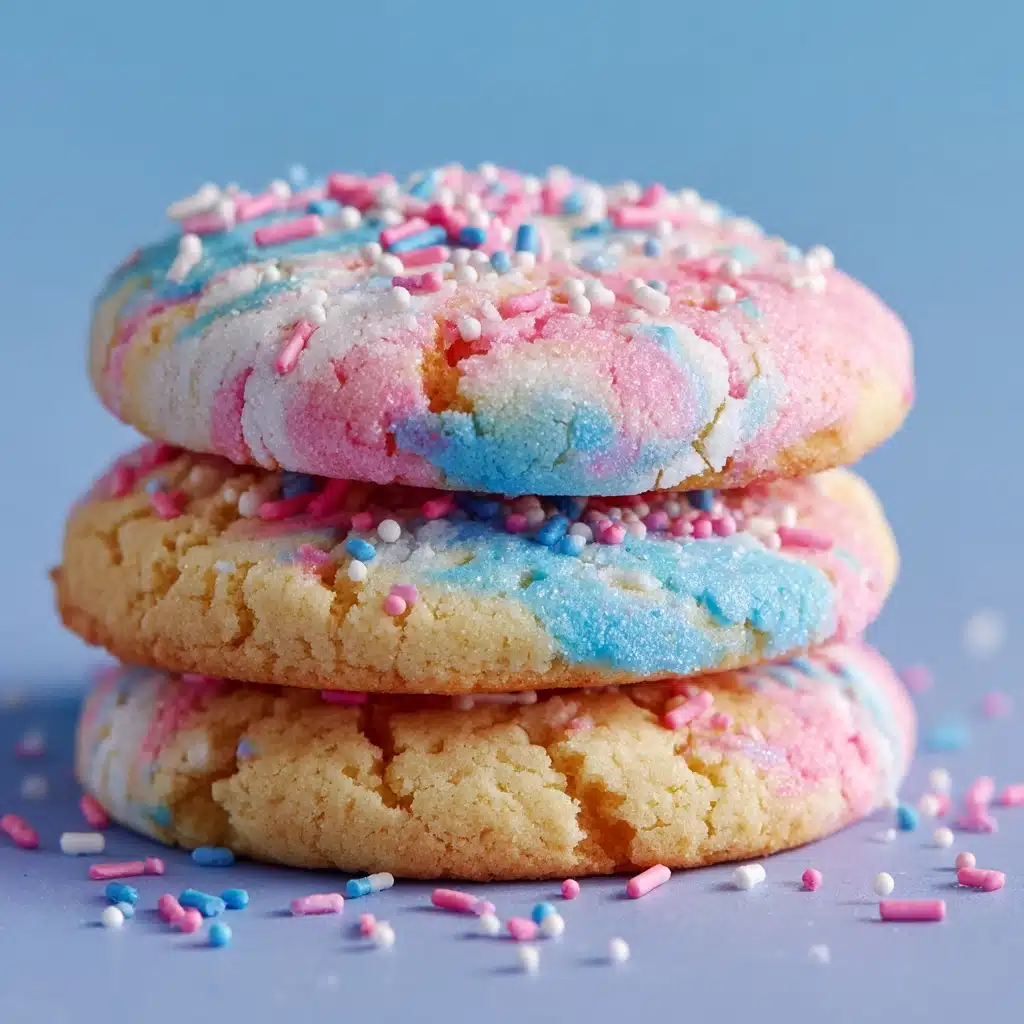
Get ready for a burst of sweet nostalgia with these playful Cotton Candy Cookies! With their soft, buttery texture and swirling hues of pink and blue, every bite will send you straight back to the fairgrounds. The secret twist? A hint of cotton candy flavoring that turns a classic sugar cookie into a whimsical treat perfect for parties, birthdays, or whenever you want to make life extra colorful. The magic lies not just in their appearance but in the airy, sweet aroma and flavor that makes them truly irresistible—your inner child will be delighted!
Ingredients You’ll Need
These delightful Cotton Candy Cookies only require a handful of simple ingredients, yet each one plays a crucial role in creating the cookie’s soft chew, signature color, and unmistakable flavor. Gather these kitchen staples and a couple of special extras, and you’re just steps away from cookie bliss!
- All-purpose flour: The foundation for the perfect soft cookie, giving just the right amount of structure without making them cakey.
- Baking soda: Ensures the cookies puff up slightly, adding to their soft and tender texture.
- Salt: Balances out the sweetness and enhances all the other flavors.
- Unsalted butter (softened): Adds richness and the classic buttery taste that makes these cookies so irresistible.
- Granulated sugar: Gives sweetness and contributes to the cookies’ light, airy crumb.
- Light brown sugar (packed): Infuses a hint of caramel flavor and helps keep the cookies moist and soft.
- Large egg: Binds everything together and adds a touch of extra moisture.
- Vanilla extract: Rounds out the flavor and brings a comforting warmth to each bite.
- Cotton candy flavoring: The star ingredient that gives these cookies their whimsical twist! Adjust to taste for a stronger carnival flavor.
- Pink and blue gel food coloring: Swirl these in for that iconic marbled cotton candy look—so cheerful and fun.
- White chocolate chips or sprinkles (optional): Stir them in for extra bursts of sweetness and playful texture.
How to Make Cotton Candy Cookies
Step 1: Prep Your Oven and Baking Sheet
Start by preheating your oven to 350°F (175°C). Line a baking sheet with parchment paper so your cookies release effortlessly and hold their shape—no sticking, no stress!
Step 2: Combine the Dry Ingredients
In a medium mixing bowl, whisk together the flour, baking soda, and salt. This ensures that your leavening and seasoning are evenly distributed, setting the stage for perfectly tender cookies.
Step 3: Cream the Butter and Sugars
In a large bowl, beat together the softened butter, granulated sugar, and brown sugar for 2–3 minutes, until the mixture is super light and fluffy. This step adds air for that cloudlike texture and promises the cookies won’t be dense.
Step 4: Add the Egg, Vanilla, and Cotton Candy Flavoring
Mix in the egg, vanilla extract, and cotton candy flavoring until fully incorporated. This is where that magical, nostalgic flavor starts to appear—don’t be afraid to take a tiny taste to see if it’s sweet enough for you.
Step 5: Combine Dry and Wet Ingredients
Gradually add your dry ingredients to the wet mixture, mixing just until you see no more flour. Be careful not to overmix—gentle handling keeps these cookies ultra-soft.
Step 6: Add Color and Swirl
Split your dough evenly between two bowls. Add pink gel food coloring to one and blue to the other, gently mixing until evenly tinted. For that gorgeous marbled effect, carefully swirl the two doughs together with a spatula. Avoid over-blending so you keep those dramatic swirls!
Step 7: Add Mix-ins (Optional)
Fold in the white chocolate chips or sprinkles if you like—this amps up the fun and adds delightful bursts of sweetness in every bite.
Step 8: Scoop and Bake
Scoop tablespoon-sized mounds of dough onto your prepared baking sheet, spacing them about 2 inches apart. Bake for 9–11 minutes, just until the edges are set but the centers are still soft. Let them cool on the baking sheet for 5 minutes before transferring to a wire rack to finish cooling completely.
How to Serve Cotton Candy Cookies

Garnishes
For an extra playful finishing touch, sprinkle the freshly baked cookies with edible glitter, more rainbow sprinkles, or even a dusting of cotton candy flavored sugar! The sparkly details make these cookies pop at parties, and the added crunch is always a welcome surprise.
Side Dishes
Pair your Cotton Candy Cookies with an ice-cold glass of milk or a frothy vanilla milkshake for the ultimate treat. If you’re serving them at a party, create a pastel dessert board with marshmallows, white chocolate bark, and fruit for a whimsical spread everyone will adore.
Creative Ways to Present
Display these beauties in clear treat bags tied with pastel ribbon for adorable party favors, or stack them high on a cake stand surrounded by tufts of real cotton candy. For a show-stopping kids’ birthday, arrange them in a rainbow cookie bouquet—pure edible fun!
Make Ahead and Storage
Storing Leftovers
Cotton Candy Cookies stay wonderfully soft and chewy for several days if stored in an airtight container at room temperature. Make sure cookies are fully cooled before transferring to prevent any excess moisture. For best taste and texture, enjoy within four days—if they last that long!
Freezing
You can freeze both the unbaked dough and the finished cookies! Shape the dough into balls, flash-freeze on a baking sheet, then store in a freezer-safe bag for up to two months. To freeze baked cookies, let them cool completely, then pop them into a zip-top bag and freeze for up to three months.
Reheating
To refresh your frozen Cotton Candy Cookies, let them thaw at room temperature, then warm in a 300°F oven for about 3 minutes. This softens them right up and brings back that just-baked magic without drying them out.
FAQs
Where can I find cotton candy flavoring?
Cotton candy flavoring is readily available online and at specialty baking shops. Sometimes, you’ll find it in the cake decorating section of larger craft stores as well. Don’t be afraid to stock up—it’s amazing in frostings and drinks too!
Can I use liquid food coloring instead of gel?
For the most vibrant color with minimal added moisture, gel food coloring works best. If you only have liquid food coloring, use sparingly so the dough doesn’t get too wet, which might affect the texture.
Are Cotton Candy Cookies safe for kids with allergies?
These cookies do contain eggs, dairy, and wheat. If you have allergy needs, try substituting with your favorite plant-based butter, an egg replacer, or gluten-free flour. Always double-check your cotton candy flavoring for potential allergens.
Why did my cookies turn out flat?
Usually, flat cookies mean the dough was too warm or the butter was over-softened. Try chilling your cookie dough for 20–30 minutes before baking if your kitchen is especially warm—this helps the cookies hold their shape better in the oven.
Can I double the recipe for a larger batch?
Absolutely! Cotton Candy Cookies scale up beautifully. Just be sure to mix the dough evenly, and consider using two baking sheets so the cookies have space to spread nicely.
Final Thoughts
Don’t wait for the next carnival or fair—bring that sweet, joyful spirit right into your own kitchen with homemade Cotton Candy Cookies. Let the bright colors and nostalgic aroma fill your home and share these whimsical treats with all your favorite people. You’re just a swirl away from pure cookie magic!
Print
Cotton Candy Cookies Recipe
- Prep Time: 20 minutes
- Cook Time: 10 minutes
- Total Time: 30 minutes
- Yield: 24 cookies
- Category: Dessert
- Method: Baking
- Cuisine: American
- Diet: Vegetarian
Description
These delightful Cotton Candy Cookies are a whimsical treat that captures the fun and nostalgia of cotton candy. With a swirl of pink and blue, these soft, marbled cookies are perfect for any occasion.
Ingredients
Dry Ingredients:
- 2 1/4 cups all-purpose flour
- 1/2 teaspoon baking soda
- 1/2 teaspoon salt
Wet Ingredients:
- 3/4 cup unsalted butter (softened)
- 3/4 cup granulated sugar
- 1/2 cup packed light brown sugar
- 1 large egg
- 2 teaspoons vanilla extract
- 1/2 teaspoon cotton candy flavoring
Optional:
- pink and blue gel food coloring
- 1/2 cup white chocolate chips or sprinkles
Instructions
- Preheat and Prepare: Preheat the oven to 350°F (175°C) and line a baking sheet with parchment paper.
- Mix Dry Ingredients: Whisk together the flour, baking soda, and salt in a medium bowl.
- Cream Butter and Sugars: Beat butter, granulated sugar, and brown sugar until light and fluffy.
- Add Wet Ingredients: Mix in the egg, vanilla extract, and cotton candy flavoring until well combined.
- Combine and Color: Gradually add dry ingredients to wet mixture. Divide dough, color one half pink and the other blue.
- Create Marbled Effect: Gently swirl the colored doughs together to create a marbled effect. Fold in white chocolate chips or sprinkles if desired.
- Bake: Scoop dough onto baking sheet and bake for 9–11 minutes until edges are set. Cool on sheet before transferring to a wire rack to cool completely.
Notes
- Cotton candy flavoring can be found online or in specialty baking stores.
- For a stronger flavor, add an extra 1/4 teaspoon of cotton candy flavoring to taste.
- Store cookies in an airtight container to maintain their soft texture.


