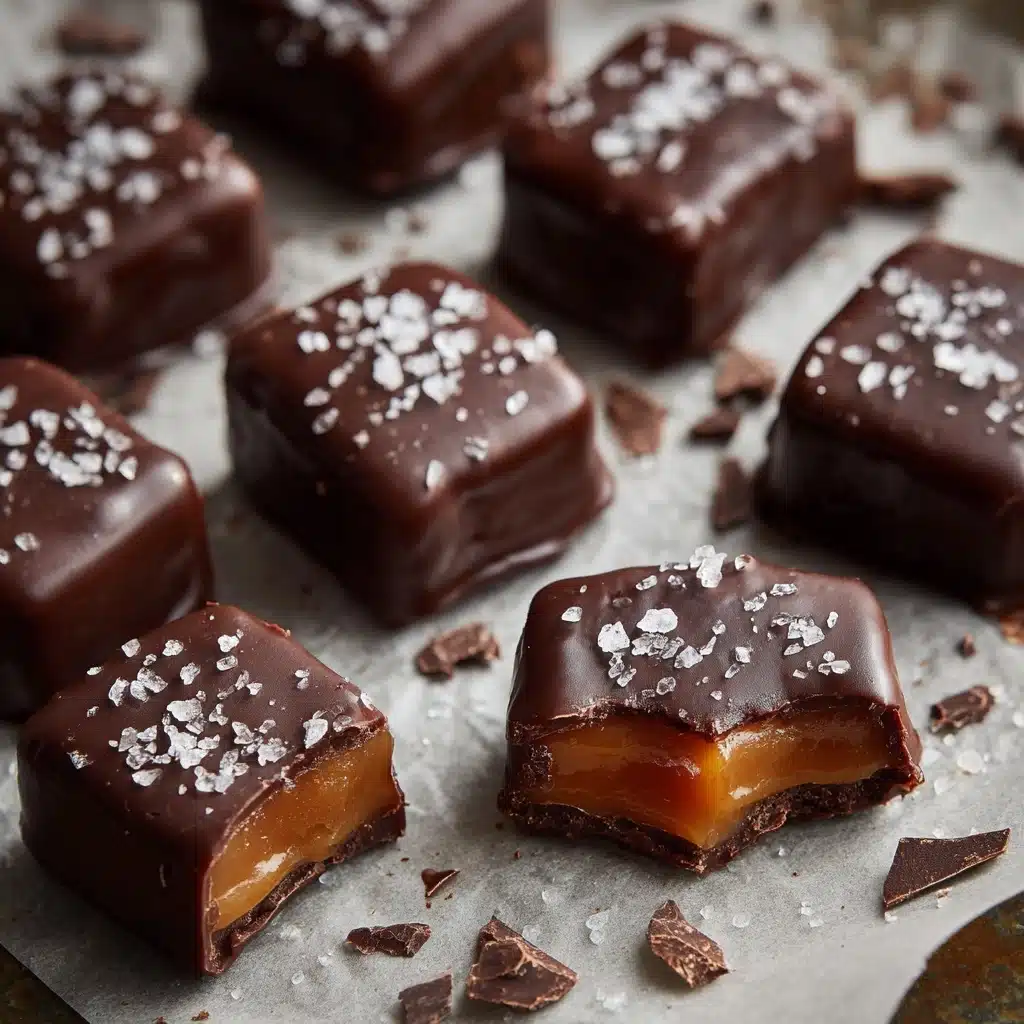
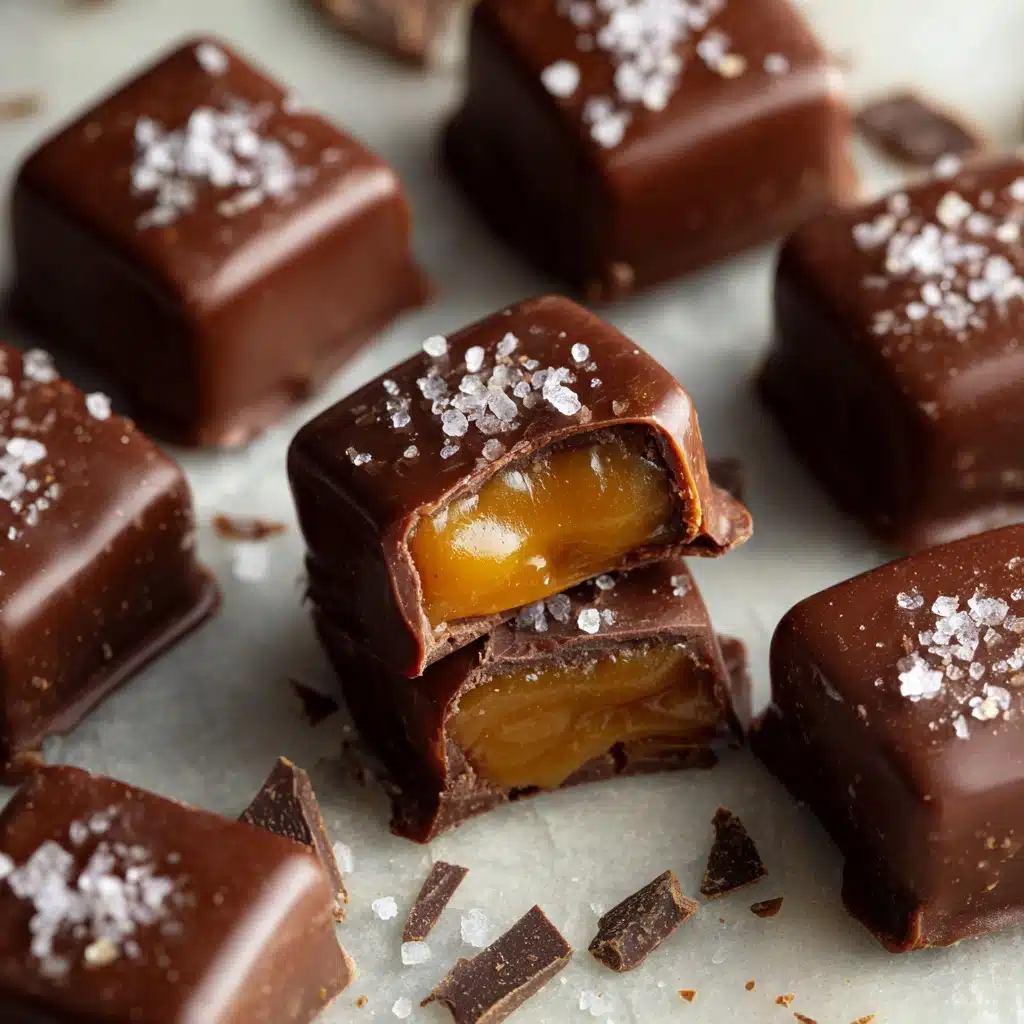
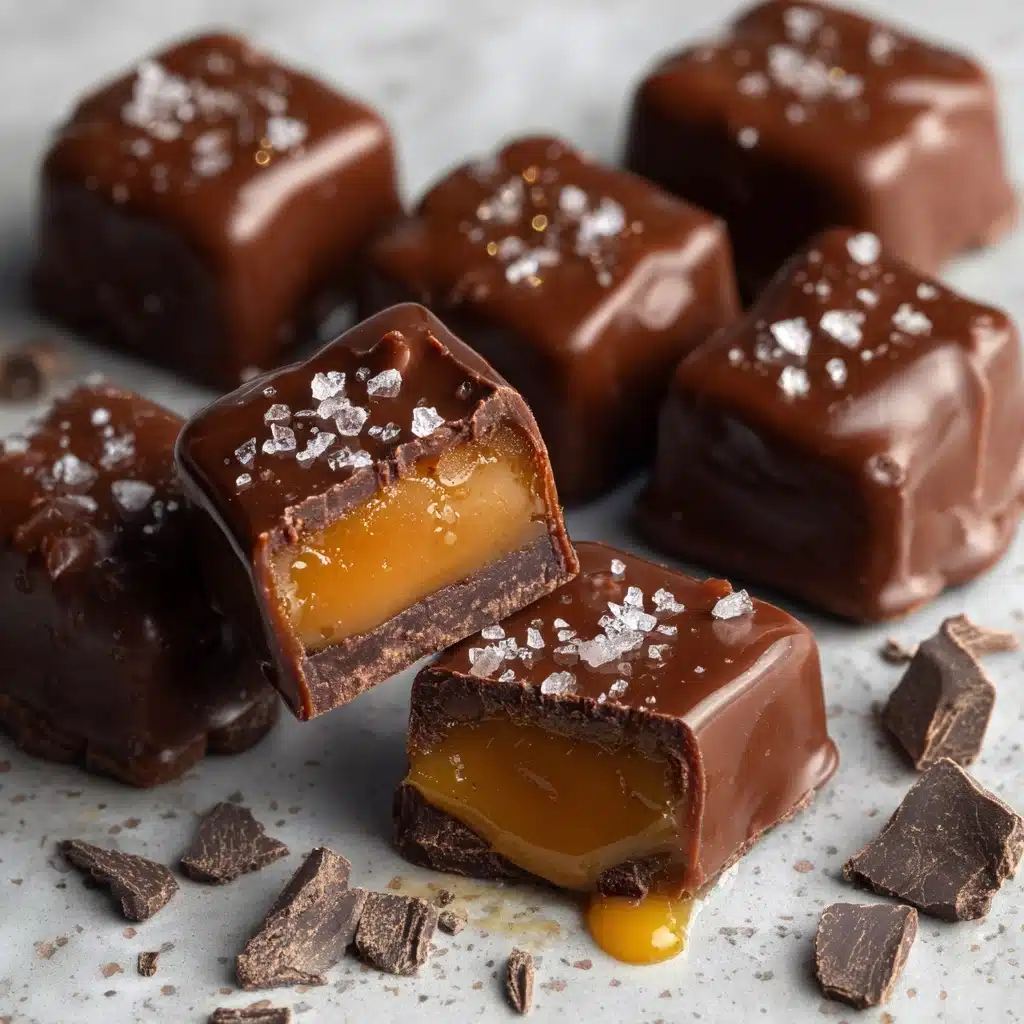
Irresistibly chewy, rich, and chocolaty, Homemade Chocolate Caramels are the kind of treat you make once and crave forever. These delightful little squares of bliss combine the buttery, caramel goodness we all love with a deep cocoa flavor that makes every bite feel like a special event. Whether you’re gifting, sharing, or sneaking one for yourself after dinner, homemade chocolate caramels are a true labor of love that deliver big on both nostalgia and wow-factor.
Ingredients You’ll Need
One of the best things about these Homemade Chocolate Caramels is how they transform a handful of pantry staples into a spectacular treat. Each ingredient here plays a starring role, from building the chewy, melt-in-your-mouth caramel base to lending that unforgettable chocolate depth and glossy finish.
- Unsalted Butter: The foundation of a perfect caramel, giving each piece a silky, rich texture.
- Packed Brown Sugar: Adds wonderful molasses notes and helps the caramels stay perfectly chewy and flavorful.
- Light Corn Syrup: Essential for smooth, crystal-free caramels with just the right stretchiness.
- Sweetened Condensed Milk: Brings extra creaminess and sweetness, ensuring a fudgy mouthfeel.
- Unsweetened Cocoa Powder (sifted): The magic behind the chocolatey flavor—don’t skip the sifting for a totally smooth finish!
- Salt: Just a touch to balance all that sweetness and highlight the cocoa notes.
- Vanilla Extract: Stirred in at the end, this rounds out the flavors for a warm, cozy finish.
How to Make Homemade Chocolate Caramels
Step 1: Prepare Your Pan
Start by lining an 8×8-inch baking dish with parchment paper and lightly greasing it. This step ensures your caramels will lift out smoothly once set, making slicing and sharing totally fuss-free.
Step 2: Melt the Butter
In a large, heavy-bottomed saucepan, melt the unsalted butter over medium heat. Be sure to use a sturdy pan—caramel needs even heating and plenty of room to bubble up as it cooks.
Step 3: Build the Caramel Base
Add the packed brown sugar, light corn syrup, and thick, sweetened condensed milk to your melted butter. Stir constantly with a heatproof spatula or wooden spoon, blending until everything is smooth and glossy.
Step 4: Add the Rich Chocolate
Sift in your unsweetened cocoa powder and toss in the salt. Stir until all those chocolatey swirls completely disappear, leaving you with a velvety, dark caramel mixture.
Step 5: Cook to Perfection
Continue to cook over medium heat, stirring frequently, until the mixture reaches 245°F on a candy thermometer (this is the magic “firm ball” stage for chewy caramels). Staying attentive here pays off with a perfect, non-grainy texture.
Step 6: Add Vanilla and Pour
Once off the heat, quickly mix in the vanilla extract—it’ll sizzle up and smell heavenly. Immediately pour the hot caramel into your prepared dish, using a spatula to smooth the top evenly.
Step 7: Cool and Slice
Let the tray cool completely at room temperature, undisturbed, for several hours or even overnight. When firm, lift the caramel out using the parchment, slice into squares, and if you’d like, wrap each piece in wax paper.
How to Serve Homemade Chocolate Caramels
Garnishes
A light sprinkle of flaky sea salt while the caramels are still warm creates a mouthwatering contrast and transforms them into beautiful salted chocolate caramels. For extra flair, try drizzling with a bit of melted dark chocolate or finishing with cocoa nibs.
Side Dishes
Pair these homemade chocolate caramels with a cup of hot espresso, a mug of milky tea, or even a glass of red wine for a sophisticated after-dinner treat. They also look gorgeous on a dessert platter surrounded by fresh berries or alongside buttery shortbread cookies.
Creative Ways to Present
For gift-giving, wrap each caramel in wax paper and pile them into a small tin tied with ribbon. For parties, stack the caramels in decorative jars or arrange them in mini cupcake liners for the prettiest presentation. Don’t forget personalized gift tags to wow your friends and neighbors!
Make Ahead and Storage
Storing Leftovers
Once wrapped, keep your homemade chocolate caramels in an airtight container at room temperature. They’ll stay soft and delicious for up to two weeks, making them perfect for preparing ahead of holidays or special occasions.
Freezing
Yes, you can freeze homemade chocolate caramels! For best results, wrap the squares individually and stash them in a freezer bag. Thaw on the counter before enjoying—no one will ever guess they weren’t made fresh that day.
Reheating
If your caramels feel a bit firm after storage, let them come to room temperature naturally. If you like them extra soft, give each square a five-second zap in the microwave, but keep a close eye to prevent melting.
FAQs
Why did my caramels turn out grainy?
Grainy caramel can happen if the sugar doesn’t fully dissolve, or if the mixture is over-stirred after it starts boiling. Patience and gentle stirring while cooking help keep everything perfectly smooth.
Can I substitute dark cocoa powder for regular?
Absolutely! Using dark or Dutch-processed cocoa adds an extra bold chocolate flavor and a deeper color. Just be sure to sift it well to avoid lumps in your Homemade Chocolate Caramels.
How do I tell when my caramels are done without a thermometer?
If you don’t have a candy thermometer, you can drop a spoonful of the mixture into a cup of cold water—it should form a firm but pliable ball when ready. But for reliability, investing in a thermometer makes things much less stressful!
Is it okay to double the recipe?
You certainly can, but use a larger pan and a slightly bigger dish for cooling. Stir even more diligently so the mixture cooks evenly—extra Homemade Chocolate Caramels are never a bad idea!
What’s the best way to wrap the caramels for gifts?
Cut squares of wax paper or parchment, twist the ends like old-fashioned candy, and stack the wrapped caramels in boxes, bags, or tins. They’ll look homemade and heartfelt—because they truly are!
Final Thoughts
There’s something simply magical about sharing a batch of Homemade Chocolate Caramels—with every bite, you’ll taste the love that went into making them. Go ahead and give this recipe a try, and watch your friends and family light up as they savor each chewy, chocolatey piece!
Print
Homemade Chocolate Caramels Recipe
- Prep Time: 10 minutes
- Cook Time: 25 minutes
- Total Time: 35 minutes (plus cooling time)
- Yield: 64 small caramels
- Category: Candy
- Method: Stovetop
- Cuisine: American
- Diet: Vegetarian
Description
Indulge in the rich, buttery sweetness of these homemade chocolate caramels. Perfect for gifting or enjoying as a special treat, these soft caramels are infused with cocoa for a decadent twist.
Ingredients
Ingredients:
- 1 cup unsalted butter (2 sticks)
- 2 1/4 cups packed brown sugar
- 1 cup light corn syrup
- 1 (14-ounce) can sweetened condensed milk
- 1/2 cup unsweetened cocoa powder, sifted
- 1/4 teaspoon salt
- 1 teaspoon vanilla extract
Instructions
- Line the Pan: Line an 8×8-inch baking dish with parchment paper and lightly grease it.
- Melt Ingredients: In a saucepan, melt butter over medium heat. Stir in brown sugar, corn syrup, and condensed milk until combined.
- Add Cocoa: Mix in cocoa powder and salt until smooth. Cook to 245°F.
- Finish: Remove from heat, add vanilla, pour into pan, and let cool. Slice into squares and wrap individually.
Notes
- Store wrapped caramels in an airtight container for up to 2 weeks.
- For salted caramels, sprinkle flaky sea salt on top before cooling.

