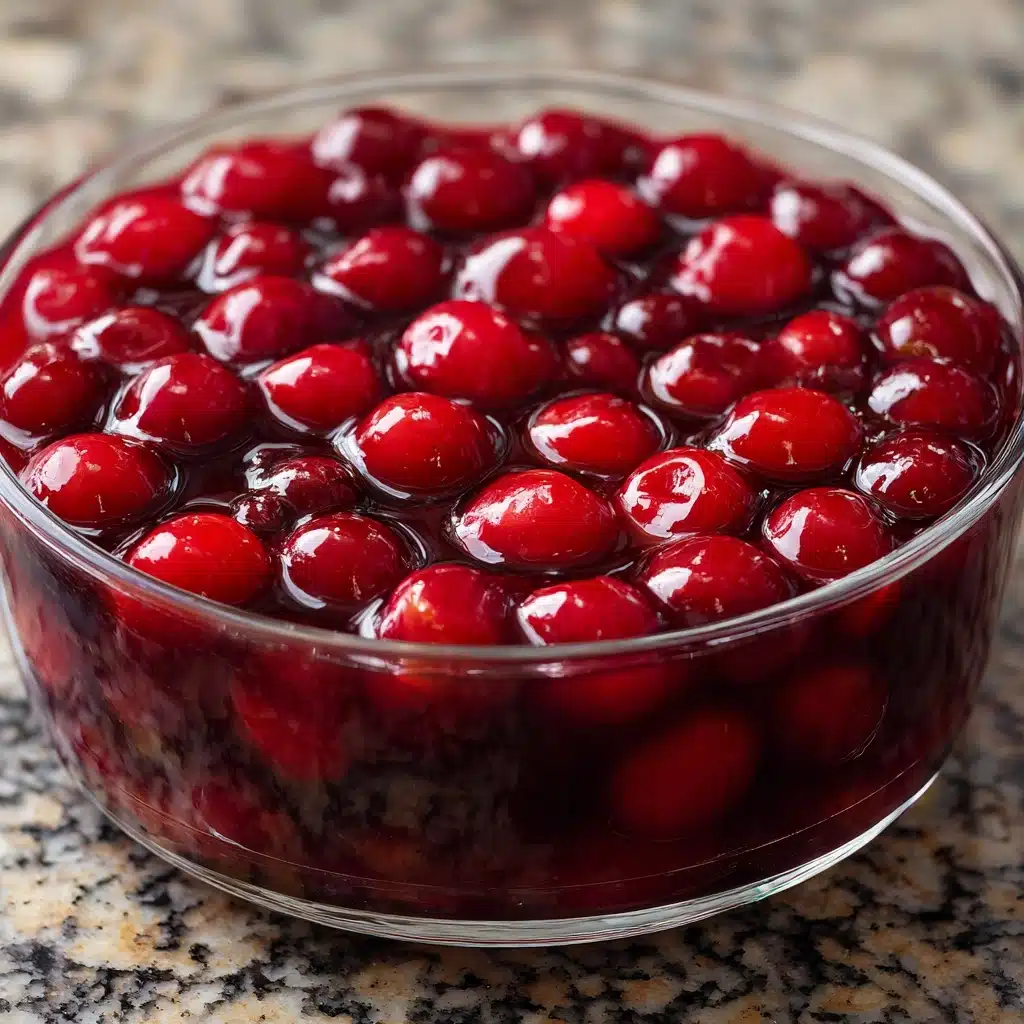
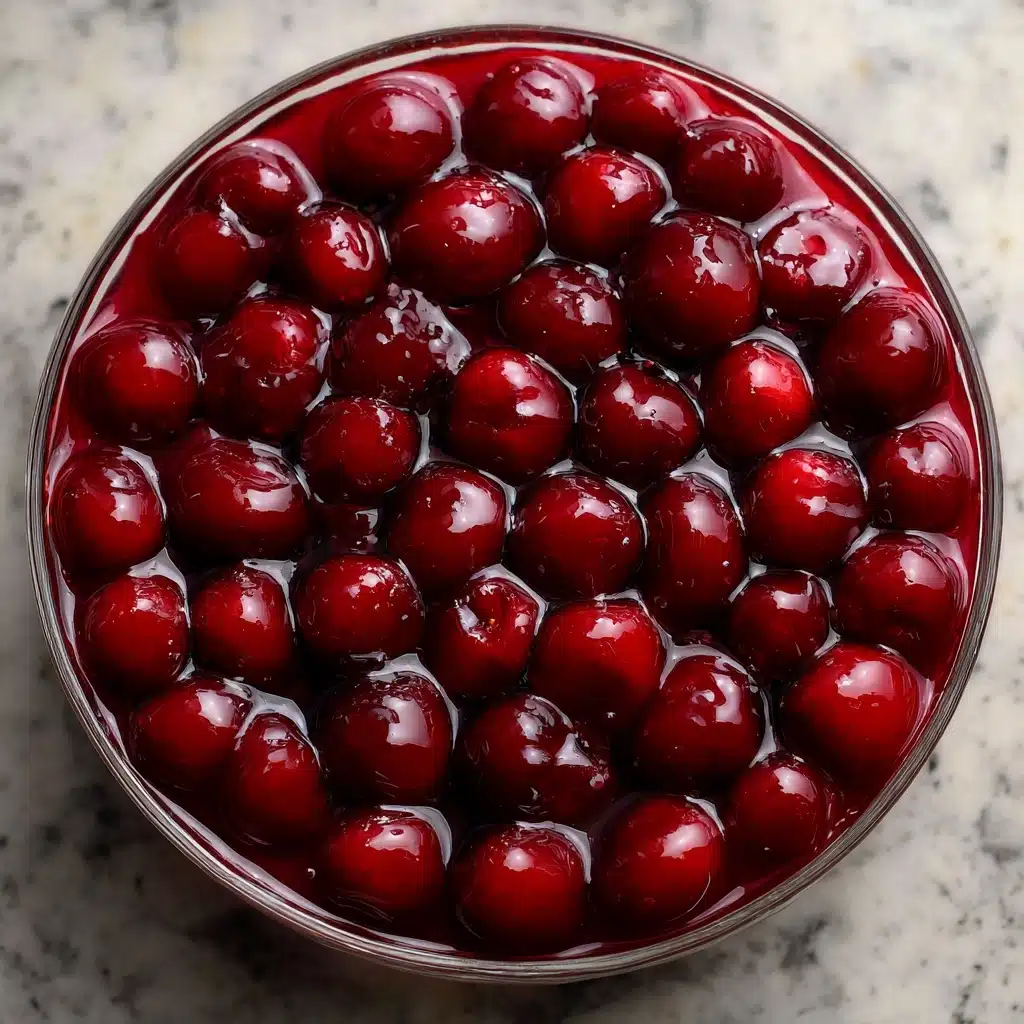
If you’ve ever dreamed of a luscious, vibrant dessert bursting with sweet-tart cherry flavor, this Homemade Cherry Pie Filling is about to become your new obsession. Whether you spread it into a flaky crust for a classic pie, swirl it into yogurt, or spoon it generously over ice cream, this recipe captures the magic of summer cherries in every glossy bite. With simple pantry staples and just a few minutes at the stove, you’ll have a thick, perfectly balanced filling that puts anything from a can to shame. Prepare to wow your friends, family, and yourself with the most flavorful cherry pie filling you’ve ever tasted.
Ingredients You’ll Need
What makes this dish so special is how its bright, clean flavors come together from just a handful of ingredients. Each one is chosen for its built-in power to enhance the taste, texture, and gorgeous ruby color of the final Homemade Cherry Pie Filling.
- Cherries: The undeniable star—fresh or frozen, cherries bring bold color and a juicy, tart sweetness.
- Granulated sugar: Balances out the natural tartness and helps the mixture thicken beautifully.
- Cornstarch: This trusty thickener creates that irresistibly glossy, luscious sauce that clings to every cherry.
- Lemon juice: Just a splash brightens the flavors and underscores the fruitiness.
- Almond extract (optional): Adds a delicate, nutty layer that pairs so beautifully with cherries—use it for extra depth.
- Salt: A tiny pinch sharpens all the other flavors and keeps the filling from tasting flat.
- Water or cherry juice: Helps dissolve the sugar and cornstarch and ensures everything cooks evenly; cherry juice makes the color and flavor even more intense if you’re using frozen cherries!
How to Make Homemade Cherry Pie Filling
Step 1: Mix the Base
Start by grabbing your medium saucepan and setting it over medium heat. You’ll want to whisk together the sugar, cornstarch, and salt first, then pour in the water or cherry juice. Give everything a good stir to make sure the mixture is completely smooth and no lumps of cornstarch remain. This simple base sets the scene for that classic, silky pie filling texture.
Step 2: Add the Cherries and Heat Things Up
Toss in your pitted cherries—frozen or fresh, take your pick—and stir to coat them well in the glistening syrup. Bring the mixture to a gentle boil, letting the cherries release their juices and mingle with the sweet, thickening sauce. Stir often; you don’t want any fruit sticking to the bottom or forming clumps.
Step 3: Simmer and Thicken
Once your filling boils, dial down the heat and let it simmer gently for 8 to 10 minutes. You’ll see the sauce deepen in color and the cherries soften to juicy, plump perfection. When the mixture looks glossy and thick enough to easily coat the back of a spoon, you’ll know you’re ready for the next step.
Step 4: Finish with Flavor Boosts
Remove the pan from the heat and stir in the lemon juice and, if you’re a fan, that splash of almond extract. These finishing touches really make your Homemade Cherry Pie Filling sing—they add complexity and just a hint of background magic that keeps you coming back for more.
Step 5: Cool and Store
Let the filling cool slightly if you’re planning to use it right away in a pie crust or as a topping. If you have leftovers or want to make it ahead, transfer the cherry filling to an airtight container. It’ll keep beautifully in the fridge for up to five days, ready whenever your dessert dreams strike!
How to Serve Homemade Cherry Pie Filling
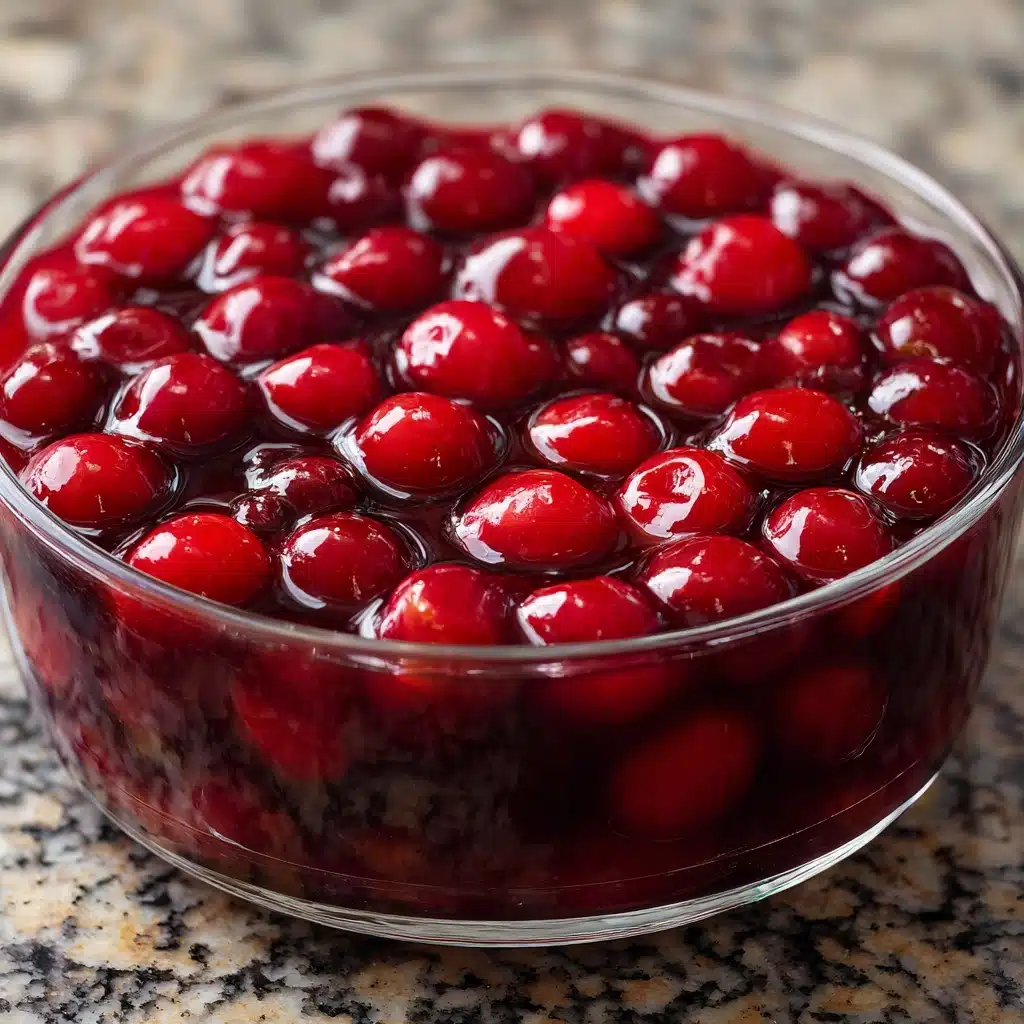
Garnishes
This filling loves a good garnish! Add a swirl of freshly whipped cream, a scoop of vanilla ice cream, or a smattering of toasted sliced almonds on top to create dessert bliss. The creamy richness or a nutty crunch makes every bite even more satisfying.
Side Dishes
What pairs well with this vibrant cherry filling? If you’re serving it as a dessert, try it alongside a buttery shortbread cookie, a wedge of pound cake, or a dollop of tangy Greek yogurt. These sides add complementary textures and flavors that let the Homemade Cherry Pie Filling truly shine.
Creative Ways to Present
Show off this beautiful filling! Layer it into parfait glasses with whipped cream and cake cubes for a trifle, spoon it warm over pancakes or waffles for breakfast, or fill tart shells for elegant mini desserts. You can even fold it into overnight oats or swirl it through cheesecake batter before baking.
Make Ahead and Storage
Storing Leftovers
Let your Homemade Cherry Pie Filling cool completely before transferring it to an airtight jar or container. Kept in the fridge, it stays fresh and delicious for up to five days. This makes it a fantastic option for prepping in advance of parties or holidays.
Freezing
If you’d like to make a double batch for later, Homemade Cherry Pie Filling freezes like a dream! Cool it down, pour it into freezer-safe bags or containers, and freeze for up to three months. Just remember to leave some space for expansion, and label each container with the date.
Reheating
Ready to bring that chilled or frozen filling back to glossy life? Gently reheat it in a saucepan over low heat, stirring until just warm and smooth. If it’s a bit too thick, add a splash of water or cherry juice to loosen it up.
FAQs
Can I use tart cherries or only sweet cherries?
Absolutely—tart cherries work beautifully! You may want to increase the sugar a little to balance the extra tang. If you use sweet cherries, you can reduce the sugar slightly for a more natural taste.
Is it necessary to thaw frozen cherries before cooking?
No need to thaw! Just add the frozen cherries right to the pot. If they release a lot of juice, you can cut back on the amount of water you add in the beginning.
Can I make Homemade Cherry Pie Filling without cornstarch?
If you’re out of cornstarch, you can substitute with arrowroot powder or tapioca starch. Either of these will thicken your filling just as well—just substitute the same amount as the recipe calls for cornstarch.
How do I keep my pie filling from being runny?
Make sure to cook the filling until it thickens up fully and allows the cornstarch to activate. If you find that it’s still too thin, continue to simmer gently, stirring constantly, until you reach the desired consistency.
Can this Homemade Cherry Pie Filling be canned for longer storage?
This recipe hasn’t been tested for long-term canning, so for food safety, I recommend storing it in the fridge for short-term use or freezing it instead of canning. If you want to can your own fruit filling, be sure to follow an approved recipe designed for safe canning practices.
Final Thoughts
This Homemade Cherry Pie Filling really is one of those kitchen essentials that makes everything feel a little more special. Whether you pile it high in a golden pie shell or keep a jar on hand for instant sundae upgrades, it never fails to impress. Give it a try and discover just how easy, delicious, and versatile homemade can be!
Print
Homemade Cherry Pie Filling Recipe
- Prep Time: 5 minutes
- Cook Time: 10 minutes
- Total Time: 15 minutes
- Yield: About 2 ½ cups
- Category: Dessert, Filling
- Method: Stovetop
- Cuisine: American
- Diet: Vegan, Gluten-Free
Description
Learn how to make a delicious homemade cherry pie filling that is perfect for pies, tarts, or as a topping. This sweet and tangy filling is easy to prepare and bursting with fresh cherry flavor.
Ingredients
Cherry Pie Filling:
- 4 cups fresh or frozen pitted cherries
- ¾ cup granulated sugar
- ¼ cup cornstarch
- 1 tablespoon lemon juice
- ¼ teaspoon almond extract (optional)
- ⅛ teaspoon salt
- ½ cup water (or cherry juice if using frozen cherries)
Instructions
- In a medium saucepan over medium heat, combine sugar, cornstarch, salt, and water. Stir until smooth and no lumps remain.
- Add the cherries and bring the mixture to a gentle boil, stirring frequently. Reduce heat and simmer for 8–10 minutes, or until the mixture thickens and the cherries soften.
- Stir in lemon juice and almond extract if using. Remove from heat and let cool slightly.
- Use immediately in pies, tarts, or as a topping, or transfer to an airtight container and refrigerate for up to 5 days.
Notes
- If using frozen cherries, there’s no need to thaw them—just reduce the water slightly if they release a lot of juice.
- Adjust the sugar to taste based on the sweetness of the cherries.

