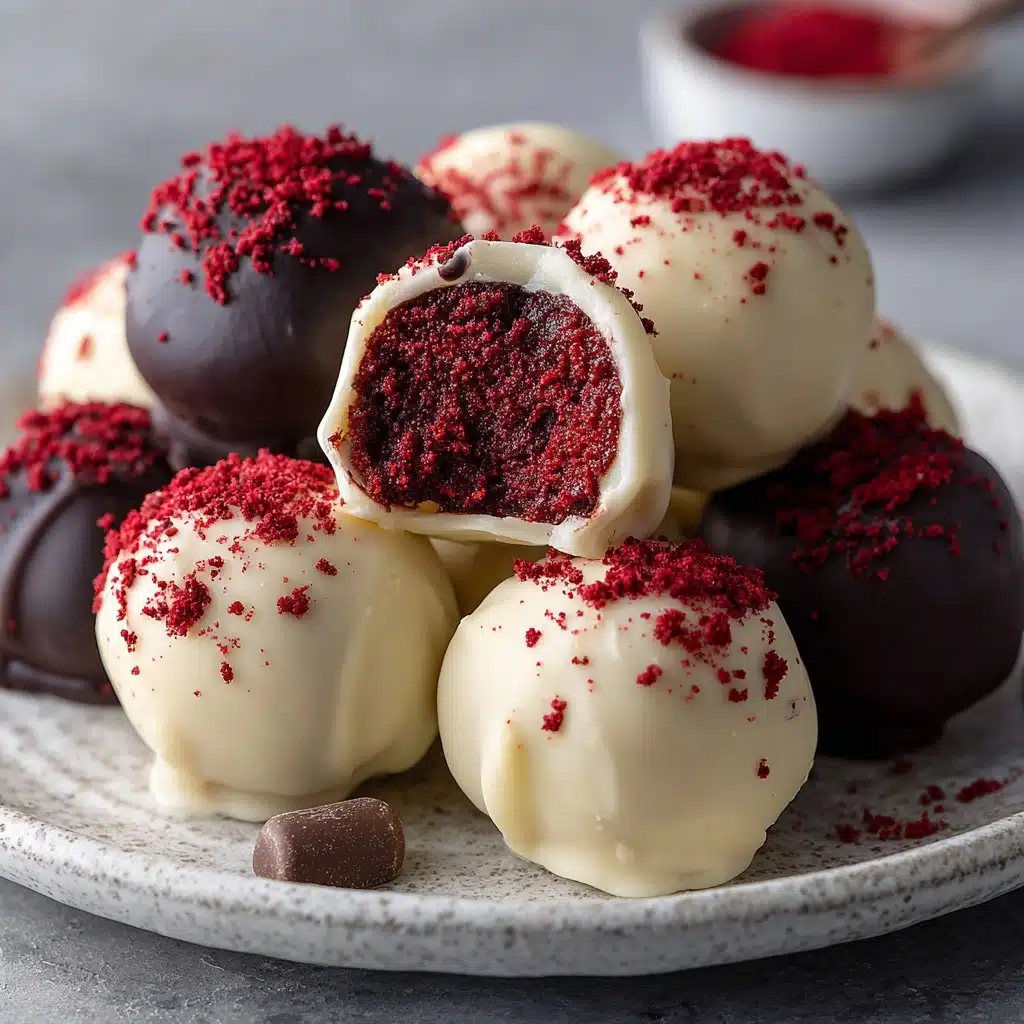
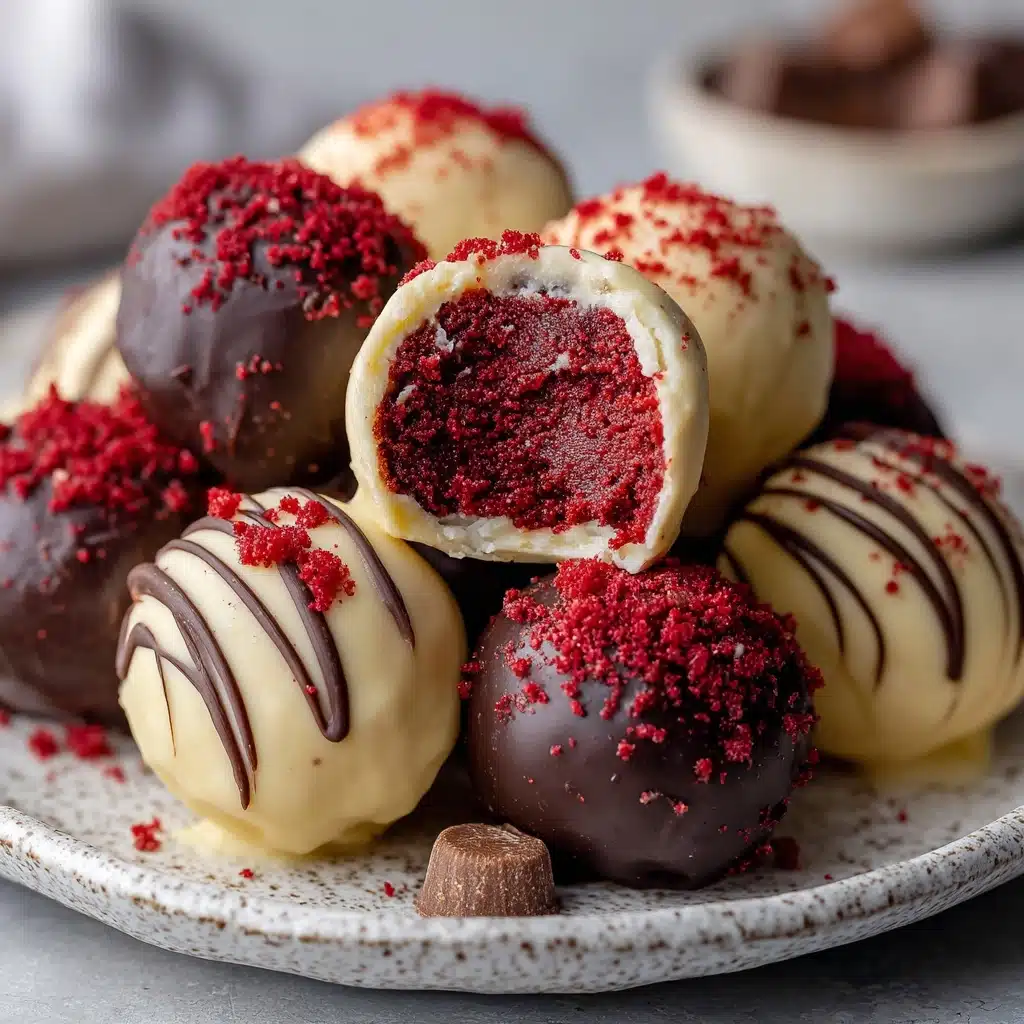
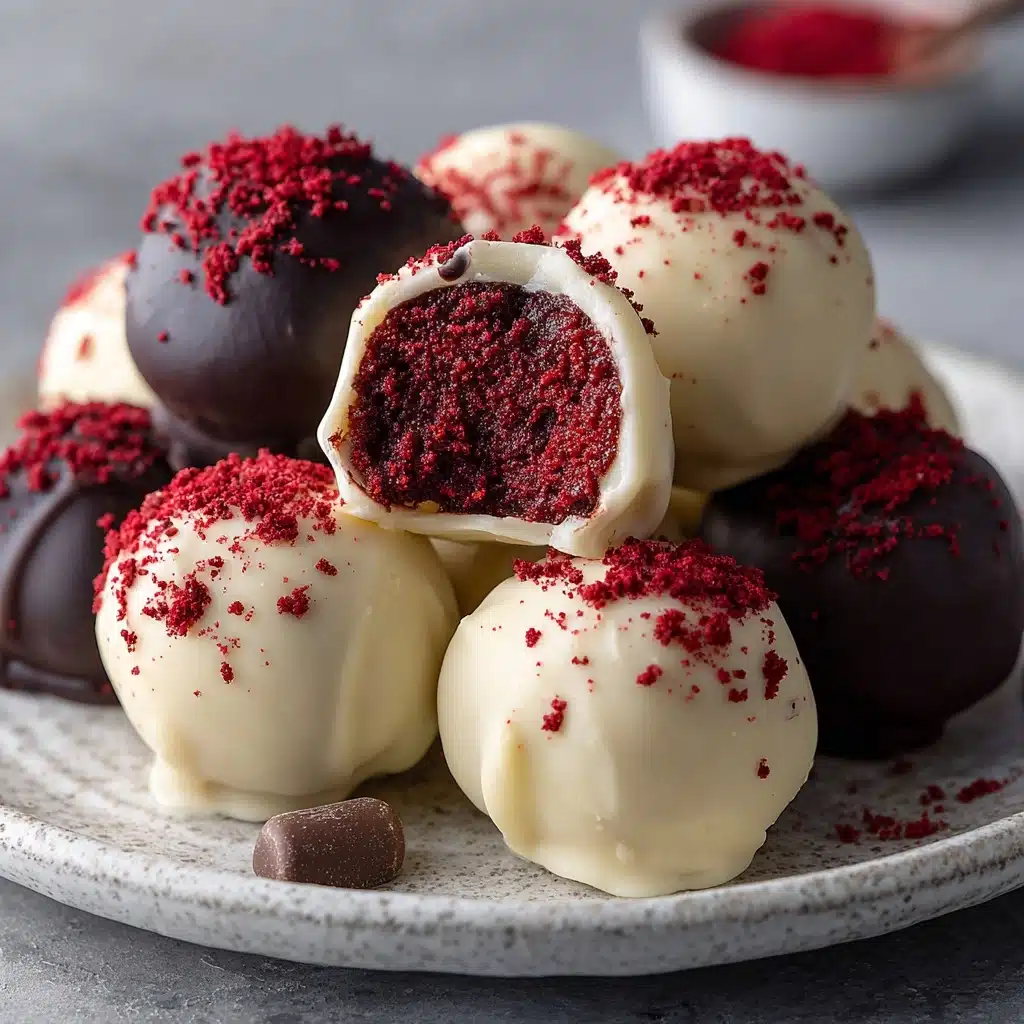
Red Velvet Cake Balls are a dreamy, bite-sized treat that perfectly blend rich cocoa flavor with a creamy, tangy core, all wrapped up in a luscious white chocolate shell. Every mouthful offers a delightful contrast of textures and an irresistible pop of color. They’re easy to make, an absolute showstopper at any celebration, and dangerously snackable—you won’t be able to stop at just one!
Ingredients You’ll Need
The beauty of these cake balls lies in their simplicity! Each ingredient plays a starring role in creating the signature flavor, vibrant color, and melt-in-your-mouth texture that make Red Velvet Cake Balls so memorable.
- Red velvet cake mix: The foundation for that classic cocoa flavor and gorgeous crimson color; use your favorite boxed mix for ease.
- Eggs, oil, and water: Follow the package instructions—these bring the cake to life and ensure a soft, moist crumb.
- Cream cheese (softened): Adds a rich, tangy creaminess that creates the perfect creamy center when mixed with the cake.
- Vanilla extract: A splash of vanilla rounds out the flavors and brings gentle warmth to every bite.
- White chocolate or candy coating (melted): For that crisp, sweet shell—choose good quality for the smoothest results.
- Optional: Sprinkles or crushed freeze-dried raspberries: A finishing touch that adds vibrant pop and texture—great for holidays and parties!
How to Make Red Velvet Cake Balls
Step 1: Bake the Cake
Start your Red Velvet Cake Balls journey by preparing the cake base. Follow the instructions on your cake mix box—combine the mix with the listed eggs, oil, and water, then bake in a preheated oven until a toothpick comes out clean. Let the cake cool completely; this step ensures your cake will crumble perfectly and mix smoothly with the cream cheese.
Step 2: Crumble and Mix
Once the cake is cool, crumble it into fine pieces in a large bowl. Add the softened cream cheese and vanilla extract. Mix everything together until you have a soft, cohesive dough. This is the secret step that gives Red Velvet Cake Balls their unbelievably luscious interior—don’t be afraid to get your hands in there to make sure it’s fully mixed!
Step 3: Form the Cake Balls
Scoop out tablespoon-sized portions of the mixture and roll them between your palms to create 1-inch balls. Place each ball onto a parchment-lined baking sheet. For a neater dipping process, consider inserting a toothpick into each ball at this stage—game changer for minimal mess!
Step 4: Freeze Until Firm
Pop the tray of cake balls into the freezer for 20 to 30 minutes. Chilling them makes them firm enough to dip in chocolate without crumbling, ensuring a smooth coating later on. This quick freeze also helps them hold their shape beautifully.
Step 5: Melt the White Chocolate
While the cake balls are chilling, melt your white chocolate or candy coating. Place it in a microwave-safe bowl and heat in 30-second increments, stirring after each until the chocolate is silky and completely smooth. Don’t rush or overheat—gentle melting is key!
Step 6: Dip and Decorate
Now for the fun part—dipping! Using the toothpick or a fork, carefully dip each chilled cake ball into the melted chocolate, letting the excess drip off. Place the coated ball back on the tray. If you’re feeling fancy, immediately top with red sprinkles or crushed freeze-dried raspberries while the coating is still wet. Pop everything in the fridge until the chocolate is set.
How to Serve Red Velvet Cake Balls
Garnishes
A little garnish goes a long way with Red Velvet Cake Balls. A light shower of red sprinkles or a sprinkle of crushed freeze-dried raspberries brings a burst of color and a hint of tangy crunch to the finished treats. You could even drizzle a bit of extra melted white or dark chocolate for a decadent finishing touch.
Side Dishes
These cake balls are deliciously rich, so pairing them with something light and refreshing is a great idea. Serve alongside fresh berries, a sparkling fruit punch, or even a dollop of unsweetened whipped cream for a balanced bite at parties or as a sweet finale to a cozy dinner.
Creative Ways to Present
Get playful with presentation! Arrange your Red Velvet Cake Balls on a tiered dessert stand for a party centerpiece, or package them in pretty gift boxes as homemade presents. For a holiday twist, skewer a few on long sticks to make festive cake pops, or tuck them into mini cupcake liners for a polished look at any gathering.
Make Ahead and Storage
Storing Leftovers
To keep your Red Velvet Cake Balls fresh and delicious, store them in an airtight container in the refrigerator. They’ll stay at their best for up to 5 days, making them a fantastic make-ahead option for parties and potlucks.
Freezing
Want to prep ahead? These cake balls freeze beautifully! Arrange them in a single layer in an airtight container or zip-top bag, with parchment between layers to prevent sticking. They’ll keep in the freezer for up to two months. Let them thaw in the fridge before serving.
Reheating
No reheating needed for these sweet bites! If you’ve frozen your Red Velvet Cake Balls, simply let them sit in the refrigerator overnight to return to their delightfully creamy, chewy texture.
FAQs
Can I use homemade red velvet cake instead of a mix?
Absolutely! If you have a favorite from-scratch recipe, it works just as well. Just be sure to use a cake that isn’t too dense—moist, fluffy cake crumbles mix best with the cream cheese.
What’s the best way to melt white chocolate without burning it?
Take it slow and steady! Use a microwave in 30-second bursts, stirring each time, or a double boiler over low heat. White chocolate can seize easily, so patience is key for smooth, glossy results.
Can I use dark or milk chocolate to coat the Red Velvet Cake Balls?
Definitely. The slight bitterness of dark chocolate or the richness of milk chocolate is a wonderful twist and makes these cake balls extra decadent. Feel free to experiment with different coatings to match your taste or holiday colors.
What if my mixture is too soft to roll?
If your cake and cream cheese mixture feels sticky or loose, a quick chill in the fridge (about 10 to 15 minutes) can firm everything up for easy rolling. The temperature makes all the difference in handling!
How do I get my cake balls perfectly round?
Chilling the mixture really helps, but rolling between your palms with gentle pressure is the secret. If you want absolute perfection, consider using a small cookie scoop to portion out even amounts before rolling.
Final Thoughts
If you’re looking for a no-fuss, unforgettable dessert, Red Velvet Cake Balls hit that sweet spot between fun and fancy. I hope you give them a try—there’s nothing like seeing that vibrant red center and tasting the creamy, chocolatey goodness in every bite. Happy baking!
Print
Red Velvet Cake Balls Recipe
- Prep Time: 25 minutes
- Cook Time: 30 minutes
- Total Time: 1 hour 15 minutes (including chilling time)
- Yield: 36 cake balls
- Category: Dessert
- Method: No-Bake, Baking
- Cuisine: American
- Diet: Vegetarian
Description
Indulge in these decadent Red Velvet Cake Balls that are easy to make and perfect for any occasion. Moist red velvet cake mixed with creamy cheese, coated in white chocolate, and topped with a sprinkle of color!
Ingredients
Cake Balls:
- 1 box red velvet cake mix (plus ingredients listed on box)
- 1 (8 oz) package cream cheese, softened
- 1 teaspoon vanilla extract
Coating:
- 12 oz white chocolate or candy coating, melted
- Optional: red sprinkles or crushed freeze-dried raspberries for garnish
Instructions
- Bake the Red Velvet Cake: Prepare and bake the red velvet cake according to package instructions. Let it cool completely.
- Prepare Cake Balls Mixture: Crumble the cooled cake into a large bowl. Add softened cream cheese and vanilla extract. Mix until a soft, dough-like consistency forms.
- Form Cake Balls: Roll the mixture into 1-inch balls and place them on a parchment-lined baking sheet. Freeze for 20–30 minutes until firm.
- Coat with White Chocolate: Melt the white chocolate in the microwave in 30-second intervals. Dip each cake ball into the melted chocolate, allowing excess to drip off. Return to the baking sheet.
- Garnish and Chill: Add sprinkles or crushed raspberries if desired. Chill in the refrigerator until set.
Notes
- For easier dipping, insert toothpicks into the cake balls before freezing.
- You can use dark or milk chocolate for coating if preferred.
- Store in the fridge for up to 5 days or freeze for longer storage.

