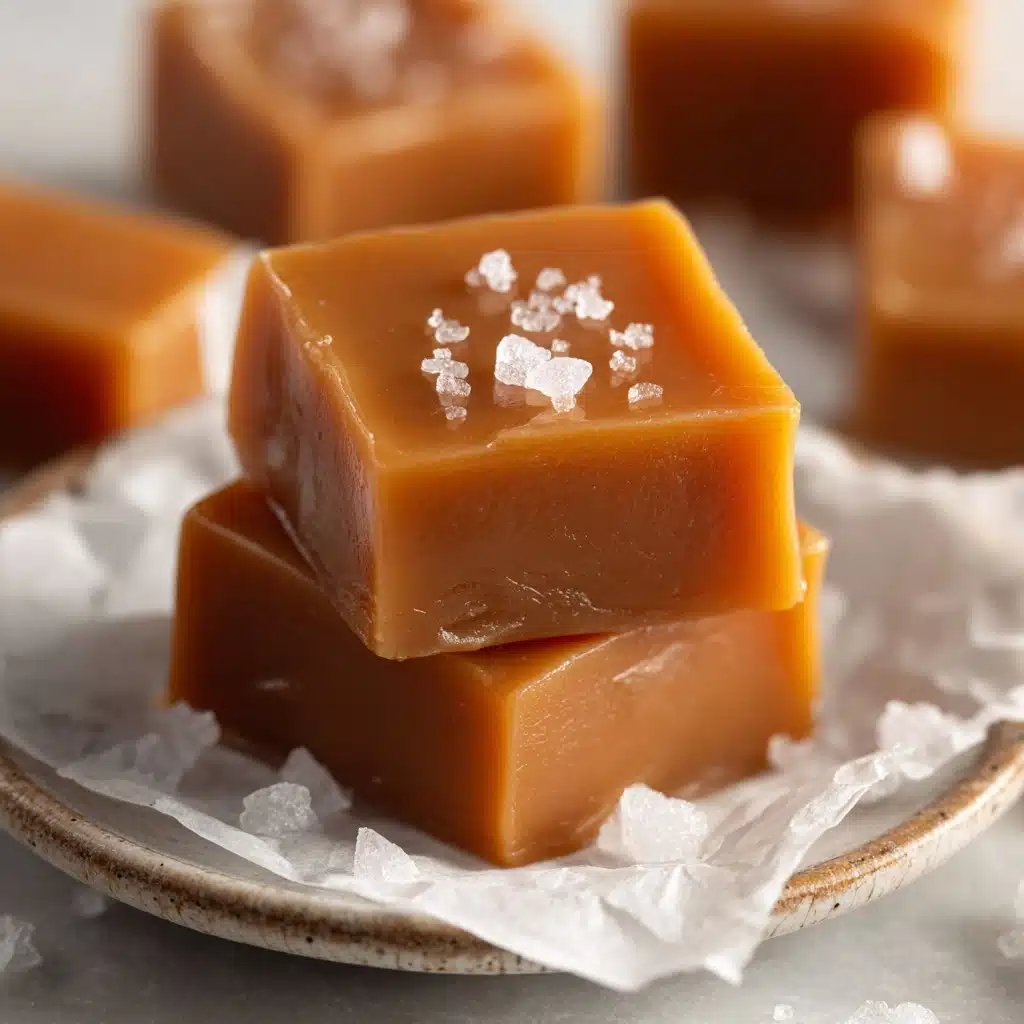
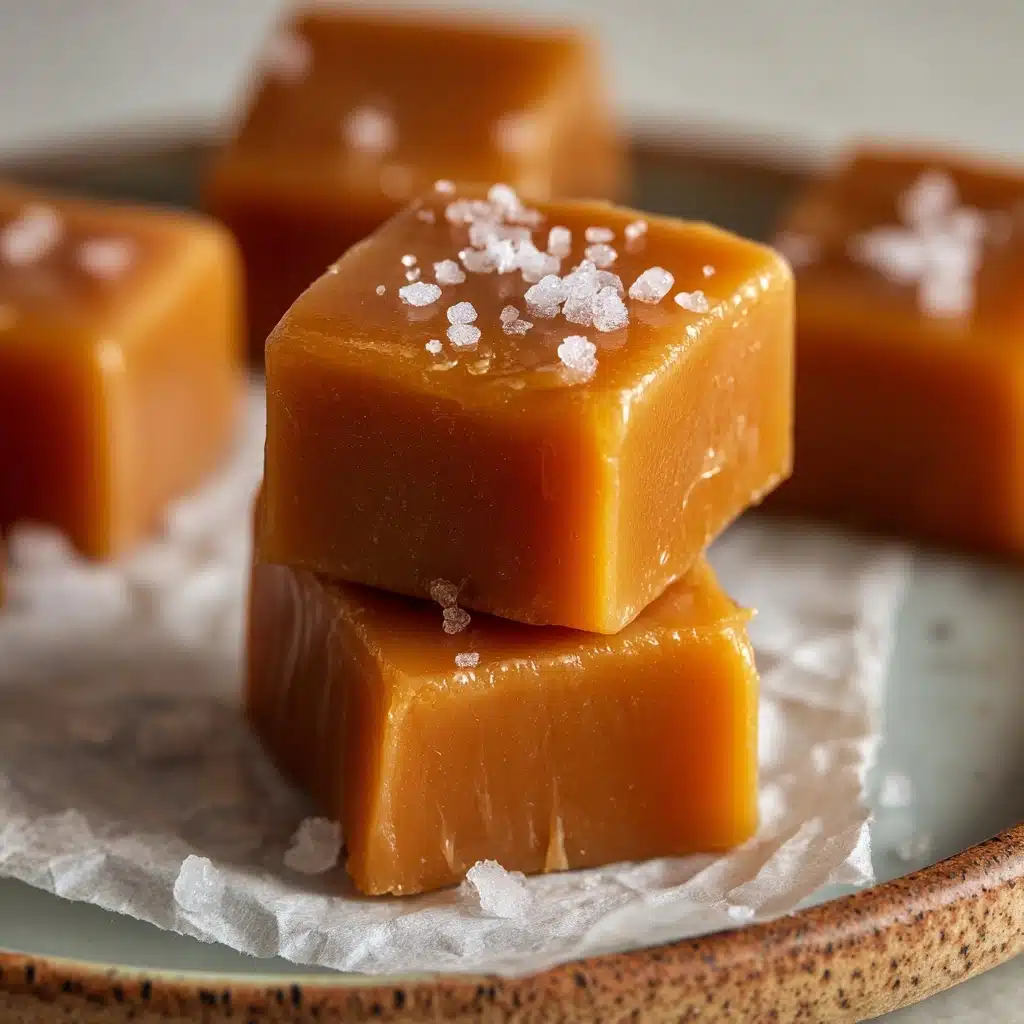
These buttery, dreamy Homemade Caramels are what cozy, heartwarming treats are all about. Each bite delivers a perfect blend of chewy texture and golden, deep flavor that can only come from scratch-made caramel candy. If you’ve ever wanted to master the art of sweet, melt-in-your-mouth caramels right from your kitchen, this recipe is your friendly guide. Whether you’re wrapping up holiday gift boxes or snuggled up for a movie night, these squares of rich, homemade delight are about to become your new tradition.
Ingredients You’ll Need
The beauty of Homemade Caramels lies in how just a handful of humble ingredients transform into something spectacular. Each component has its own starring role, building layers of flavor, creaminess, and that telltale golden hue. Let’s take a closer look at what you’ll need (and why it matters).
- Unsalted Butter: This is your base, giving caramels their signature richness and lush texture. For the best taste, use high-quality, real butter.
- Light Brown Sugar: Its hints of molasses deepen the caramel flavor and add moisture, keeping each bite chewy instead of brittle.
- Light Corn Syrup: Essential for smoothness and to prevent gritty crystallization, corn syrup ensures glossy, flawless caramels every time.
- Sweetened Condensed Milk: Creamy and sweet, it shortens the cooking process and delivers that velvety feel real caramel lovers crave.
- Salt: This small pinch is a game-changer, cutting through the sweetness and balancing all the flavors. Don’t skip it!
- Vanilla Extract: Added at the end, vanilla rounds out every flavor and leaves a lingering warmth that takes Homemade Caramels from good to unforgettable.
How to Make Homemade Caramels
Step 1: Prepare Your Pan
Begin by lining an 8×8-inch baking pan with parchment paper, making sure to leave an overhang on two opposite sides. This simple trick is your ticket to easy caramel removal and perfectly cut squares once everything is set.
Step 2: Melt the Butter
Place a heavy-bottomed saucepan over medium heat and add the unsalted butter. Let it slowly melt, releasing its creamy aroma—this buttery stage is essential for giving Homemade Caramels their irresistible base flavor.
Step 3: Mix in Sugar, Syrup, Milk, and Salt
Once your butter is melted, stir in the light brown sugar, light corn syrup, sweetened condensed milk, and a pinch of salt. Mix everything together with a heat-safe spatula or wooden spoon. The mixture will start to look golden and beautifully creamy—this step is where all those caramel notes begin to develop.
Step 4: Cook to Perfection
Bring your pan to a gentle boil, keeping a close eye and stirring constantly. This is where patience pays off. Attach a candy thermometer and watch as you cook and stir until the mixture hits 240°F (the soft ball stage). This temperature is the magic spot for chewy, luscious caramels that set beautifully and don’t turn toffee-hard.
Step 5: Add Vanilla and Pour
Remove the pan from the heat and swiftly stir in the vanilla extract. Immediately pour the hot caramel into your prepared pan, using your spoon or spatula to smooth out the top as needed. Be careful—this mixture is very hot.
Step 6: Cool and Set
Now comes the hardest part: waiting! Let your caramel cool completely at room temperature for several hours (no peeking!). When it’s fully set, grip the parchment handles and lift the caramel slab out. Slice into small squares with a sharp knife. If desired, wrap each piece in wax paper to keep them soft and ready for sharing.
How to Serve Homemade Caramels
Garnishes
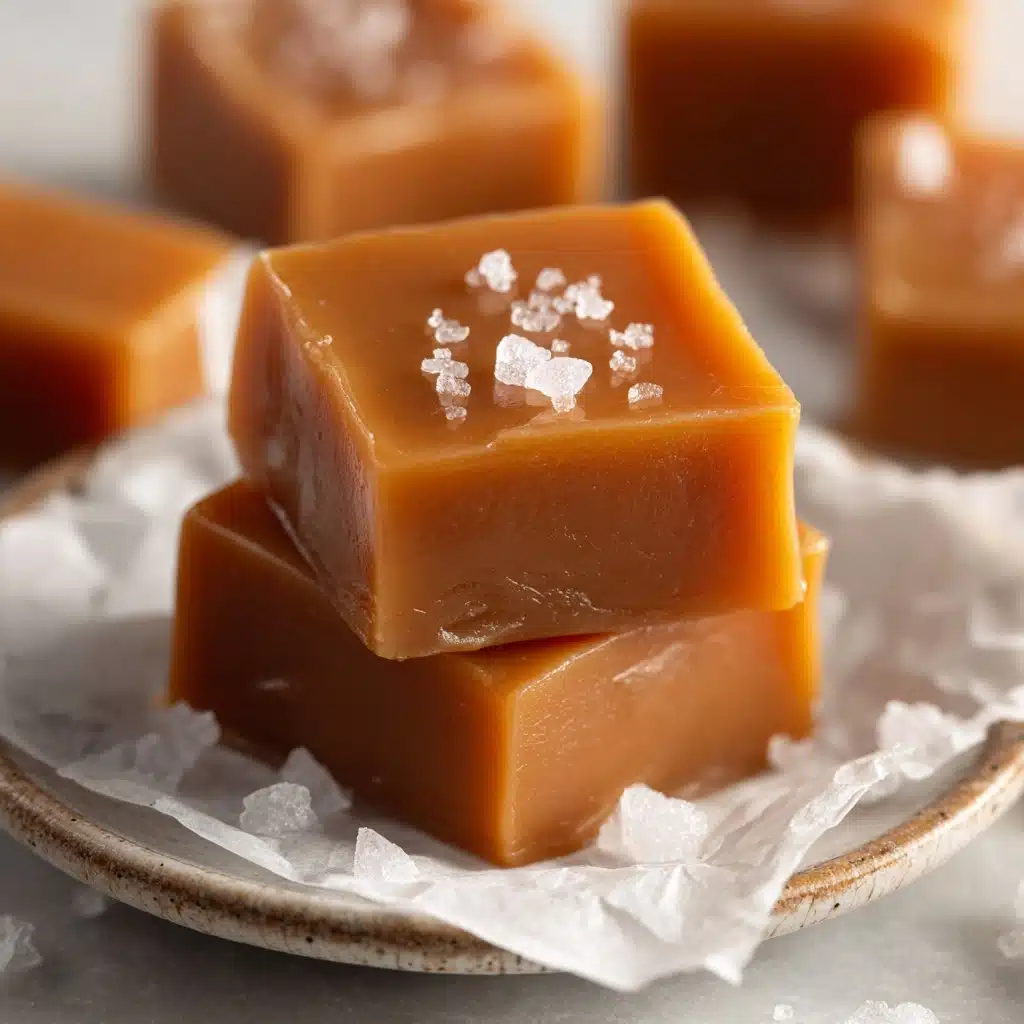
One simple, glorious way to elevate Homemade Caramels is with a sprinkle of flaky sea salt right before the caramel sets. Those little crystals add crunch and an irresistible contrast to the sweetness. You can also dip corners in melted dark chocolate or dust lightly with cocoa powder for a chic finish.
Side Dishes
If you want to make dessert time feel extra special, serve your caramels alongside crisp apple slices, toasted pecans, or a simple espresso. These classic pairings cut the sweetness and keep everyone coming back for more.
Creative Ways to Present
Turn your Homemade Caramels into delightful gifts by wrapping each square in wax paper and tying the ends with pretty string. Stack them in small boxes or jars and add a homemade tag. For parties, arrange them in cupcake liners on a tiered platter—they’ll look like edible jewels!
Make Ahead and Storage
Storing Leftovers
Once you’ve made your Homemade Caramels, they’ll keep beautifully in an airtight container at room temperature for up to two weeks. Just make sure each piece is individually wrapped to prevent sticking—you’ll thank yourself every time you want a quick sweet fix.
Freezing
If you want to make them even farther in advance, wrap the individual caramels in wax or parchment paper, then store them in a freezer-safe bag. They freeze well for up to three months. Thaw at room temperature for best results, and they’ll taste as fresh as the day you made them.
Reheating
While Homemade Caramels really don’t need to be reheated, if they seem too firm after storage, set them out at room temperature until they soften. Avoid microwaving them directly, as this can cause uneven melting or scorching.
FAQs
Why did my caramels end up too hard or too soft?
The key lies in reaching the precise temperature. If your caramel doesn’t hit 240°F, it’ll be runny and too soft; if it goes much higher, you’ll get hard toffee. Invest in a reliable candy thermometer and keep a constant eye for best results every time you make Homemade Caramels.
Can I make these without a candy thermometer?
While a candy thermometer gives foolproof results, you can try the “soft ball test”: drop a bit of the cooked mixture into cold water. If it forms a soft, pliable ball, you’re set! But for consistent success, a thermometer is highly recommended for Homemade Caramels.
Is there a way to make these salted caramels?
Absolutely! Just sprinkle flaky sea salt over the caramel right after you pour it into the pan and before it sets. That sweet-salty combo will take your Homemade Caramels to another level.
Can I double the recipe for a bigger batch?
Yes, you can double everything and pour into a 9×13-inch pan—just make sure your pot is large enough to prevent bubbling over. The cooking time may also increase a bit, so monitor closely with your thermometer.
Do Homemade Caramels need to be refrigerated?
They’re happiest (and chewiest) at room temperature, but if your kitchen is very warm, you can refrigerate them. Let them come to room temp before enjoying, so they’re not too firm.
Final Thoughts
There’s just something nostalgic and magical about biting into a soft square of Homemade Caramels you crafted yourself. Whether for gifting, sharing, or savoring solo, this recipe brings pure, from-scratch sweetness right to your kitchen table. I can’t wait for you to try it—your future self will thank you!
Print
Homemade Caramels Recipe
- Prep Time: 10 minutes
- Cook Time: 25 minutes
- Total Time: 35 minutes (plus cooling time)
- Yield: 64 small pieces
- Category: Dessert
- Method: Stovetop
- Cuisine: American
- Diet: Vegetarian
Description
Enjoy the rich, buttery goodness of these homemade caramels that are perfect for holiday treats or anytime you crave a sweet indulgence. These chewy caramels are simple to make and make a delightful gift for friends and family.
Ingredients
Ingredients:
- 1 cup unsalted butter
- 2 1/4 cups packed light brown sugar
- 1 cup light corn syrup
- 1 (14 oz) can sweetened condensed milk
- 1/4 teaspoon salt
- 1 1/2 teaspoons vanilla extract
Instructions
- Prepare the Pan: Line an 8×8-inch baking pan with parchment paper, letting the paper overhang for easy removal.
- Melt Ingredients: In a heavy-bottomed saucepan over medium heat, melt the butter. Stir in brown sugar, corn syrup, sweetened condensed milk, and salt.
- Cook the Mixture: Bring the mixture to a gentle boil, stirring constantly until it reaches 240°F (soft ball stage) on a candy thermometer.
- Finish and Set: Remove from heat, stir in vanilla extract, pour into the pan, and let cool until set. Cut into squares and wrap if desired.
Notes
- For salted caramels, sprinkle flaky sea salt on top before the caramel sets.
- Use a candy thermometer for accuracy to avoid overcooking.

