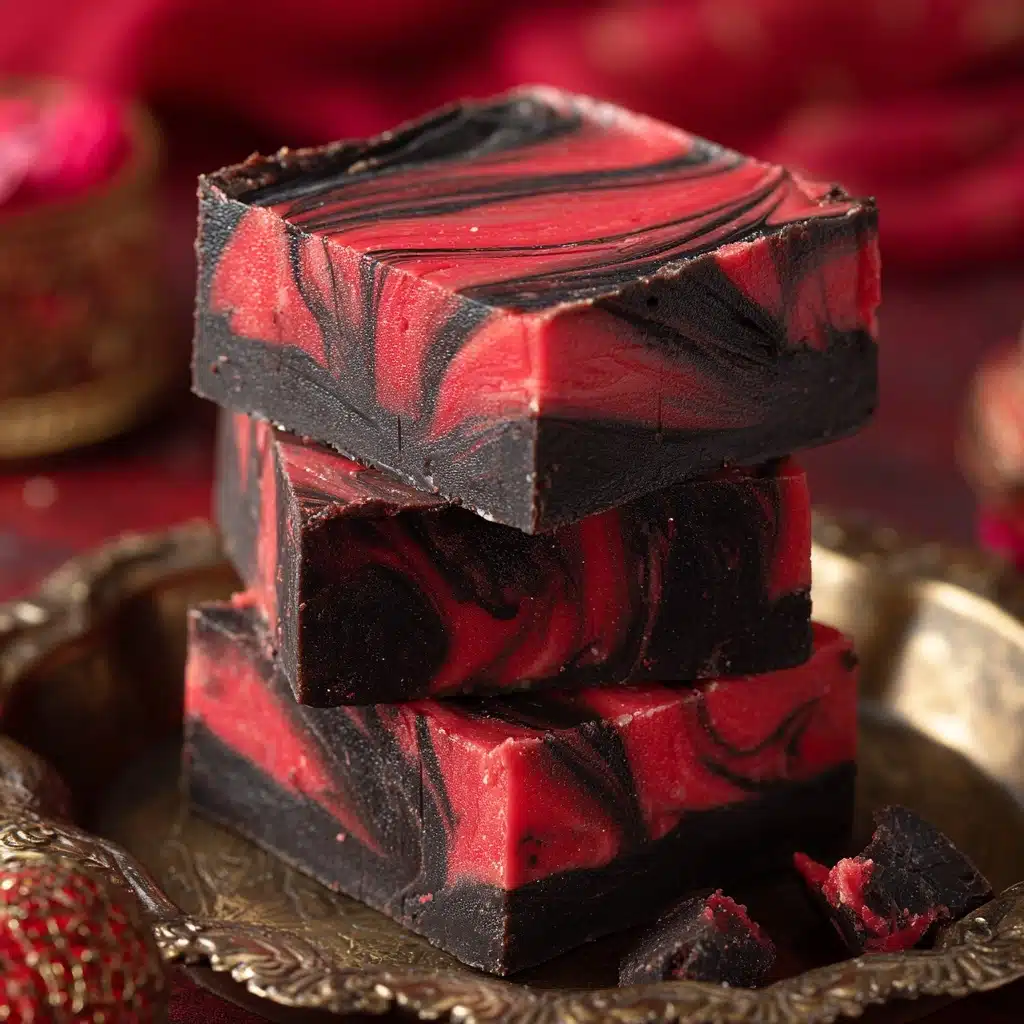
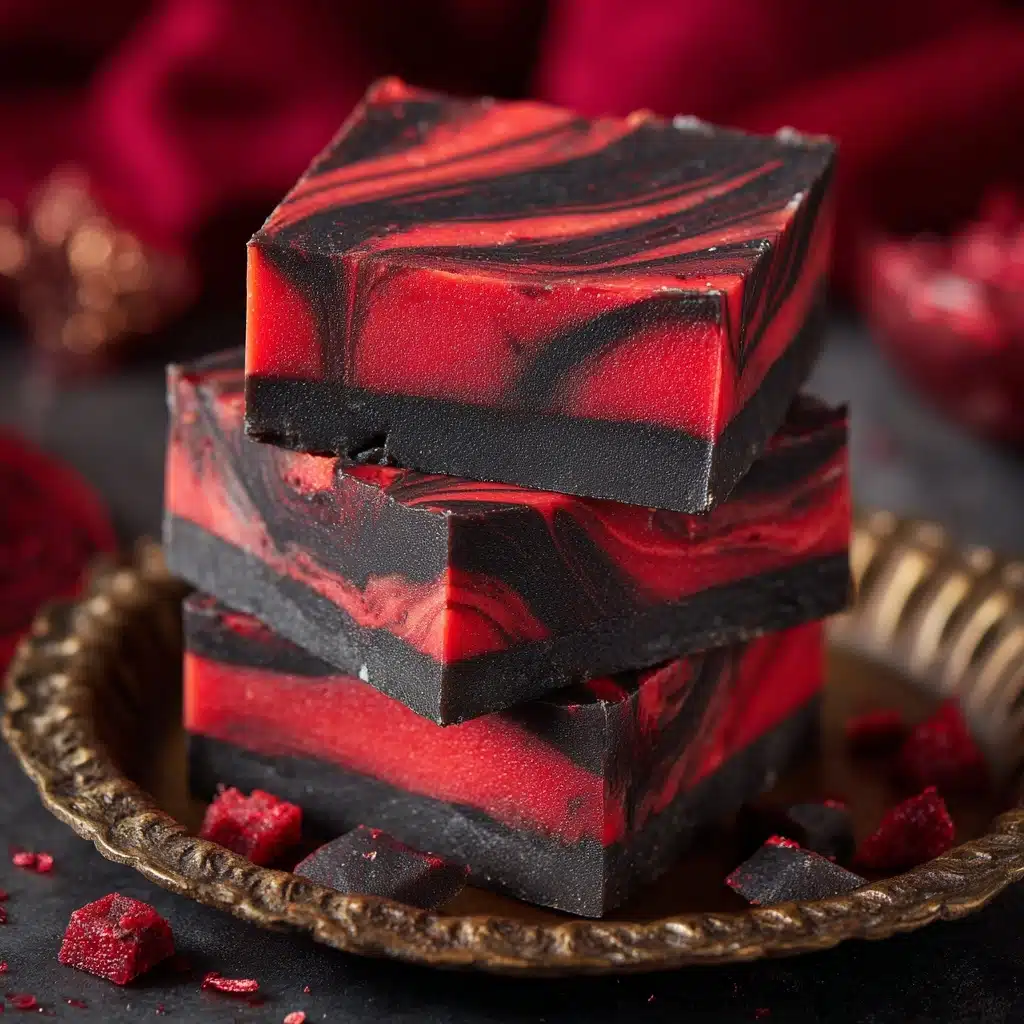
Sink your teeth into something frightfully delightful with this Vampire Fudge recipe! With its rich chocolatey exterior and an irresistibly gooey, ruby-red center, each bite dishes up the perfect mix of decadence and surprise. Whether you’re gearing up for a spooky Halloween gathering or just want a fun dessert twist, Vampire Fudge will steal the show with both its flavor and its playful presentation. Don’t be surprised if it’s the first treat to disappear from your dessert table!
Ingredients You’ll Need
Vampire Fudge keeps things simple but impactful, letting every ingredient shine. Each component creates layers of flavor and texture, while that pop of fruity, bloody filling makes this treat as eye-catching as it is delicious.
- Semi-sweet chocolate chips: The star of the fudge, these provide a deep, chocolatey base that’s not overly sweet.
- Sweetened condensed milk: This creamy essential adds sweetness and helps create the signature melt-in-your-mouth texture.
- Unsalted butter: Butter brings a luscious richness and helps the fudge set with a silky finish.
- Vanilla extract: A splash of vanilla brightens the fudge, enhancing all the other flavors.
- Cherry pie filling or thick raspberry preserves: This is your “bloody” hidden center, offering a tangy, fruity surprise with every bite.
- Red food coloring (optional): For those who want their Vampire Fudge extra dramatic, a drop or two will take your filling from red to blood-red.
How to Make Vampire Fudge
Step 1: Prep Your Pan
Start by lining an 8×8-inch baking dish with parchment paper, letting the edges hang over for easy removal later. This not only prevents sticking but also gives you neat, sharp squares when it’s time to slice your Vampire Fudge.
Step 2: Melt the Chocolate Base
In a medium saucepan over low heat, combine the semi-sweet chocolate chips, sweetened condensed milk, and butter. Stir slowly and constantly until everything melts together into a smooth, glossy mixture—no lumps allowed! Be patient and don’t crank up the heat, as chocolate can seize or scorch quickly.
Step 3: Add a Burst of Flavor
Once your chocolate concoction is velvety and unified, remove it from the heat and stir in the vanilla extract. The fragrance will immediately become richer, promising a fudge full of depth and delight.
Step 4: Lay Down the First Layer
Pour half of your fudge mixture into your prepared pan and use a spatula to smooth it into an even layer. This will be the sturdy base that cradles your “bloody” surprise.
Step 5: Craft the Bloody Center
In a small bowl, lightly mash your cherry pie filling or raspberry preserves. If you’re after a dramatic effect, now’s the time to add a few drops of red food coloring and swirl until the color is just downright vampiric. Spoon and gently spread this filling over the fudge layer, keeping a border so the crimson doesn’t seep out the edges.
Step 6: Hide the Secret
Carefully pour the remaining fudge over the fruit layer. Use a spatula to smooth it out, making sure your bloody center is completely hidden beneath the chocolatey cloak.
Step 7: Chill and Reveal
Slide the pan into your refrigerator and let it chill for at least 2 hours, or until firm. When ready, lift out the fudge using the parchment handles, slice into squares, and get ready for the best part: the dazzling reveal of that bloody center!
How to Serve Vampire Fudge
Garnishes
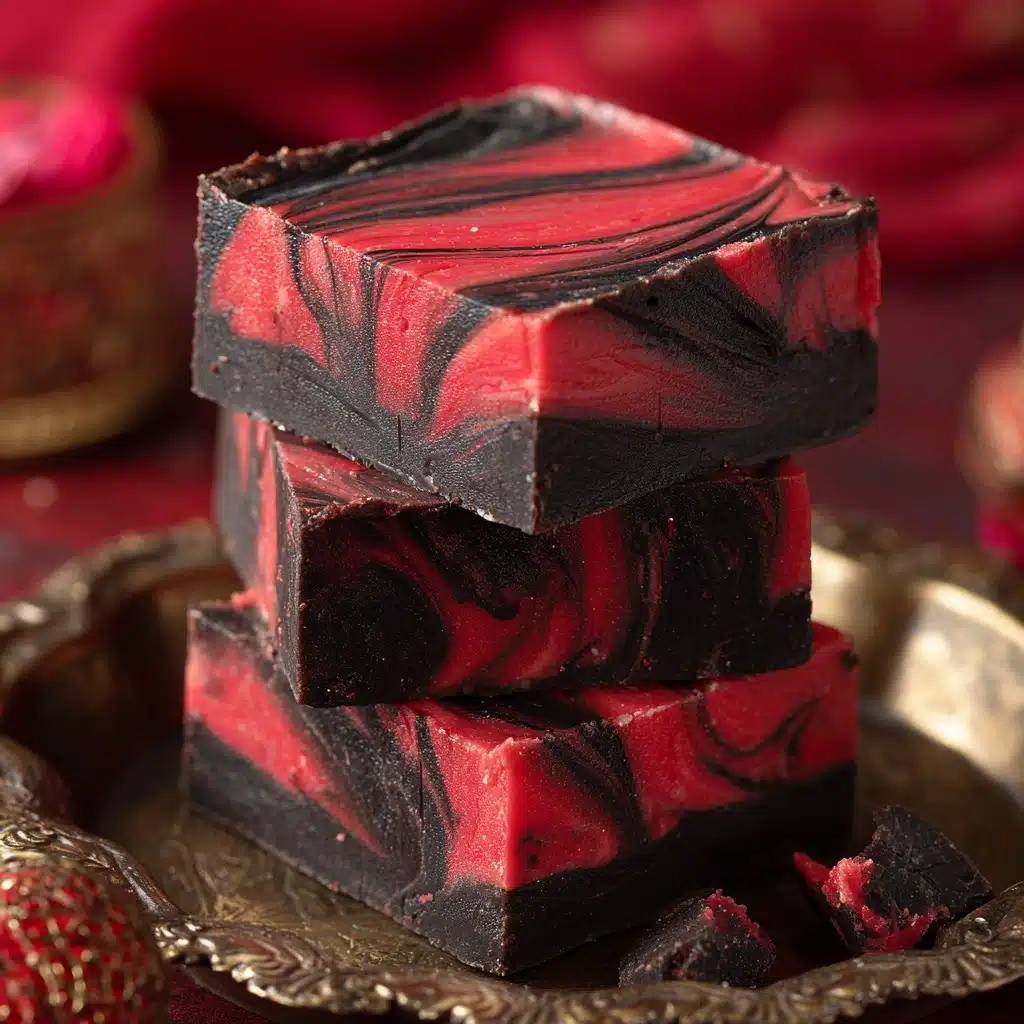
A dramatic drizzle of cherry pie filling or even a squiggle of red gel atop each square will raise the spooky fun. Fresh berries, a sprinkle of edible glitter, or a dusting of cocoa powder can fancy things up in a snap. Serve on a dark platter for that perfect vampire effect!
Side Dishes
Pair your Vampire Fudge with a scoop of vanilla ice cream, a handful of chocolate-covered cherries, or a glass of cold milk for a perfect balance. If you’re serving this at a party, consider adding other themed treats for a playful dessert spread.
Creative Ways to Present
Transform your Vampire Fudge into an unforgettable centerpiece! Stack the squares in a pyramid, serve in potion bottles for a mad scientist twist, or nestle into cupcake liners with Halloween picks. For extra flair, arrange fake vampire fangs nearby or serve on a vintage silver tray.
Make Ahead and Storage
Storing Leftovers
Store any leftover Vampire Fudge in an airtight container in the refrigerator; it will stay fresh and fudgy for up to a week. Place parchment or wax paper between the layers to prevent sticking, and bring to room temperature before serving for the best flavor.
Freezing
Freeze Vampire Fudge by wrapping individual squares tightly in plastic wrap, then placing them in a resealable bag or freezer-safe container. They’ll keep their texture and flavor for up to two months, making them an easy make-ahead treat for unexpected cravings or parties.
Reheating
Fudge is best enjoyed at room temperature, so just set your squares out for about 20 minutes if chilled or 30 to 40 minutes if frozen. Avoid microwaving, as excess heat can melt the chocolate and alter the divine texture that makes Vampire Fudge special.
FAQs
Can I use milk chocolate instead of semi-sweet chocolate chips?
Absolutely! Milk chocolate will make the Vampire Fudge a bit sweeter and creamier, so if you’re a fan of extra-sweet treats, swap away. Just be mindful to adjust the sweetness of your filling if needed.
What can I use instead of cherry pie filling?
You can use thick raspberry preserves, strawberry preserves, or even homemade berry compote. The goal is a fruit filling that’s thick enough to hold its place and give you that classic “bloody” burst.
How do I cut clean squares without making a mess?
Use a sharp, large knife dipped in hot water and wiped dry between cuts. This will help you cut right through the chocolate and filling layers, revealing the gorgeous center with neat, straight edges.
Is Vampire Fudge gluten free?
Yes, as long as your chocolate chips and preserves are gluten-free (always check labels), Vampire Fudge is naturally gluten free! It’s a perfect party dessert for guests with gluten sensitivities.
Can kids help make this recipe?
Definitely! Kids love layering and swirling in the “bloody” center, but always supervise around heat and knives. Let little helpers spread the filling or add red coloring for messy, creative fun.
Final Thoughts
Vampire Fudge is a dessert with undeniable wow-factor and zero intimidation factor, making it a must-try whether you’re celebrating Halloween or just want to serve something unexpected. The swirl of chocolate and “blood-red” fruit makes each bite a playful surprise. Go ahead—invite a little mischief into your kitchen and see who dares to take a bite!
Print
Vampire Fudge Recipe
- Prep Time: 10 minutes
- Cook Time: 10 minutes
- Total Time: 2 hours 20 minutes
- Yield: 16 pieces
- Category: Dessert
- Method: Stovetop
- Cuisine: American
- Diet: Vegetarian
Description
Sink your teeth into this devilishly delicious Vampire Fudge, a spooky treat perfect for Halloween parties. Rich chocolate fudge hides a ‘bloody’ surprise center of cherry filling, making it a frightfully fun dessert.
Ingredients
Fudge:
- 2 cups semi-sweet chocolate chips
- 1 (14 oz) can sweetened condensed milk
- ¼ cup unsalted butter
- 1 teaspoon vanilla extract
‘Bloody’ Center:
- ½ cup cherry pie filling or thick raspberry preserves
- Red food coloring (optional for deeper color)
Instructions
- Prepare Pan: Line an 8×8-inch baking dish with parchment paper.
- Melt Ingredients: In a saucepan over low heat, melt chocolate chips, condensed milk, and butter until smooth. Stir in vanilla.
- Layer Fudge: Spread half of the fudge in the pan. Top with mashed cherry filling mixed with red food coloring. Cover with remaining fudge.
- Chill: Refrigerate for at least 2 hours. Cut into squares to reveal the ‘bloody’ center.
Notes
- Enhance the spookiness by drizzling extra cherry filling or red gel over the fudge.
- Store leftovers in the refrigerator for up to a week.

