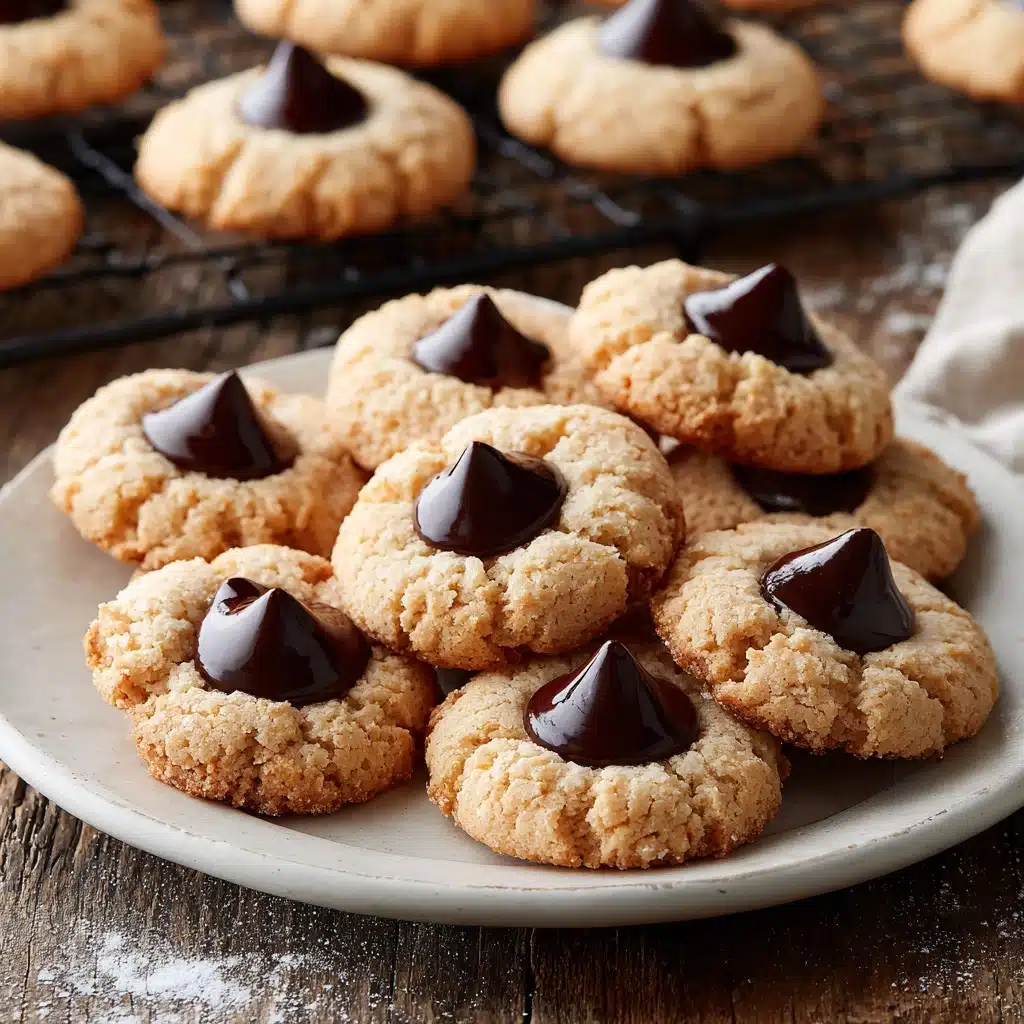
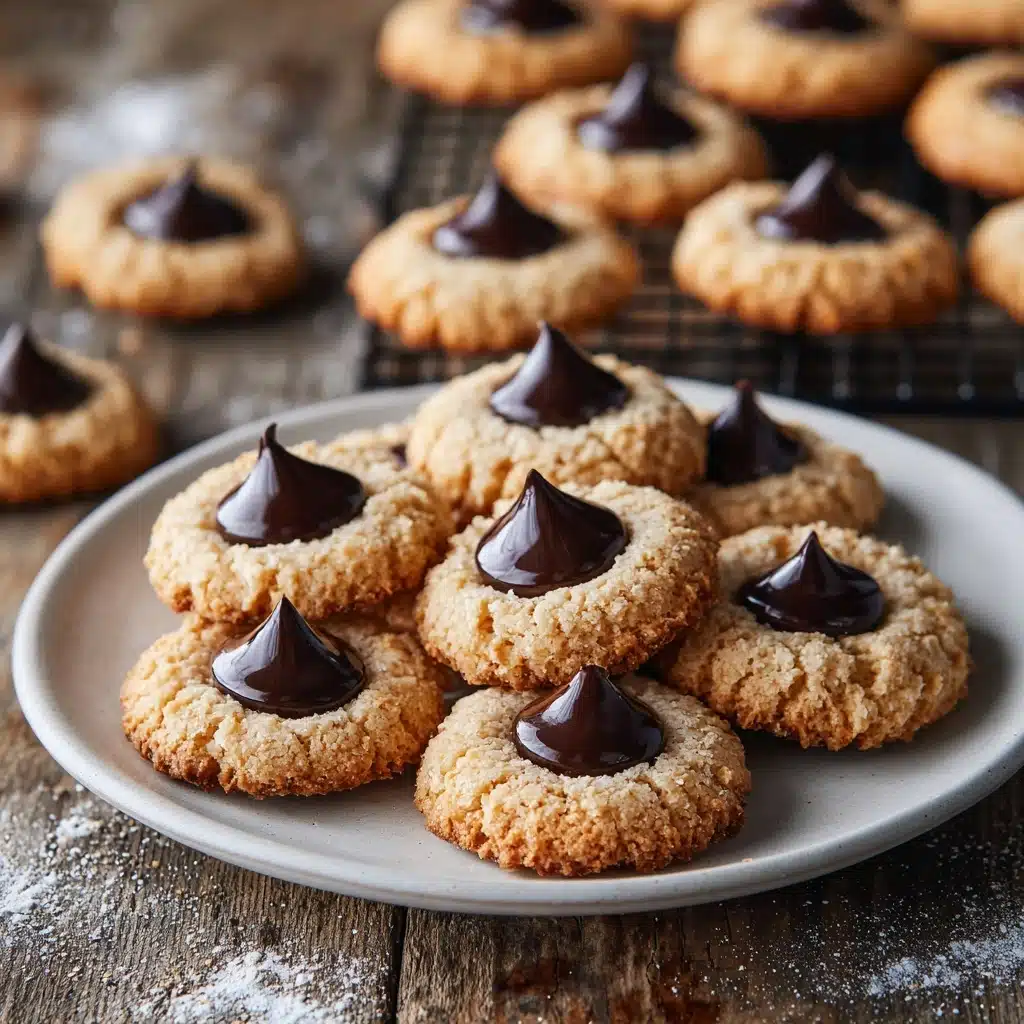
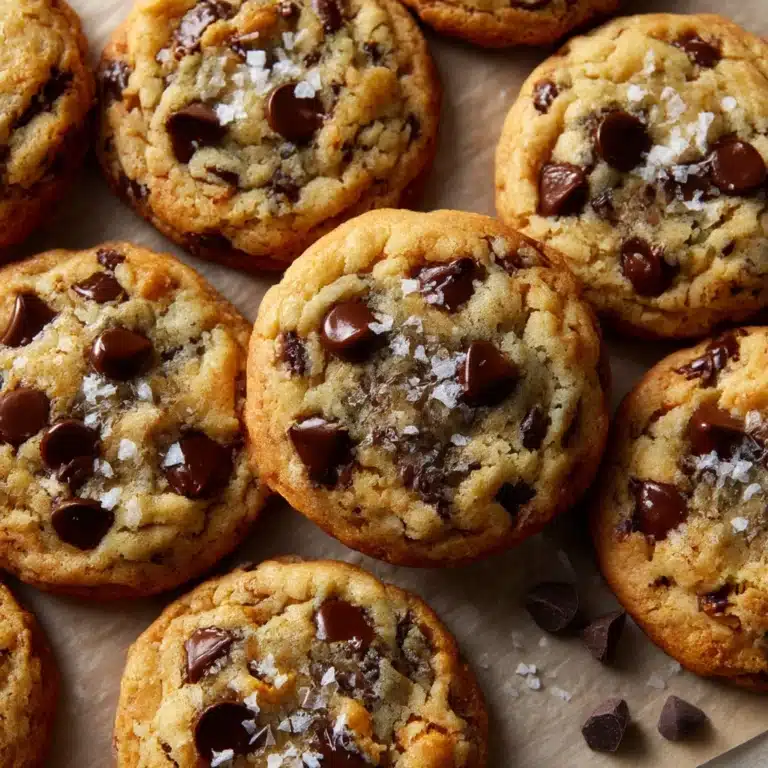
Meet a classic cookie that’s nostalgic, scrumptious, and guaranteed to win hearts: Homemade Peanut Butter Kiss Cookies. These treats are everything you crave in a holiday favorite—soft, chewy peanut butter goodness crowned with a sweet milk chocolate Kiss. Whether you’re baking for a party platter or the school bake sale, these cookies deliver cozy flavor and a touch of whimsy in every bite.
Ingredients You’ll Need
The magic of Homemade Peanut Butter Kiss Cookies comes from honest, simple ingredients. Each one is selected for its unique role—peanut butter brings that nutty richness, while brown sugar provides a caramel note and just the right amount of chew. Here’s how each ingredient makes this cookie irresistible:
- Unsalted butter, softened (½ cup): Soft butter creates that tender, melt-in-your-mouth texture—just be sure it’s not melted.
- Creamy peanut butter (½ cup): The star of the show, lending unbeatable flavor and a creamy base. Stick with regular, not natural.
- Granulated sugar (½ cup, plus extra for rolling): Sweetens the dough and adds a delightful sparkle and crunch on the outside after rolling.
- Packed brown sugar (½ cup): Gives the cookies warmth, subtle molasses notes, and a touch of chewiness.
- Large egg (1): Acts as the binder, helping everything hold together beautifully.
- Vanilla extract (1 teaspoon): Rounds out all the flavors with a cozy, aromatic finish.
- All-purpose flour (1½ cups): The backbone of the dough, providing structure and the perfect bite.
- Baking soda (¾ teaspoon): Makes these cookies light and ever-so-slightly puffy.
- Baking powder (½ teaspoon): Works alongside baking soda for that ideal texture—trust me, both make a difference!
- Salt (¼ teaspoon): Balances all the sweet and highlights the peanut butter flavor.
- Hershey’s Kisses, unwrapped (about 24): The crowning jewel—unwrapping ahead of time is a game changer when things move fast out of the oven.
How to Make Homemade Peanut Butter Kiss Cookies
Step 1: Prep Your Oven and Sheet
Start off by preheating your oven to 350°F (175°C). Line a large baking sheet with parchment paper—you want a nonstick, easy clean-up surface since these cookies are all about a soft, golden base. While the oven heats, take a moment to unwrap your Hershey’s Kisses (trust me, you’ll thank yourself later).
Step 2: Cream Together Wet Ingredients
In a big mixing bowl, combine your softened butter, creamy peanut butter, granulated sugar, and brown sugar. Beat them together on medium speed until the mixture is fluffy, light, and pale—about 2 to 3 minutes. It’s this creaming step that gives Homemade Peanut Butter Kiss Cookies their dreamy texture, so don’t cut corners!
Step 3: Add Egg and Vanilla
Crack in the egg and pour in the vanilla extract. Beat again until everything is fully incorporated and smooth. The dough will get slightly thicker and creamier, setting the stage for those dry ingredients to do their thing.
Step 4: Combine Dry Ingredients
In a separate medium bowl, whisk together the flour, baking soda, baking powder, and salt. Gradually add this dry mix to your wet ingredients, combining gently so you don’t overmix. Soon you’ll have a lush, slightly sticky dough that’s ready for rolling action.
Step 5: Shape and Sugar-Coat
Scoop out dough and roll it into 1-inch balls. Coat each ball in a shallow dish of granulated sugar, giving every cookie a sparkling, crisp exterior. Line them up on your baking sheet, spacing them about 2 inches apart so they have room to spread.
Step 6: Bake Until Just Set
Slide your tray into the oven and bake for 8 to 10 minutes. Watch closely near the end—the cookies should be set and ever-so-slightly golden around the edges but still soft in the center. Overbaking is the enemy of chewy cookies!
Step 7: Add the Kiss and Cool
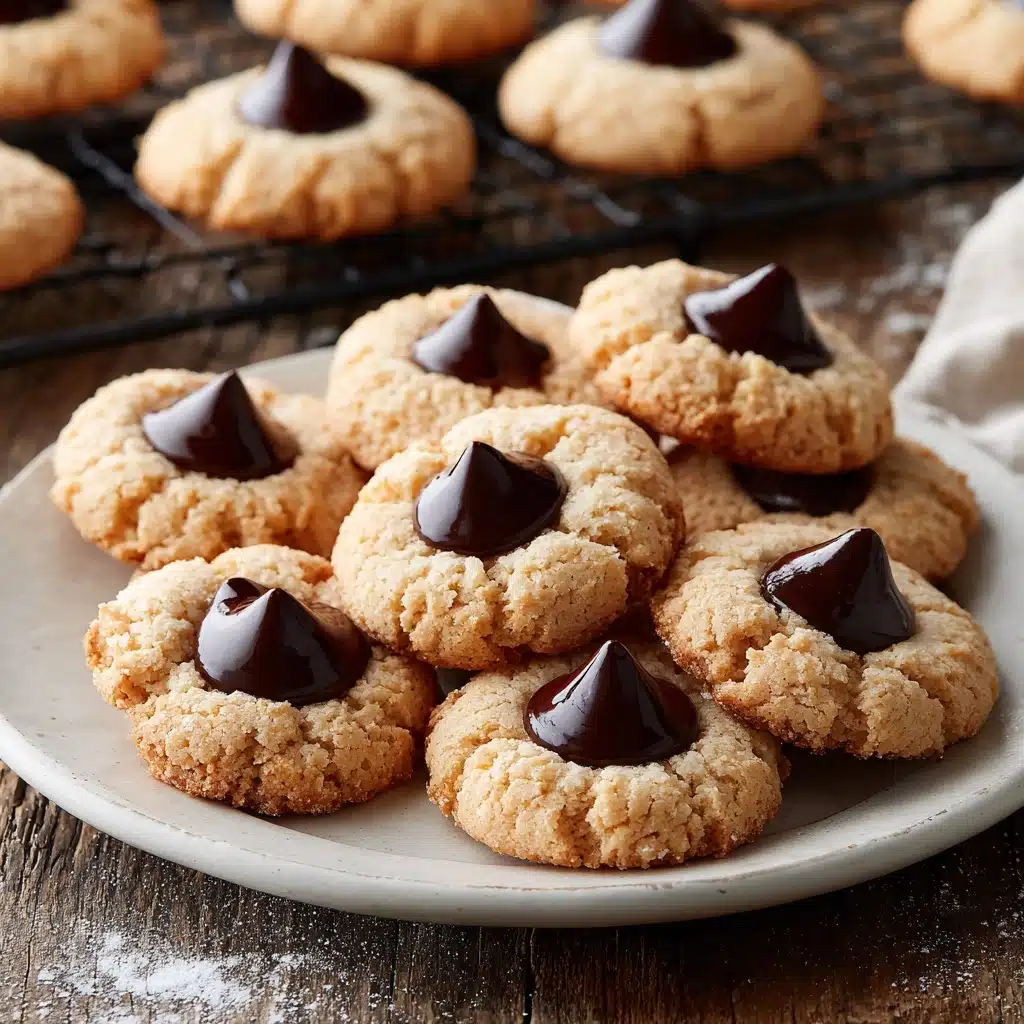
As soon as your Homemade Peanut Butter Kiss Cookies come out of the oven, gently press a Hershey’s Kiss into the center of each while they’re still warm and soft. The chocolate will melt just enough to anchor into place. Let the cookies cool on the baking sheet for five minutes before moving them to a wire rack to finish cooling (and to keep the chocolate from smearing).
How to Serve Homemade Peanut Butter Kiss Cookies
Garnishes
Classic is always a winner, but for a special touch, try a quick drizzle of melted white chocolate, a light scatter of festive sprinkles, or even a pinch of flaky sea salt right before serving. These tiny flourishes make Homemade Peanut Butter Kiss Cookies look extra inviting on any holiday platter.
Side Dishes
Pair these cookies with a cold glass of milk, a cup of hot coffee, or even a creamy mug of hot cocoa. If you’re building a dessert tray, consider adding chocolate-dipped pretzels, mini brownies, or a handful of roasted nuts for contrasting flavors and textures.
Creative Ways to Present
Stack your cookies in a cellophane bag tied with festive ribbon for a beautiful edible gift. For parties, arrange them in concentric circles on a cake stand, or serve them in individual cupcake liners for grab-and-go portions—Homemade Peanut Butter Kiss Cookies always steal the show, no matter how they’re displayed!
Make Ahead and Storage
Storing Leftovers
Once your cookies have cooled completely, store them in an airtight container at room temperature. They’ll stay fresh and soft for up to 5 days—if they make it that long! Tucking in a slice of sandwich bread can help prevent them from drying out, too.
Freezing
These cookies freeze beautifully. Place cooled Homemade Peanut Butter Kiss Cookies in a single layer in a freezer-safe container, separating layers with parchment paper. They’ll be ready to enjoy for up to 2 months—just thaw at room temperature before serving.
Reheating
If you like a warm, gooey cookie, microwave one or two for 5 to 8 seconds (no more, or the chocolate will melt!). They’ll taste oven-fresh, the chocolate just a little softer, and the kitchen will smell heavenly again.
FAQs
Can I use crunchy peanut butter instead of creamy?
Yes, you can swap creamy for crunchy peanut butter if you love a bit of texture! The cookies will have more pronounced peanut pieces and a little extra bite, but will still be just as delicious.
Do I need to chill the dough?
Chilling isn’t required, but if you want thicker Homemade Peanut Butter Kiss Cookies, popping the dough in the fridge for about 30 minutes will prevent too much spreading and result in taller, fluffier cookies.
What’s the best way to unwrap Hershey’s Kisses quickly?
It helps to unwrap the chocolates before you start baking and put them in a bowl nearby. If you’re baking with kids, it’s a fun job to delegate while you handle the dough prep!
Can I make these cookies gluten-free?
Absolutely. Substitute an equal amount of your favorite gluten-free all-purpose flour blend. Make sure your baking powder and baking soda are certified gluten-free, and you’re set.
How do I keep the chocolate from melting too much?
Press the Kisses in gently but quickly while the cookies are hot, then let them set in a cool spot. If it’s very warm in your kitchen, pop the cookies (on their sheet) in the fridge for a few minutes to help the chocolate keep its shape.
Final Thoughts
There’s a reason Homemade Peanut Butter Kiss Cookies have stood the test of time—they truly are a joy to bake and even more delightful to eat. Gather your ingredients, invite a friend or little helper to join, and let these beloved cookies fill your kitchen with cheer. Happy baking!
Print
Homemade Peanut Butter Kiss Cookies Recipe
- Prep Time: 15 minutes
- Cook Time: 10 minutes
- Total Time: 25 minutes
- Yield: 24 cookies
- Category: Dessert
- Method: Baking
- Cuisine: American
- Diet: Vegetarian
Description
These Homemade Peanut Butter Kiss Cookies are a classic holiday treat that is sure to please. Buttery, peanutty cookies with a sweet surprise in the center—Hershey’s Kisses! Perfect for festive gatherings or a cozy night in.
Ingredients
Cookie Dough:
- ½ cup unsalted butter, softened
- ½ cup creamy peanut butter
- ½ cup granulated sugar
- ½ cup packed brown sugar
- 1 large egg
- 1 teaspoon vanilla extract
- 1½ cups all-purpose flour
- ¾ teaspoon baking soda
- ½ teaspoon baking powder
- ¼ teaspoon salt
Additional:
- Extra granulated sugar for rolling
- About 24 Hershey’s Kisses (unwrapped)
Instructions
- Preheat the Oven: Preheat the oven to 350°F (175°C) and line a baking sheet with parchment paper.
- Cream Ingredients: In a large bowl, cream together the butter, peanut butter, granulated sugar, and brown sugar until light and fluffy. Beat in the egg and vanilla extract.
- Mix Dry Ingredients: In a separate bowl, whisk together the flour, baking soda, baking powder, and salt. Gradually mix the dry ingredients into the wet ingredients until a dough forms.
- Roll and Bake: Roll the dough into 1-inch balls, then roll each ball in granulated sugar. Place on the prepared baking sheet about 2 inches apart. Bake for 8–10 minutes, or until the cookies are just set and lightly golden.
- Add Kisses: Remove from the oven and immediately press a Hershey’s Kiss into the center of each cookie. Cool on the baking sheet for 5 minutes, then transfer to a wire rack to cool completely.
Notes
- For best results, unwrap the kisses ahead of time and press them into the cookies right after baking so they set perfectly.
- You can also chill the dough for 30 minutes if you prefer thicker cookies.

