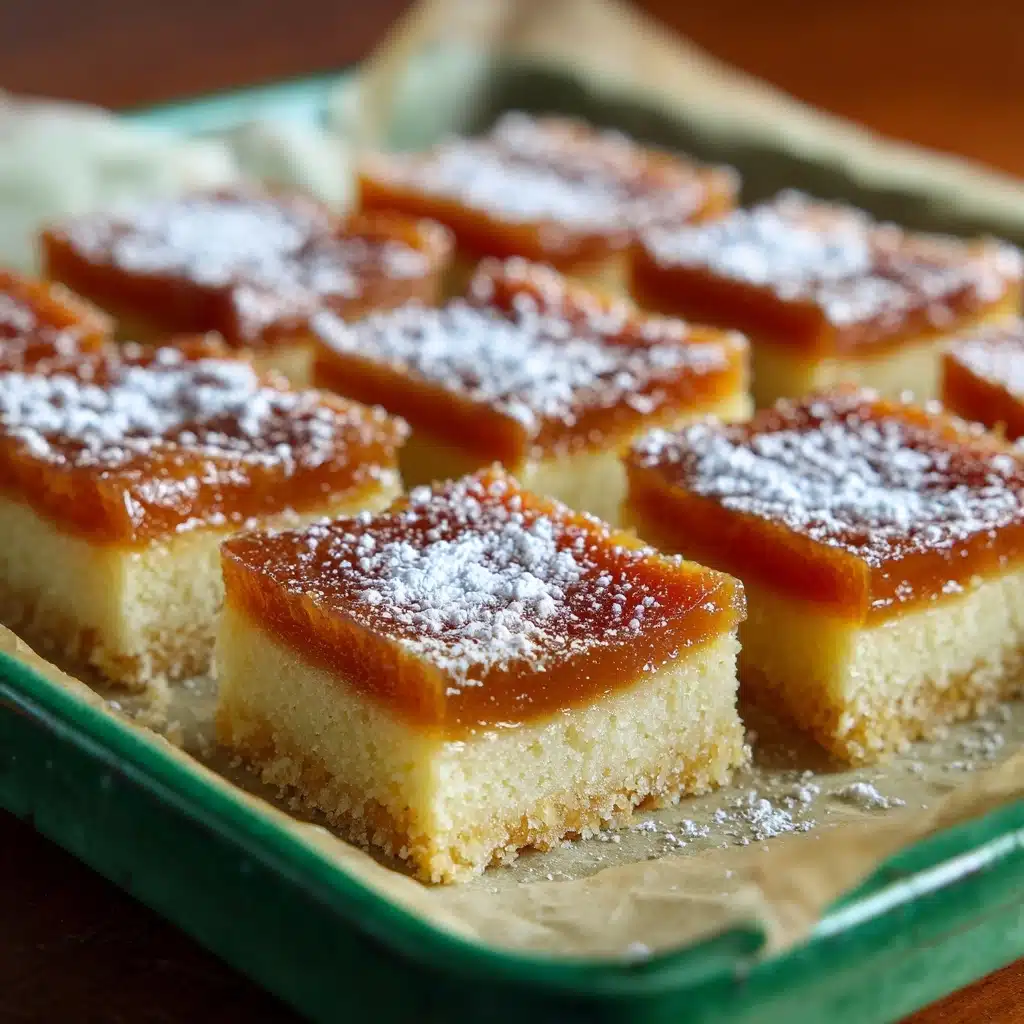
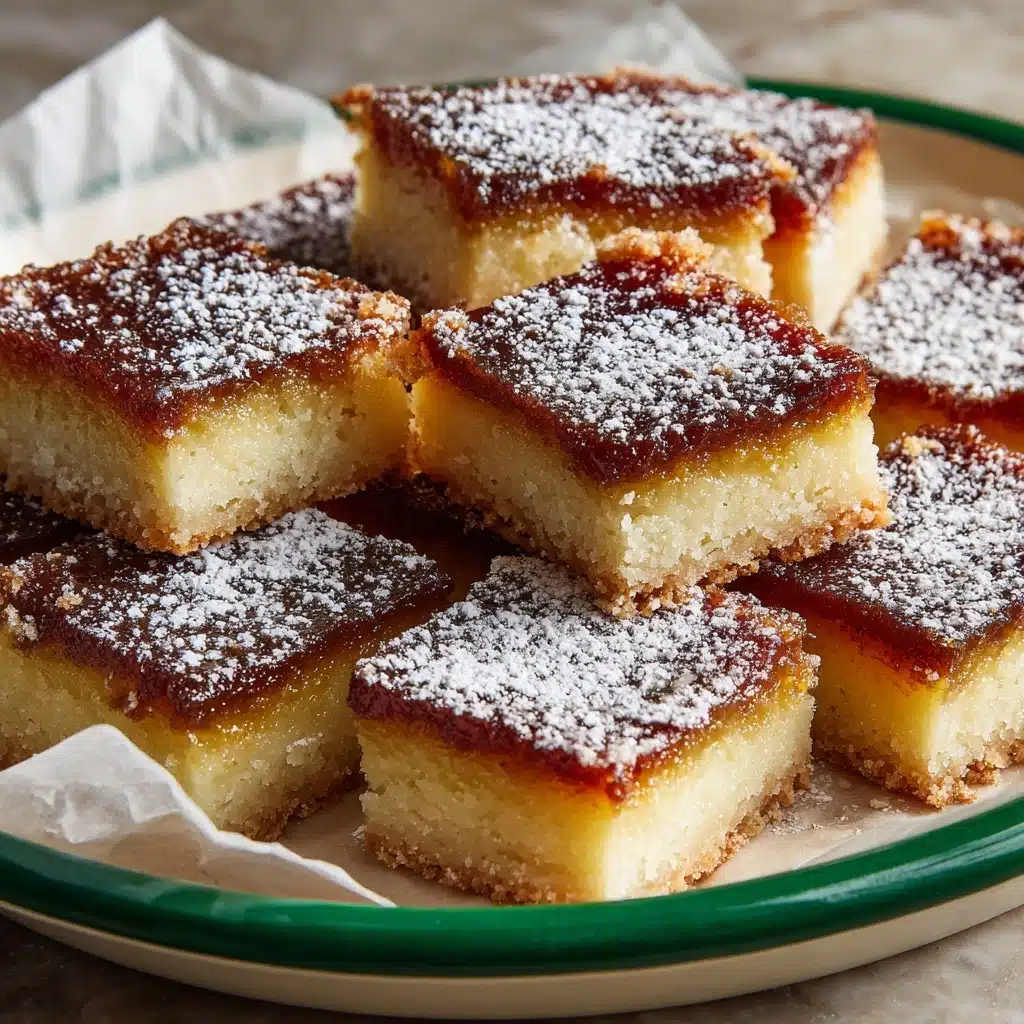
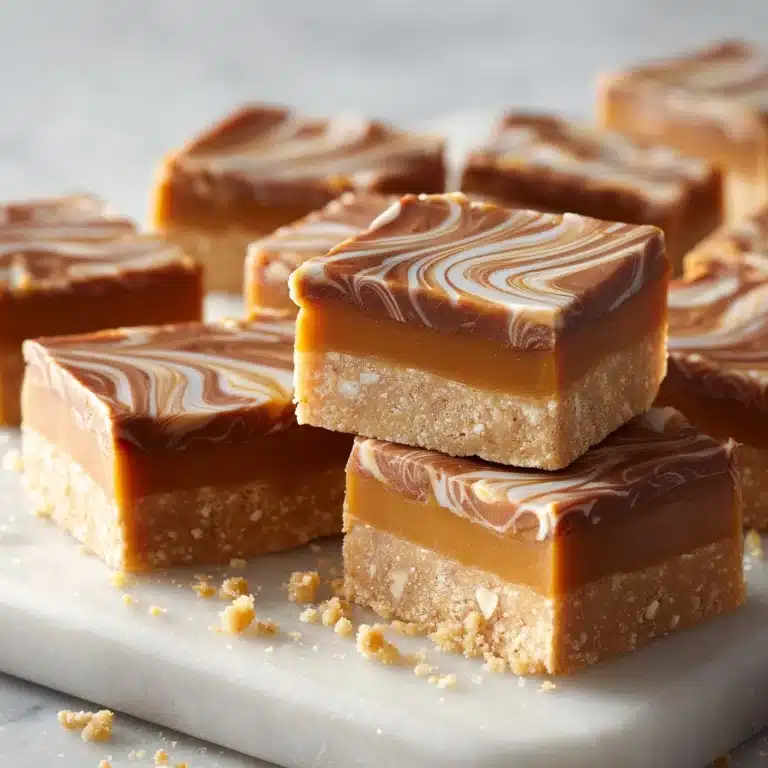
If you’ve ever yearned for a dessert that’s both chewy and buttery-soft, Hawaiian Butter Mochi is about to become your new obsession. This classic island treat blends sweet rice flour, creamy coconut milk, and luscious butter into a delightfully golden, tender bar—not quite cake, not quite pudding, but the perfect harmony of both! Whether you’re whipping it up for a festive gathering or simply satisfying a craving at home, this irresistible, gluten-free bake will easily win over your crowd and have everyone begging for seconds.
Ingredients You’ll Need
Part of Hawaiian Butter Mochi’s charm is how these simple ingredients work together to create something truly magical. Each one brings its own special role—whether it’s that addictively chewy texture, silky moisture, or sweet tropical aroma!
- Mochiko Sweet Rice Flour: This gives the mochi its signature chewy and bouncy texture—regular flour just won’t do!
- Granulated Sugar: For the gently sweet finish that perfectly balances the savory richness of butter and coconut.
- Baking Powder: Lends just a bit of lift, creating the light, custardy crumb.
- Salt: A tiny dash makes all the flavors pop; don’t skip it!
- Large Eggs: Essential for binding everything together—think fudge-like bars rather than delicate cakes.
- Coconut Milk: The heart of the mochi, bringing creamy coconut flavor and moisture to every bite.
- Evaporated Milk: Adds richness and a smooth, velvety mouthfeel reminiscent of custard.
- Vanilla Extract: A splash of vanilla deepens all the other flavors; use pure vanilla for the best results.
- Unsalted Butter (melted): Responsible for both flavor and that irresistible buttery aroma—don’t forget to let it cool slightly before mixing.
How to Make Hawaiian Butter Mochi
Step 1: Prepare the Baking Pan and Oven
Begin by preheating your oven to 350°F. Grease a 9×13-inch baking dish generously with butter or nonstick spray, making sure to get into every corner so your mochi squares pop out easily and don’t stick to the sides.
Step 2: Mix the Dry Ingredients
In a roomy bowl, whisk together the mochiko sweet rice flour, granulated sugar, baking powder, and salt. This ensures an even distribution of leavening and sweetness—no clumps allowed! Taking a moment here creates a perfectly even mochi texture later on.
Step 3: Combine the Wet Ingredients
In a separate large bowl, crack in your eggs and whisk until they’re well mixed. Then, add the coconut milk, evaporated milk, vanilla extract, and cooled melted butter. Stir until the mixture is fully blended and smooth, setting you up for that luscious, custardy flavor in every bite.
Step 4: Make the Mochi Batter
Pour your wet mixture into the dry ingredients. Grab your whisk and mix until everything looks smooth—don’t worry if it seems a bit runny at this stage! The batter should be creamy with no visible lumps, making it easy to pour into your baking dish.
Step 5: Bake to Golden Perfection
Pour the batter into your prepared pan, smoothing the top with a spatula so it bakes up evenly. For extra flair and texture, sprinkle some shredded coconut over the batter (optional, but highly recommended)! Bake for 1 hour, or until the top is deeply golden and set, and a toothpick inserted in the center comes out clean or with just a few moist crumbs.
Step 6: Cool and Slice
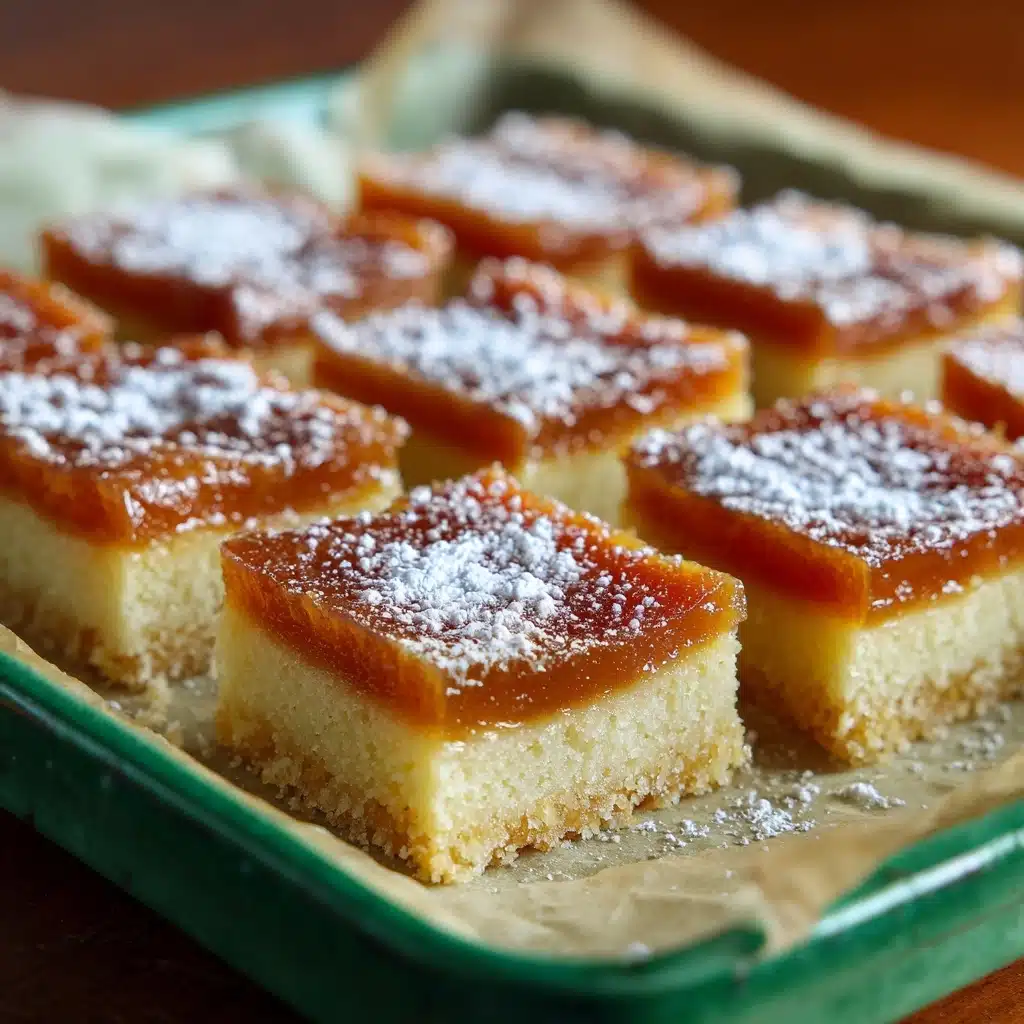
Let your Hawaiian Butter Mochi cool completely in the pan—this helps it firm up and makes slicing far easier. Once cooled, cut into 20 even squares and get ready for the best chewy dessert experience ever!
How to Serve Hawaiian Butter Mochi
Garnishes
For a festive touch, lightly dust each square with powdered sugar or top with toasted shredded coconut before serving. You can also add a sprinkle of matcha powder or a scattering of sesame seeds for an elegant twist that wows both the eyes and taste buds.
Side Dishes
Pair your Hawaiian Butter Mochi with a scoop of creamy vanilla ice cream, a simple fruit salad brimming with pineapple and mango, or a strong cup of coffee or matcha latte. The chewiness of the mochi contrasts beautifully with cool, juicy, or creamy accompaniments.
Creative Ways to Present
Try serving mochi squares in cupcake liners for easy, mess-free handling at parties, or cut them into small cubes and thread onto skewers with bits of fresh fruit for a playful dessert platter at potlucks or picnics. You can even drizzle with melted chocolate for a decadent finishing flourish!
Make Ahead and Storage
Storing Leftovers
Keep any extra Hawaiian Butter Mochi in an airtight container at room temperature for up to three days. It stays perfectly chewy and moist—just make sure it’s tightly sealed so it doesn’t dry out.
Freezing
Butter mochi freezes remarkably well! Wrap individual squares in plastic wrap, then place them in a freezer-safe bag. When you’re ready for a sweet treat, let them thaw at room temperature for a few hours—perfect for planning ahead for parties or future cravings.
Reheating
If you prefer your mochi a little warm and extra gooey, pop a square in the microwave for about 10 seconds. This brings back that just-baked magic and revives the buttery, coconut-scented aroma every time.
FAQs
Can I use regular all-purpose flour instead of mochiko?
Unfortunately, no—mochiko sweet rice flour is completely unique and crucial for that signature chewiness. Regular flour will create a dense or tough texture instead of the irresistible bouncy bite that makes Hawaiian Butter Mochi so special.
Is it possible to make this recipe dairy-free?
Yes, just swap the evaporated milk with coconut or another non-dairy milk, and use a vegan butter alternative. The texture will still be deliciously chewy with a lovely coconut aroma, though the flavor may be slightly richer in coconut!
Can I reduce the sugar without affecting the recipe?
You can cut back the sugar by about 25 percent if you like a less sweet treat, but don’t reduce it too drastically or you might lose that shiny, tender crust and the bar will be denser. Try it your way and see what you like best!
Why did my butter mochi come out too soft or too firm?
If the mochi is too soft, it may need a few more minutes in the oven; too firm, and it may have overbaked or not have quite enough liquid. Always let it cool fully before cutting, since it sets up as it rests!
Can I add mix-ins like chocolate chips or fruit?
Absolutely! Mini chocolate chips, shredded coconut, diced dried mango, or even a handful of macadamia nuts can be gently stirred into the batter for fun twists on classic Hawaiian Butter Mochi. Just don’t overload it—about one cup of extras is perfect.
Final Thoughts
Whether it’s your first bite or your fiftieth, making and sharing Hawaiian Butter Mochi is pure joy—a chewy, fragrant reminder of the island spirit. Give this recipe a try and see just how quickly it disappears at your table. There’s truly nothing quite like it!
Print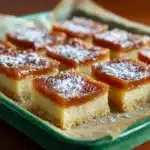
Hawaiian Butter Mochi Recipe
- Prep Time: 10 minutes
- Cook Time: 60 minutes
- Total Time: 1 hour 10 minutes
- Yield: 20 squares
- Category: Dessert
- Method: Baking
- Cuisine: Hawaiian
- Diet: Gluten-Free, Vegetarian
Description
Indulge in the delightful flavors of Hawaii with this Hawaiian Butter Mochi recipe. A chewy, custard-like dessert made with mochiko sweet rice flour and coconut milk, this gluten-free treat is sure to impress your taste buds.
Ingredients
Dry Ingredients:
- 1 box (16 oz) mochiko sweet rice flour
- 2 cups granulated sugar
- 2 teaspoons baking powder
- 1/4 teaspoon salt
Wet Ingredients:
- 4 large eggs
- 1 can (13.5 oz) coconut milk
- 1 can (12 oz) evaporated milk
- 1 teaspoon vanilla extract
- 1/2 cup unsalted butter (melted and slightly cooled)
Instructions
- Preheat the oven and prepare the dish: Preheat the oven to 350°F and grease a 9×13-inch baking dish.
- Mix the dry ingredients: In a large bowl, whisk together mochiko, sugar, baking powder, and salt.
- Combine the wet ingredients: In a separate bowl, whisk eggs, then add coconut milk, evaporated milk, vanilla extract, and melted butter.
- Blend the batter: Pour the wet ingredients into the dry mixture and whisk until smooth.
- Bake: Pour the batter into the prepared dish and bake for 1 hour until golden brown.
- Cool and serve: Let the mochi cool in the pan before cutting into squares.
Notes
- For added texture, sprinkle shredded coconut over the batter before baking.
- Butter mochi is best enjoyed at room temperature.
- Store leftovers in an airtight container at room temperature for up to 3 days.

