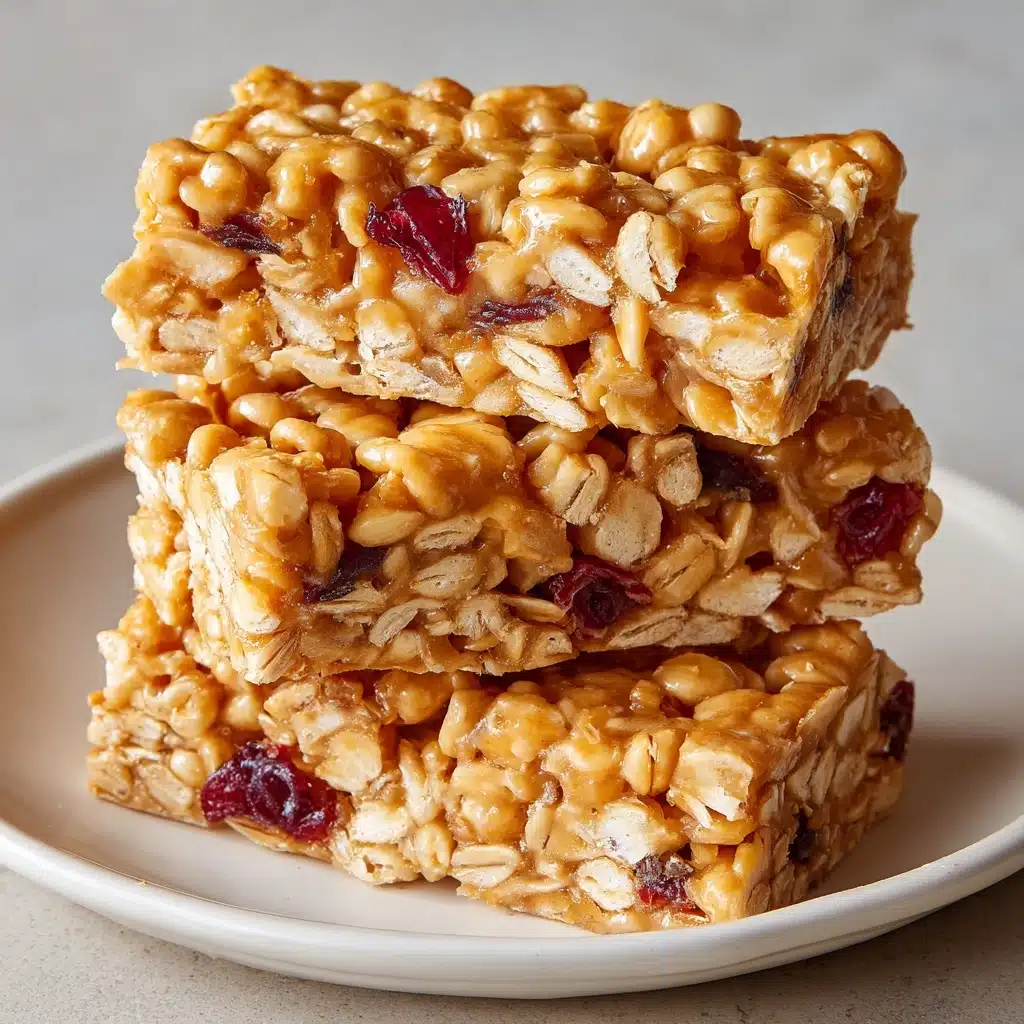
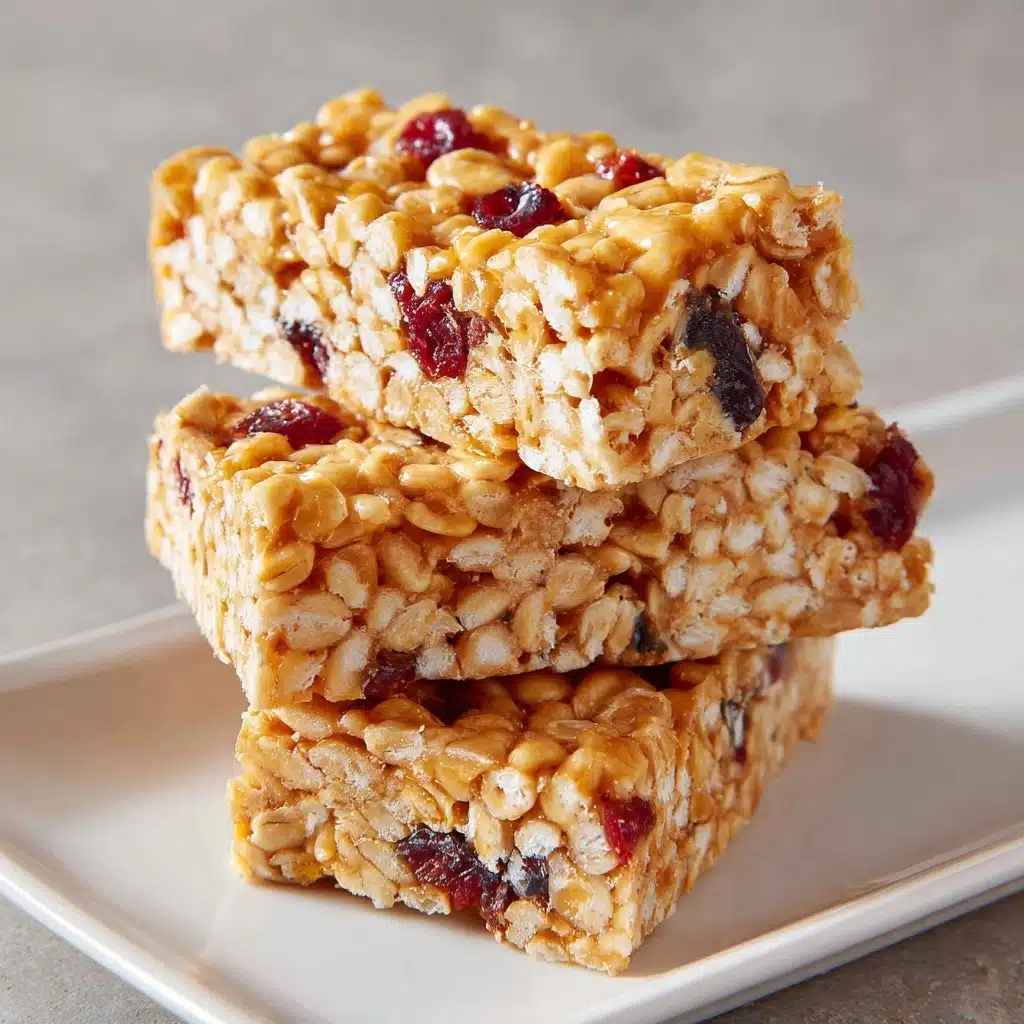
If you’re looking for a treat that falls right between wholesome snack and delightful dessert, these Cereal Bars are about to become your new obsession! With their lightly sweet, chewy-crunchy texture and irresistible peanut butter flavor, this recipe is perfect for busy mornings, after-school treats, or anytime you crave something simple yet delicious. The best part? No baking required, and just a handful of everyday pantry ingredients. You’ll love how easily these Cereal Bars come together, and once you try them, you might never go back to store-bought snack bars again!
Ingredients You’ll Need
There’s beauty in the basics: each ingredient in these Cereal Bars brings something special to the table, from a hearty crunch to a sweet, nutty finish. Let’s take a closer look at what makes every component essential for taste, texture, and satisfaction.
- Crispy rice cereal: This is the foundation of the bars, providing that classic, satisfying crunch and lightness without overpowering flavors.
- Honey or light corn syrup: Acts as both the sweetener and glue, ensuring everything sticks together while lending a gentle sweetness.
- Creamy peanut butter: Adds a luxurious creaminess and rich, nutty taste that makes each bite unforgettable.
- Brown sugar: Deepens the flavor with a touch of caramel-like warmth, balancing the other sweet elements beautifully.
- Vanilla extract: Just a dash boosts aroma and rounds out the flavors for a comforting homemade touch.
- Pinch of salt: A little salt brightens up all the sweetness and enhances the nutty notes—don’t skip it!
How to Make Cereal Bars
Step 1: Prep Your Pan
Start by lining an 8×8-inch or 9×9-inch square baking pan with parchment paper, letting some hang over the edges for easy lifting later. This simple step makes transferring and cutting the Cereal Bars so much easier, and your cleanup will be a breeze.
Step 2: Make the Sweet Peanut Butter Mixture
Grab a medium saucepan and place it over medium heat. Add your honey (or light corn syrup), creamy peanut butter, and brown sugar to the pan. Stir constantly as the mixture melts together, ensuring it doesn’t scorch, and keep going until it’s completely smooth and just beginning to bubble gently. This should take about 2 to 3 minutes, and the aroma is nothing short of heaven!
Step 3: Finish the Mixture
Once your peanut butter mixture has bubbled a bit, remove it from the heat. Immediately stir in the vanilla extract and that all-important pinch of salt. These final touches lift the flavor and make your Cereal Bars taste bakery fresh.
Step 4: Combine With Cereal
Pour the warm mixture right over your crispy rice cereal, which you’ve set aside in a large bowl. Act quickly here—use a sturdy spatula to combine everything until the cereal is evenly coated. If you want to add mini chocolate chips, dried fruit, or nuts, now’s your chance! Just let things cool for a minute or two before tossing them in, so your add-ins don’t melt away.
Step 5: Press and Chill
Transfer the coated cereal into your prepared pan. Using a spatula (or a piece of parchment paper), press down firmly and evenly so the bars hold together well. Pop the pan on the counter and let it cool at room temperature for about an hour. In a hurry? The fridge will set them in just 30 minutes. Once the bars are firm, simply lift them out using the parchment and slice into generous squares.
How to Serve Cereal Bars
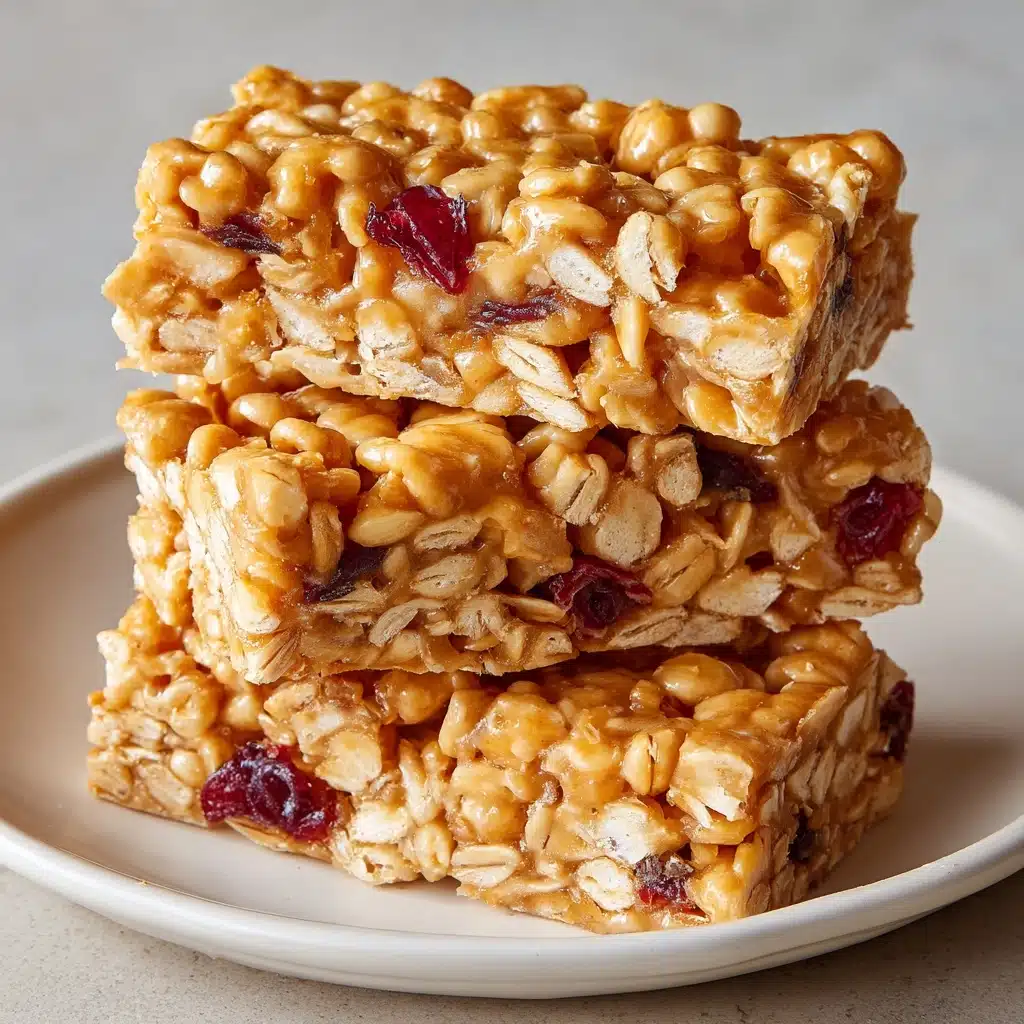
Garnishes
Liven up your Cereal Bars with fun and tasty garnishes! A drizzle of melted dark chocolate, a sprinkle of flaky sea salt, or a handful of mini chocolate chips on top bring extra flair and flavor. Kids especially love a colorful sprinkle of rainbow nonpareils for a festive touch.
Side Dishes
Pair these bars with a cold glass of milk, a hot cup of coffee, or your favorite fruit smoothie for a filling breakfast or snack. If you’re packing for a lunchbox or picnic, they also go great alongside fresh fruit or veggie sticks for a well-rounded treat.
Creative Ways to Present
Cut the Cereal Bars into bite-sized cubes and pile them up for a sweet party platter, or wrap individual bars in parchment and twine for a homemade snack gift. You can even insert popsicle sticks before chilling for a playful Cereal Bar “lollipop”—the options are endless and always crowd-pleasing!
Make Ahead and Storage
Storing Leftovers
Your Cereal Bars will stay fresh and chewy when stored in an airtight container at room temperature for up to five days. Just make sure the container is truly airtight to keep them from drying out or turning soggy—layer parchment between bars if you need to stack them.
Freezing
Need to stock up? Place individual bars in a single layer on a baking sheet to freeze until solid, then transfer to a resealable freezer bag. They’ll keep their texture and flavor for up to two months. Just let them thaw at room temperature for 15–20 minutes before digging in.
Reheating
Cereal Bars are best enjoyed at room temperature or straight from the fridge, but if you must revive a slightly stale batch, a quick 5-second zap in the microwave can make them soft and chewy again. Be careful not to overdo it, though—you want them tender, not melted!
FAQs
Can I use another nut butter instead of peanut butter?
Absolutely! Almond butter, cashew butter, or even sunflower seed butter all work well, giving different flavors while keeping the bars creamy and delicious. Just make sure your substitute isn’t too oily or runny for best results.
Are these Cereal Bars gluten-free?
If you use certified gluten-free crispy rice cereal, your bars will be gluten-free. Always check your brand’s label to be certain, especially if you’re sharing with friends who have allergies or sensitivities.
Can I reduce the sugar?
You can cut back slightly on the brown sugar or honey, but don’t reduce by too much—otherwise the bars might not hold together as well. If you want a lower-sugar option, try using brown rice syrup or a mix of stevia and honey for sweetness.
Can I add extra mix-ins or toppings?
Yes! Stir in anything from mini chocolate chips and dried cranberries to shredded coconut or toasted seeds. Just avoid going overboard, as adding too much can make the bars crumble or not stick together properly.
Why won’t my Cereal Bars stay together?
This usually happens if the mixture wasn’t cooked long enough to dissolve the sugar, or if it cooled too much before being mixed with the cereal. Make sure to stir the hot syrup over the cereal quickly and press down firmly in the pan for the perfect bar texture.
Final Thoughts
There’s something genuinely joyful about making these Cereal Bars at home—they’re quick, endlessly adaptable, and guaranteed to bring a big smile to anyone who tries them. Whether you’re packing lunchboxes, fueling up for a hike, or just treating yourself, I hope you’ll give these a try and make them your new favorite snack tradition!
Print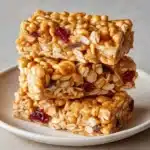
Cereal Bars Recipe
- Prep Time: 10 minutes
- Cook Time: 5 minutes
- Total Time: 15 minutes (plus cooling time)
- Yield: 12 bars
- Category: Snack
- Method: No-Bake
- Cuisine: American
- Diet: Vegetarian
Description
These homemade cereal bars are a delightful treat that are perfect for snacking or a quick breakfast on the go. Made with crispy rice cereal, peanut butter, and honey, these bars are a crowd-pleaser for both kids and adults.
Ingredients
Main Ingredients:
- 4 cups crispy rice cereal
- 1/2 cup honey or light corn syrup
- 1/2 cup creamy peanut butter
- 1/4 cup brown sugar
- 1/2 teaspoon vanilla extract
- pinch of salt
Instructions
- Prepare the Pan: Line an 8×8-inch or 9×9-inch square baking pan with parchment paper.
- Mix the Ingredients: In a medium saucepan over medium heat, combine honey, peanut butter, and brown sugar. Stir until smooth and bubbly. Remove from heat, add vanilla and salt.
- Coat the Cereal: Pour the mixture over the cereal in a bowl. Stir quickly to coat evenly.
- Set the Bars: Transfer the mixture to the pan. Press down firmly. Let cool at room temperature or refrigerate until set.
- Serve: Cut into squares and enjoy!
Notes
- Add mini chocolate chips, dried fruit, or nuts for extra flavor.
- Store in an airtight container for up to 5 days.

