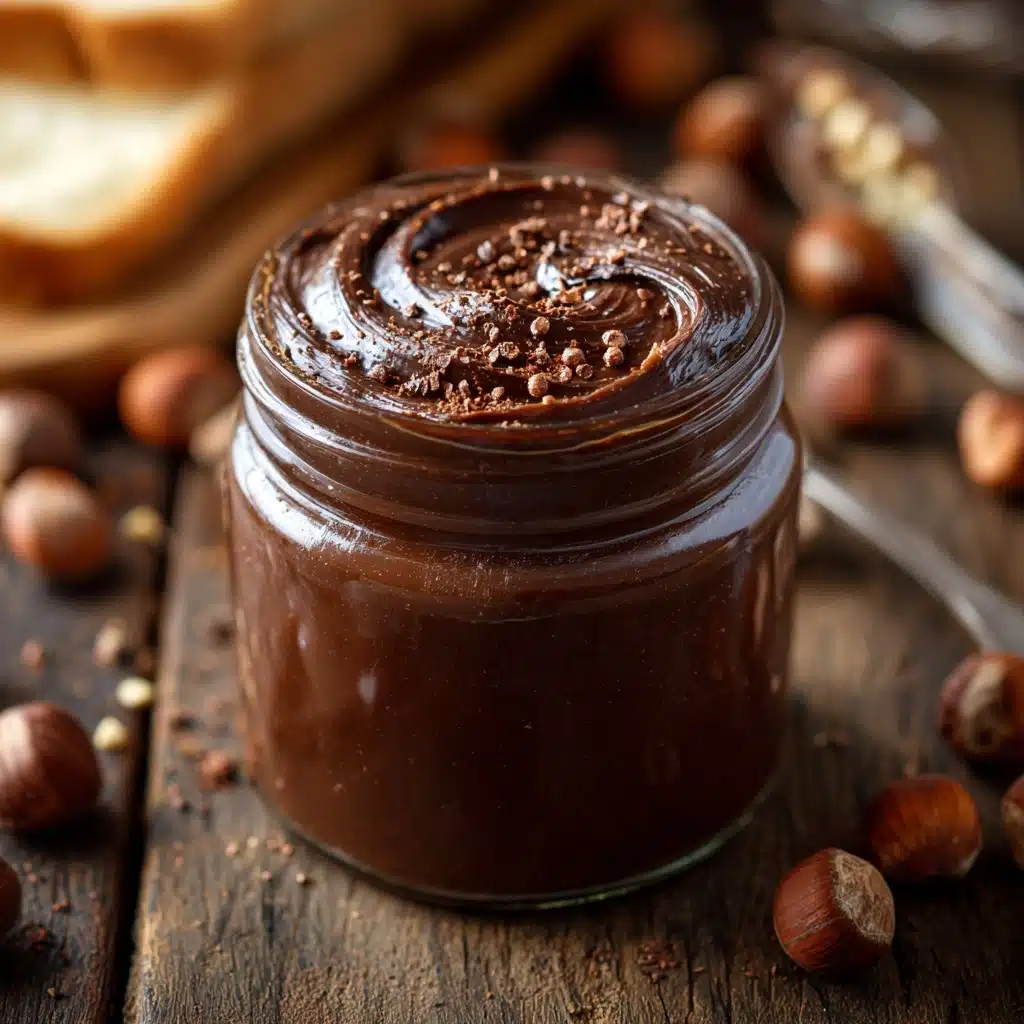
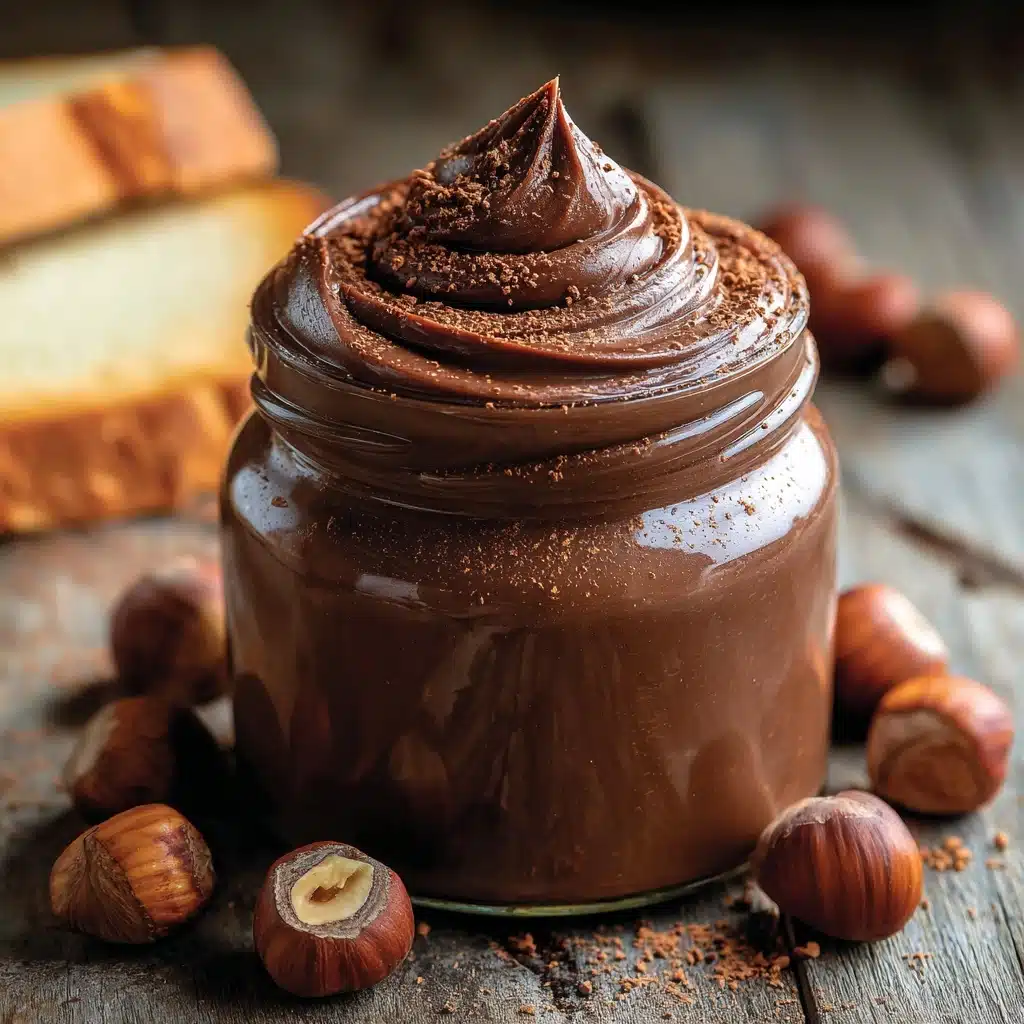
If you’ve always dreamed of spooning a velvety, deeply nutty chocolate spread straight from the jar, Homemade Nutella is your ticket to snacking bliss. Imagine that signature creamy, chocolate-hazelnut flavor—only richer, fresher, and tailored exactly to your taste buds. This DIY recipe empowers you to skip the store-bought stuff and bask in the glorious aroma of toasted hazelnuts and melted chocolate in your own kitchen. Whether you slather it on toast or sneak a spoonful when no one’s looking, you’ll quickly see why making Homemade Nutella from scratch is a total game-changer.
Ingredients You’ll Need
The magic of Homemade Nutella lies in its simplicity: each ingredient is hand-picked for pure flavor and irresistible texture. Make sure you use the best you can find; it truly makes all the difference! Here’s what you’ll need and why each element matters:
- Hazelnuts (2 cups, raw): These little gems are the star of your spread, delivering that classic nutty taste and silky body.
- Powdered Sugar (1 cup): Provides a fine sweetness and helps the spread blend ultra-smoothly without any gritty texture.
- Unsweetened Cocoa Powder (1/3 cup): For bold chocolate flavor—you’ll want something rich and dark, so pick high-quality cocoa if you can.
- Neutral Oil (2 tablespoons, such as sunflower or canola): A splash of oil keeps your Homemade Nutella luscious and perfectly spreadable.
- Pure Vanilla Extract (1 teaspoon): This adds depth and rounds out the hazelnut-chocolate flavors for a complex, aromatic spread.
- Salt (1/4 teaspoon): Just a pinch makes the chocolate and nuts pop, heightening every bite.
- Melted Dark Chocolate (optional, 1/4 cup): Go for this if you crave extra richness and a truly decadent touch in your homemade version.
How to Make Homemade Nutella
Step 1: Toast the Hazelnuts
Preheat your oven to 350°F (175°C) and spread the raw hazelnuts on a baking sheet. Roast them for 10–12 minutes, shaking the pan halfway through, until their aroma fills your kitchen and they have deepened in color. This step brings out maximum nutty flavor and loosens the skins, which is key for a smooth, rich Homemade Nutella.
Step 2: Peel the Skins
Once the hazelnuts are fragrant and slightly darkened, pull them from the oven and let them cool just until they can be handled. Wrap them in a clean kitchen towel and give them a good rub—the skins should flake off fairly easily. Don’t stress about getting every bit; a few specks of skin won’t compromise your Homemade Nutella’s taste or texture.
Step 3: Blend into Nut Butter
Add your peeled hazelnuts to a food processor. Here’s where the magic happens: blend for 5–7 minutes, pausing to scrape down the sides as needed. Watch as the mixture transforms from crumbs, to a thick paste, to a glossy, pourable nut butter. Patience is rewarded here—go long enough to achieve that dreamy, spreadable consistency.
Step 4: Add Chocolatey Goodness
Sprinkle in the powdered sugar, unsweetened cocoa powder, neutral oil, vanilla, and salt. If you’re going all in, add your melted dark chocolate now. Blend again until everything is beautifully combined and gloriously creamy. Taste and adjust—if you like it sweeter, go for an extra spoonful of sugar; want it deeper? Add a little more cocoa. This is your Homemade Nutella, so make it just the way you love it!
Step 5: Strain for Extra Smoothness (Optional)
If ultra-smooth is your goal, push the finished spread through a fine mesh sieve or cheesecloth. This step is optional, but it guarantees a super silky Homemade Nutella, absolutely perfect for drizzling or dolloping.
Step 6: Store and Enjoy
Spoon your luscious Homemade Nutella into a clean jar and let it cool to room temperature. You can keep it at room temp for up to two weeks or pop it in the fridge for longer storage—no preservatives needed! Let the anticipation build (if you can resist digging in right away).
How to Serve Homemade Nutella
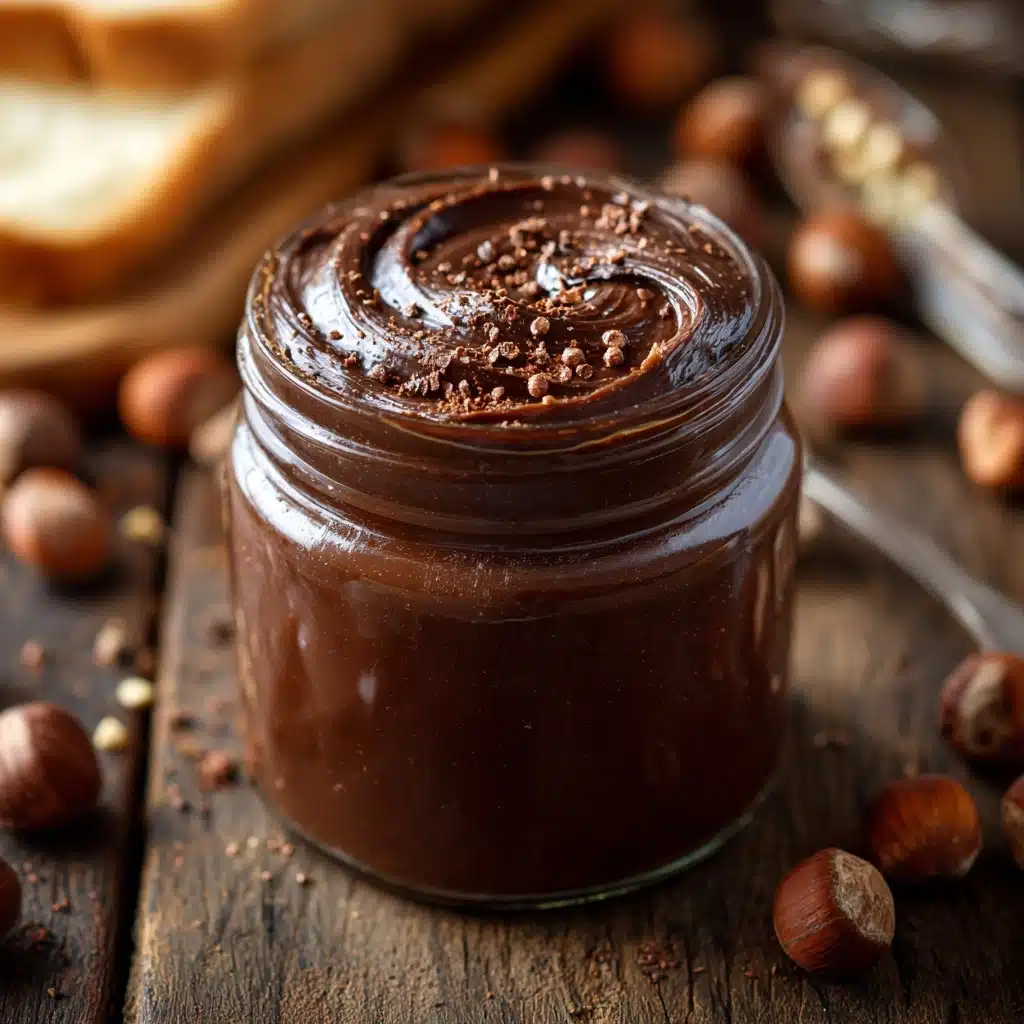
Garnishes
For a swoon-worthy finish, try a shower of flaky sea salt, a dusting of cocoa powder, or even a sprinkle of chopped roasted hazelnuts right on top of your spread. These little touches add crunch, extra flavor, and make your Homemade Nutella totally Instagrammable.
Side Dishes
This dreamy spread elevates even the most everyday sides. Slather it over warm toast, drizzle onto pancakes or waffles, sandwich between crisp cookies, or spoon over banana slices. There’s no wrong way to enjoy Homemade Nutella—it even shines on a cheese board as a rich, surprising dip.
Creative Ways to Present
Think beyond breakfast: swirl Homemade Nutella into yogurt parfaits, pipe it into pastries, layer it in cakes, or serve it as a dip on a fruit platter at your next brunch. Tiny jars make brilliant edible gifts during the holidays—just tie with ribbon and you’ll win the hearts of all your friends!
Make Ahead and Storage
Storing Leftovers
Keep any leftover Homemade Nutella in a tightly sealed jar. At room temperature it’ll stay deliciously fresh for up to two weeks, but if your kitchen is warm or you want to stretch its shelf life, pop it in the fridge.
Freezing
Yes, you can freeze your Homemade Nutella! Transfer it to a freezer-safe container, leaving a little space for expansion. It’ll keep well for up to 2 months. When you’re ready to use, thaw in the refrigerator overnight and give it a good stir to restore its creaminess.
Reheating
If your spread thickens in the fridge, simply let it sit at room temp for a while or briefly warm the jar in a bowl of warm water (just make sure it’s not too hot). Stir well, and your Homemade Nutella will be perfectly spreadable once more.
FAQs
Can I make Homemade Nutella without a food processor?
While a food processor is best for the creamiest texture, you can use a high-powered blender instead. Just work slowly and pause frequently to scrape down the sides for even blending.
Is it possible to make Homemade Nutella vegan?
Absolutely! This recipe is naturally vegan if you use dairy-free dark chocolate (or skip the chocolate) and ensure your powdered sugar is vegan-friendly. The result is every bit as luscious and chocolaty.
Why is my Homemade Nutella grainy?
Graininess usually means the nuts weren’t processed long enough or the sugar didn’t fully blend in. Keep blending and consider straining for extra smoothness—patience pays off!
Can I use other nuts instead of hazelnuts?
Sure thing! Almonds and cashews make tasty alternatives, though you’ll miss that classic Nutella vibe. Experiment with your favorites and discover a whole new world of nutty spreads.
How can I adjust the sweetness?
The beauty of Homemade Nutella is customization: add less sugar for a dark chocolate version, or more for a classic, sweeter finish. Taste as you go and tweak to your liking!
Final Thoughts
There’s just something magical about creating your own Homemade Nutella—it’s simple, fun, and the payoff is a jar full of pure chocolate-hazelnut joy. Give it a try; once you experience the unbeatable flavor and texture, there’s no going back to the store-bought jar. Happy spreading!
Print
Homemade Nutella Recipe
- Prep Time: 15 minutes
- Cook Time: 10 minutes
- Total Time: 25 minutes
- Yield: 16 servings
- Category: Condiment
- Method: Blending
- Cuisine: Italian
- Diet: Vegetarian
Description
Learn how to make your own delicious Homemade Nutella with this easy recipe. This rich and creamy chocolate hazelnut spread is perfect for spreading on toast, using in baking, or simply enjoying by the spoonful.
Ingredients
Raw Hazelnuts:
2 cups
Powdered Sugar:
1 cup
Unsweetened Cocoa Powder:
1/3 cup
Neutral Oil (such as sunflower or canola):
2 tablespoons
Pure Vanilla Extract:
1 teaspoon
Salt:
1/4 teaspoon
Dark Chocolate (melted, optional):
1/4 cup for extra richness
Instructions
- Preheat the oven: Preheat the oven to 350°F (175°C).
- Roast hazelnuts: Spread hazelnuts on a baking sheet and roast for 10–12 minutes until fragrant and slightly darkened. Remove from oven and let cool slightly. Rub hazelnuts in a clean kitchen towel to remove most of the skins.
- Make nut butter: Place peeled hazelnuts in a food processor and blend for 5–7 minutes, scraping down the sides as needed, until smooth.
- Add ingredients: Add powdered sugar, cocoa powder, oil, vanilla, and salt. Blend until fully combined and creamy.
- Optional: Add melted dark chocolate and blend briefly to incorporate.
- Store: Transfer to a clean jar and store at room temperature for up to 2 weeks or refrigerate for longer shelf life.
Notes
- For a smoother texture, strain the final spread through a fine mesh sieve or cheesecloth.
- Use high-quality cocoa powder and chocolate for the best flavor.
- Adjust sugar to taste depending on your sweetness preference.

