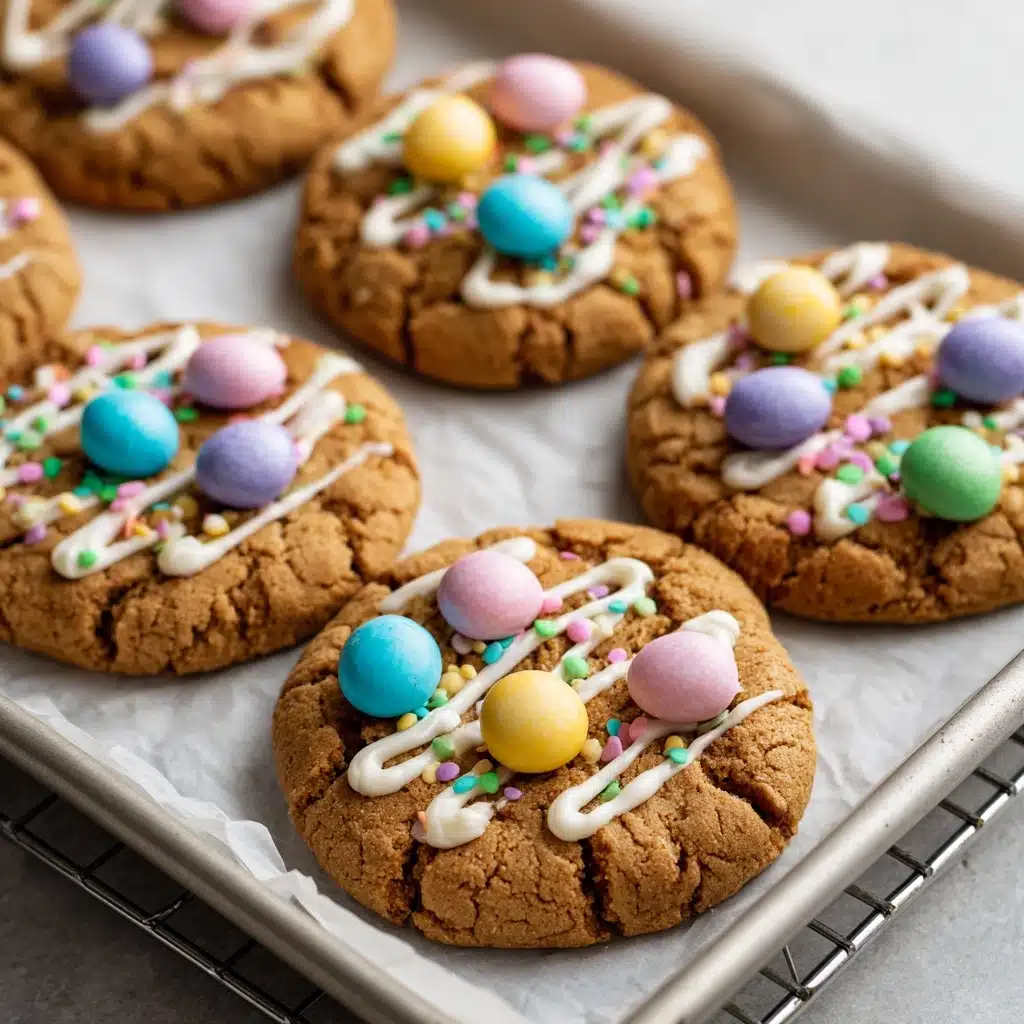
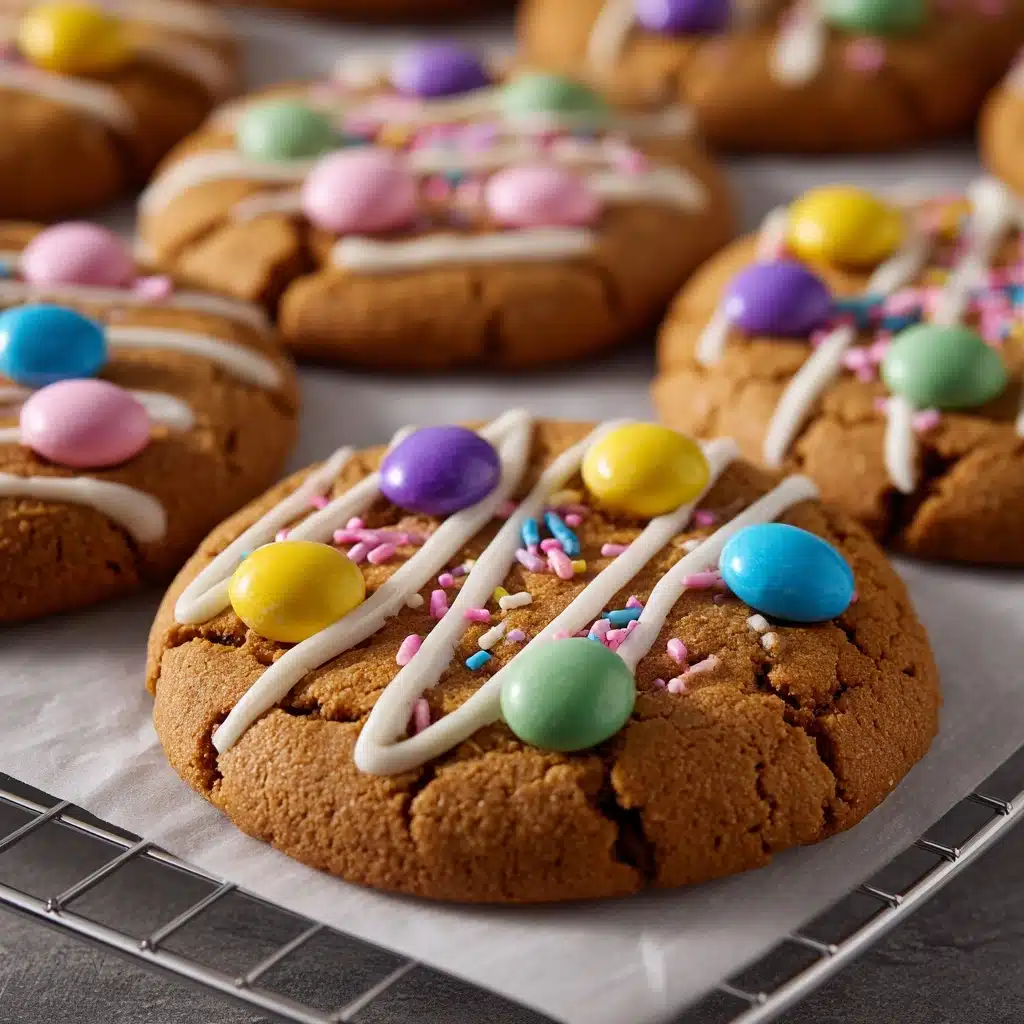
There’s something absolutely magical about bringing a splash of pastel color and buttery sweetness into your kitchen, and that’s exactly what you get with Pastel Candy-Centered Butter Cookies. These cheerful treats combine the melt-in-your-mouth richness of classic butter cookies with a vibrant surprise from candy-coated chocolates. They not only look stunning on a platter but taste irresistibly soft and tender, making them perfect for holidays, celebrations, or just adding a bit of happiness to your everyday baking.
Ingredients You’ll Need
Ingredients You’ll Need
You won’t believe how just a handful of pantry staples can come together to create such delightful Pastel Candy-Centered Butter Cookies. Each ingredient here serves a delicious purpose, from achieving the perfect crumbly texture to popping those pastel hues front and center.
- Unsalted butter: The star of the show, provides that classic richness and comfy, melt-in-your-mouth crumb.
- Granulated sugar: Adds sweetness while giving a bit of crunch to your cookie edges.
- Powdered sugar: Infuses a tender, almost silky texture that lifts every bite.
- Large egg: Binds the dough and introduces some decadence into the texture.
- Vanilla extract: A splash for warmth and familiar sweetness—don’t skip it!
- All-purpose flour: The foundation that keeps your cookies sturdy but soft.
- Baking powder: Helps give your cookies just the right amount of lift and softness.
- Salt: A tiny but crucial balancing act for all that sweetness.
- Pastel candy-coated chocolates: Provides color, crunch, and playful pockets of chocolate in every bite.
- Extra candies for decoration: Pressed on top for that irresistible bakery-style finish.
How to Make Pastel Candy-Centered Butter Cookies
Step 1: Get Ready to Bake
First things first: preheat your oven to 350°F (175°C) so it’s nice and hot when your cookies are ready. Line a baking sheet with parchment paper (trust me, this makes cleanup a breeze and keeps your cookies from sticking).
Step 2: Cream the Butters and Sugars
In a large mixing bowl, use a mixer to cream together the softened butter, granulated sugar, and powdered sugar until it’s light, fluffy, and oh-so inviting. This step is key to getting that classic buttery texture in your Pastel Candy-Centered Butter Cookies.
Step 3: Blend in Egg and Vanilla
Add the egg and vanilla extract to your butter mixture. Beat until well combined, enjoying the heavenly aroma that kicks up as the vanilla hits the bowl.
Step 4: Mix Dry Ingredients
In a second bowl, whisk together the flour, baking powder, and salt. Adding these separately ensures your baking powder is distributed evenly, helping each cookie bake up perfectly.
Step 5: Bring the Dough Together
Gradually add the dry ingredients to your wet mixture, mixing just until a soft dough forms. The dough should be soft but not sticky—if it looks a tad dry, that’s totally normal at this stage.
Step 6: Fold in the Colorful Candies
Gently fold in the pastel candy-coated chocolates. This is where the magic really happens! Be careful not to over-mix, or you might break the candies. You want little pops of pastel peeking through each cookie.
Step 7: Shape and Decorate
Scoop tablespoon-sized portions of dough onto your prepared baking sheet, spacing them about 2 inches apart (these guys need room to spread). Lightly press a few extra candies into the top of each dough ball—this not only makes the cookies extra cute but guarantees visible bursts of color.
Step 8: Bake to Perfection
Bake in the preheated oven for 10–12 minutes. Watch for edges that turn just golden—resist the urge to overbake. Let the cookies cool on the sheet for about 5 minutes before transferring them to a wire rack to finish cooling completely. This rest on the pan helps them set up beautifully.
How to Serve Pastel Candy-Centered Butter Cookies
Garnishes
For a bakery-worthy finish, try drizzling cooled cookies with melted white chocolate or adding a gentle sifting of powdered sugar. The simple addition of extra pastel candies pressed on top before baking guarantees your Pastel Candy-Centered Butter Cookies will look as joyful as they taste.
Side Dishes
These cookies pair perfectly with a mug of creamy hot cocoa, a refreshing glass of milk, or even a light herbal tea. For spring parties, serve them with lemony treats, fresh berries, or a pretty fruit salad to balance that butteriness.
Creative Ways to Present
Stack your cookies in a clear jar and tie with a pastel ribbon—ideal for gifting. Try arranging them in concentric circles on a chic white tray for brunch or, for Easter gatherings, nestle them in decorative boxes lined with tissue paper. Their colors shine in gift baskets or as a dreamy sweet treat at baby showers.
Make Ahead and Storage
Storing Leftovers
Keep Pastel Candy-Centered Butter Cookies at their best by storing them in an airtight container at room temperature. They stay fresh and scrumptious for up to 5 days, maintaining their buttery softness and that signature candy crunch. If you’re in a humid place, tuck in a little piece of bread to help absorb excess moisture.
Freezing
Looking to prep ahead? Freeze the baked cookies in a well-sealed freezer bag or container for up to 2 months. If you’d like to freeze the dough instead, shape into balls and place on a baking sheet until solid, then transfer to a freezer-safe bag. You can bake the dough straight from the freezer—just add an extra minute or two to the baking time.
Reheating
If you prefer that “just baked” warmth, gently reheat cookies in a 300°F oven for 3 to 5 minutes. This revives their lovely texture and makes the candy centers slightly gooey again—pure nostalgia in every bite!
FAQs
Can I use different colored candies or chocolate mix-ins?
Absolutely! Feel free to swap in your favorite colors or varieties of candy-coated chocolates to customize your Pastel Candy-Centered Butter Cookies for any holiday, event, or preference. Mini chocolate eggs or festive nonpareils are fun options too.
Is it okay to use salted butter?
Yes, but just skip the extra salt in the recipe if you do. Salted butter works in a pinch and can add a subtle savory edge that highlights the sweet, buttery base of these cookies.
Can I make these cookies gluten-free?
Definitely—simply use a 1:1 gluten-free all-purpose flour blend. Be sure it contains xanthan gum to help the cookies hold their shape, and check your candies to confirm they’re gluten-free too.
What’s the best way to get a soft cookie texture?
Creaming the butter and sugars well, not overbaking, and letting the cookies cool on the sheet for a few minutes all help ensure that extra-tender bite in your Pastel Candy-Centered Butter Cookies.
Can I double the recipe for a big party?
Yes, you can easily double or even triple the ingredient amounts to make a big batch. Just be sure to mix the dough evenly and rotate your baking sheets between batches for consistent results.
Final Thoughts
Whether you’re sharing smiles at a spring picnic, filling Easter baskets, or simply seeking out a cookie that brings a bit of colorful joy, Pastel Candy-Centered Butter Cookies are the answer. Give this recipe a whirl and watch as friends and family light up with every vibrant, buttery bite—these cookies are bound to become a new tradition in your kitchen!
Print
Candy-Filled Butter Cookies Recipe
- Prep Time: 15 minutes
- Cook Time: 12 minutes
- Total Time: 27 minutes
- Yield: 24 cookies
- Category: Dessert
- Method: Baking
- Cuisine: American
- Diet: Vegetarian
Description
These Pastel Candy-Centered Butter Cookies are delightful treats perfect for spring celebrations. With a buttery, vanilla-infused dough studded with colorful candy-coated chocolates, these cookies are a sweet and festive addition to any dessert table.
Ingredients
For the Cookies:
- 1 cup unsalted butter, softened
- 1/2 cup granulated sugar
- 1/4 cup powdered sugar
- 1 large egg
- 1 teaspoon vanilla extract
- 2 1/4 cups all-purpose flour
- 1/2 teaspoon baking powder
- 1/4 teaspoon salt
- 1 cup pastel candy-coated chocolates (like M&M’s)
- Extra candies for pressing on top
Instructions
- Preheat the oven: Preheat the oven to 350°F (175°C) and line a baking sheet with parchment paper.
- Cream butter and sugars: In a large bowl, cream together the butter, granulated sugar, and powdered sugar until light and fluffy.
- Add egg and vanilla: Beat in the egg and vanilla extract.
- Combine dry ingredients: In a separate bowl, whisk together the flour, baking powder, and salt.
- Mix dough: Gradually add the dry ingredients to the butter mixture and mix until a soft dough forms.
- Fold in candies: Gently fold in the pastel candy-coated chocolates.
- Scoop and bake: Scoop tablespoon-sized portions of dough onto the prepared baking sheet, press extra candies on top, and bake for 10–12 minutes until golden.
- Cool and serve: Let cool on the baking sheet for 5 minutes, then transfer to a wire rack to cool completely.
Notes
- These cookies are perfect for spring celebrations and can be decorated with melted white chocolate for extra sweetness.

