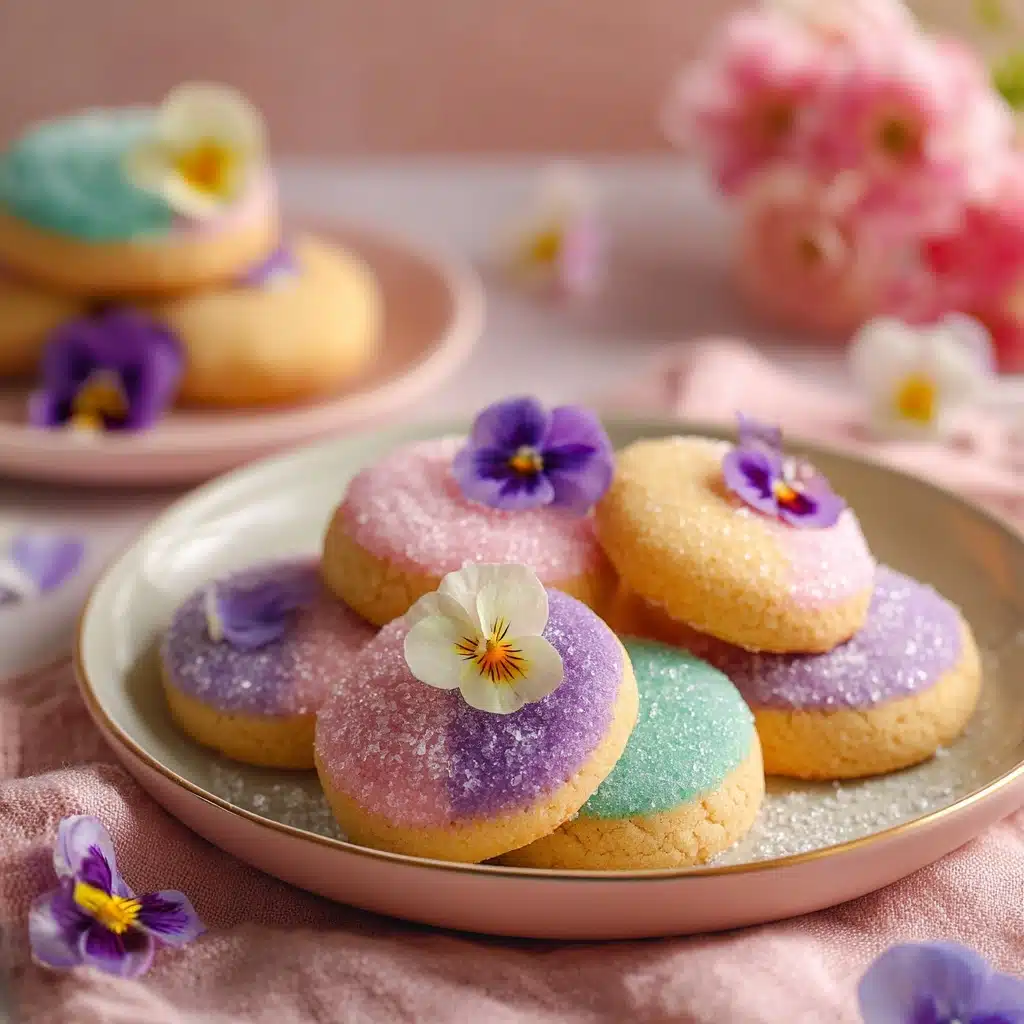
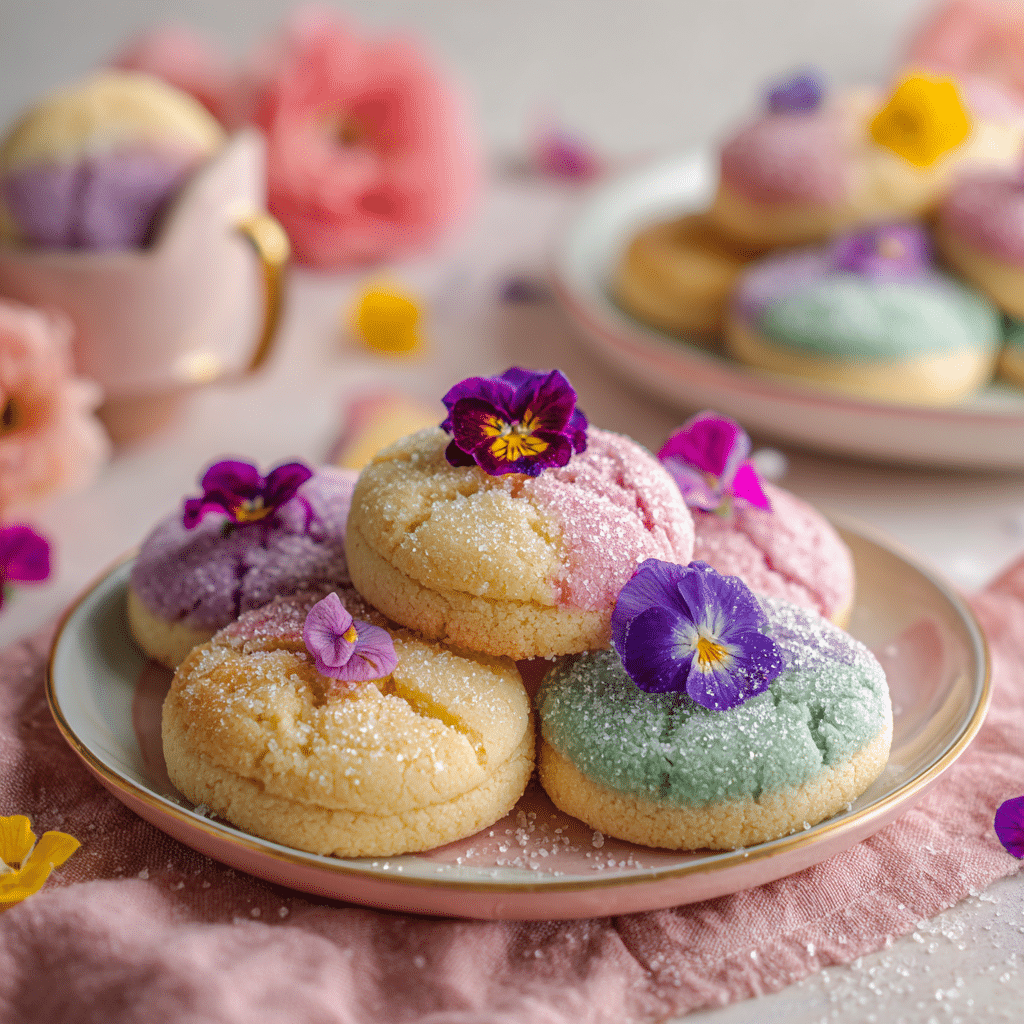
When spring finally shakes off winter’s chill, there’s just something irresistible about baking up a batch of Spring Blossom Cookies. With their buttery, tender crumb, bursts of pastel sanding sugars, and that signature chocolate kiss nestled right in the middle, these cookies are the edible version of a bouquet—perfect for sharing, gifting, or brightening any dessert table. The recipe comes together with simple ingredients and a dash of creativity, and each bite is a delicious reminder that joy can be as close as your kitchen.
Ingredients You’ll Need
The beauty of Spring Blossom Cookies lies in their straightforward ingredient list. Each one is selected to build the cookies’ melt-in-your-mouth texture, enhance their gentle sweetness, or create those gorgeous springtime hues. Here’s what you’ll need—and why it matters.
- Unsalted butter (1/2 cup, softened): Creamy butter forms the basis of the dough and ensures a tender, flavorful cookie.
- Granulated sugar (1/2 cup): Adds sweetness and helps achieve a balanced, light texture.
- Light brown sugar (1/2 cup, packed): Infuses a hint of caramelized depth and extra moisture.
- Large egg (1): Binds the dough and contributes to the cookies’ soft, chewy bite.
- Vanilla extract (1 teaspoon): A splash of vanilla brings a gentle floral note that pairs perfectly with the chocolate.
- All-purpose flour (1 1/2 cups): The classic backbone for structure—measure carefully for the best crumb.
- Baking soda (1/2 teaspoon): Gives the cookies a subtle lift without turning them cakey.
- Salt (1/4 teaspoon): A pinch of salt elevates and rounds out all the sweet flavors.
- Pastel-colored sanding sugar (pink, yellow, green, blue): These vibrant sugars are the secret to the cookies’ beautiful, flower-like sparkle.
- Chocolate kiss candies (24, unwrapped): The crowning touch—classic milk chocolate or mix it up with white chocolate for variety.
How to Make Spring Blossom Cookies
Step 1: Cream the Butters and Sugars
Start by combining softened unsalted butter with both granulated and brown sugars in a large mixing bowl. Using a hand mixer (or some good old-fashioned elbow grease), cream everything together for about 2 minutes until the mixture is light, fluffy, and pale in color. This step is key: it ensures your Spring Blossom Cookies bake up ultra-soft and not overly dense.
Step 2: Add Egg and Vanilla
Crack in your egg and pour in the vanilla extract. Beat again until fully incorporated. The mixture should look silky and smooth, which means you’re set up for a perfectly unified dough in the next step.
Step 3: Combine Dry Ingredients
In a separate bowl, whisk together the all-purpose flour, baking soda, and salt. Gradually add these dry ingredients to the wet mixture, stirring gently after each addition. Mix just until a dough forms—don’t overwork it or your cookies could turn out tough. The dough should be soft but not sticky.
Step 4: Shape and Roll in Sanding Sugar
Scoop out 1-inch balls of dough using a small cookie scoop or a tablespoon. Now comes the fun part: roll each ball in a different color of pastel sanding sugar, coating the entire surface. Picture a tray of cheerful, colorful cookie dough ready to bloom in the oven!
Step 5: Bake
Arrange the sugared dough balls on your parchment-lined baking sheet, allowing about 2 inches between each for spreading. Bake at 350°F for 8 to 10 minutes—just until the cookies are barely golden on the bottom and set on top. Keep a close eye; you want the cookies to stay pillowy, not turn crisp.
Step 6: Add the Chocolate Kiss and Cool
While the cookies are still hot from the oven, immediately press an unwrapped chocolate kiss candy into the center of each one. The heat will melt the base of the kiss slightly, anchoring it into the cookie and releasing that unmistakable cocoa aroma. Let the cookies cool on the baking sheet for 5 minutes before transferring them to a wire rack to finish cooling completely.
How to Serve Spring Blossom Cookies
Garnishes
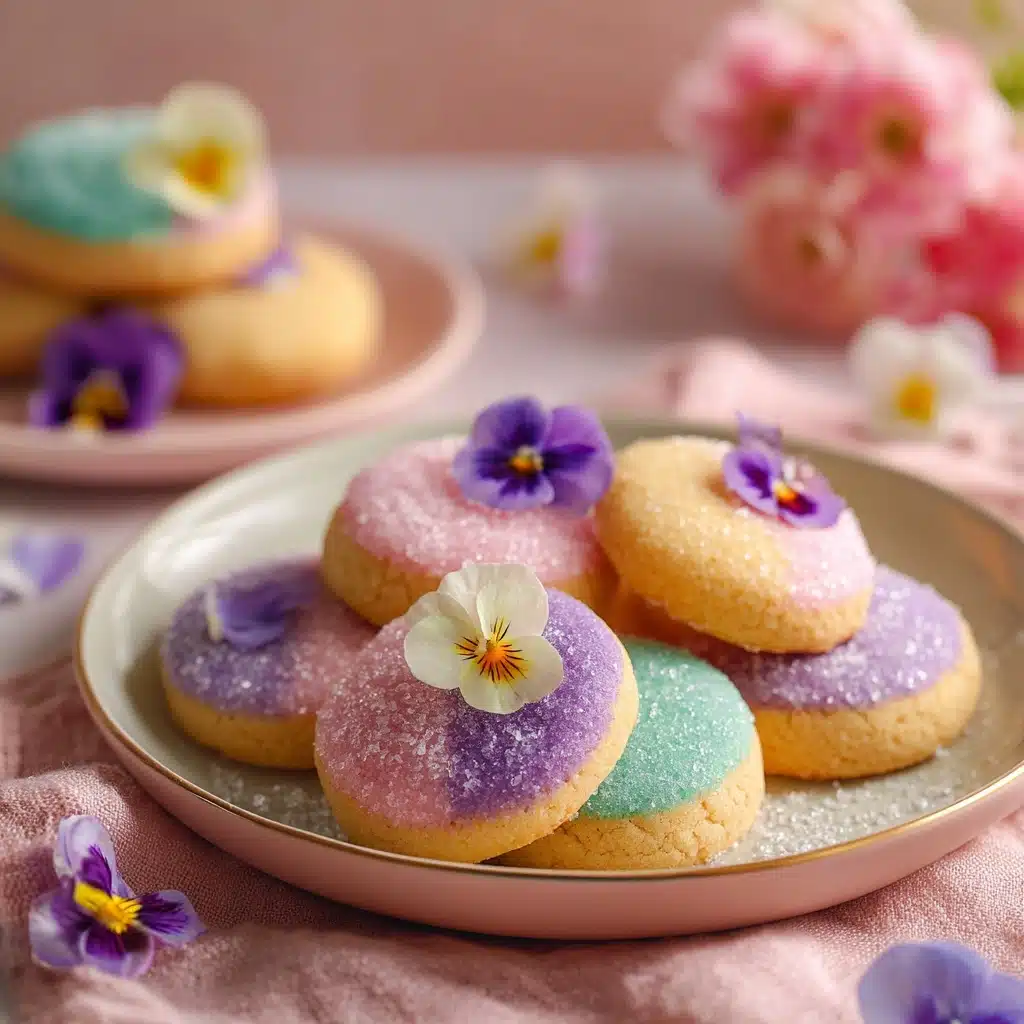
Though stunning as-is, you can add a lovely finishing touch to your Spring Blossom Cookies by dusting them with a touch more colored sanding sugar or topping them with tiny edible flower petals. This little extra shimmer really makes the cookies sparkle on the plate.
Side Dishes
Pair your Spring Blossom Cookies with a pitcher of iced herbal tea, a classic glass of cold milk, or even a bowl of fresh berries. Their sweetness and cheerful colors make them ideal alongside savory afternoon snacks or delicate finger sandwiches for a full spring-themed spread.
Creative Ways to Present
Arrange the cookies on a tiered dessert stand to mimic the look of a blooming flower garden, or tuck a few into clear cellophane bags tied with pastel ribbon for the sweetest homemade gift. They’re also a gorgeous addition to a brunch buffet, especially when surrounded by mini daffodils or fresh-cut tulips.
Make Ahead and Storage
Storing Leftovers
Keep Spring Blossom Cookies fresh by storing them in an airtight container at room temperature. They’ll stay soft and delightful for up to a week, making them a perfect make-ahead treat for lunchboxes or spring celebrations.
Freezing
You can freeze the baked cookies (after they’ve cooled completely) in a tightly sealed container for up to 2 months. To freeze unbaked dough, shape and sugar the dough balls, then freeze them spread out on a baking sheet before transferring to a zip-top bag. Bake from frozen, adding a minute or two to the baking time.
Reheating
If you like your Spring Blossom Cookies just a little warm, pop one in the microwave for 8-10 seconds. The chocolate kiss will go wonderfully melty, and the cookies will taste as fresh as the day they were baked.
FAQs
Can I use different types of chocolate kisses?
Absolutely! While the classic milk chocolate kiss is always a hit, try white chocolate, dark chocolate, or even swirl flavors for a unique twist on Spring Blossom Cookies.
What if I can’t find pastel sanding sugar?
No problem—any sanding sugar or sprinkles will add some sparkle. You can also make your own by mixing regular granulated sugar with a drop of gel food coloring and letting it dry before using.
Can I make the dough ahead of time?
Yes! The dough for Spring Blossom Cookies can be mixed, scooped into balls, and refrigerated (covered) up to 48 hours before baking. Just roll in sanding sugar and bake when you’re ready.
How do I prevent the chocolate kiss from melting too much?
Press the kisses into the cookies immediately after baking, then let the cookies cool in a cooler room or even chill quickly in the fridge for a few minutes to set the chocolate.
Are Spring Blossom Cookies suitable for decorating with kids?
Definitely! Kids love rolling the dough balls in colorful sugar and pressing the chocolate kisses into the warm cookies. It’s a fun, hands-on way to get everyone in a festive spring mood.
Final Thoughts
There’s just something magical about baking and sharing a plate of Spring Blossom Cookies. Whether you’re surprising your family, decorating for a party, or gifting a box to a friend, these cookies bring a joyful burst of flavor and color to every occasion. Go ahead—gather your ingredients and watch your kitchen fill with sunshine and smiles!
Print
Spring Blossom Cookies Recipe
- Prep Time: 15 minutes
- Cook Time: 10 minutes
- Total Time: 25 minutes
- Yield: 24 cookies
- Category: Dessert
- Method: Baking
- Cuisine: American
- Diet: Vegetarian
Description
These Spring Blossom Cookies are a delightful treat for any occasion. Soft and buttery cookies coated in pastel-colored sanding sugar and topped with a chocolate kiss in the center, they are as pretty as they are delicious.
Ingredients
Cookies:
- 1/2 cup unsalted butter, softened
- 1/2 cup granulated sugar
- 1/2 cup packed light brown sugar
- 1 large egg
- 1 teaspoon vanilla extract
- 1 1/2 cups all-purpose flour
- 1/2 teaspoon baking soda
- 1/4 teaspoon salt
Decoration:
- Pastel-colored sanding sugar (pink, yellow, green, blue)
- 24 chocolate kiss candies (unwrapped)
Instructions
- Preheat the Oven: Preheat the oven to 350°F and line a baking sheet with parchment paper.
- Cream Butter and Sugars: In a large bowl, cream together the butter, granulated sugar, and brown sugar until light and fluffy, about 2 minutes.
- Add Egg and Vanilla: Beat in the egg and vanilla until fully combined.
- Combine Dry Ingredients: In a separate bowl, whisk together the flour, baking soda, and salt.
- Form Cookie Dough: Gradually add the dry ingredients to the wet mixture, mixing just until a dough forms.
- Coat and Bake: Scoop the dough into 1-inch balls and roll each one in a different color of sanding sugar to coat. Place on the baking sheet and bake for 8–10 minutes until set.
- Add Chocolate Kiss: Immediately press a chocolate kiss into the center of each cookie.
- Cool and Serve: Let cool on the baking sheet for 5 minutes, then transfer to a wire rack to cool completely.
Notes
- For a festive touch, use flower-shaped cookie stamps or alternate between milk chocolate and white chocolate kisses.
- Store in an airtight container for up to 1 week.

