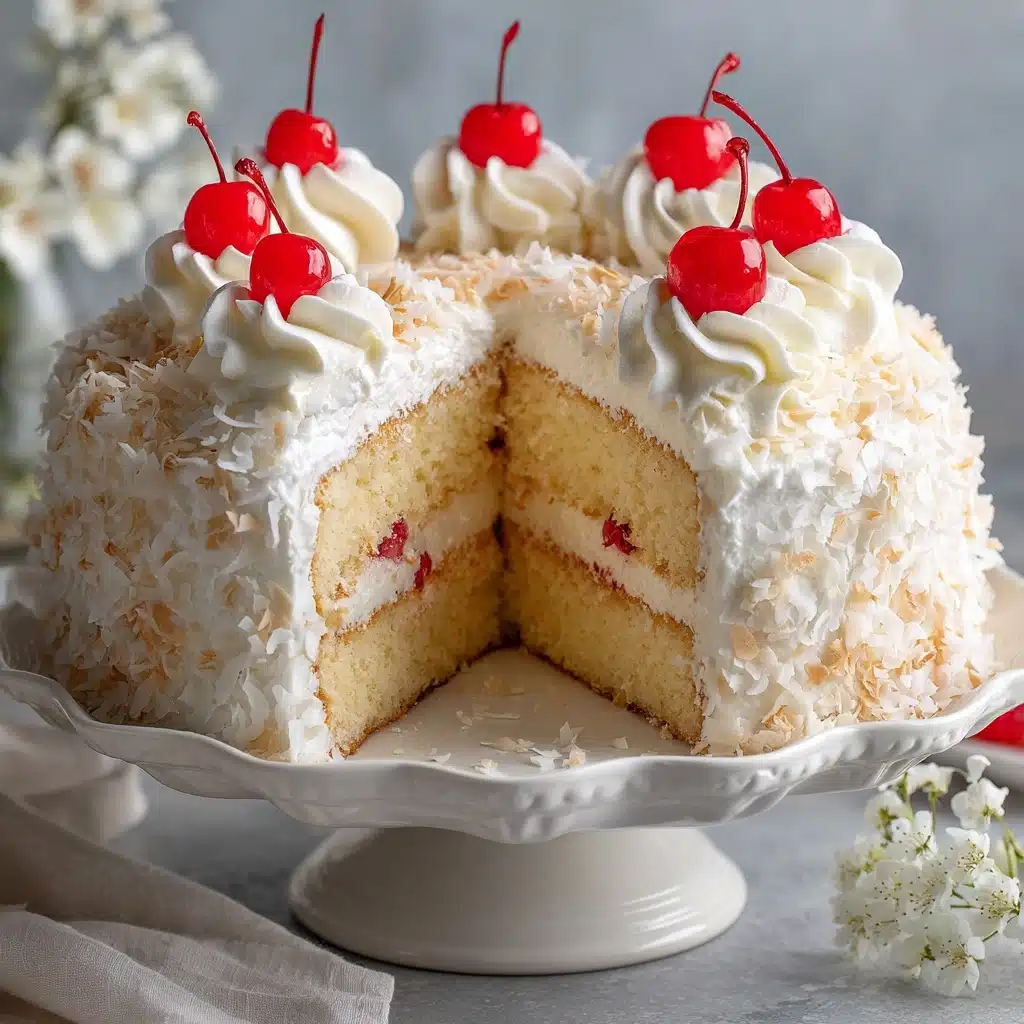
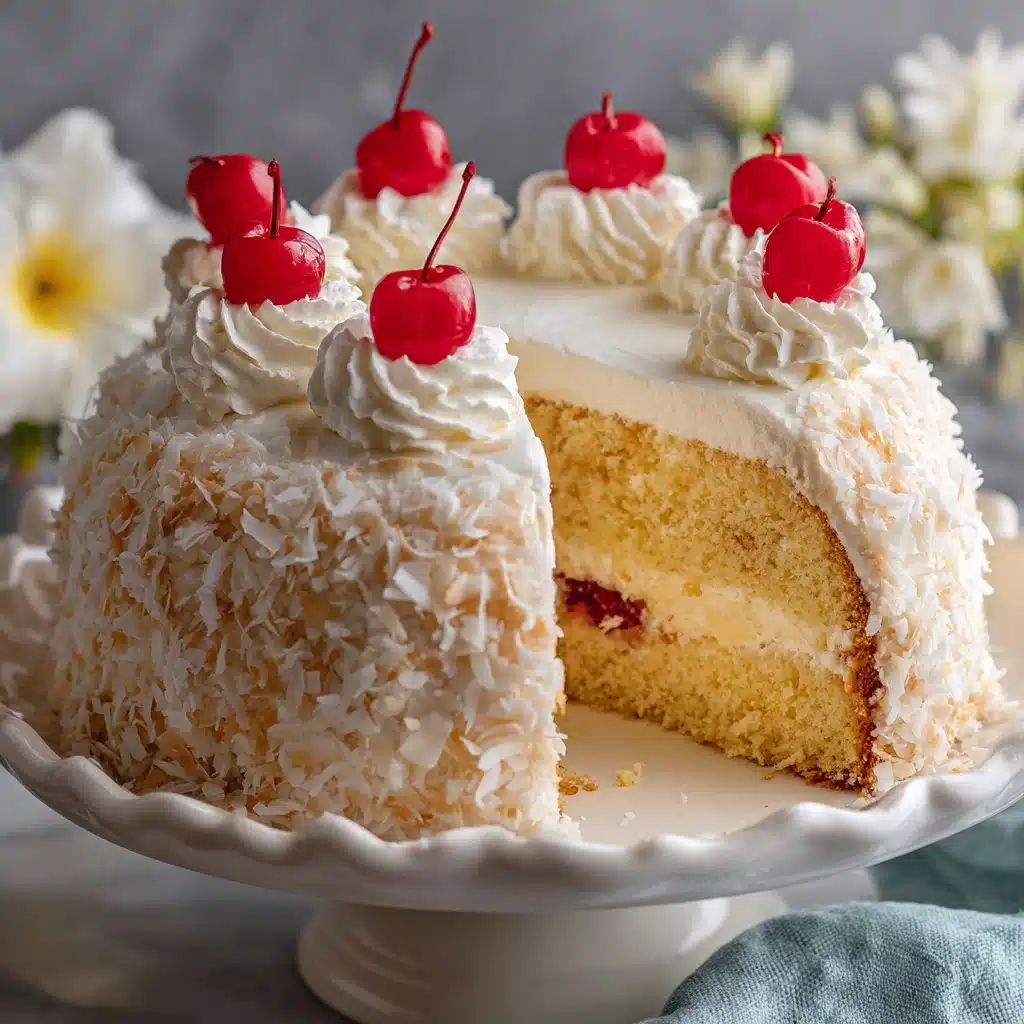
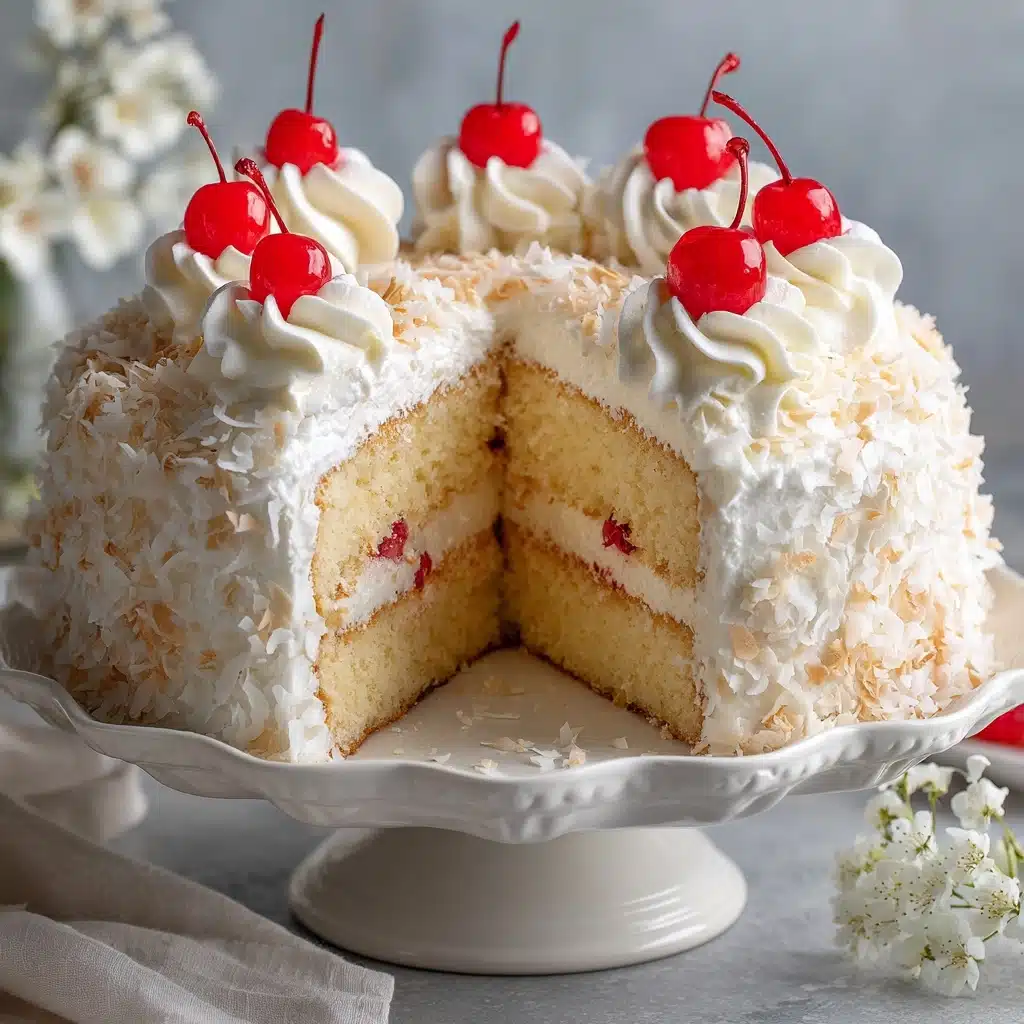
If you’re a fan of show-stopping retro desserts, the Old-Fashioned Snowball Cake absolutely deserves a spot at your next celebration! This beautiful no-bake confection is as much fun to make as it is to eat, with layers of fruity gelatin, whipped topping, fluffy cake cubes, and a generous coat of snowy coconut. Every slice is a nostalgic treat bursting with tropical strawberry-pineapple flavor and cloudlike texture, making it the ideal centerpiece for holidays or family gatherings. Let’s dive into this sweet, vintage classic you’ll want to make again and again!
Ingredients You’ll Need
Every ingredient in this Old-Fashioned Snowball Cake works together to create something truly magical—and trust me, you don’t want to skip a thing! These simple items become so much more when layered just right, from the fruity filling to that iconic coconut “snow.”
- Strawberry or Cherry Gelatin: Adds a vibrant hue and fruity flavor that holds the cake together and brings that classic jiggly texture.
- Boiling Water: Essential for dissolving the gelatin and activating its setting power.
- Crushed Pineapple in Juice: Brings juicy tartness and tiny pineapple bits for a wonderful pop with every bite.
- Frozen Strawberries, Thawed: Offers bursts of summery berry flavor and extra color; drain well if very juicy for best results.
- Frozen Whipped Topping, Thawed: Gives that fluffy, creamy lift to the filling—make sure it’s fully thawed for easy folding.
- Sweetened Shredded Coconut: The snowball’s crowning glory, this coats the cake in a festive, sweet flurry.
- Angel Food Cake or Sponge Cake, Cut into 1-inch Cubes: Use a lightly sweet, airy cake to soak up the filling and let all the bright flavors shine.
How to Make Old-Fashioned Snowball Cake
Step 1: Dissolve the Gelatin
Start by pouring the gelatin powder into a roomy mixing bowl, then carefully add the boiling water. Stir constantly until the crystals dissolve completely—this step is key for a smooth, set filling. You’ll know it’s ready when the liquid runs clear and even.
Step 2: Add Fruit and Chill the Mixture
Next, stir in your undrained can of crushed pineapple and all those plump, thawed strawberries. Give everything a gentle mix so the gelatin surrounds the fruit. Pop the bowl into the fridge for 30 to 45 minutes, or until the mixture is slightly thickened but not yet fully firm—think of loose jelly.
Step 3: Fold in the Whipped Topping
Once your gelatin-fruit combo is just a bit jiggly, grab that thawed whipped topping and gently fold it in. Keep your touch light—you want the filling to stay airy, not deflated. The mixture should look soft, creamy, and pale pink throughout.
Step 4: Layer Cake and Filling
Line a large round mixing bowl (about 3 quarts) with plastic wrap, letting some hang over the edges for easy removing later. Place half the cake cubes on the bottom, then spoon on half your beautiful creamy fruit mixture. Repeat the layers, finishing with creamy fruit on top. This creates gorgeous stripes when you serve it!
Step 5: Chill Overnight
Cover your bowl well and refrigerate overnight. Slow chilling lets all the flavors mingle and ensures the cake sets up into one perfect, sliceable mound. This is a great make-ahead dessert—your patience will be rewarded!
Step 6: Unmold and Add Coconut
To serve, invert your layered masterpiece onto a serving plate, and gently peel away the plastic. Now comes the really fun part: press the shredded coconut all over the outside so the cake is completely snow-white, just like a giant frosty snowball!
How to Serve Old-Fashioned Snowball Cake
Garnishes
The Old-Fashioned Snowball Cake is already the life of the party, but a few extra touches make it even more special! Try tucking fresh strawberries, maraschino cherries, or mint leaves around the base for a hint of color and a lovely presentation. If you want extra sparkle, finish with a light dusting of powdered sugar just before serving.
Side Dishes
This sweet and airy dessert pairs best with light, fresh sides that won’t overwhelm its delicate flavors. Serve it alongside a bowl of sliced fresh fruit, or offer a cool citrus or lemon sorbet for contrast. If it’s a holiday meal, a cup of strong coffee or black tea is perfect—something to balance each luscious, coconut-kissed bite.
Creative Ways to Present
Besides the classic snowball dome, you can get creative with individual servings! Line muffin tins with plastic wrap and layer in the ingredients to make mini snowballs for a party. Or serve slices in pretty glass parfait cups with extra coconut and a dollop of whipped cream for an elegant dessert bar touch.
Make Ahead and Storage
Storing Leftovers
Old-Fashioned Snowball Cake holds up beautifully in the fridge for 2–3 days. Just wrap the cake or cover the plate tightly so the coconut stays moist and fresh, and store any leftovers in an airtight container. The flavors only get better as they meld together!
Freezing
If you want to get a jump on holiday prep, this cake is freezer-friendly. After unmolding and adding the coconut, wrap the whole cake very well in multiple layers of plastic wrap and aluminum foil. Freeze for up to one month; thaw in the refrigerator overnight before serving for best texture.
Reheating
The Old-Fashioned Snowball Cake is served cold and doesn’t require reheating. If the coconut topping seems a little dry after storing, you can very lightly mist or touch up with a little extra thawed whipped topping and more coconut before presenting.
FAQs
Can I use fresh fruit instead of frozen or canned?
Absolutely! Fresh strawberries or even raspberries work wonderfully here. Just chop them into small pieces and use about the same amount as the recipe calls for. If you use fresh pineapple, crush it and include its juice for that classic moist texture.
What’s the best way to cut and serve the cake?
Use a sharp, serrated knife dipped in hot water and wiped clean between slices. This helps you get neat, attractive wedges without smushing those beautiful layers. A large, flat spatula will make lifting servings a breeze.
Can I make Old-Fashioned Snowball Cake dairy-free?
Definitely! Simply swap out the whipped topping for a dairy-free version (like coconut whipped topping), and ensure your cake is free from dairy. The result is just as fluffy and delicious, with a hint of coconut throughout!
Is it possible to reduce the sugar content?
Yes, you can use sugar-free gelatin and opt for unsweetened coconut. If you like, use a light or sugar-free whipped topping as well. Just remember that the overall flavor will be a bit less sweet, but still tasty and refreshing.
Can I make this without a round bowl?
Of course! A loaf pan, rectangular casserole, or even mini ramekins will work. The shape might be less “snowball” and more trifle, but the taste and pretty layers remain irresistible—feel free to get creative with your serving dish.
Final Thoughts
There’s a special kind of joy that comes with making (and sharing!) an Old-Fashioned Snowball Cake. Every bite is pure nostalgia and celebration, with a flavor and texture that always delights. If you’ve never tried making this cherished vintage dessert at home, now is the perfect time—gather your ingredients and make some sweet, snowy memories!
Print
Old-Fashioned Snowball Cake Recipe
- Prep Time: 20 minutes
- Cook Time: 0 minutes
- Total Time: 8 hours 20 minutes (includes chilling time)
- Yield: 10 servings
- Category: Dessert
- Method: No-Bake
- Cuisine: American
- Diet: Non-Vegetarian
Description
A delightful and nostalgic dessert, the Old-Fashioned Snowball Cake is a fluffy and fruity concoction that is perfect for any occasion. This no-bake treat features layers of angel food cake, gelatin, and whipped topping, topped with a generous coating of shredded coconut for a snowy finish.
Ingredients
Gelatin Mixture:
- 1 box (3 ounces) strawberry or cherry gelatin
- 1/2 cup boiling water
- 1 can (20 ounces) crushed pineapple in juice, undrained
- 1 package (10 ounces) frozen strawberries, thawed
Additional Ingredients:
- 1 container (8 ounces) frozen whipped topping, thawed
- 1 package (7 ounces) sweetened shredded coconut
- 1 loaf angel food cake or sponge cake, cut into 1-inch cubes
Instructions
- Dissolve Gelatin: In a large bowl, dissolve the gelatin in boiling water. Stir in crushed pineapple with juice and thawed strawberries.
- Chill Mixture: Chill in the refrigerator until slightly thickened, about 30–45 minutes.
- Add Topping: Gently fold in the whipped topping until fully incorporated.
- Layer Cake: In a bowl or lined round bowl, layer cake and gelatin mixture. Repeat layers, ending with gelatin on top.
- Set and Serve: Cover and refrigerate overnight. Invert onto a plate, remove wrap, and coat with shredded coconut before serving.
Notes
- For a tropical twist, try crushed mandarin oranges or mango instead of strawberries.
- Swap whipped topping for homemade whipped cream for a richer taste.

