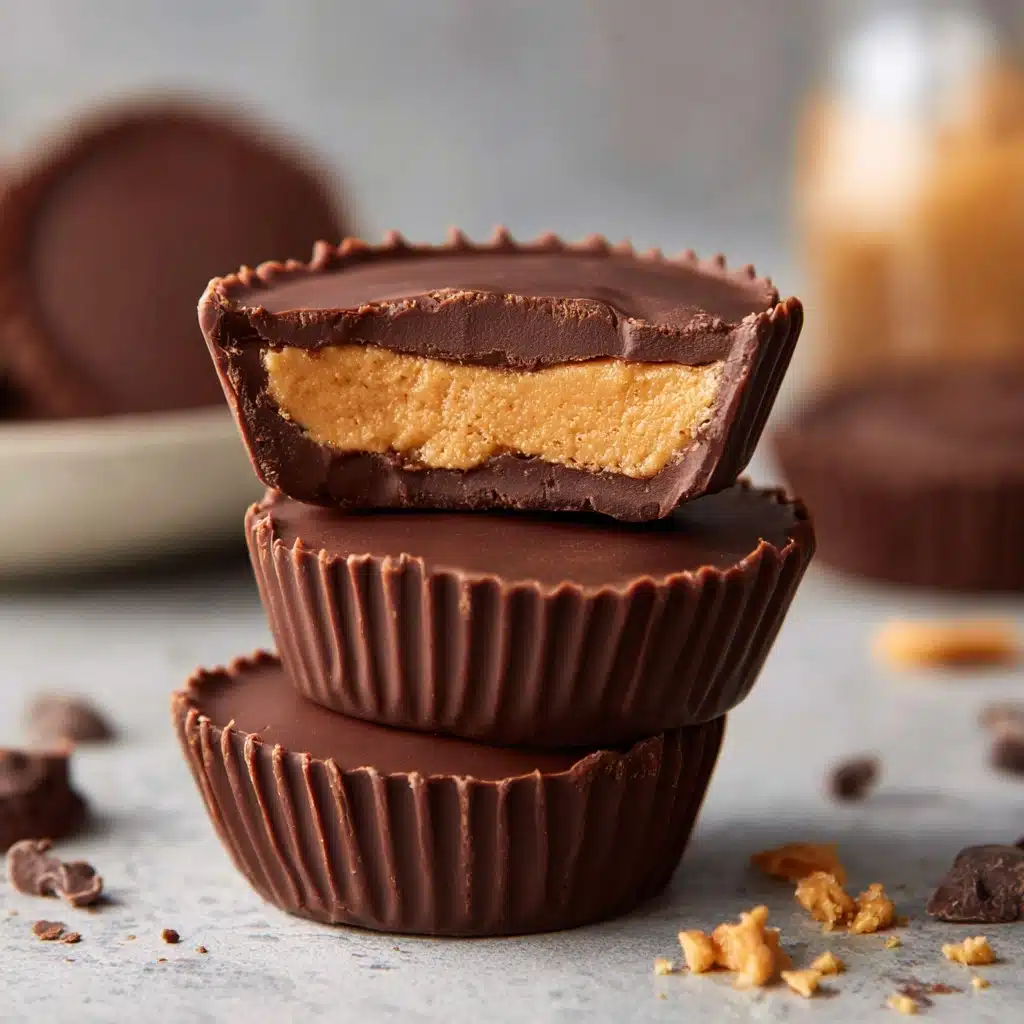
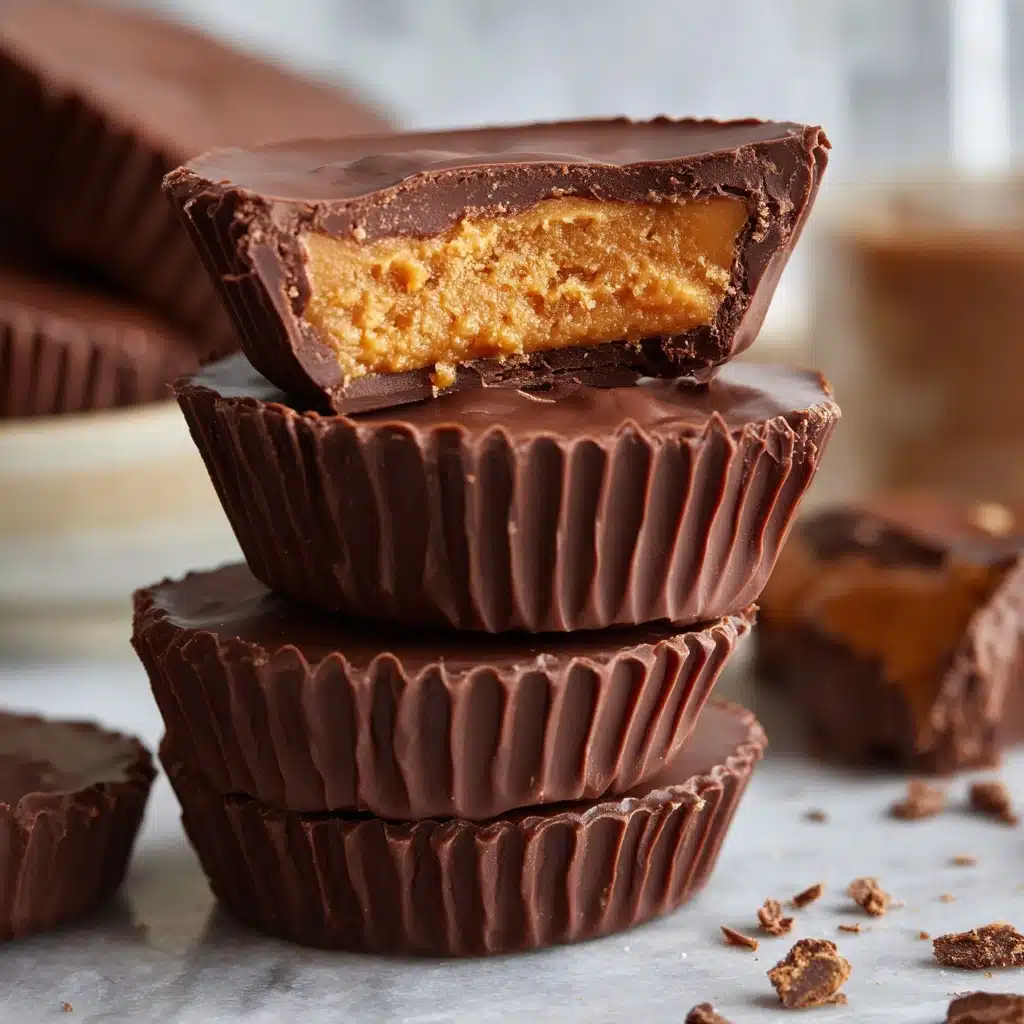
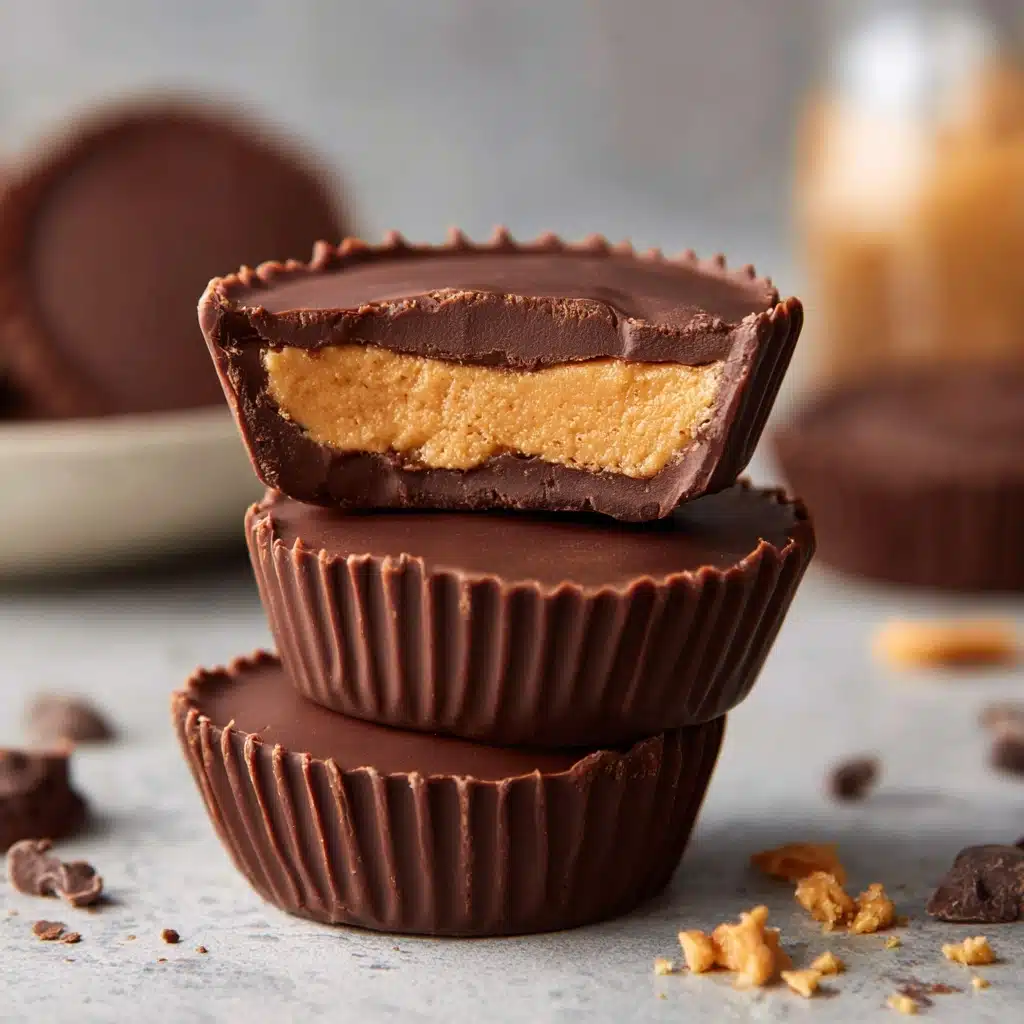
If you’re searching for a snack that’s as delicious as it is nourishing, Protein Peanut Butter Cups are about to become your new obsession. Imagine that addictive, classic combo of peanut butter and dark chocolate, but with a boost of real protein to keep you satisfied and energized all day. Each bite is decadently creamy, with a soft nutty center beneath a rich, snappy chocolate shell—better than store-bought, and made with ingredients you can feel good about. These cups are easy to make, completely no-bake, and ideal for a quick snack, post-workout treat, or healthier dessert fix!
Ingredients You’ll Need
The ingredient list for these Protein Peanut Butter Cups is short and sweet, but every item plays a big role in flavor, texture, or those crave-worthy layers. You probably have most of these in your pantry already, and each is chosen to bring the perfect balance of creamy, rich, and sweet satisfaction.
- Natural peanut butter: Smooth or crunchy, this is the star that delivers that iconic flavor and creamy bite. Look for unsweetened for best results.
- Coconut oil: Adds silkiness and helps both layers set with a pleasant melt-in-your-mouth feel; it’s used in both the peanut butter mixture and the chocolate shell.
- Maple syrup: Provides natural sweetness, balancing the deep flavors without being overpowering. Feel free to adjust to your taste!
- Vanilla extract: A splash adds warmth and brings all the flavors together beautifully.
- Vanilla or chocolate protein powder: This is where the snack gets its boost; use your favorite flavor to customize the experience.
- Dark chocolate chips: The rich, slightly bitter topping that makes every bite truly special. Go for 60% cacao or higher for a deep chocolate flavor.
- Extra coconut oil (for melting chocolate): Ensures the chocolate melts smoothly and sets with a crisp finish.
- Sea salt (optional): Just a pinch on top intensifies all the flavors and makes every cup feel like a treat from a fancy bakery.
How to Make Protein Peanut Butter Cups
Step 1: Line Your Pan
Start by lining a mini muffin tin with paper liners. This makes removing your Protein Peanut Butter Cups a total breeze later and keeps them looking picture-perfect. If you don’t have liners, a light spritz of nonstick spray is a good backup plan.
Step 2: Mix the Nutty Filling
In a microwave-safe bowl, combine your peanut butter, 1/4 cup coconut oil, maple syrup, and vanilla extract. Microwave this mixture in 20-second bursts, stirring after each time, until everything melts together into a velvety, pourable base. It’ll smell like heaven! Once it’s all smooth, gently fold in the protein powder until fully incorporated and the filling is thick and creamy.
Step 3: Fill the Cups and Freeze
Scoop about one tablespoon of your peanut butter protein mixture into each paper liner. Press it down so the top is mostly flat—that way, your chocolate layer sits nice and even. Pop the whole tray into your freezer for 10 to 15 minutes, just until the filling sets up firm.
Step 4: Make the Chocolate Layer
While your cups chill, it’s time for chocolate! In a clean, microwave-safe bowl, add your dark chocolate chips and the remaining tablespoon of coconut oil. Heat in 20-second increments, stirring well each time, until silky and smooth. This combo creates that perfect glossy chocolate topping that cracks just right when you take a bite.
Step 5: Finish and Set
Spoon a layer of melted chocolate over each chilled cup, so it just covers the peanut butter base completely. If you like a little extra flair, sprinkle each cup with a pinched sprinkle of flaky sea salt. Pop the tray back in the freezer for another 15 minutes, or until the chocolate is beautifully firm. Once done, you can store your Protein Peanut Butter Cups in the fridge or freezer, ready whenever the craving strikes!
How to Serve Protein Peanut Butter Cups
Garnishes
For a little added style and punch, consider topping your Protein Peanut Butter Cups with a variety of garnishes. A sprinkle of flaky sea salt boosts both the flavor and the visual appeal. Chopped roasted peanuts, cacao nibs, or even a dusting of finely shredded coconut add crunch and make your cups look extra enticing. Trust me, a fancy finish goes a long way, even if you’re just treating yourself.
Side Dishes
Pairing your Protein Peanut Butter Cups with the right sides can turn them from a quick grab-and-go snack into a mini snack platter. Fresh berries and sliced bananas go beautifully alongside, keeping things bright and fruity. For a beverage, a strong coffee, an iced latte, or even a simple glass of cold almond milk all make the chocolate and peanut butter flavors pop.
Creative Ways to Present
Presentation makes any treat feel special—try arranging Protein Peanut Butter Cups on a platter with a variety of other healthy, homemade snacks. Stack them for a dramatic dessert tower, tuck them into decorative mini cupcake wrappers, or even wrap each cup individually in wax paper or foil to give as thoughtful homemade gifts.
Make Ahead and Storage
Storing Leftovers
After making a batch or two of Protein Peanut Butter Cups, simply store them in an airtight container in the refrigerator. They’ll stay fresh for up to one week, keeping their creamy centers and snap-top chocolate just right. Stacking with a layer of parchment or wax paper in between helps prevent sticking.
Freezing
If you love having healthy snacks ready at all times, you’ll be thrilled to know these cups freeze beautifully! Stack them in a freezer-safe bag or container (again, use parchment or wax paper between layers). They’ll keep their flavor and texture for up to three months, making them the perfect grab-and-go treat any time.
Reheating
Protein Peanut Butter Cups are best enjoyed chilled or at room temperature. If taking them from the freezer, let them thaw in the fridge for about 30 minutes or on the counter for 10 to 15 minutes for the dreamiest texture. No reheating is needed—just enjoy!
FAQs
Can I use a different nut or seed butter instead of peanut butter?
Absolutely! Almond butter or sunflower seed butter are fantastic swaps if you need a peanut-free option. Each one brings a different flavor twist, so feel free to experiment with your favorite or whatever you already have on hand.
What type Snack
Both plant-based and whey protein powders can work well, but pick a flavor that matches your cravings—vanilla, chocolate, or peanut butter are all delicious. If your protein powder is unsweetened, you might want to add a little extra maple syrup to keep the balance just right.
How can I make these cups less sweet?
If you like your snacks on the lightly sweet side, simply reduce the maple syrup or skip it altogether. The chocolate layer will still provide some sweetness, especially if you use semi-sweet or bitter chocolate chips.
Do I have to use mini muffin tins?
Mini muffin tins are perfect for two-bite treats, but you can also use regular muffin tins for bigger portions or even pour the mixture into a lined loaf pan and cut into bars. Just remember: bigger cups means a little extra chill time to set!
Will the Protein Peanut Butter Cups melt if left at room temperature?
Because these cups use coconut oil, they’ll soften if left out, especially on warm days. They’re best kept in the fridge or freezer until you’re ready to serve and eat them—this keeps both the chocolate and peanut butter layers at their most luscious.
Final Thoughts
I can’t recommend making these Protein Peanut Butter Cups enough! They’re so much more than just a snack—they’re a little act of self-care that happens to taste like a decadent dessert. Share them with family and friends, or just stash a secret batch in your freezer. However you enjoy them, I guarantee this recipe will quickly become a regular in your rotation. Happy snacking!
Print
Protein Peanut Butter Cups Recipe
- Prep Time: 15 minutes
- Cook Time: 0 minutes
- Total Time: 30 minutes
- Yield: 12 mini cups
- Category: Snack
- Method: No-Bake
- Cuisine: American
- Diet: Vegetarian
Description
Indulge in these Protein Peanut Butter Cups for a guilt-free treat that satisfies your sweet tooth while packing a protein punch. Creamy peanut butter, rich dark chocolate, and a hint of vanilla come together to create a delicious snack.
Ingredients
Peanut Butter Layer:
- 1 cup natural peanut butter (smooth or crunchy)
- 1/4 cup coconut oil
- 2 tablespoons maple syrup
- 1/2 teaspoon vanilla extract
- 1/2 cup vanilla or chocolate protein powder
Chocolate Coating:
- 1 1/4 cups dark chocolate chips
- 1 tablespoon coconut oil (for melting chocolate)
Optional Topping:
- Sea salt for topping (optional)
Instructions
- Prepare Peanut Butter Layer: Line a mini muffin tin with paper liners. In a microwave-safe bowl, combine the peanut butter, 1/4 cup coconut oil, maple syrup, and vanilla extract. Microwave in 20-second intervals until melted and smooth.
- Add Protein Powder: Stir in the protein powder until fully incorporated and smooth. Scoop about 1 tablespoon of the peanut butter mixture into each liner and flatten the top. Freeze for 10–15 minutes or until firm.
- Melt Chocolate: Meanwhile, melt the chocolate chips with 1 tablespoon of coconut oil in the microwave in 20-second increments, stirring until smooth.
- Assemble Cups: Spoon melted chocolate over the peanut butter layer to cover. Optional: sprinkle a pinch of sea salt on top. Return to the freezer for 15 minutes or until set. Store in the fridge or freezer.
Notes
- Use almond butter or sunflower seed butter as a peanut-free alternative.
- Choose a protein powder that complements the flavor—vanilla, chocolate, or peanut butter flavored all work well.
- For less sweetness, reduce or omit the maple syrup.

