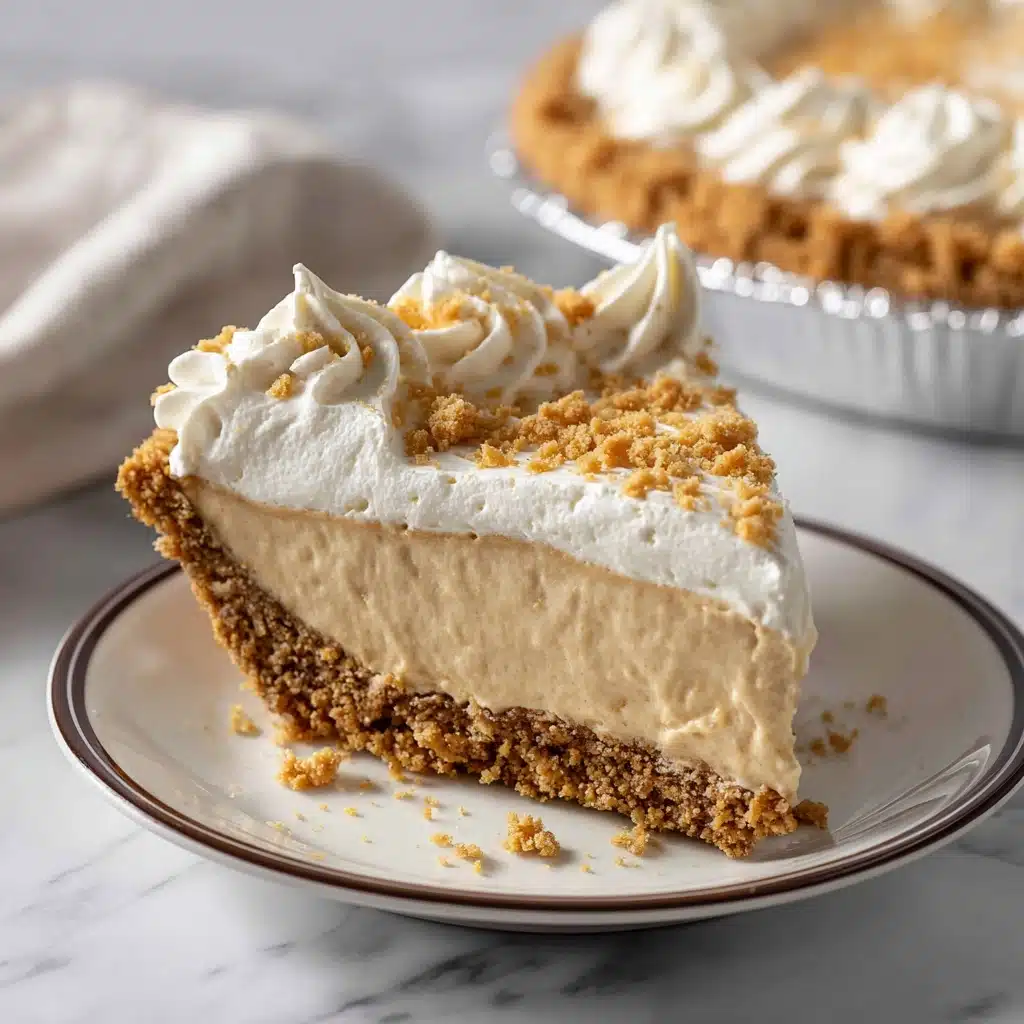
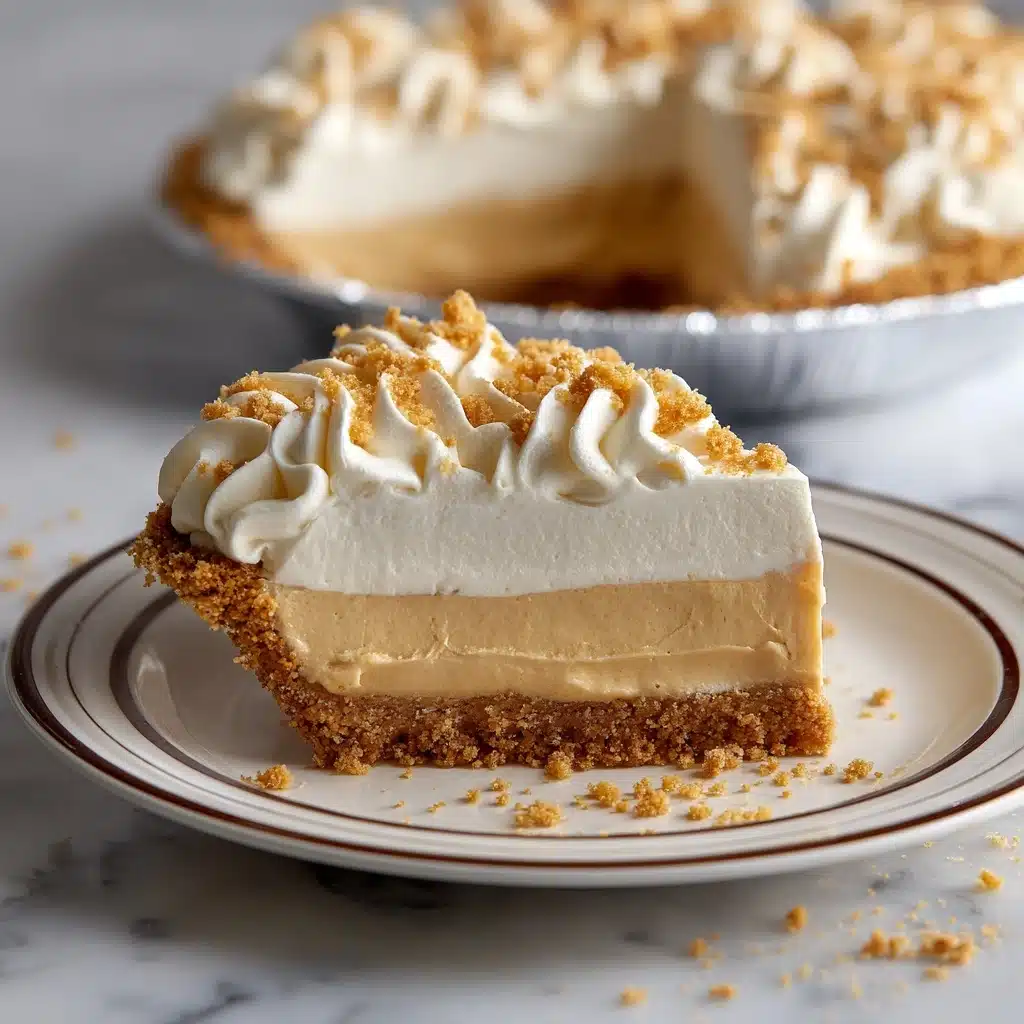
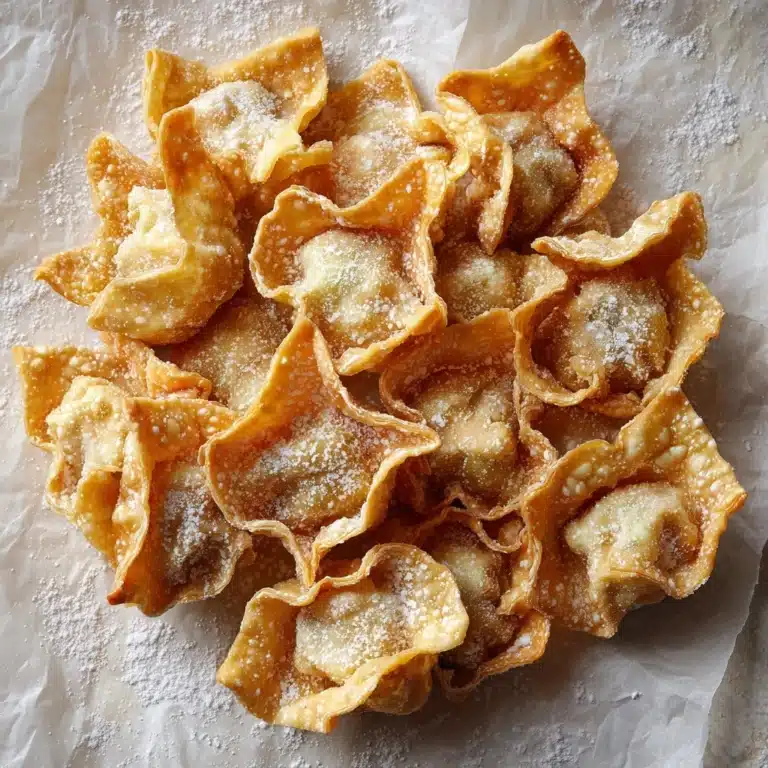
This Easy Peanut Butter Pie is a celebration of everything we love about simple dessert magic. With a creamy, dreamy peanut butter filling nestled into a crisp graham cracker crust, it’s the kind of treat that wows on special occasions or adds sweetness to an ordinary weeknight. The best part? You don’t even have to turn on your oven. Whether you’re a lifelong peanut butter fan or just hunting for a no-fuss dessert, this pie guarantees to steal the show. Get ready to experience pie bliss!
Ingredients You’ll Need
Every ingredient in this Easy Peanut Butter Pie recipe is a heavy hitter—measured for both flavor and texture. There’s nothing complicated here, just the right mix of creamy, nutty, and slightly tangy, all anchored by a perfectly crisp crust.
- Graham cracker pie crust (9-inch): The sweet and slightly sandy base that balances the creamy filling and adds a delightful crunch.
- Creamy peanut butter (1 cup): The superstar ingredient; stick with creamy for a smooth, melt-in-your-mouth texture and big peanut flavor.
- Cream cheese, softened (8 ounces): This adds richness, body, and a subtle tang that cuts through the sweetness for a lush bite.
- Powdered sugar (1 cup): Its fine texture dissolves perfectly into the filling, lending sweetness without any grittiness.
- Whipped topping, thawed (8 ounces): Essential for the lofty, airy texture that makes each forkful über-fluffy and light.
- Optional toppings (melted chocolate, chopped peanuts, whipped cream): Use one or all for that bakery-style finish and a hint of extra decadence.
How to Make Easy Peanut Butter Pie
Step 1: Beat the Peanut Butter and Cream Cheese
In a large mixing bowl, combine the creamy peanut butter with the softened cream cheese. Use an electric mixer for the smoothest results—this ensures the two blend into an irresistible, homogenous mixture. Take a moment to scrape down the sides of the bowl to catch any bits sticking to the edge; you want this base as creamy as possible.
Step 2: Add the Powdered Sugar
Next, gradually add the powdered sugar into the peanut butter-cream cheese mixture. Mixing it in a little at a time keeps lumps at bay and results in a perfectly sweet, cloudlike filling. Once all the sugar is added, beat until the mixture looks beautifully silky and pale.
Step 3: Gently Fold in Whipped Topping
Now, gently fold the thawed whipped topping into your filling. Swap the mixer for a sturdy spatula and use soft, broad strokes—think of this as gently tucking in a blanket. This is the step that gives the pie its signature lightness, so take your time and avoid over-mixing.
Step 4: Fill the Crust
Spoon the finished filling into your graham cracker crust, smoothing the top with a spatula until it’s even and inviting. If you’re aiming for picture-perfect swirls or a rustic, homey vibe, this is your time to shine.
Step 5: Chill to Set
Place the pie in your refrigerator and let it chill for at least 4 hours. This step is crucial—the filling firms up and the flavors meld together into pie perfection. Resist the urge to dig in early; patience here is totally worth it.
Step 6: Garnish and Serve
Right before serving, let your creativity loose with toppings. A drizzle of melted chocolate, a dollop of whipped cream, or a sprinkle of chopped peanuts turns your Easy Peanut Butter Pie into a total showstopper.
How to Serve Easy Peanut Butter Pie
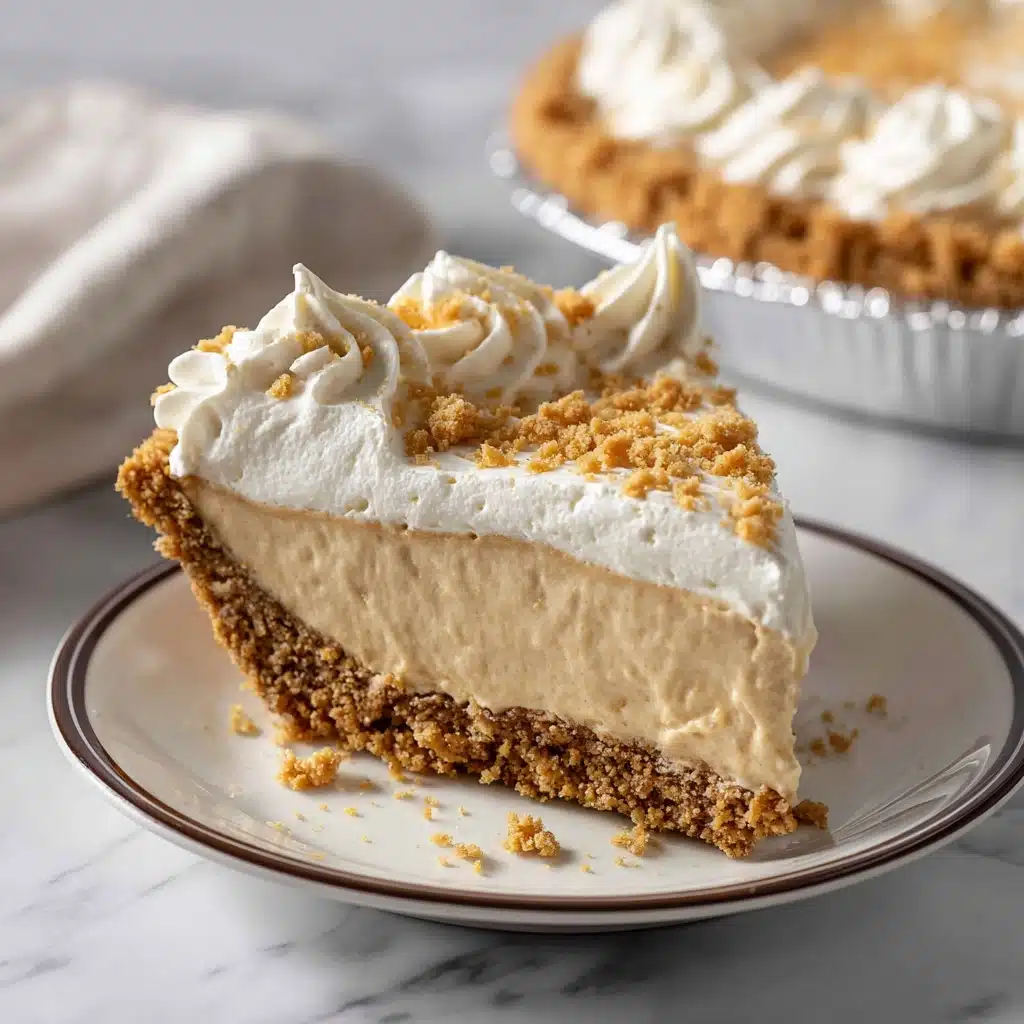
Garnishes
Classic garnishes for Easy Peanut Butter Pie include billowy whipped cream, a light drizzle of melted chocolate, or a scattering of roasted, salted peanuts for crunch. These make each slice look extra tempting and add new layers of flavor and texture.
Side Dishes
Keep things simple and refreshing with side options like a crisp fruit salad, sliced bananas, or a glass of cold milk. The richness of the pie pairs beautifully with lighter, fresh sides, creating a balanced dessert plate.
Creative Ways to Present
Try making mini pies by dividing the filling into individual tart shells for parties, or layer the filling and toppings in mason jars for adorable, portable desserts. For a fancier occasion, use chocolate cookie crusts or add a layer of fudge at the bottom for an extra surprise.
Make Ahead and Storage
Storing Leftovers
Cover leftover Easy Peanut Butter Pie tightly with plastic wrap or foil, and store in the refrigerator for up to five days. The flavors often deepen by day two, making it a wonderful make-ahead dessert option.
Freezing
This pie freezes beautifully! Wrap the entire pie or individual slices tightly to prevent freezer burn. When you’re ready to enjoy, thaw in the refrigerator for a few hours or at room temperature for about 30 minutes until sliceable.
Reheating
No reheating needed for this no-bake wonder. Simply thaw, slice, and serve. If serving straight from the freezer, give the pie a few extra minutes to soften for the creamiest, dreamiest texture.
FAQs
Can I use homemade whipped cream instead of whipped topping?
Yes, you absolutely can! Just whip up 2-3 cups of heavy cream with a little sugar until soft peaks form. The texture will be slightly richer and even more decadent.
Is it possible to make Easy Peanut Butter Pie dairy-free?
Definitely. Swap the cream cheese and whipped topping for dairy-free alternatives, and choose a vegan graham cracker crust. The pie will still set up beautifully and taste fantastic.
Why does my pie filling seem too soft?
A soft filling usually means it hasn’t chilled long enough or the whipped topping was over-mixed. Make sure to give the pie enough fridge time—at least four hours, but overnight is even better for firmer slices.
Can I use chunky peanut butter?
While creamy peanut butter gives the smoothest result, you can use chunky if you prefer a little extra texture in your Easy Peanut Butter Pie. Just know the filling won’t be quite as silky.
How do I make chocolate peanut butter pie instead?
Swap the graham cracker crust for a chocolate cookie crust and add a layer of melted chocolate or chocolate ganache over the bottom before adding the filling. You’ll end up with a doubly indulgent chocolate twist!
Final Thoughts
If you’re looking for a dessert guaranteed to impress with minimal effort, give this Easy Peanut Butter Pie a spot in your regular rotation. It’s luscious, crowd-pleasing, and truly simple enough for any day of the week. Go ahead—whip one up and savor every peanut buttery, creamy bite!
Print
Easy Peanut Butter Pie Recipe
- Prep Time: 10 minutes
- Total Time: 4 hours 10 minutes
- Yield: 8 slices
- Category: Dessert
- Method: No-Bake
- Cuisine: American
- Diet: Non-Vegetarian
Description
Indulge in this decadent Easy Peanut Butter Pie that combines the rich flavors of creamy peanut butter and smooth cream cheese in a luscious no-bake dessert. Topped with whipped cream, chocolate, or chopped peanuts, this pie is a crowd-pleaser for any occasion.
Ingredients
Graham Cracker Pie Crust:
- 1 (9-inch) graham cracker pie crust
Peanut Butter Filling:
- 1 cup creamy peanut butter
- 1 (8-ounce) package cream cheese, softened
- 1 cup powdered sugar
- 1 (8-ounce) tub whipped topping, thawed
Optional Toppings:
- melted chocolate
- chopped peanuts
- whipped cream
Instructions
- Prepare Peanut Butter Filling: In a large bowl, beat together peanut butter and cream cheese until smooth.
- Add powdered sugar and mix until fully combined.
- Fold in whipped topping until fluffy and well blended.
- Assemble Pie: Spoon the filling into the graham cracker crust and smooth the top.
- Chill: Refrigerate for at least 4 hours or until firm.
- Serve: Before serving, top with melted chocolate, chopped peanuts, or whipped cream if desired.
Notes
- For a chocolate twist, use a chocolate cookie crust instead of graham.
- This pie freezes well—just thaw slightly before slicing.

