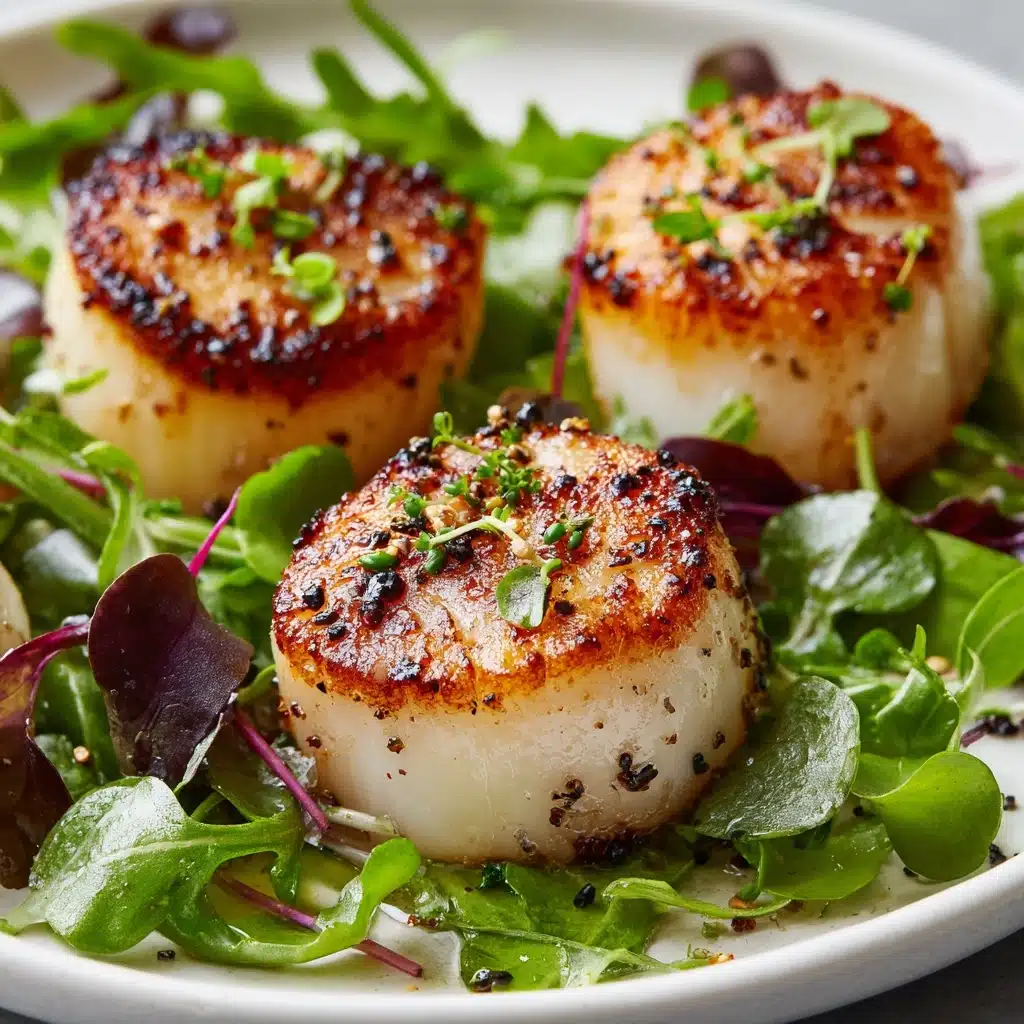
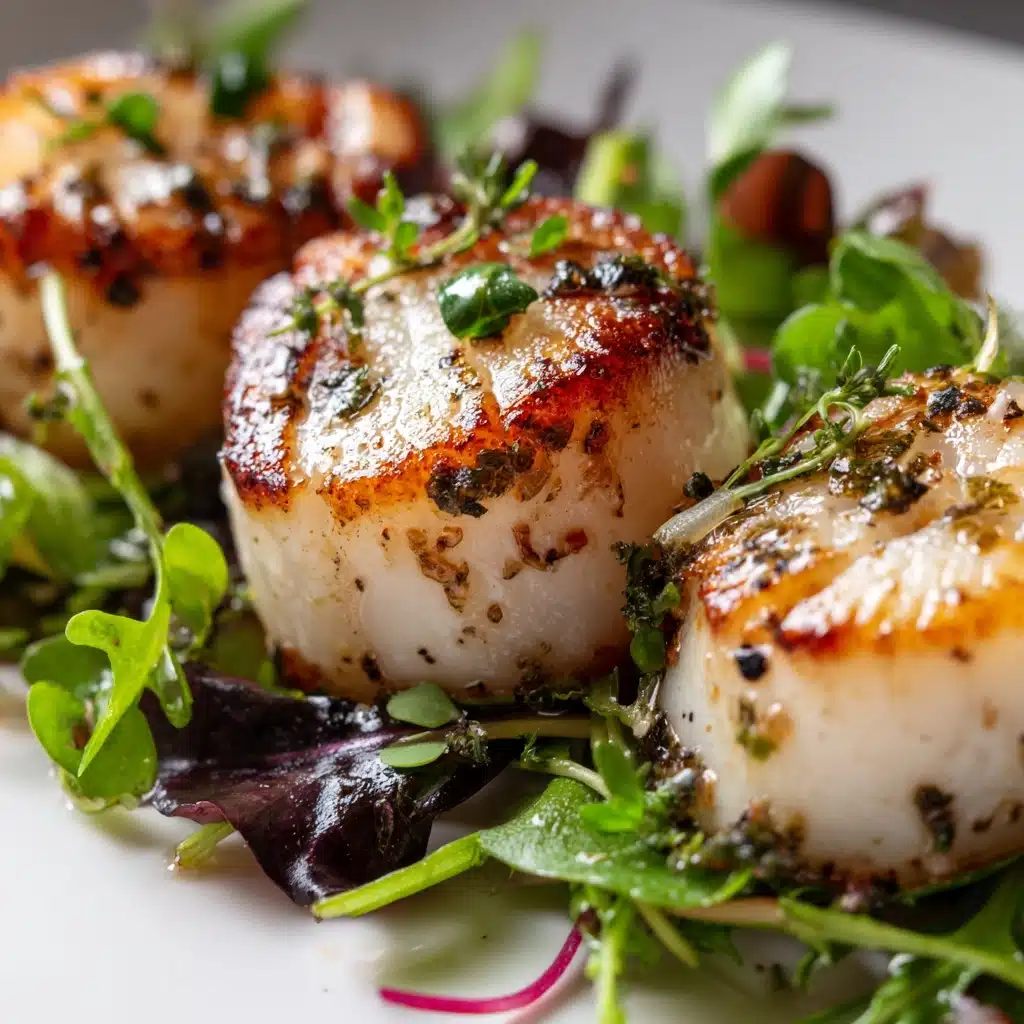
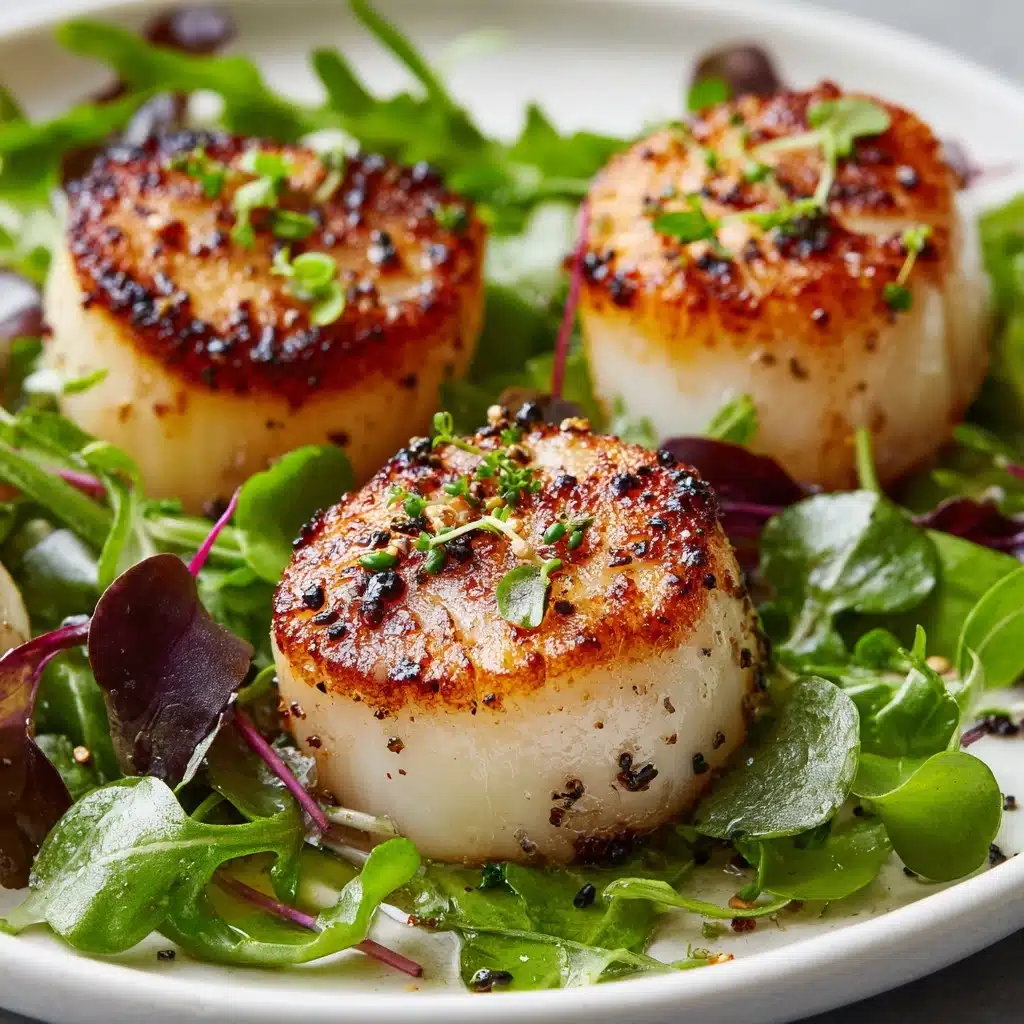
When it comes to an effortless seafood dish that tastes impressively restaurant-worthy, Broiled Scallops are truly in a league of their own. These beauties are tender, sweet, and kissed by the broiler for a golden, lightly caramelized finish. Bursting with garlic, lemon, and just the right amount of seasoning, this recipe lets the natural flavor of scallops shine, making it a weeknight favorite and a date-night showstopper all at once. Whether you’re new to cooking scallops or have been savoring them for years, you’ll quickly see why Broiled Scallops belong in your recipe rotation.
Ingredients You’ll Need
The magic of Broiled Scallops comes from simple, high-quality ingredients. Each one adds its own delicious note—from the scallops’ delicate texture to fresh pops of lemon and parsley that brighten every bite.
- Sea scallops (1 1/2 pounds, patted dry): These are the stars of the show; patting them dry ensures perfect browning and a tender bite.
- Olive oil or melted butter (2 tablespoons): Your choice! Both add rich flavor and help create that lovely golden top.
- Garlic cloves, minced (2): A savory punch of fresh garlic rounds out the taste.
- Lemon juice (1 tablespoon): Brightens and balances the sweetness of the scallops.
- Salt (1/2 teaspoon): Enhances every other flavor in the dish.
- Black pepper (1/4 teaspoon): Adds just a hint of gentle warmth.
- Paprika (1/4 teaspoon): Brings a touch of color and a subtle smokiness.
- Chopped fresh parsley and lemon wedges: The perfect finish—herby, fresh, and full of zing!
How to Make Broiled Scallops
Step 1: Prep the Pan and Preheat
To start, preheat your broiler. Take a baking sheet and line it with foil for easy cleanup; it also prevents the scallops from sticking and allows for even browning. Getting your oven rack 4 to 6 inches from the broiler is key for that signature caramelization.
Step 2: Toss the Scallops
Pat your scallops dry with a paper towel—the drier, the better! In a large bowl, gently toss the scallops with olive oil (or melted butter), minced garlic, lemon juice, salt, pepper, and paprika. Make sure every scallop is well coated to lock in flavor and moisture.
Step 3: Arrange on the Baking Sheet
Place the scallops in a single layer on your prepared baking sheet, leaving a little bit of space between each one. This space helps each scallop develop that irresistible golden crust rather than steam.
Step 4: Broil to Perfection
Transfer the baking sheet to your oven, positioning it 4 to 6 inches from the broiler. Set a timer for 5–7 minutes—there’s no need to flip the scallops. Watch for that signature opaque color and a touch of golden brown on top, which means they’re done!
Step 5: Garnish and Serve
Immediately remove your Broiled Scallops from the oven and sprinkle them with chopped parsley. Serve with lemon wedges for a squeeze of extra freshness right at the table. Enjoy them piping hot for the best flavor and texture.
How to Serve Broiled Scallops
Garnishes
Sprinkle on a handful of fresh chopped parsley and add a few lemon wedges to the plate before serving. The parsley livens up the dish visually and with gentle flavor, while lemon wedges invite each diner to add bright, zesty notes to their Broiled Scallops.
Side Dishes
Broiled Scallops play well with all sorts of sides. Serve them over a simple bed of al dente pasta to soak up those tasty juices, or nestle them next to buttery rice pilaf for a comforting meal. For something lighter, pair them with a crisp salad dressed in a citrus vinaigrette, which perfectly matches their fresh flavors.
Creative Ways to Present
If you’re feeling adventurous, try tucking Broiled Scallops onto skewers with grilled vegetables for a fun, sharable platter. Or, present them atop crostini for a chic appetizer. A shallow bowl of scallops over creamy risotto or in lettuce cups with a drizzle of garlic-lemon sauce also makes for a stunning presentation.
Make Ahead and Storage
Storing Leftovers
If you find yourself with leftover Broiled Scallops, transfer them to an airtight container and refrigerate promptly. They’ll stay fresh for up to 2 days, but are best enjoyed sooner rather than later for that tender texture.
Freezing
While scallops can be frozen, they’re at their best freshly cooked. If you must freeze leftovers, wrap them tightly and store for up to one month. Be aware that freezing may slightly change their texture, so this is best reserved for those rare leftovers you just can’t eat in time.
Reheating
To reheat, gently warm the scallops in a skillet with a splash of broth or butter over low heat until just heated through. Avoid microwaving if possible, as it can make delicate Broiled Scallops rubbery. Low and slow is the way to keep that lovely tenderness.
FAQs
How do I know when the scallops are done under the broiler?
The scallops are ready when they turn opaque and are golden on top, usually after 5 to 7 minutes. Overcooking is the enemy of tender Broiled Scallops, so keep an eye on them—they should resist a gentle press but still feel springy.
Can I use frozen scallops for this recipe?
Absolutely! Just make sure to thaw them completely and pat them dry. Extra moisture can prevent caramelization and lead to a steamed, rather than broiled, result.
What’s the best way to get a good golden top on Broiled Scallops?
Dry scallops are the secret, along with a broiler set 4 to 6 inches away from the tray. Using a little oil or butter helps, and keeping them spaced out ensures the tops get toasty, not soggy.
Is it better to use olive oil or butter?
You can’t go wrong with either. Olive oil gives a lighter, slightly grassy note, while melted butter adds richness and depth. Choose based on your mood or what’s handy!
Can I make Broiled Scallops ahead of time?
They’re truly best straight from the broiler, but you can prep the seasoning mixture and pat the scallops dry in advance. Broil just before serving so everyone enjoys them at their absolute peak.
Final Thoughts
Once you try Broiled Scallops at home, you’ll be amazed at just how easy it is to capture that luxurious restaurant flavor in your own kitchen. Don’t be shy—bring home those beautiful scallops, gather your favorite garnishes, and treat yourself and someone special to an unforgettable meal!
Print
Broiled Scallops Recipe
- Prep Time: 10 minutes
- Cook Time: 7 minutes
- Total Time: 17 minutes
- Yield: 4 servings
- Category: Main Course
- Method: Broiling
- Cuisine: American
- Diet: Non-Vegetarian
Description
Broiled Scallops is a quick and easy seafood dish that’s perfect for a light and healthy meal. Tender sea scallops are coated in a flavorful mixture of garlic, lemon, and spices, then broiled until golden and delicious. Serve these broiled scallops with fresh parsley and lemon wedges for a simple yet elegant presentation.
Ingredients
Sea Scallops:
1 1/2 pounds (patted dry)
Olive Oil or Melted Butter:
2 tablespoons
Garlic Cloves (minced):
2
Lemon Juice:
1 tablespoon
Salt:
1/2 teaspoon
Black Pepper:
1/4 teaspoon
Paprika:
1/4 teaspoon
Chopped Fresh Parsley and Lemon Wedges for serving
Instructions
- Preheat the broiler and prepare the baking sheet: Line a baking sheet with foil and preheat the broiler.
- Prepare the scallops: In a large bowl, combine scallops, olive oil or melted butter, garlic, lemon juice, salt, pepper, and paprika until well-coated.
- Broil the scallops: Arrange scallops in a single layer on the prepared baking sheet. Broil 4–6 inches from the heat source for 5–7 minutes until opaque and lightly golden.
- Serve: Garnish with parsley and lemon wedges. Serve immediately.
Notes
- Pat scallops dry before cooking for better browning.
- If using frozen scallops, thaw and drain thoroughly.
- Serve over pasta, rice, or with a simple salad for a light meal.

