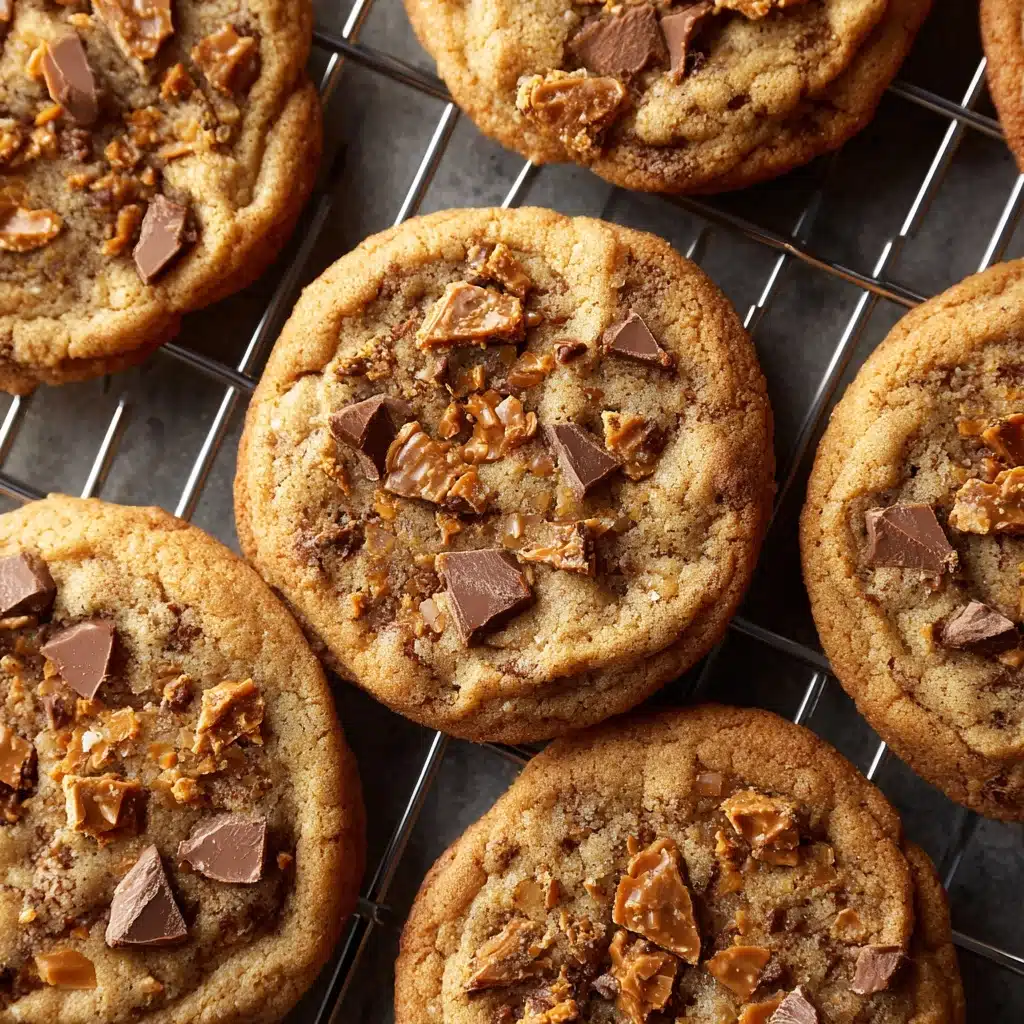
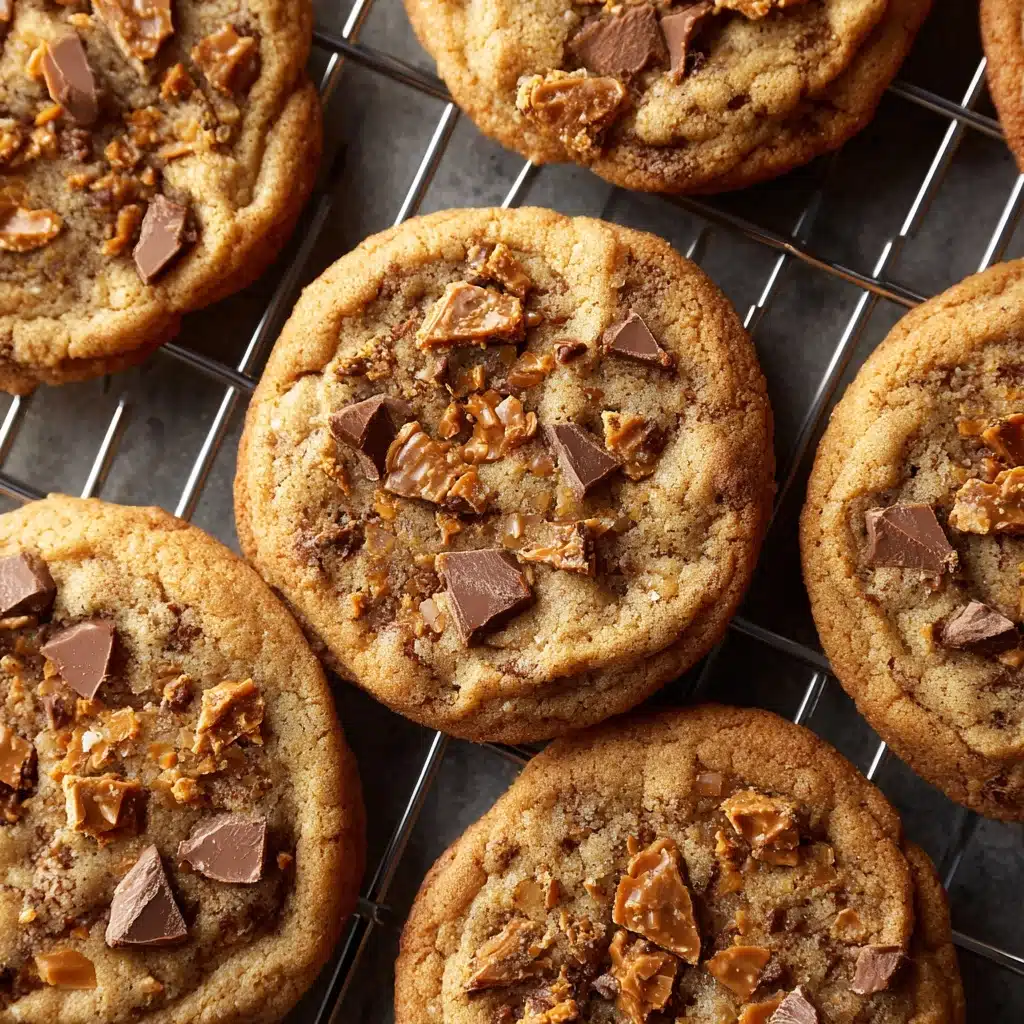
If you’re ready for a mashup of sweet, salty, and downright fun, these Peanut Butter Butterfinger Cookies are exactly what your dessert dreams are craving. They bring together the creamy, slightly salty charm of classic peanut butter cookies and the unmistakable crunch and toffee-caramel magic of chopped Butterfinger candy bars. Easy to whip up for any occasion and impossible to stop at just one, these cookies capture the joy of baking (and eating!) in every bite. Whether you’re keeping them all for yourself or sharing with your favorite people, there’s no denying the pure happiness baked into each gooey, chewy round.
Ingredients You’ll Need
This recipe calls for a handful of baking basics plus a generous helping of Butterfinger magic. Each ingredient brings something special to the party—texture, sweetness, or just that irresistibly nutty aroma that wafts from your oven.
- Unsalted Butter: Softened to room temperature for a rich, tender cookie base.
- Creamy Peanut Butter: The heart and soul of our cookies, giving that signature nutty flavor and creamy texture.
- Granulated Sugar: For that sweet crispness that balances the peanut butter.
- Brown Sugar: Packed into every bite for extra chewiness and a hint of caramel-like depth.
- Large Egg: Helps bind everything together and adds richness.
- Vanilla Extract: Just a teaspoon takes these cookies from good to unforgettable.
- All-Purpose Flour: The classic cookie structure—just the right amount for soft, puffy cookies.
- Baking Soda: Ensures that beautiful lift and those tender centers.
- Salt: A pinch sharpens every flavor and keeps things from getting too sweet.
- Chopped Butterfinger Bars: The surprise inside—crunchy, candy bar bursts in every single bite.
- Extra Butterfinger Bits (optional): For topping your cookies and bringing a little visual flair.
How to Make Peanut Butter Butterfinger Cookies
Step 1: Prep Your Oven and Baking Sheet
Start by preheating your oven to 350°F. While that warms up, line a baking sheet with parchment paper—this makes cleanup a breeze and keeps your cookies from sticking. Trust me, this little step means flawless bottoms and easy, happy baking.
Step 2: Cream Together the Wet Ingredients
In a large bowl, cream together the softened butter, creamy peanut butter, granulated sugar, and brown sugar. Beat until the mixture is fluffy and pale (about 2–3 minutes), as this traps air for tender, light cookies. Now add the egg and vanilla extract, mixing until everything’s smoothly combined. You’ll already start smelling pure cookie bliss.
Step 3: Combine the Dry Ingredients
In a separate bowl, whisk together the all-purpose flour, baking soda, and salt. Mixing these before adding them in prevents any uneven patches of baking soda or salt—nobody wants a salty bite!
Step 4: Bring Everything Together
Gradually add the dry ingredients to the wet mixture, stirring just until you see no more streaks of flour. Over-mixing is the enemy of tender cookies, so go easy. Next, fold in all those glorious chopped Butterfinger pieces. Make sure they’re scattered throughout the dough so everyone gets their fair share of candy bar goodness.
Step 5: Scoop and Top Your Cookies
Scoop rounded tablespoons of dough onto your lined sheet, spacing them about 2 inches apart for even baking. If you’d like to amp up the wow-factor, press a few extra Butterfinger bits on top of each ball of dough before they go into the oven. This not only looks amazing but gives you extra crunch.
Step 6: Bake to Perfection
Bake the cookies for 9 to 11 minutes, just until the edges look lightly golden and the centers are set but still slightly soft. For that dreamy chewy texture, err on the side of underbaking—they’ll finish setting up as they cool. Let them rest on the baking sheet for 5 minutes before transferring to a wire rack to cool completely. Try to resist eating them all warm from the oven (or don’t—the choice is yours)!
How to Serve Peanut Butter Butterfinger Cookies
Garnishes
For a little flourish, sprinkle extra chopped Butterfinger bits over the cookies just after they come out of the oven. A light drizzle of melted chocolate or a pinch of flaky sea salt can really dial up the bakery vibes and gives your Peanut Butter Butterfinger Cookies some instant visual appeal.
Side Dishes
It doesn’t get more classic than serving these cookies with a big glass of cold milk—seriously, dunking is encouraged! For grown-up gatherings, try pairing with a scoop of vanilla ice cream or alongside a frothy cappuccino for indulgent cookie-and-coffee moments.
Creative Ways to Present
Stack your Peanut Butter Butterfinger Cookies and tie them with a pretty ribbon for gifting, or arrange them on a tiered dessert stand for special occasions. For parties, construct adorable cookie sandwiches with peanut butter or chocolate ganache as the filling. Watch them disappear in seconds!
Make Ahead and Storage
Storing Leftovers
Once the cookies have cooled, tuck them into an airtight container. They’ll stay soft, chewy, and packed with flavor for up to five days at room temperature (if you can resist them that long). A slice of sandwich bread in the container can help keep them extra moist, too.
Freezing
Great news—these are freezer champs! You can freeze baked cookies, well wrapped, for up to three months. Or freeze balls of cookie dough and bake off just a few at a time, straight from the freezer—just add a minute or two to the baking time. Fresh Peanut Butter Butterfinger Cookies on demand? Yes, please.
Reheating
If your cookies have lost a little softness, a quick 5-10 seconds in the microwave revives that freshly-baked magic. For frozen cookies, let them come to room temperature for best texture, or warm gently in a low oven for a few minutes.
FAQs
Can I use crunchy peanut butter instead of creamy?
Absolutely! Crunchy peanut butter will add lovely little nutty bits for extra texture, making your Peanut Butter Butterfinger Cookies even more interesting. Just keep in mind that the dough may be a touch stiffer, so mixing by hand can help.
What’s the best way to chop Butterfinger bars?
For clean, even pieces, use a sharp chef’s knife and chop the Butterfinger bars while they’re cold—pop them in the fridge for 10 minutes first if it’s a hot day. This minimizes mess and captures more of those delightful shards and chunks!
Can I double the recipe?
Yes! This recipe doubles beautifully, so feel free to make a larger batch if you’re baking for a crowd or want to freeze extra dough. Spread the love—and the cookies—far and wide.
Are Peanut Butter Butterfinger Cookies gluten-free?
As written, this recipe uses all-purpose flour, so it’s not gluten-free. However, you can substitute your favorite cup-for-cup gluten-free flour blend to create an equally scrumptious gluten-free version. Just check your Butterfingers, as well, for allergen details!
Can I make these cookies ahead of time?
Definitely! The dough can be made a day in advance and chilled until ready to bake, which can actually enhance the flavors and hold the shape. Or bake them all, store properly, and enjoy stress-free treats all week long.
Final Thoughts
If you’re looking to shake up your cookie routine or simply want a dessert guaranteed to make you smile, give these Peanut Butter Butterfinger Cookies a try. They strike the perfect balance of familiar and fun, with enough nostalgic candy-bar energy to turn any day into a celebration. Grab some Butterfingers, invite some friends (or not), and enjoy every irresistible, joy-filled bite!
Print
Peanut Butter Butterfinger Cookies Recipe
- Prep Time: 15 minutes
- Cook Time: 10 minutes
- Total Time: 25 minutes
- Yield: 24 cookies
- Category: Dessert
- Method: Baking
- Cuisine: American
- Diet: Vegetarian
Description
These Peanut Butter Butterfinger Cookies are a delightful combination of creamy peanut butter, crunchy Butterfinger candy bars, and classic cookie dough. With a chewy texture and sweet, nutty flavor, these cookies are perfect for any occasion.
Ingredients
Cookie Dough:
- 1/2 cup unsalted butter (softened)
- 1/2 cup creamy peanut butter
- 1/2 cup granulated sugar
- 1/2 cup brown sugar (packed)
- 1 large egg
- 1 teaspoon vanilla extract
- 1 1/4 cups all-purpose flour
- 1/2 teaspoon baking soda
- 1/4 teaspoon salt
Add-Ins:
- 1 cup chopped Butterfinger candy bars (about 3 regular bars)
- Extra Butterfinger bits for topping (optional)
Instructions
- Preheat the oven: Preheat the oven to 350°F and line a baking sheet with parchment paper.
- Cream the butter and sugars: In a large bowl, cream together the butter, peanut butter, granulated sugar, and brown sugar until light and fluffy.
- Add egg and vanilla: Beat in the egg and vanilla extract until well combined.
- Combine dry ingredients: In a separate bowl, whisk together the flour, baking soda, and salt.
- Mix wet and dry ingredients: Gradually add the dry ingredients to the wet ingredients, mixing until just combined.
- Stir in Butterfinger pieces: Fold in the chopped Butterfinger pieces.
- Bake: Scoop rounded tablespoons of dough onto the prepared baking sheet. Press extra Butterfinger bits on top if desired. Bake for 9–11 minutes until lightly golden.
- Cool: Let the cookies cool on the baking sheet for 5 minutes before transferring to a wire rack to cool completely.
Notes
- For a chewier texture, slightly underbake and let the cookies finish setting on the baking sheet.
- Store in an airtight container for up to 5 days.

