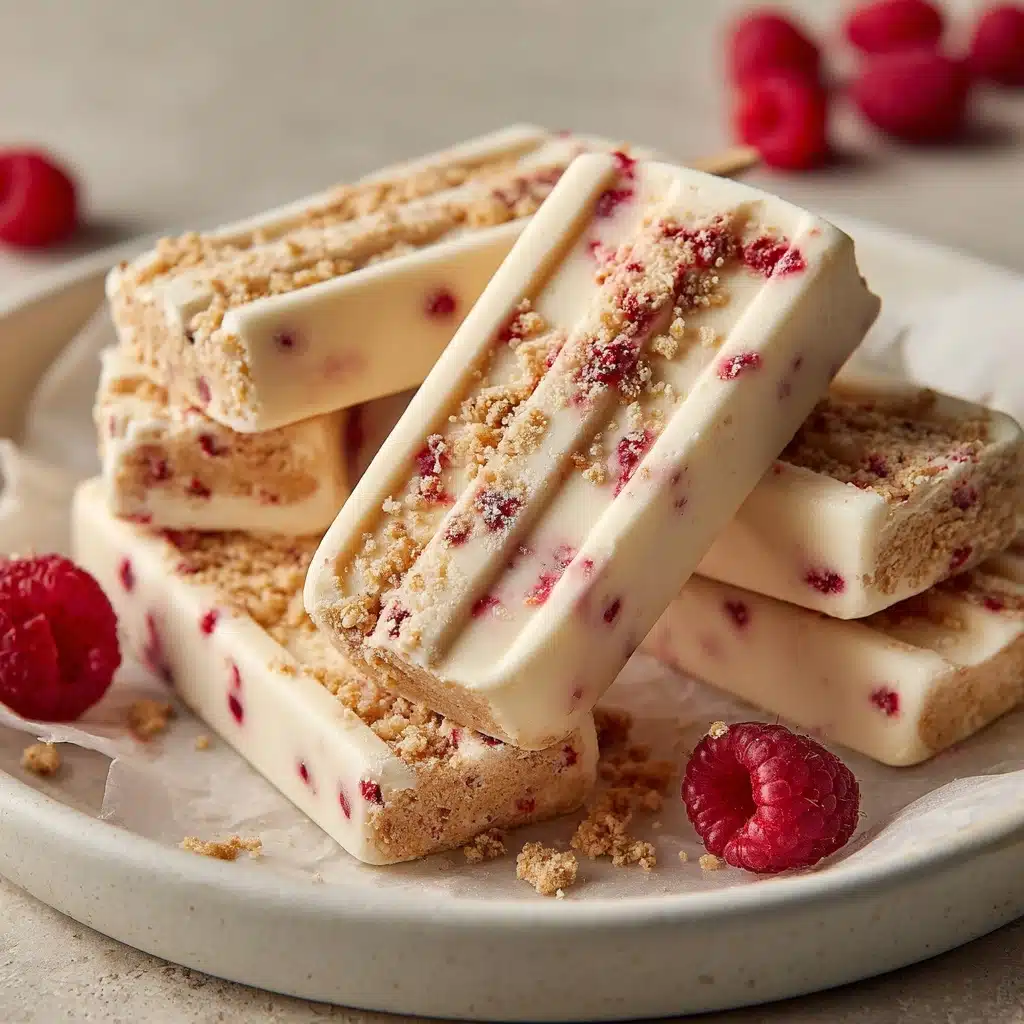
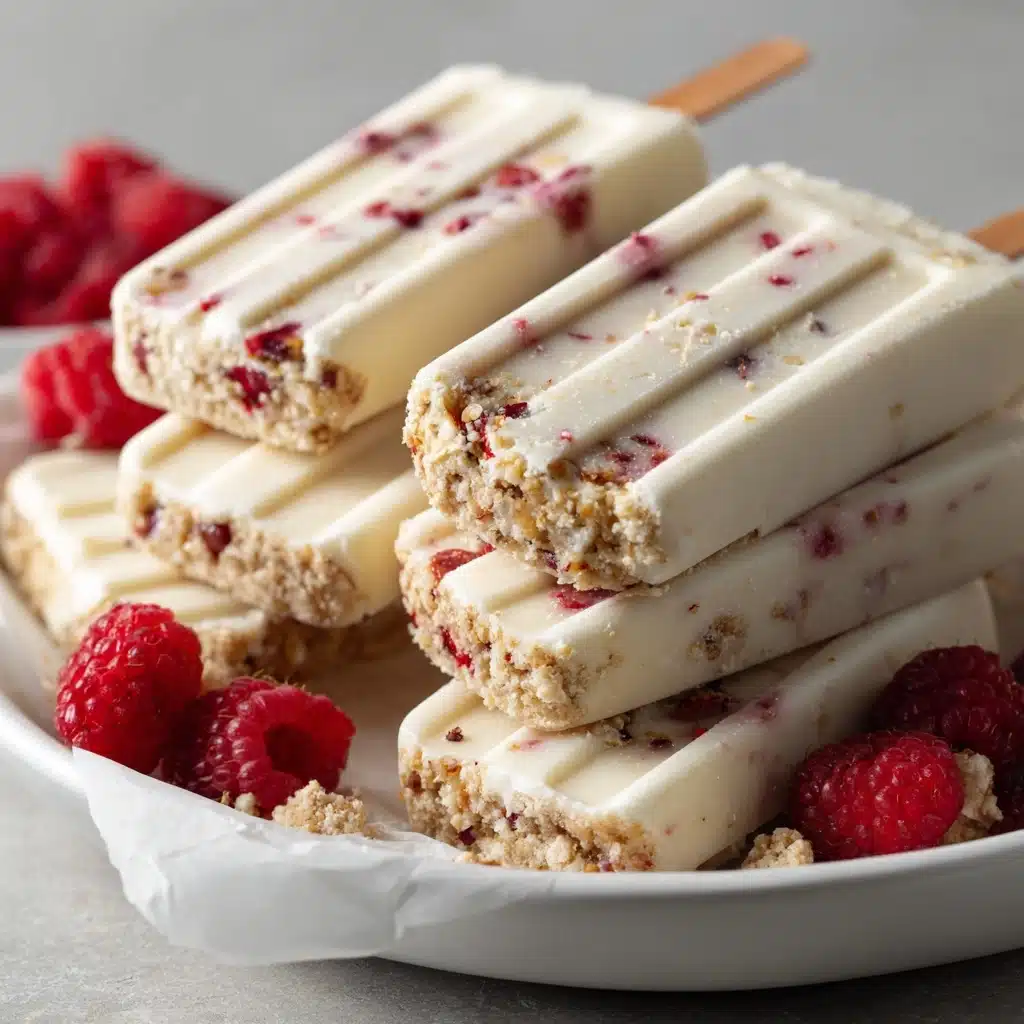
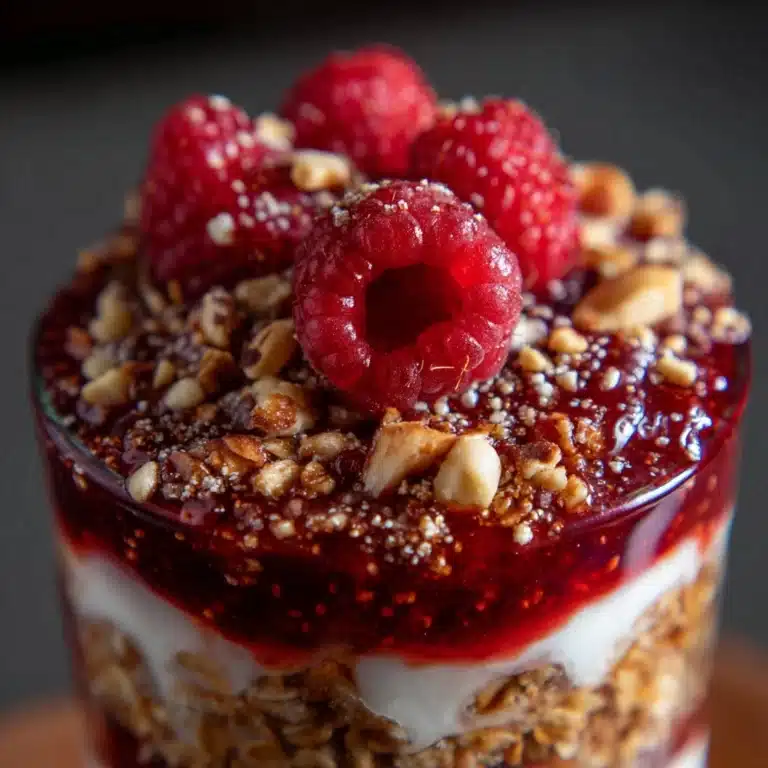
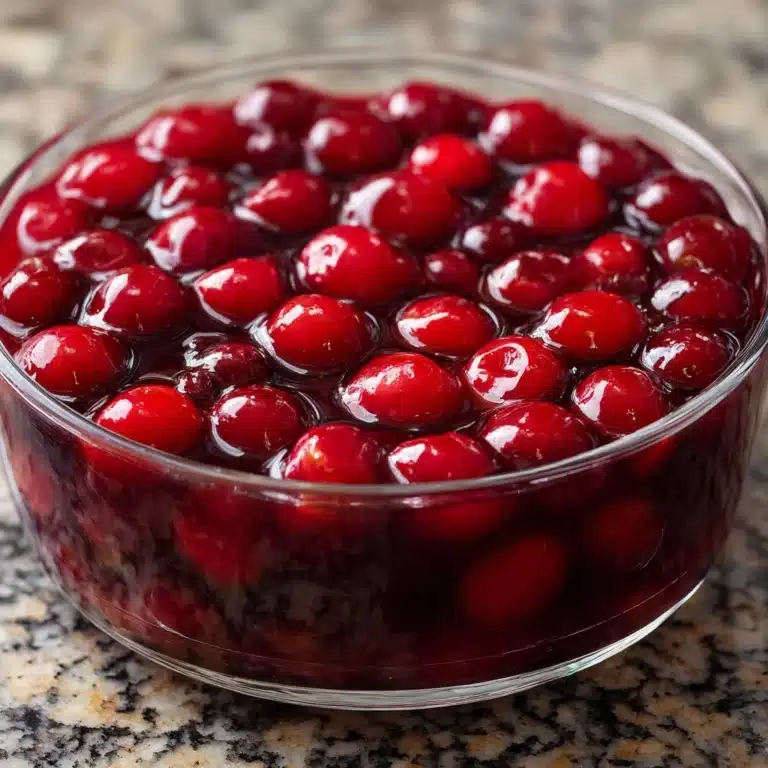
If you’re looking to beat the heat or simply want to indulge in a nostalgic treat, Creamy Ice Cream Bars are the answer you’ve been craving. These homemade bars are irresistibly smooth, customizable with your favorite mix-ins, and wrapped in a rich chocolate shell that snaps delightfully with every bite. With minimal effort and maximum flavor, this recipe transforms simple ingredients into a dessert that’s both fun to make and impossible to resist. Whether you prefer a classic vanilla base or you’re tempted to swirl in chunks of chocolate and fruit, these Creamy Ice Cream Bars are set to become a staple in your dessert rotation.
Ingredients You’ll Need
All the magic behind these Creamy Ice Cream Bars comes from a handful of kitchen staples, each playing a key role in the creamy texture and luscious taste. Pick and choose your favorite mix-ins for endless delicious variations!
- Heavy whipping cream: Whips up thick and airy, forming the dreamy, melt-in-your-mouth base of your bars.
- Sweetened condensed milk: Adds just the right amount of sweetness and keeps the bars silky and scoopable even after freezing.
- Vanilla extract: Brings a warm, cozy aroma and classic flavor that pairs beautifully with any mix-in.
- Pinch of salt: Just a touch brightens the flavors, keeping the ice cream from tasting flat or one-note.
- Optional mix-ins (mini chocolate chips, crushed cookies, fruit chunks, jam or caramel swirls): This is where you get to play—stir in anything you love for wonderful pops of flavor and texture.
- Chocolate (dark or milk, for coating): Provides that satisfying snap and rich finish; dark chocolate is bold, milk chocolate is creamy—either works!
- Coconut oil: Melted with the chocolate, it makes the outer shell glossy and helps it set snappily right out of the freezer.
- Wooden sticks: Essential for that classic ice cream bar experience and easy, mess-free snacking.
How to Make Creamy Ice Cream Bars
Step 1: Whip Up the Cream
Start by pouring your heavy whipping cream into a large, chilled mixing bowl. Using a hand mixer or stand mixer, beat it until stiff peaks form. This step is key—it traps air, giving your Creamy Ice Cream Bars that fluffy, mouthwatering texture that’s miles above store-bought versions.
Step 2: Make the Sweet Creamy Base
In another bowl, combine the sweetened condensed milk, vanilla extract, and a pinch of salt. Stir it all together until smooth. This is where the flavor foundation happens—don’t skip the salt, as it balances the sweetness beautifully!
Step 3: Fold and Flavor
Gently fold the whipped cream into the condensed milk mixture. Use broad, sweeping motions to keep the mixture light and airy. Once fully combined and fluffy, stir in any desired mix-ins—think mini chocolate chips, diced berries, cookie chunks, or sweet swirls of jam or caramel.
Step 4: Mold and Freeze
Line an 8×8-inch baking dish with parchment for easy removal later (or use silicone molds for individual bars). Pour in your creamy mixture and smooth the top with a spatula. Insert wooden sticks evenly so each bar gets its own handle. Slide the dish into the freezer and let the bars firm up for at least 6 hours, or until they’re completely solid.
Step 5: Slice into Bars
Once frozen, use the parchment edges to lift the whole slab out of the dish. With a sharp knife, cut between the sticks to separate into individual Creamy Ice Cream Bars—this is where the anticipation really starts to build!
Step 6: Dip and Set
Melt the chocolate and coconut oil together in a microwave-safe bowl, zapping in 30-second intervals and stirring until smooth. Quickly dip each frozen bar in the chocolate, swirling to coat, then lift out so excess drips away. Set the coated bars on a parchment-lined tray, and pop them back into the freezer for at least 10 minutes so the shell can harden into the perfect, shatteringly crisp finish.
How to Serve Creamy Ice Cream Bars
Garnishes
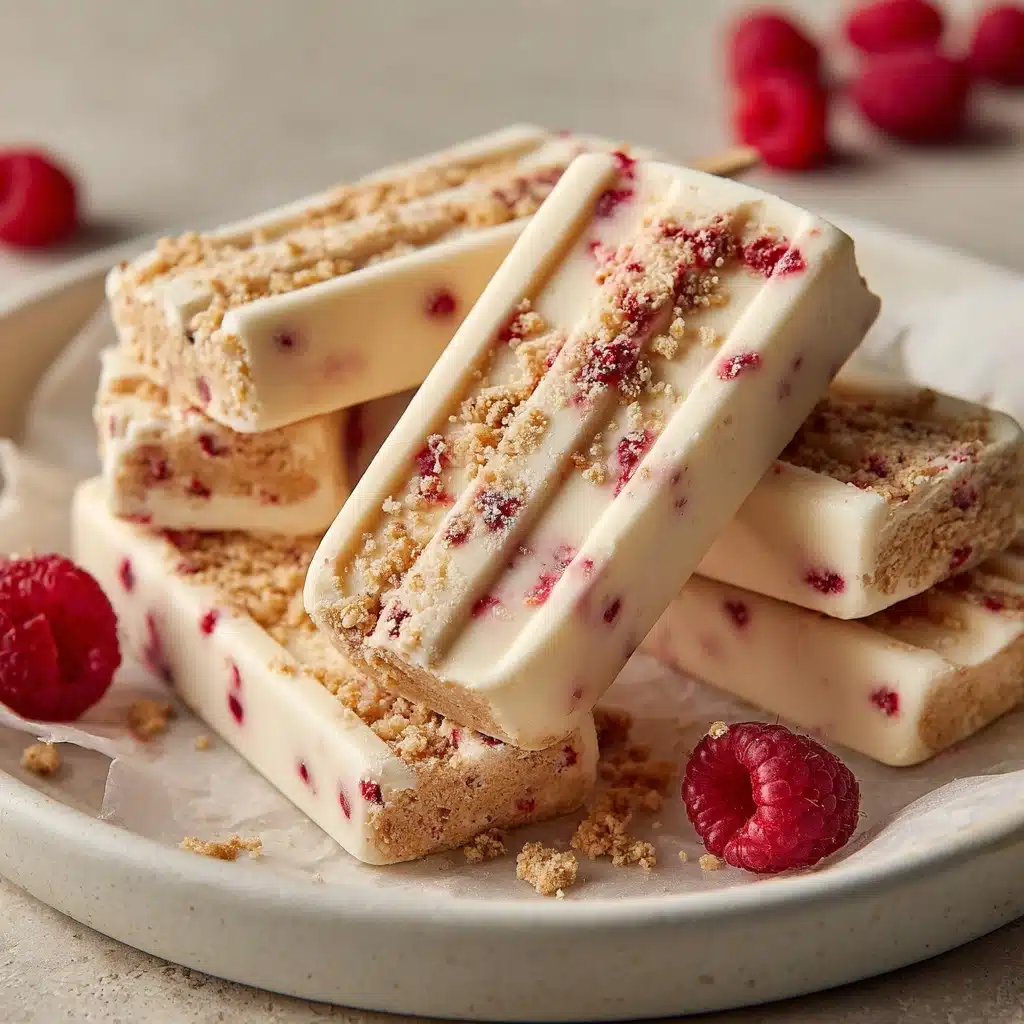
Dress up your Creamy Ice Cream Bars with a sprinkle of flaky sea salt, a dusting of crushed nuts, or even a drizzle of melted white or dark chocolate after dipping. If you’re feeling festive, shower them with sprinkles or edible glitter before the chocolate sets—everyone loves a shiny, colorful touch!
Side Dishes
Pair these bars alongside fresh fruit salad, a handful of berries, or a plate of buttery shortbread for an over-the-top dessert platter. They make a fabulous finish to a summer barbecue or a great treat with a hot espresso or frothy iced coffee.
Creative Ways to Present
Display your Creamy Ice Cream Bars standing upright in a bed of crushed ice or in mason jars filled with mini marshmallows at your next party. For kids’ birthdays, line them up in a vibrant cup and let everyone choose their favorite mix-in. You can even wrap each bar in wax paper and tie with colorful twine for a delightfully retro, grab-and-go sweet.
Make Ahead and Storage
Storing Leftovers
If you manage to have any Creamy Ice Cream Bars left after serving, pop them into an airtight container and store them in the freezer. Layer parchment between bars to keep them from sticking, ensuring every one stays as fresh as the first.
Freezing
These bars are made for the freezer! They’ll keep beautifully for up to two weeks, making them a perfect dessert to prepare ahead for parties and gatherings. Just remember—homemade bars freeze harder than store-bought, so let them sit out for a minute before biting in for perfect creaminess.
Reheating
No reheating needed here! But if you want them just slightly softened, take them out of the freezer and let them rest at room temperature for three to five minutes before serving. This brings out the best creaminess and flavor in every bite.
FAQs
Can I use light cream or milk instead of heavy whipping cream?
The secret to the ultra-smooth, fluffy texture of Creamy Ice Cream Bars is in the heavy cream. Using a lighter alternative may yield a more icy, less decadent bar, so for best results, stick with heavy whipping cream.
Do I have to use the chocolate coating?
Not at all! While the chocolate shell is classic and delicious, you can skip it entirely for a lighter treat or dip your bars in only half the mixture for a fun, two-tone look. Try dusting them with cocoa powder or rolling in crushed cookies for another twist.
Can I make these in individual molds?
Absolutely—silicone ice cream molds work wonderfully. Simply pour your creamy base into each cavity, insert the sticks, and freeze until firm. They’ll pop out cleanly and look just as impressive as the classic bars.
How can I make them dairy-free?
Swap the heavy cream for full-fat coconut cream and use a plant-based sweetened condensed milk (widely available in many stores). Make sure to use dairy-free chocolate for the coating, and enjoy Creamy Ice Cream Bars that are just as lush and satisfying!
What kinds of mix-ins work best?
The sky’s the limit! Keep chunks small so they freeze evenly—mini chocolate chips, cookie crumbs, diced strawberries, swirls of peanut butter, or even crispy rice cereal all make tasty additions. Just be careful not to overdo it so the bars stay easy to cut and coat.
Final Thoughts
There’s something truly magical about making Creamy Ice Cream Bars at home—each bite delivers pure nostalgia and joy. Whether you’re sharing them with friends or enjoying a quiet treat all to yourself, give this recipe a try and see how easily it becomes your go-to for every sweet occasion!
Print
Creamy Ice Cream Bars Recipe
- Prep Time: 20 minutes
- Cook Time: 0 minutes
- Total Time: 6 hours 20 minutes (includes freezing)
- Yield: 10 bars
- Category: Dessert
- Method: Freezer
- Cuisine: American
- Diet: Vegetarian
Description
Indulge in these rich and creamy no-churn ice cream bars coated in a layer of decadent chocolate. They are the perfect homemade frozen dessert for any occasion.
Ingredients
Ice Cream Bars:
- 2 cups heavy whipping cream
- 1 (14 oz) can sweetened condensed milk
- 1 teaspoon vanilla extract
- Pinch of salt
- Optional mix-ins (½ cup mini chocolate chips, crushed cookies, fruit chunks, or swirls of jam or caramel)
- 8 oz chocolate (dark or milk) for coating
- 2 tablespoons coconut oil
- Wooden sticks for serving
Instructions
- Whip the Cream: In a large bowl, whip the heavy cream until stiff peaks form.
- Mix the Ingredients: In another bowl, stir together the sweetened condensed milk, vanilla extract, and salt. Gently fold in the whipped cream until smooth. Add any mix-ins.
- Freeze: Pour the mixture into a parchment-lined 8×8-inch dish, insert wooden sticks, and freeze for at least 6 hours.
- Coat in Chocolate: Melt chocolate and coconut oil, dip frozen bars, and return to the freezer to set.
- Serve: Enjoy these creamy ice cream bars frozen.
Notes
- Use silicone molds for individual bars if preferred.
- Bars can be stored in an airtight container in the freezer for up to 2 weeks.

