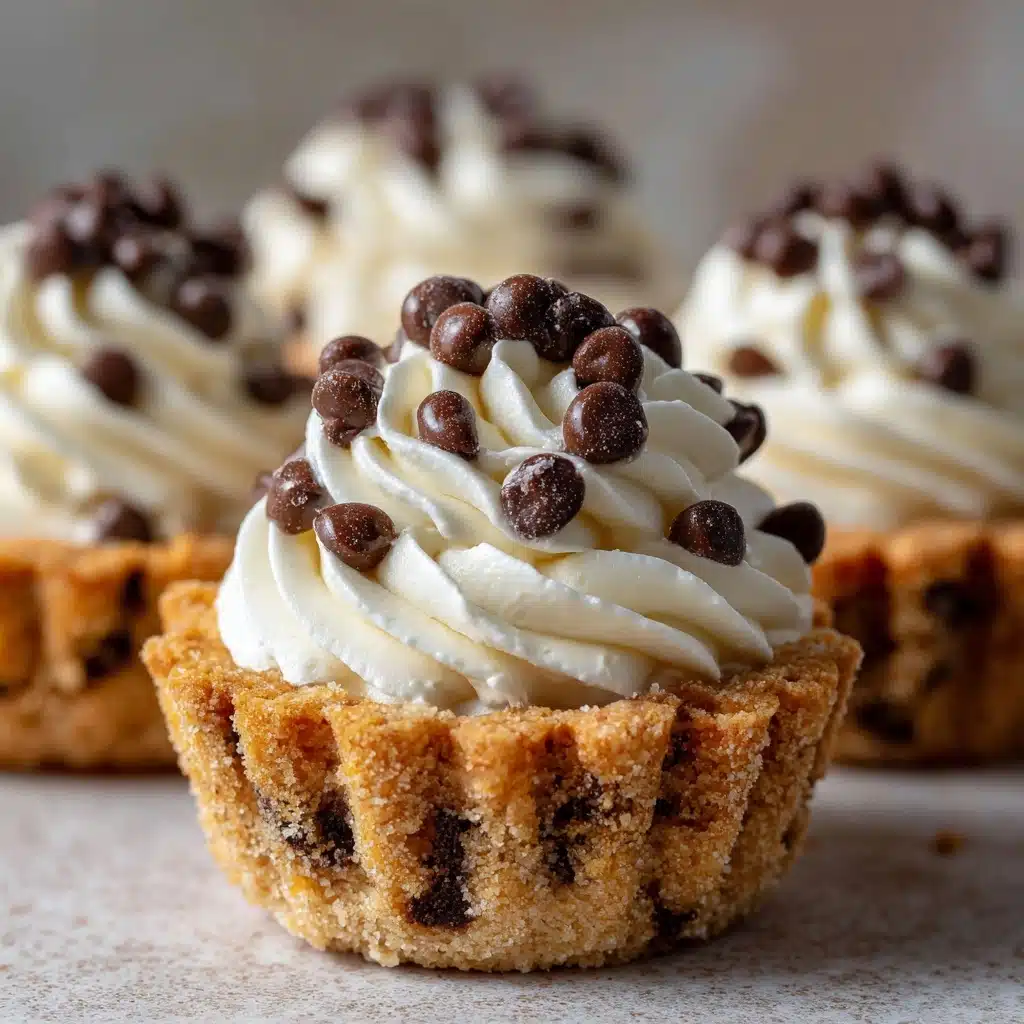
Imagine all the charm of classic Italian cannoli, shrunk down into adorable, handheld treats you can serve at parties or enjoy with your afternoon coffee—these Mini Cannoli Cups deliver exactly that! Crisp, golden shells made from simple pie crusts cradle a luscious ricotta-mascarpone filling with subtle hints of vanilla, citrus, and chocolate. With that wonderful mix of creamy and crunchy, these Mini Cannoli Cups are seriously hard to stop at just one. Whether you’re nostalgic for a favorite bakery treat or just looking to dazzle at your next get-together, this recipe ensures maximum delight with minimum fuss.
Ingredients You’ll Need
The magic behind perfect Mini Cannoli Cups is the beautiful balance of easy pantry ingredients and a few Italian favorites. Each element brings something special—texture, tang, or a pop of color—coming together for irresistible results.
- Refrigerated pie crusts (1 package, 15 oz): The shortcut to golden, crisp shells without any fuss—store-bought dough bakes up perfectly every time.
- Ricotta cheese (1 cup, drained): Classic cannoli flavor starts here; draining is key for a thick, creamy filling.
- Mascarpone cheese (½ cup): Adds smoothness and that luxurious creamy tang.
- Powdered sugar (½ cup): Sweetens and lightly thickens the filling without grittiness.
- Vanilla extract (1 teaspoon): Infuses warmth and depth to the creamy base.
- Ground cinnamon (¼ teaspoon): Just a hint for that subtle warmth cannoli are known for.
- Mini chocolate chips (¼ cup plus more for garnish): Tiny pockets of chocolate in every bite, with some extra sparkle for garnish.
- Orange zest (1 tablespoon, optional): Brightens the filling with a gentle citrus finish—skip or scale to taste.
- Powdered sugar (for dusting): That signature cannoli flourish for a pretty, sweet finish.
- Mini chocolate chips or chopped pistachios (for garnish): A little extra crunch and vibrant color make every cup party-ready.
How to Make Mini Cannoli Cups
Step 1: Prep and Bake the Shells
Start by preheating your oven to 425°F to get those cups golden and crisp. Unroll the refrigerated pie crusts and use a 2½-inch round cookie cutter to punch out as many circles as you can—aim for 24. Gently press each circle into the wells of a mini muffin tin, then prick the bottoms with a fork to prevent puffing. Bake for 8 to 10 minutes, or until they’re beautifully golden. Let the cups cool completely in the pan for easy handling and maximum crunch.
Step 2: Make the Filling
While your shells cool, it’s time to whip together the creamy heart of your Mini Cannoli Cups! Drain your ricotta for a few hours beforehand if you have time, then mix it with mascarpone, powdered sugar, vanilla, cinnamon, and that bright orange zest if you love a citrus finish. Once everything is smooth and dreamy, fold in the mini chocolate chips. Pop this filling in the fridge for at least 30 minutes; it will thicken up nicely, making it much easier to pipe or spoon into your shells.
Step 3: Fill and Garnish
Once both the shells and filling are ready, it’s assembly time! Use a piping bag or a small spoon to fill each cup with that gorgeous, chilled mixture. Top with a scatter of mini chocolate chips or the vibrant green of chopped pistachios for classic flair. Finish with a generous dusting of powdered sugar—now your Mini Cannoli Cups look as good as they taste.
How to Serve Mini Cannoli Cups

Garnishes
The magic is in the finishing touches! Sprinkle each cup with extra mini chocolate chips or chopped pistachios just before serving for a burst of crunch and color. A delicate dusting of powdered sugar transforms your Mini Cannoli Cups into picture-perfect pastries, just waiting to be devoured.
Side Dishes
These delightful bites pair perfectly with fresh berries for a refreshing contrast, or alongside espresso for a little taste of Italy after dinner. For a playful dessert board, team your Mini Cannoli Cups with biscotti, amaretti cookies, or chocolate-dipped fruit.
Creative Ways to Present
Show off your Mini Cannoli Cups on a tiered dessert stand for a party centerpiece, or display them on a rustic wooden platter for family-style snacking. For a festive touch, nestle each cup in a colorful mini cupcake liner—or serve with tiny forks and an extra bowl of chocolate chips for DIY topping fun at the table.
Make Ahead and Storage
Storing Leftovers
If you’ve got extras (lucky you!), store unfilled shells and filling separately in airtight containers in the refrigerator. Once filled, Mini Cannoli Cups are best enjoyed within a few hours; otherwise, the shells may soften slightly but will still taste delicious.
Freezing
While the baked shells freeze well (just store in a zip-top freezer bag up to a month), avoid freezing the ricotta filling, as its texture may become grainy after thawing. For make-ahead ease, prep the shells and filling in advance, then thaw and assemble fresh.
Reheating
If your baked shells feel less crisp after storage, pop them in a 350°F oven for 2-3 minutes to quickly revive their crunch. Let them cool fully before adding the chilled filling, so every bite is just right.
FAQs
Can I substitute the pie crust with another dough?
Absolutely! For a more traditional crunch, you can use homemade cannoli dough or even store-bought puff pastry. Just keep an eye on them—baking times may vary depending on the dough.
Do I have to use mascarpone, or can I substitute it?
If mascarpone isn’t handy, you can swap in more ricotta or full-fat cream cheese. The result won’t be quite as silky or rich, but your Mini Cannoli Cups will still be creamy and delicious!
How far ahead can I make these?
You can prepare the shells and filling a day ahead, then keep them separate in the fridge. For that perfect crispness, wait to fill the cups until just before serving.
What are the best garnishes for Mini Cannoli Cups?
Classic garnishes include mini chocolate chips, chopped pistachios, and powdered sugar. For a fun twist, try grated dark chocolate, candied orange peel, or even rainbow sprinkles for a kids’ party.
Can I make these gluten-free?
Yes! Simply use your favorite gluten-free refrigerated pie dough for the shells. The creamy ricotta-mascarpone filling is naturally gluten-free, so everyone can enjoy these treats.
Final Thoughts
If you’re looking for a surefire crowd-pleaser or want to add a little sparkle to your next get-together, these Mini Cannoli Cups always deliver. They’re bite-sized, beautiful, and absolutely delicious—give them a try, and watch them disappear!
Print
Mini Cannoli Cups Recipe
- Prep Time: 20 minutes
- Cook Time: 10 minutes
- Total Time: 30 minutes
- Yield: 24 mini cups
- Category: Dessert
- Method: Baking
- Cuisine: Italian
- Diet: Vegetarian
Description
These adorable mini cannoli cups are a delightful twist on the classic Italian dessert. Crispy pie crust cups filled with a creamy, sweet ricotta and mascarpone mixture, studded with mini chocolate chips and a hint of cinnamon.
Ingredients
Pie Crust Cups:
- 1 package (15 oz) refrigerated pie crusts (2 crusts)
Filling:
- 1 cup ricotta cheese (drained)
- 1/2 cup mascarpone cheese
- 1/2 cup powdered sugar
- 1 teaspoon vanilla extract
- 1/4 teaspoon ground cinnamon
- 1/4 cup mini chocolate chips
- 1 tablespoon orange zest (optional)
For Garnish:
- Powdered sugar (for dusting)
- Mini chocolate chips or chopped pistachios (for garnish)
Instructions
- Preheat oven and prepare pie crust cups: Preheat oven to 425°F. Unroll pie crusts and cut out circles. Press each circle into a mini muffin tin and bake until golden brown.
- Prepare the filling: Mix ricotta, mascarpone, powdered sugar, vanilla, cinnamon, and orange zest until smooth. Fold in mini chocolate chips and refrigerate.
- Fill the cups: Once cooled, spoon or pipe the filling into each shell. Garnish with additional chocolate chips or pistachios and dust with powdered sugar.
Notes
- For best results, drain ricotta in a fine mesh strainer before using.
- The filling can be made a day ahead, but fill cups just before serving to keep them crispy.

