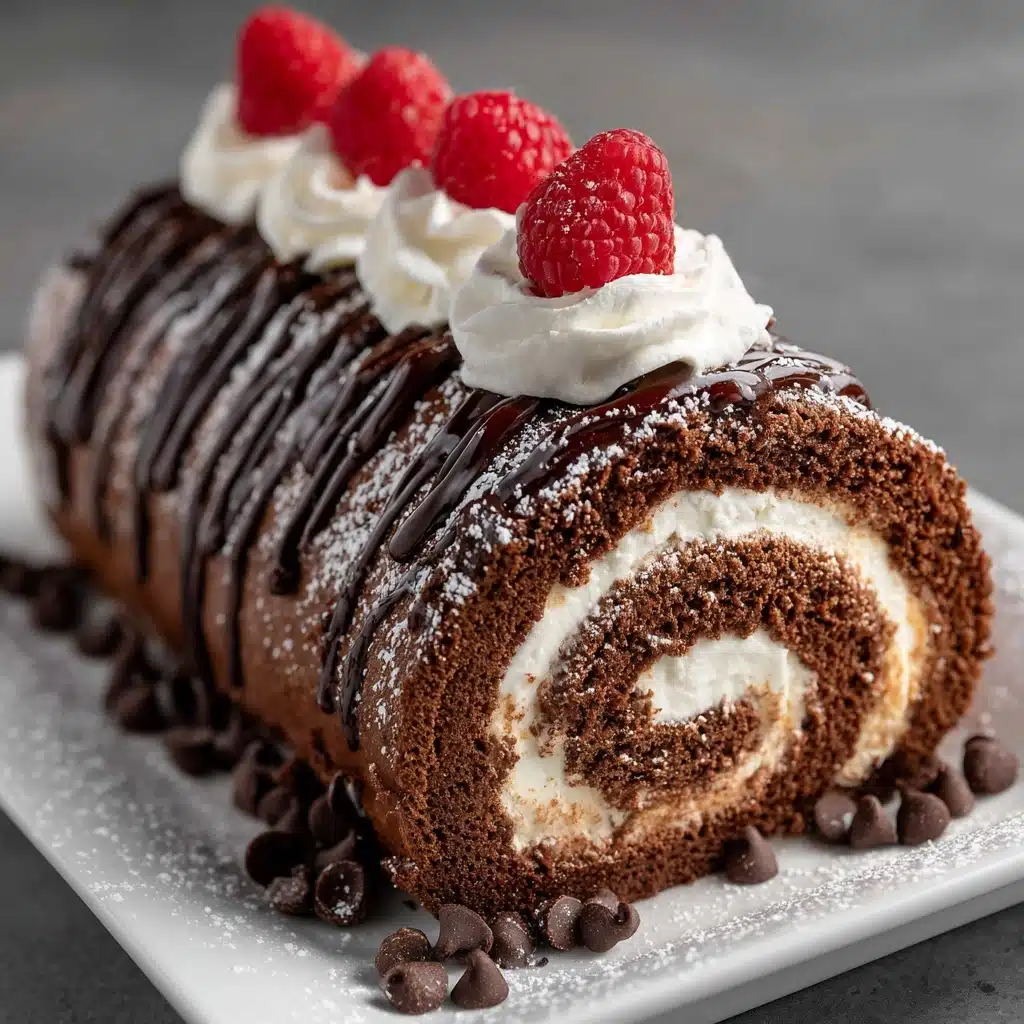
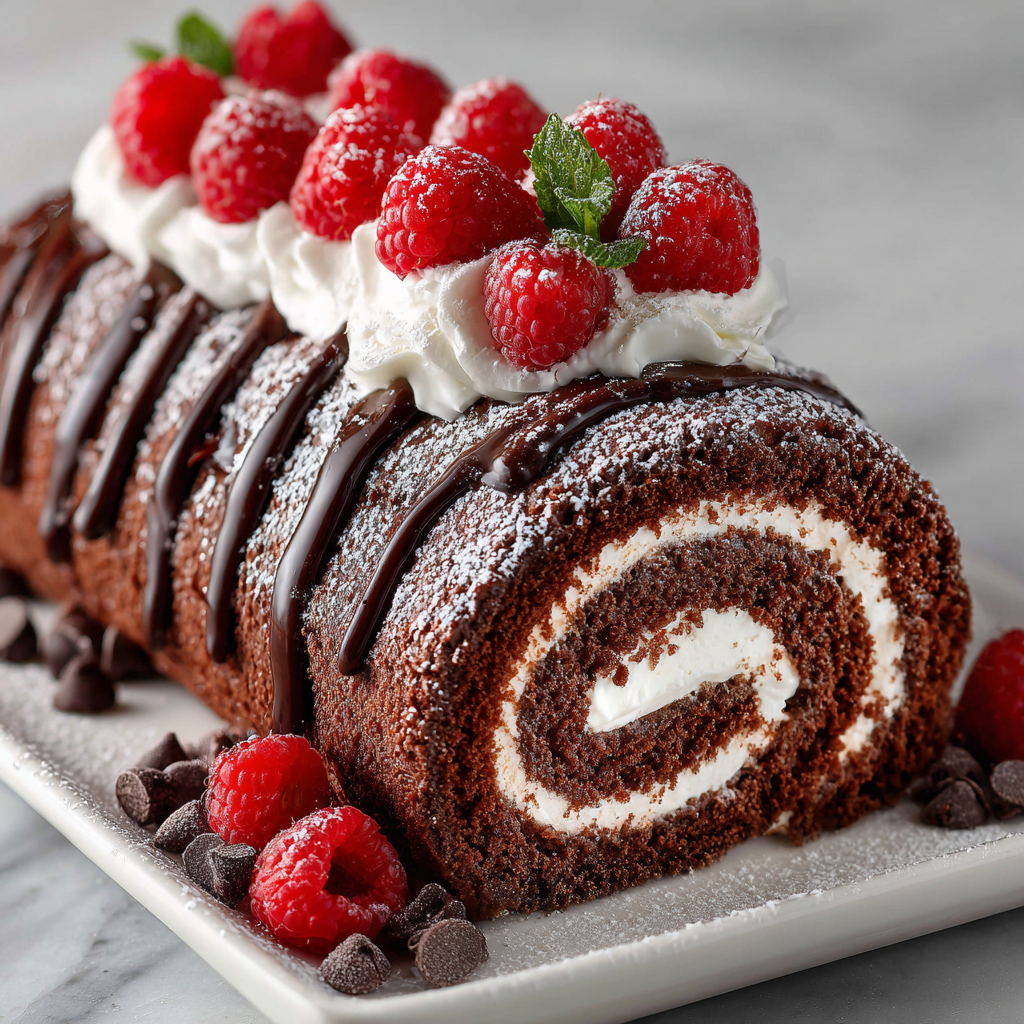
One bite of a Chocolate Cake Roll and you’re instantly swept up in a swirl of chocolatey bliss! This crowd-pleasing dessert features a tender cocoa sponge cake wrapped around clouds of freshly whipped cream, all rolled up into elegant spirals and (if you’re feeling a little fancy) finished with a glossy chocolate ganache. It’s the perfect treat for celebrations or just your average Tuesday night, and although it looks impressive, it’s surprisingly simple to create in your own kitchen!
Ingredients You’ll Need
The allure of a great Chocolate Cake Roll rests in its honest, straightforward ingredients—each one plays a key role, from the cake’s soft crumb to the creamy filling and optional ganache topping. Here’s what you’ll need and why you’ll love working with each component:
- All-purpose flour: The foundation that brings structure and just the right amount of tenderness to your cake roll.
- Unsweetened cocoa powder: Deepens the chocolate flavor—use a good quality for the richest, most luxurious result.
- Baking powder: Gives the sponge its lift and keeps everything light and airy.
- Salt: A pinch really enhances the chocolate and balances the sweetness.
- Large eggs: Beaten until thick and pale, they make the batter fluffy and help the cake to roll without cracking.
- Granulated sugar: Sweetness and moisture—essential for a melt-in-your-mouth texture.
- Vanilla extract: A fragrant note that elevates all the flavors from the background.
- Milk: Adds moisture and helps the batter come together smoothly.
- Heavy whipping cream: For luscious, rich filling you’ll want to eat straight from the bowl.
- Powdered sugar: Sweetens the cream and dusts your towel for a no-stick, picture-perfect roll.
- Optional: Semi-sweet chocolate chips and heavy cream: Just two ingredients turn into a dreamy ganache for those extra-special occasions.
How to Make Chocolate Cake Roll
Step 1: Prep and Preheat
Begin by heating your oven to 350°F (175°C) and prepping a 10×15-inch jelly roll pan with a layer of parchment, lightly greased. This simple move ensures that your Chocolate Cake Roll releases perfectly later on—no sticky drama!
Step 2: Mix the Dry Ingredients
In a small bowl, whisk together the all-purpose flour, cocoa powder, baking powder, and a pinch of salt. This gives your cake an even lift and a wonderfully consistent chocolate flavor in every bite.
Step 3: Whip Eggs and Sugar
Grab a large bowl and beat your eggs with the granulated sugar using an electric mixer for a good 4–5 minutes. You want them to become pale, thick, and beautifully voluminous—this is what sets the cake’s airy sponge texture apart.
Step 4: Blend in Vanilla and Milk
Once your eggs and sugar have reached their peak, blend in the vanilla extract and milk. These add richness and a subtle undertone that rounds out the chocolate profile.
Step 5: Fold in Dry Ingredients
Gently fold your dry ingredient mixture into the wet ingredients, working slowly and carefully so you keep all that precious fluffiness from the eggs. Your batter should look smooth and evenly cocoa-hued.
Step 6: Bake the Cake
Pour your batter into the prepared pan, smoothing it out evenly. Pop it in the oven for just 10–12 minutes. The cake is ready when it springs lightly back at your touch—don’t overbake, as you want a pliable, soft sponge.
Step 7: Roll While Warm
Here comes the fun part! Lay a clean kitchen towel on your counter and sprinkle it generously with powdered sugar. Turn out the hot cake onto the towel, peel away the parchment, and then roll up the cake (short end first) with the towel inside. Let it cool fully—it’s this step that gives the Chocolate Cake Roll its iconic shape.
Step 8: Make the Whipped Cream Filling
Beat the heavy whipping cream with powdered sugar and vanilla until stiff peaks form. This creamy pillow of heaven is what fills each slice with luscious richness and contrast to the chocolate.
Step 9: Fill and Re-Roll
Once cool, gently unroll your cake, remove the towel, and spread an even layer of whipped cream over the surface. Re-roll it (minus the towel) and you’ll see those gorgeous swirls start to appear.
Step 10: Chill and Ganache (Optional)
Let your Chocolate Cake Roll chill for at least an hour for neat slices and perfect set. If you’re going for ganache, heat the cream to steaming, pour it over your chocolate chips, and stir until glossy and smooth. Spread this over your cake for a baker’s finish!
How to Serve Chocolate Cake Roll
Garnishes
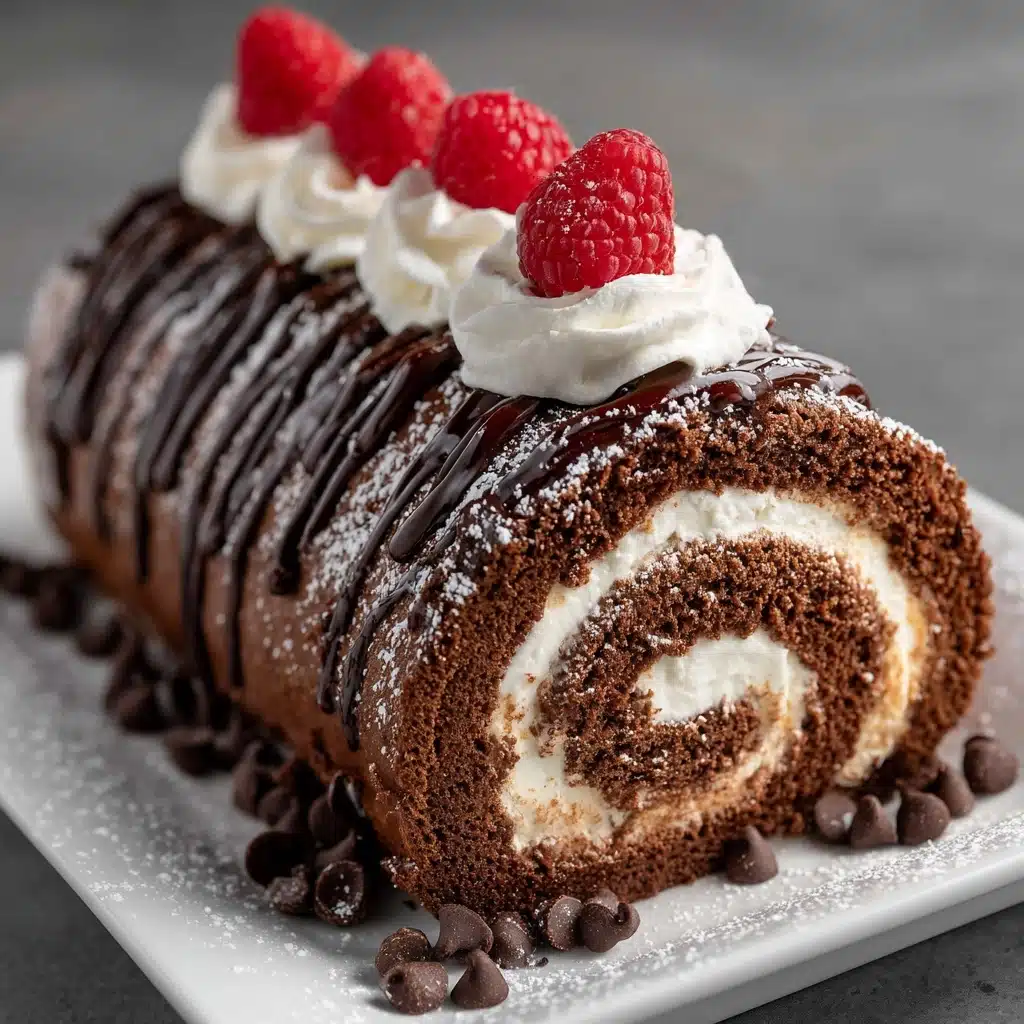
A simple dusting of powdered sugar gives a classically elegant vibe, but you can also top your Chocolate Cake Roll with fresh berries, chocolate curls, or a drizzle of extra ganache to really impress! Whipped cream dollops or a few sprigs of mint also add a lovely flourish.
Side Dishes
This decadently rich treat pairs beautifully with a scoop of vanilla ice cream or a fresh fruit salad. If you’d like to keep things light, offer up strong coffee, cappuccino, or a nice cup of hot tea—these balance the dessert’s sweetness perfectly.
Creative Ways to Present
Instead of one large roll, try creating mini Chocolate Cake Rolls for individual servings—just slice the sheet cake into smaller rectangles before rolling. For special occasions, slice your roll on a diagonal and arrange the spirals atop a vintage cake stand. Edible flowers or gold leaf can turn it into a true centerpiece.
Make Ahead and Storage
Storing Leftovers
Wrap any leftover Chocolate Cake Roll tightly in plastic wrap or place it in an airtight container before refrigerating. It’ll stay fresh and moist for up to three days, and the flavors deepen overnight for an even more indulgent experience later.
Freezing
For longer storage, the cake roll freezes well! Just wrap it carefully—first in plastic, then in foil—and freeze for up to two months. Let it thaw in the fridge overnight before serving. Larger slices are best frozen without ganache and topped after thawing for the ideal texture.
Reheating
There’s no need to reheat a Chocolate Cake Roll since it’s meant to be served chilled or at room temperature. If you find yourself with cold leftovers (straight from the fridge), just give them a few minutes on the counter to soften before enjoying.
FAQs
Can I use a different filling instead of whipped cream?
Absolutely! While classic whipped cream filling is deliciously light, feel free to experiment with chocolate mousse, flavored buttercream, or even a spread of berry jam to add a fruity note. The possibilities are endless!
How do I prevent the cake from cracking when rolling?
The key is to roll the cake while it’s still warm and flexible, and to use a well-dusted towel to prevent sticking. Taking your time and not overbaking the sponge go a long way to keeping things smooth.
Is there a gluten-free version of this Chocolate Cake Roll?
Yes! You can substitute a 1:1 gluten-free flour blend for the all-purpose flour. The texture will be slightly different, but it’s still absolutely delicious and holds together beautifully for rolling.
Can I make this Chocolate Cake Roll ahead for parties?
Yes, this recipe is a party planner’s dream! You can assemble and chill the finished roll a day in advance. Just wait until serving time to add any final touches like ganache, powdered sugar, or fruit garnishes.
What size pan do I need for this recipe?
A 10×15-inch jelly roll pan is the classic choice and gives you the perfect thickness for rolling. Smaller or larger pans may affect bake time and the ability to roll neatly, so stick with the recommended size if possible.
Final Thoughts
If you’ve ever wanted to wow family and friends—or just treat yourself—to something special, I wholeheartedly encourage you to try making a Chocolate Cake Roll! It’s always a showstopper, but even more, it’s a joyful baking adventure with a satisfyingly sweet reward at the end.
Print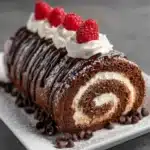
Chocolate Cake Roll Recipe
- Prep Time: 20 minutes
- Cook Time: 12 minutes
- Total Time: 1 hour 30 minutes (including cooling)
- Yield: 10 servings
- Category: Dessert
- Method: Baking
- Cuisine: American
- Diet: Vegetarian
Description
Indulge in the rich and decadent flavors of this Chocolate Cake Roll. A moist, chocolatey cake filled with sweet whipped cream, all topped off with a luxurious ganache. Perfect for any occasion!
Ingredients
Cake:
- 3/4 cup all-purpose flour
- 1/4 cup unsweetened cocoa powder
- 1 teaspoon baking powder
- 1/4 teaspoon salt
- 4 large eggs
- 3/4 cup granulated sugar
- 1 teaspoon vanilla extract
- 1/4 cup milk
Filling:
- 1 cup heavy whipping cream
- 1/4 cup powdered sugar
- 1 teaspoon vanilla extract
Optional Ganache Topping:
- 1/2 cup heavy cream
- 4 oz semi-sweet chocolate chips
Instructions
- Preheat oven and prepare pan: Preheat oven to 350°F (175°C). Grease a 10×15-inch jelly roll pan and line with parchment paper.
- Prepare cake batter: In a small bowl, whisk together flour, cocoa powder, baking powder, and salt. In a large bowl, beat eggs and sugar until thick. Mix in vanilla and milk. Gently fold in dry ingredients. Pour batter into pan, spread evenly, and bake for 10–12 minutes.
- Roll the cake: Dust a kitchen towel with powdered sugar. Turn the hot cake onto the towel, peel off parchment paper, and roll the cake up in the towel. Let it cool.
- Make the filling: Beat heavy cream, powdered sugar, and vanilla until stiff peaks form. Unroll the cake, spread whipped cream, and re-roll without the towel. Chill for at least 1 hour.
- Prepare ganache: Heat cream, pour over chocolate chips, let sit, then stir until smooth. Pour over chilled cake roll and slice to serve.
Notes
- Chilling the rolled cake helps maintain shape and makes slicing easier.
- Store leftovers in the refrigerator for up to 3 days.

