If you’ve ever dreamed of creating your own loaves of tangy, golden bread from scratch, then mastering a homemade Sourdough Starter is the magic key. With just flour, water, and patience, this starter invites wild yeast and beneficial bacteria to turn simple ingredients into edible alchemy. It’s honestly one of those kitchen projects that feels like a blend of science, tradition, and a bit of magic—with flavor rewards that keep you hooked for life. Get ready to nurture a living, bubbling foundation for the best bread you’ll ever taste.
Ingredients You’ll Need
-
Day 1:
- 1 cup (120g) whole wheat flour or unbleached all-purpose flour
- 1/2 cup (120g) filtered or dechlorinated water
How to Make Sourdough Starter
Step 1: Mix Initial Ingredients
In a spotlessly clean glass or plastic container, stir together 1 cup of your chosen flour with 1/2 cup filtered water. Mix until you see no pockets of dry flour, scraping the sides as needed. Cover loosely with a lid, plate, or clean kitchen towel and set it somewhere cozy—ambient room temperature around 70°F (21°C) is ideal. This first step sets everything in motion!
Step 2: First Check and Feeding
After 24 hours, check for any tiny bubbles or hints of tangy aroma—it’s okay if nothing much is happening yet. Discard about half of your mixture (don’t worry, it’s all part of the process). Feed what remains with another 1 cup of flour and 1/2 cup of water, mixing thoroughly. Cover and return to its cozy spot for another 24 hours. You’re encouraging those initial wild yeasts to wake up!
Step 3: Daily Discard and Feed (Days 3–6)
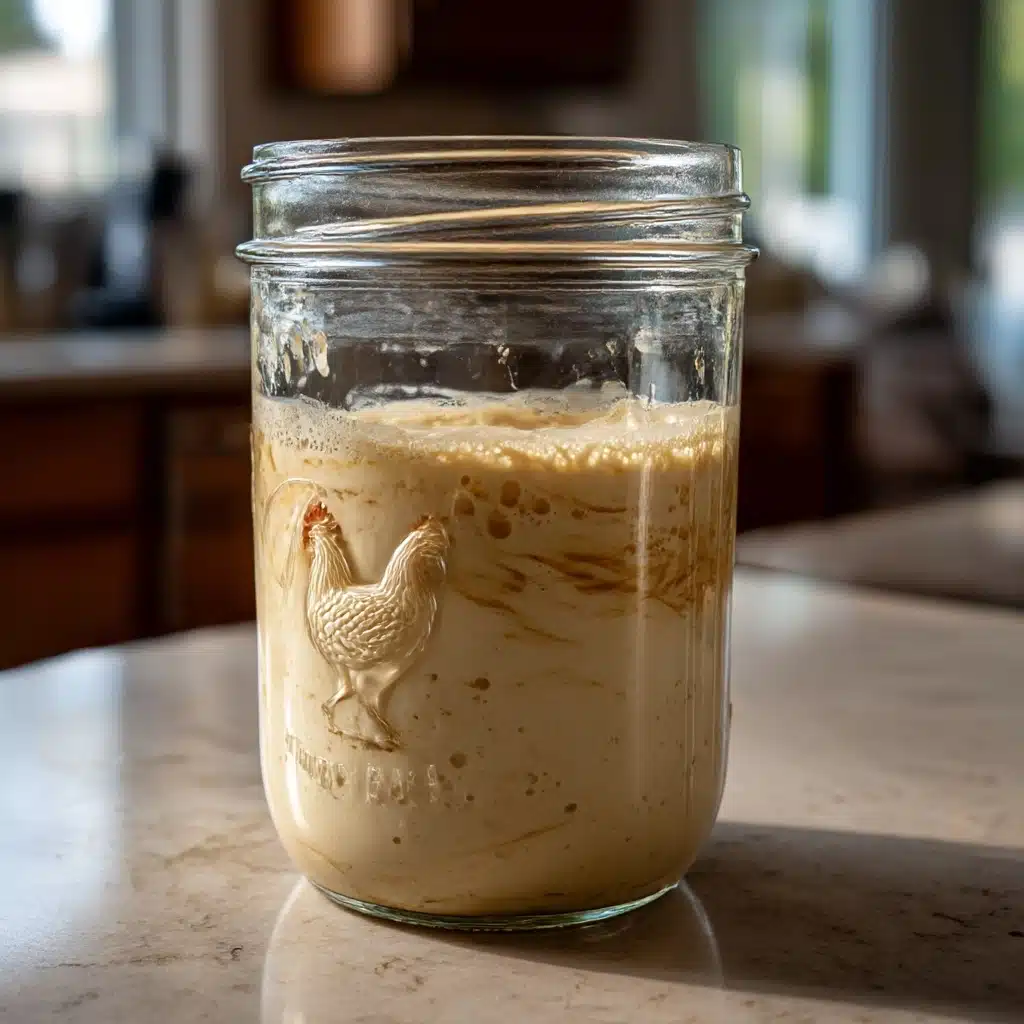
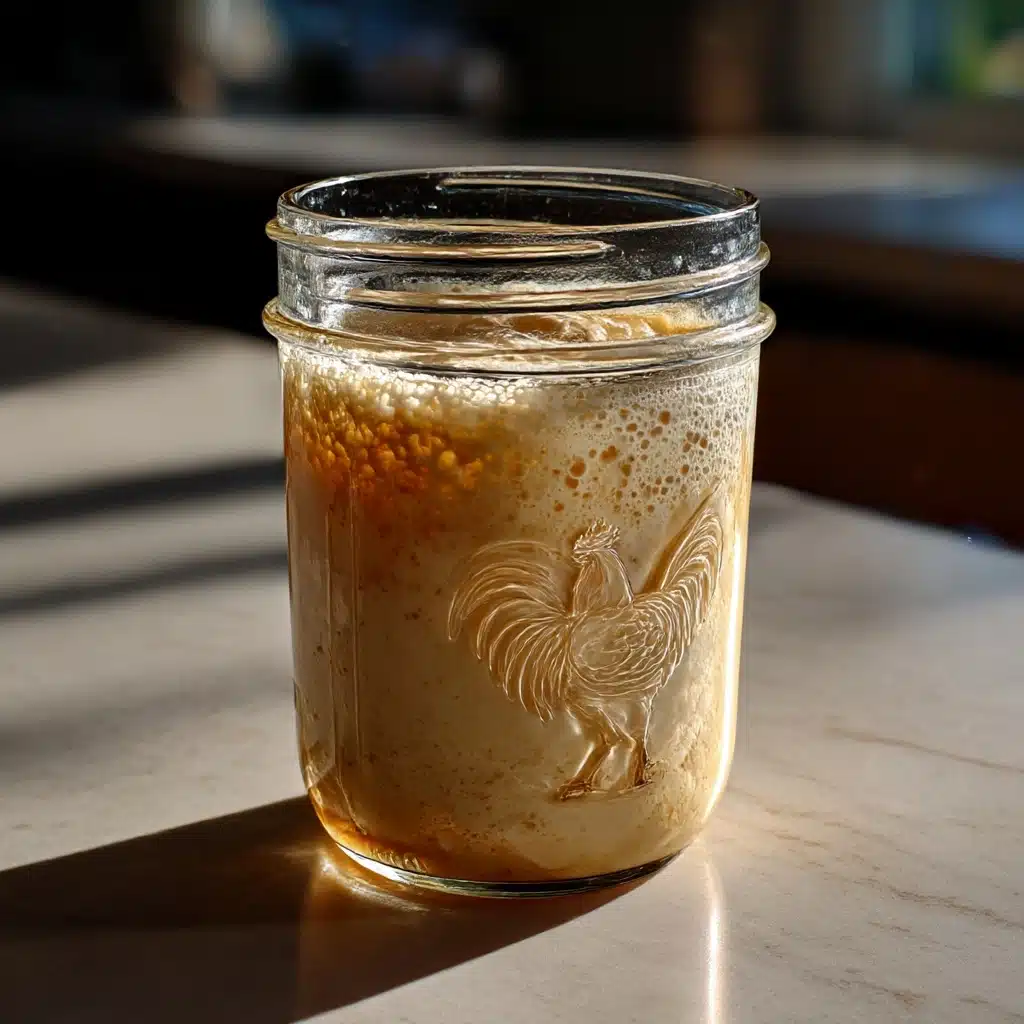
Each day, repeat that discard-and-feed routine: toss half the starter, feed with 1 cup flour and 1/2 cup water, stir well, and cover again. By day 4 or 5, you’ll notice the mixture bubbling up with more enthusiasm, and it should start to give off a delightfully tangy, yeasty smell. This is the Sourdough Starter coming to life!
Step 4: Assess & Transition to Maintenance (Day 7+)
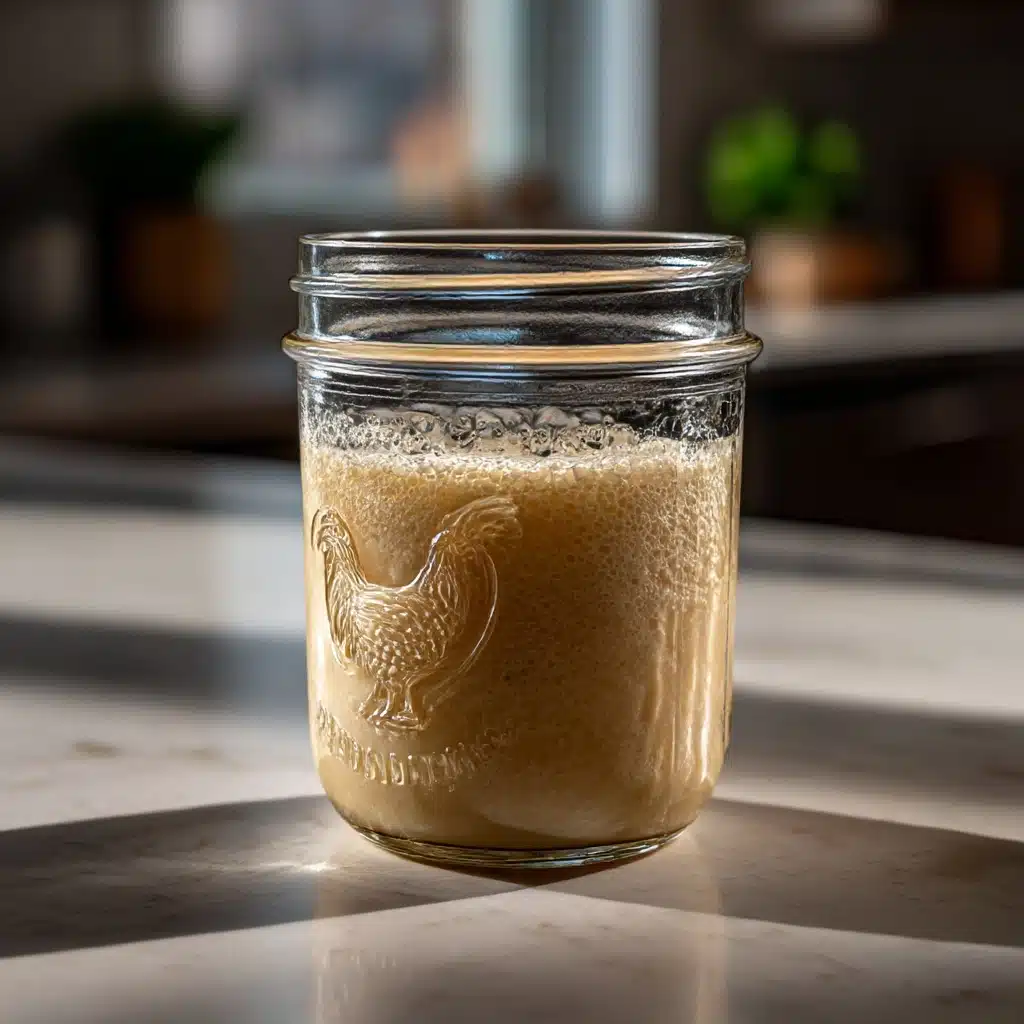
On day 7, your starter should be doubling in size within 4–6 hours of feeding, full of bubbles and sporting a pleasantly sour aroma. If it still seems sluggish, don’t stress; just keep up daily feedings for a few more days. Once reliably active, your Sourdough Starter is ready to bake with, or to be stored in the fridge for future projects. The journey truly begins here!
How to Serve Sourdough Starter
Garnishes
While a Sourdough Starter itself isn’t typically “served” straight, you can dress up any bread you make with a sprinkle of flaky salt, toasted seeds, or a brush of melted butter to really highlight the nuanced flavors you’ve cultivated.
Side Dishes
Turn a fresh loaf made from your starter into the centerpiece of a meal: warm slices are incredible with hearty soups, creamy cheeses, or seasonal salads. Tapenade, hummus, or whipped ricotta make fantastic accompaniments too.
Creative Ways to Present
Share your Sourdough Starter journey by gifting a bit to friends in a cute jar with handwritten care instructions. Or, bake your signature loaf, slice it, and serve it on a rustic board topped with creative spreads—your fresh, bubbly starter is the secret behind every perfect crumb.
Make Ahead and Storage
Storing Leftovers
Your Sourdough Starter is a living thing, but thankfully, it’s not demanding! Once mature, you can tuck it into the refrigerator, where it will go dormant and only need a feed about once a week. Make sure your container is loosely covered so it can still breathe just a little.
Freezing
If you know you’ll be taking a break from baking, you can freeze some starter in an airtight container. This puts all the wild yeast to sleep; just thaw it out and give a few refreshments and it’s ready to bubble again. It’s the ultimate backup plan!
Reheating
You won’t need to “reheat” a Sourdough Starter, but if it’s coming out of the fridge or freezer, let it warm to room temperature, then resume regular feeding for at least a day or two before baking. That jump-starts the microbes after their nap.
FAQs
Can I use tap water for my Sourdough Starter?
You can, but if your water is chlorinated, it might slow down or harm wild yeast growth. Filtered or dechlorinated water helps guarantee a vibrant, healthy starter from the very first days.
Why do I have to discard so much starter every day?
This keeps your Sourdough Starter in balance. Without discarding, you’d soon have a mountain of dough! Removing some makes room for fresh food, prevents overly tangy flavors, and ensures steady fermentation.
My starter isn’t bubbling after three days. Did I do something wrong?
Not at all! Factors like temperature, flour choice, and even your home’s unique wild yeasts can affect timing. Keep feeding daily; sometimes the magic just takes a little longer to kick off.
How do I know when my Sourdough Starter is ready to use?
When it doubles in volume within 4–6 hours of feeding, smells pleasantly tangy (not funky), and is consistently full of bubbles, you’re good to go! This may be by day 7 or a bit later, so patience pays off.
Can I switch flour types after starting my Sourdough Starter?
Absolutely! Many bakers begin with whole wheat for a vitamin and mineral boost, then switch to unbleached all-purpose for regular feedings. Your starter will happily adapt—the flavor may subtly shift, too.
Final Thoughts
There’s real joy in crafting your own Sourdough Starter—it’s a delicious lesson in patience, tradition, and hands-on kitchen magic. Whether you’re brand new to homemade baking or already a bread lover, taking this leap will transform your bread forever. Give it a try and share the bubbly, tangy goodness with the people you love!
Print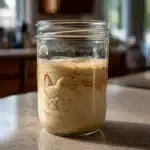
Sourdough Starter Recipe
- Prep Time: 10 minutes daily
- Cook Time: None
- Total Time: 7 days
- Yield: 1 sourdough starter (ongoing use)
- Category: Baking
- Method: Fermenting
- Cuisine: American
- Diet: Vegan
Description
Learn how to make your own sourdough starter at home with just a few simple ingredients. This natural yeast starter is perfect for baking delicious bread with a tangy flavor.
Ingredients
Day 1:
- 1 cup (120g) whole wheat flour or unbleached all-purpose flour
- 1/2 cup (120g) filtered or dechlorinated water
Instructions
- Day 1: In a glass or plastic container, mix 1 cup of flour with 1/2 cup of water until no dry flour remains. Cover loosely with a lid or cloth and let sit at room temperature (around 70°F/21°C) for 24 hours.
- Day 2: Check for any bubbles. Whether or not you see activity, discard half of the mixture and feed with another 1 cup flour and 1/2 cup water. Mix well, cover, and rest for another 24 hours.
- Days 3–6: Repeat the feeding process every 24 hours: discard half, feed with 1 cup flour and 1/2 cup water. By day 4 or 5, you should see more bubbles and a slightly tangy aroma.
- Day 7: If your starter is bubbly, has doubled in volume within 4–6 hours of feeding, and has a pleasant, tangy smell, it’s ready to use. If not, continue daily feedings for a few more days.
Notes
- Use filtered or dechlorinated water to avoid harming natural yeast.
- You can switch to feeding with all-purpose flour after day 2 or 3.
- Store your starter in the refrigerator once mature and feed it weekly when not in use.

