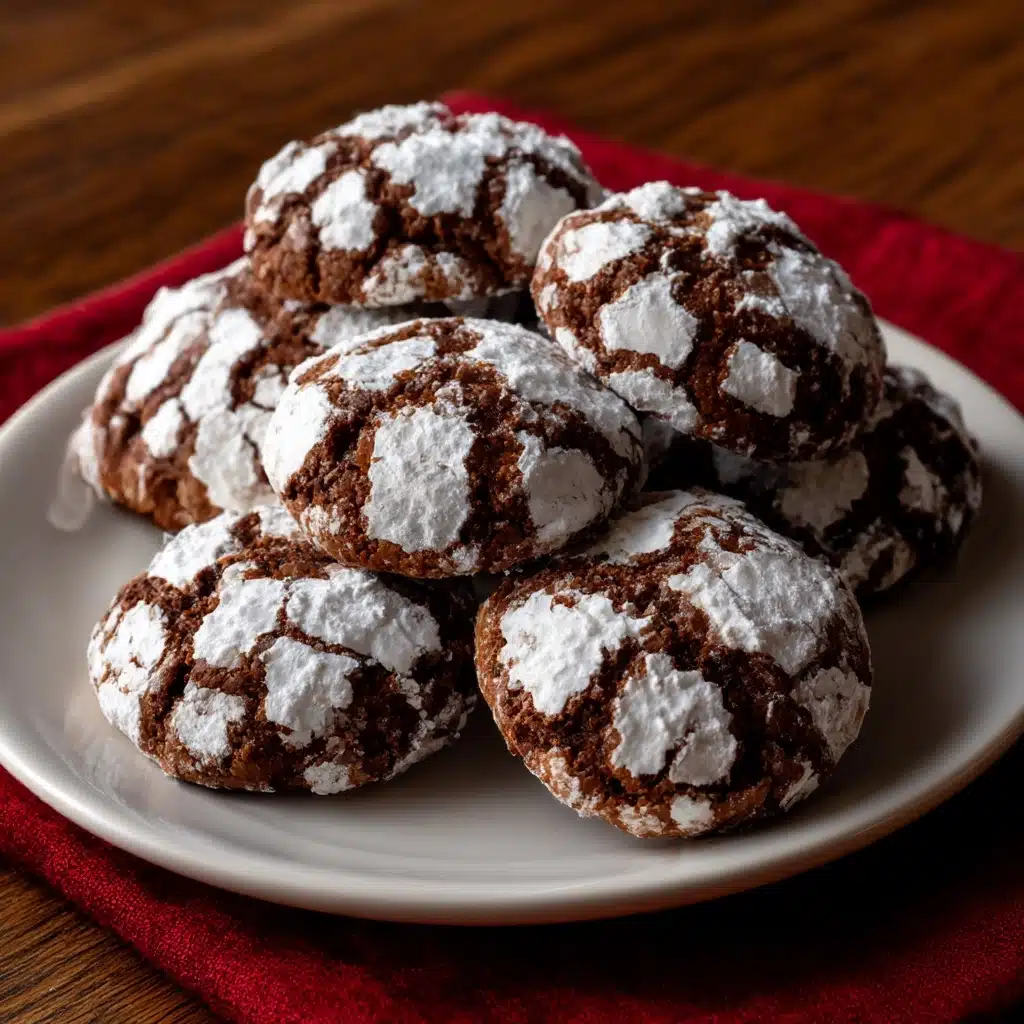
If you’re searching for the ultimate holiday cookie with a touch of whimsy and a flavor combination that everyone craves, you’ve got to try these Chocolate Mint Snowtop Cookies. Each bite wraps rich cocoa and bold, refreshing peppermint in a fudgy center with crackly white powdered sugar “snow” on top. They’re as fun to make as they are delicious to eat, perfect for gifting, sharing, or savoring with a mug of something warm. These cookies will definitely become your new go-to for festive occasions or anytime you need a minty chocolate pick-me-up!
Ingredients You’ll Need
The beauty of these Chocolate Mint Snowtop Cookies is how a handful of simple ingredients work together to create magic. Every item in this list plays a starring role, whether it’s for structure, flavor depth, or that iconic snowy coating.
- All-purpose flour: Provides the perfect base for chewy, sturdy cookies without being too dense.
- Unsweetened cocoa powder: Delivers that deep, chocolatey richness these cookies are all about.
- Baking powder: A touch of lift ensures they become soft and crinkle-topped in the oven.
- Salt: Essential for balancing all the sweet-rich flavors and making them pop.
- Unsalted butter (softened): Adds richness and tenderness, allowing the chocolate and mint notes to shine.
- Granulated sugar: Sweetens and also aids in achieving that perfectly crackled texture.
- Large egg: Binds everything together and gives the cookies structure.
- Peppermint extract: The key to that invigorating, fresh mint flavor—don’t skip it!
- Semisweet or dark chocolate (melted): Intensifies chocolate flavor and creates fudgy centers in each bite.
- Powdered sugar (for coating): Transforms the cookies into delightful “snowtops” and adds a delicate sweetness.
How to Make Chocolate Mint Snowtop Cookies
Step 1: Whisk Dry Ingredients
Start by whisking together the flour, cocoa powder, baking powder, and salt in a medium bowl. This ensures an even distribution of the leavening agent and prevents any cocoa lumps in your finished cookies. An even blend is the secret to that signature crackly snowtop and balanced chocolate flavor.
Step 2: Cream Butter and Sugar
In a large mixing bowl, beat the softened butter and granulated sugar together until light and fluffy. This step is crucial because it traps air in the dough, which helps the cookies rise and sets the foundation for a tender crumb. Don’t rush it—give it at least 2 to 3 minutes using a mixer on medium speed.
Step 3: Add Egg and Peppermint Extract
Crack in the egg and pour in the peppermint extract, beating just until the mixture is combined. The egg brings everything together, while the extract fills your dough with refreshing minty notes that will scent your kitchen long before the cookies come out of the oven.
Step 4: Mix in Melted Chocolate
Now, gently pour in the slightly cooled melted chocolate and mix until your dough turns deep, glossy, and completely chocolatey. This step creates that fudge-like texture and gives your cookies an irresistible depth—don’t skimp on the chocolate if you crave decadence in every bite.
Step 5: Combine Wet and Dry Ingredients
Gradually add the dry ingredient mixture into your wet mixture. Stir just until a cohesive dough forms, being careful not to overmix. Once combined, you’ll notice the dough is thick and a little sticky—that’s perfect, as it will firm up wonderfully once chilled.
Step 6: Chill the Dough
Cover the dough and refrigerate for at least 1 hour, or leave it overnight if you can plan ahead. Chilling the dough helps the flavors develop and makes it much easier to handle. It also ensures your cookies bake up thick and crinkly rather than flat.
Step 7: Shape and Coat
Preheat your oven to 350°F and line a baking sheet with parchment paper. Scoop out tablespoon-sized portions of dough, roll into smooth balls, and then give each a generous coating in powdered sugar. The thick layer of sugar is what gives Chocolate Mint Snowtop Cookies their classic snowy appearance and crisp outer shell.
Step 8: Bake and Cool
Arrange the coated dough balls on the prepared baking sheet, spacing them about 2 inches apart. Bake for 10 to 12 minutes: the tops should be dramatically cracked and the edges just set. Let the cookies cool on the baking sheet for about 5 minutes before carefully moving them to a wire rack to finish cooling. They’ll firm up as they cool and the scent alone might draw everyone to the kitchen!
How to Serve Chocolate Mint Snowtop Cookies
Garnishes
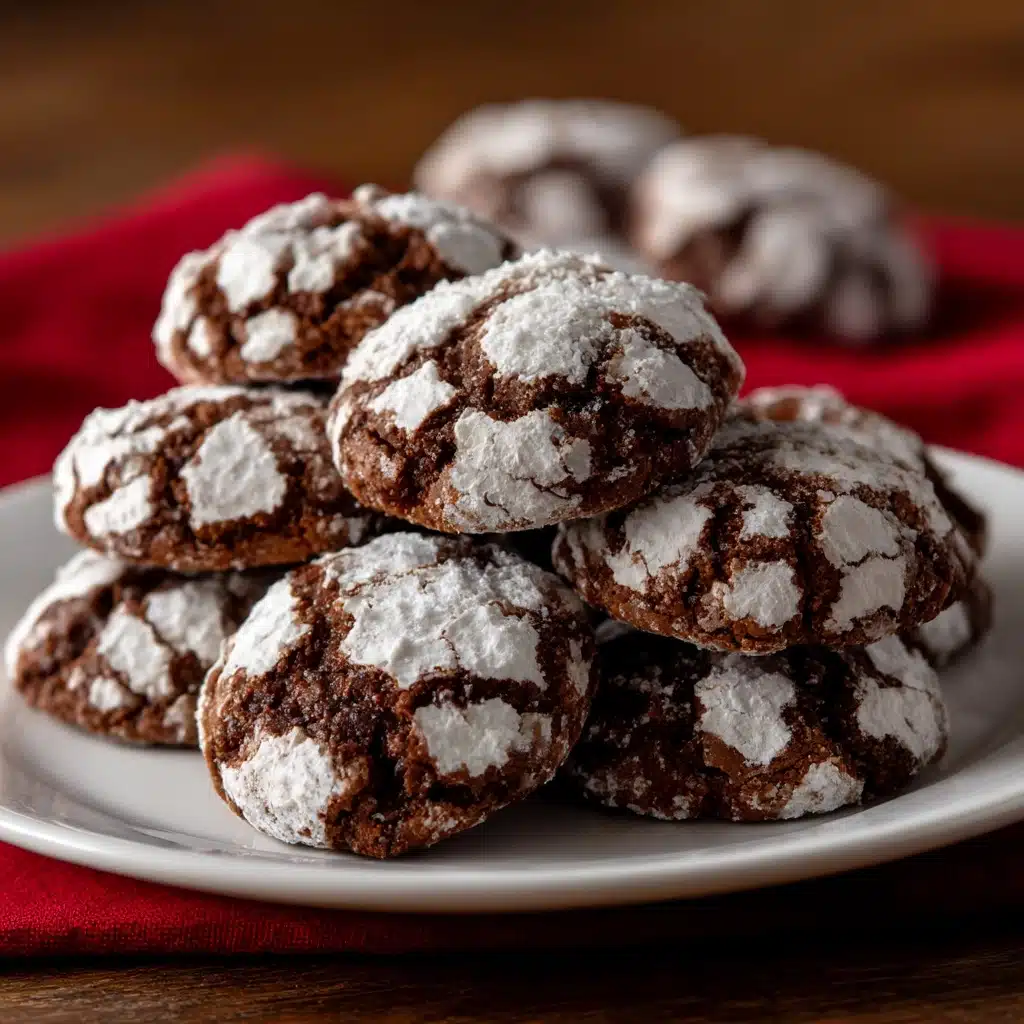
Thanks to their powdered sugar crowns, Chocolate Mint Snowtop Cookies are already dressed to impress. For an extra festive touch, you can sprinkle a bit of crushed peppermint candy on top while the cookies are still warm. A drizzle of melted chocolate or a few curls of white chocolate also makes them stand out at any cookie exchange.
Side Dishes
Pair your cookies with a big mug of hot chocolate, mocha, or even peppermint tea—the mint and chocolate combo is hard to beat. For a refreshing twist, try serving them alongside a scoop of vanilla ice cream or a chilled glass of milk, which balances the richness beautifully.
Creative Ways to Present
Gift these cookies in clear cellophane bags tied with a green ribbon, or arrange them in pretty holiday tins layered with parchment paper. For a fun dessert spread, stack the cookies in a small mountain and dust with extra powdered sugar for a “snowy” centerpiece that looks as delightful as it tastes.
Make Ahead and Storage
Storing Leftovers
To keep your Chocolate Mint Snowtop Cookies soft and fudgy, store them in an airtight container at room temperature for up to 5 days. Place a slice of bread in the container to help maintain their perfect texture—the cookies will absorb moisture if needed, staying fresh and delightful.
Freezing
These cookies freeze beautifully! Simply let them cool completely, then arrange them in a single layer in a freezer-safe bag or container. They’ll keep well for up to 2 months. If you want freshly baked cookies on demand, you can also freeze the unbaked dough balls (without powdered sugar) and roll them in sugar just before baking—talk about a time-saver!
Reheating
If you’d like to bring a batch back to that just-baked magic, warm the cookies in a 300°F oven for 3 to 5 minutes. This revives their outside crispiness and softens the centers ever so slightly, making them taste fresh-off-the-baking-sheet once again. Avoid the microwave, as it can make the cookies soggy.
FAQs
Can I use milk chocolate instead of dark or semisweet chocolate?
While you can use milk chocolate, keep in mind that the cookies will be a bit sweeter and less intense in chocolate flavor. Semisweet or dark chocolate balances the sweetness and keeps the mint from being overwhelmed.
How do I make the mint flavor stronger?
If you’re a major fan of mint, add a few well-crushed peppermint candies to the dough or increase the peppermint extract by a half teaspoon. Just be cautious—peppermint extract is potent, so a little goes a long way!
Can I make Chocolate Mint Snowtop Cookies gluten-free?
Absolutely! Substitute your favorite gluten-free flour blend for the all-purpose flour in a 1:1 ratio. Be sure it’s a blend intended for baking to get the best texture.
Why are my cookies not cracking on top?
Crackle tops depend on several factors: chilling the dough thoroughly, rolling generously in powdered sugar, and not overbaking. If you skip chilling or don’t coat thickly enough, you might miss out on those classic snowtop cracks.
Are these cookies good for gifting?
Chocolate Mint Snowtop Cookies are perfect for gift-giving! Their beautiful appearance and long shelf life make them a welcome treat in any holiday box, office party platter, or care package for distant loved ones.
Final Thoughts
I hope you’ll find as much joy in baking and sharing these Chocolate Mint Snowtop Cookies as I do every season. Their rich chocolate flavor and cool minty finish make them a true standout—just the thing to brighten someone’s day. Give them a try and discover why they deserve a spot in your baking hall of fame!
Print
Chocolate Mint Snowtop Cookies Recipe
- Prep Time: 20 minutes
- Cook Time: 12 minutes
- Total Time: 1 hour 32 minutes
- Yield: 24 cookies
- Category: Dessert
- Method: Baking
- Cuisine: American
- Diet: Vegetarian
Description
Indulge in the rich chocolate goodness and refreshing minty flavor of these delightful Chocolate Mint Snowtop Cookies. A perfect treat for the holiday season or anytime you crave a deliciously decadent cookie.
Ingredients
Dry Ingredients:
- 1 cup all-purpose flour
- ½ cup unsweetened cocoa powder
- 1 tsp baking powder
- ¼ tsp salt
Wet Ingredients:
- 4 tbsp unsalted butter (softened)
- ⅔ cup granulated sugar
- 1 large egg
- 1 tsp peppermint extract
- 4 oz semisweet or dark chocolate (melted and slightly cooled)
- ½ cup powdered sugar (for coating)
Instructions
- Dry Ingredients: In a medium bowl, whisk together the flour, cocoa powder, baking powder, and salt.
- Wet Ingredients: In a large bowl, beat the butter and granulated sugar until light and fluffy. Add the egg and peppermint extract and beat until combined. Mix in the melted chocolate until smooth.
- Gradually add the dry ingredients and mix just until combined.
- Cover the dough and refrigerate for at least 1 hour, or until firm.
- Preheat oven to 350°F and line a baking sheet with parchment paper.
- Scoop tablespoon-sized portions of dough, roll into balls, and coat generously in powdered sugar.
- Place on baking sheet, spacing them about 2 inches apart.
- Bake for 10–12 minutes, or until the tops are cracked and the edges are set.
- Let cool on the baking sheet for 5 minutes before transferring to a wire rack to cool completely.
Notes
- For a deeper mint flavor, add a few crushed peppermint candies to the dough.
- Dough can be chilled overnight for convenience and stronger flavor development.


