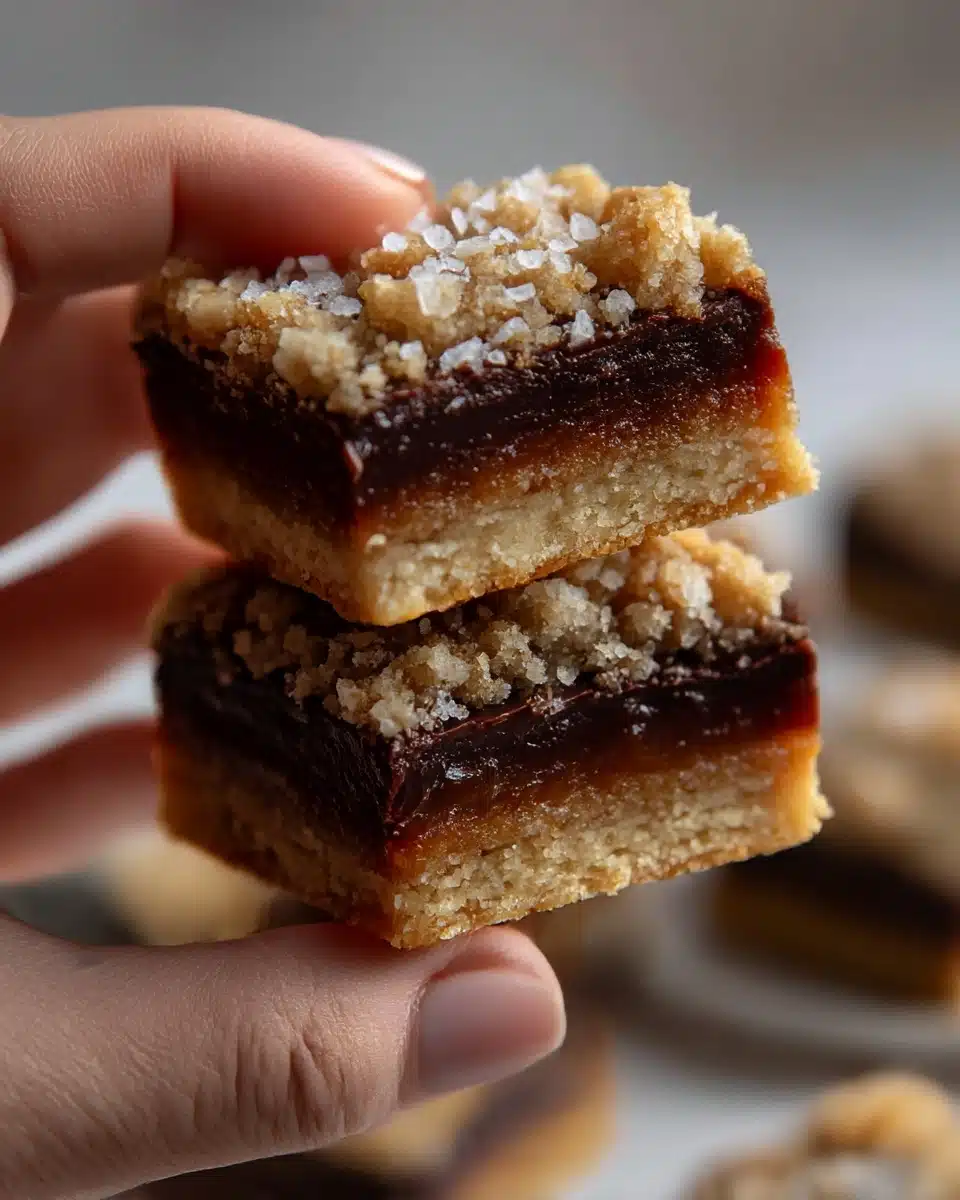
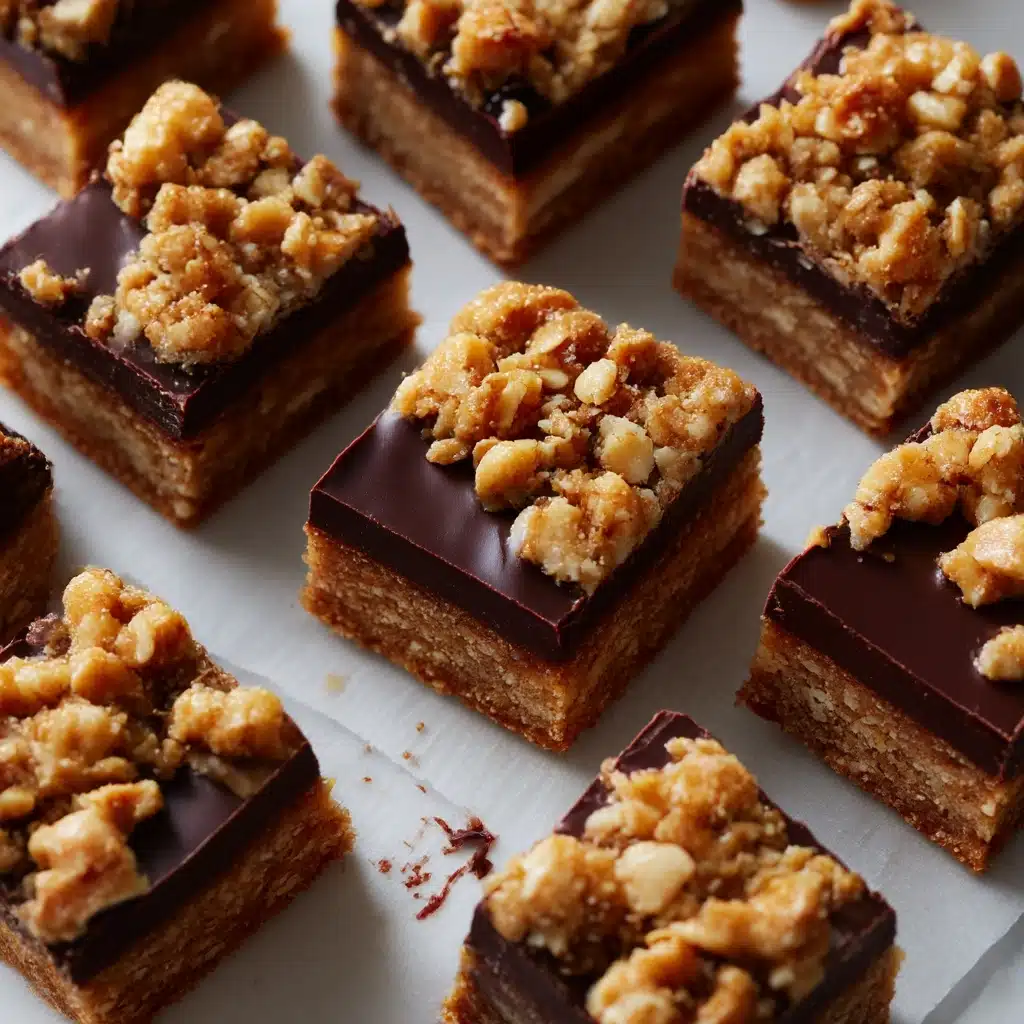
If you’re on the hunt for the ultimate chocolatey treat that’s equal parts wholesome and irresistible, look no further than these Raw Salted Chocolate Snack Bars. With layers of nutty, fudgy richness and a pop of sea salt, they strike that magical balance between decadent and nourishing. Best of all, they’re no-bake, vegan, and naturally gluten-free, making them the kind of snack you’ll want to stash away for those moments when only chocolate will do—guilt-free!
Ingredients You’ll Need
These Raw Salted Chocolate Snack Bars rely on a handful of simple, power-packed ingredients that work together to create incredible taste, texture, and chocolatey satisfaction. Each one plays a specific role, so don’t be tempted to skip or skimp—this combination really is snack bar perfection!
- Medjool dates: Their natural sweetness and sticky texture hold everything together while offering a caramel undertone.
- Raw almonds: Add crunch and a toasty note for hearty bite and rich flavor.
- Raw cashews: Creamy and mild, they mellow out the intensity and help achieve that soft, fudgy texture.
- Unsweetened shredded coconut: Gives a touch of chew and tropical flair; opt for unsweetened to keep the focus on pure flavors.
- Cacao powder or unsweetened cocoa powder: This is where the chocolate magic happens! Cacao gives a deeper, slightly fruity richness, but cocoa works beautifully too.
- Chia seeds (optional): Tiny superfood seeds for a bit of crunch and a nutrition upgrade; optional, but highly recommended.
- Sea salt: Essential to amplify the chocolate and create that signature sweet-salty contrast.
- Coconut oil: Binds and enriches for melt-in-your-mouth bars (plus, it helps them set firmly in the fridge).
- Vanilla extract: Adds warmth and rounds out all the chocolatey notes.
- Flaky sea salt, for topping: A final flourish that takes the flavor over the top—don’t skip it!
How to Make Raw Salted Chocolate Snack Bars
Step 1: Prepare the Mixture
Add your pitted dates, almonds, cashews, shredded coconut, cacao powder, chia seeds (if you’re using them), and sea salt to your food processor. Pulse several times until everything breaks down into coarse, crumbly bits. You want to see even crumbs without large pieces—this allows the flavors and textures to meld in the final Raw Salted Chocolate Snack Bars.
Step 2: Add Wet Ingredients
Spoon in the coconut oil and splash in vanilla extract. Blend again, keeping an eye out for the mixture to start clumping together. If it looks too dry or crumbly, add water 1 teaspoon at a time until the mixture becomes sticky and holds when pressed—don’t overdo it! This is the magical moment when your Raw Salted Chocolate Snack Bars really come to life.
Step 3: Press and Chill
Line a loaf pan or small square baking dish with parchment paper for easy removal. Transfer the mixture to the pan and use your hands (or the back of a spoon) to press it down firmly and evenly—compact bars are key to a clean slice. Finish with a generous sprinkle of flaky sea salt on top, pressing it gently so it sticks, giving each bite an irresistible salty-sweet finish.
Step 4: Chill and Slice
Pop the pan in the fridge and let it chill for at least an hour, or until the bars are nice and firm. Once set, lift them out using the parchment, place on a cutting board, and slice into bars or squares. There you have it—your homemade Raw Salted Chocolate Snack Bars, ready for snacking, sharing, or tucking away for a chocolate fix on the go!
How to Serve Raw Salted Chocolate Snack Bars
Garnishes
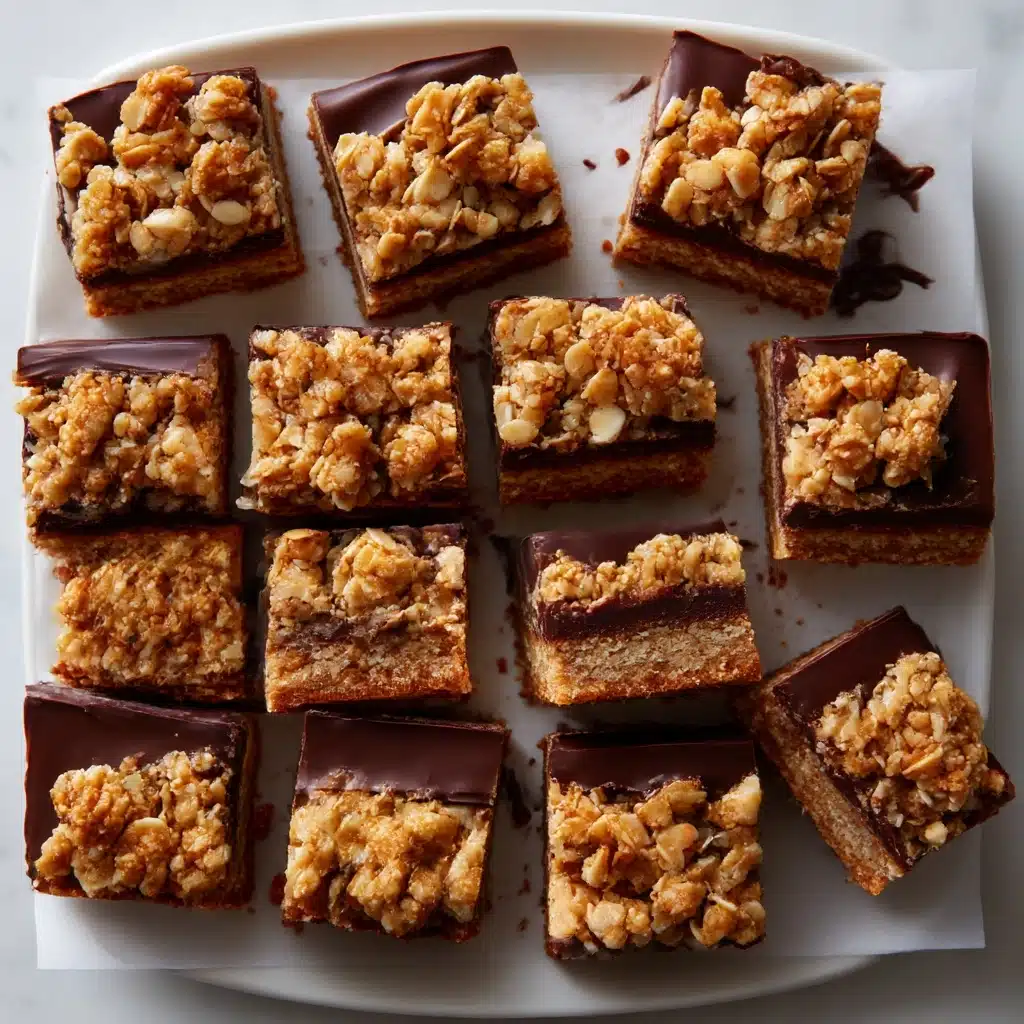
These bars shine with a little something extra on top. Stick with the classic finish of flaky sea salt, or add a pinch of cacao nibs, a drizzle of melted chocolate, or a few toasted coconut flakes for added flair. Each garnish brings out a different personality in your Raw Salted Chocolate Snack Bars and makes them look bakery-worthy.
Side Dishes
Pair these bars with a citrusy fruit salad for a light, refreshing contrast, or enjoy them alongside a steaming mug of coffee or tea for a cozy snack moment. They also complement tangy vegan yogurt or a little bowl of mixed berries—perfect for a quick breakfast or afternoon pick-me-up.
Creative Ways to Present
Cut the bars into mini squares for a crowd-pleasing party platter, stack them up and wrap with parchment for a sweet gift, or tuck a few into reusable snack bags for lunchboxes and on-the-go adventures. For that “special treat” vibe, dip half the bar in dark chocolate and set it on parchment to firm up—like a decadent chocolate-dipped confection.
Make Ahead and Storage
Storing Leftovers
Store your Raw Salted Chocolate Snack Bars in an airtight container in the fridge for up to one week. The cool temperature helps them stay firm, fudgy, and delicious—just the way they’re meant to be! Place parchment between layers to prevent sticking.
Freezing
If you want to keep a stash on hand, these bars freeze beautifully! Arrange them in a single layer in a freezer-safe container (again, with parchment between layers). Frozen bars can last up to three months. You can grab a bar straight from the freezer for an extra-chilled treat, or allow it to soften for a few minutes at room temperature.
Reheating
No need to reheat—these Raw Salted Chocolate Snack Bars are designed to be enjoyed straight from the fridge or freezer. If you prefer them a little softer, take them out and let them sit at room temperature for 10–15 minutes until they reach your desired consistency.
FAQs
Are these Raw Salted Chocolate Snack Bars kid-friendly?
Absolutely! Most kids love these bars, thanks to the natural sweetness from the dates and all the chocolate flavor. If you’re serving them to young children, just be sure to omit nuts for allergy concerns or chop the nuts very finely for easier chewing.
Can I substitute other nuts or seeds?
Yes, feel free to swap the almonds and cashews for sunflower or pumpkin seeds if you need a nut-free version. The bars are quite forgiving—pecans, walnuts, or hazelnuts also work if you want to switch things up.
What if I don’t have a food processor?
A robust blender will work in a pinch; just be sure to pulse in short bursts, and you may need to stop and scrape the sides more often. For smooth blending, chop the nuts and dates before adding them in.
How do I make my Raw Salted Chocolate Snack Bars extra chocolatey?
If you’re craving even more chocolate intensity, mix in a handful of cacao nibs or mini chocolate chips before pressing the mixture into the pan. You can also add an extra tablespoon of cocoa powder without changing the texture much.
Are these bars suitable for meal prep?
Definitely! Since they hold up so well in the fridge and freezer, Raw Salted Chocolate Snack Bars are ideal for meal prep. Make a double batch and you’ll always have a wholesome snack ready to go.
Final Thoughts
If you’re searching for a snack that hits all the right notes—crave-worthy, easy, and a little bit fancy—give these Raw Salted Chocolate Snack Bars a try. They’re pure joy in every bite, and once you make them, they’re bound to become a favorite in your kitchen too. Go ahead, treat yourself and see how delicious wholesome chocolate snacking can be!
Print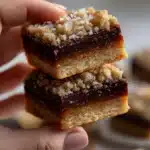
Raw Salted Chocolate Snack Bars Recipe
- Prep Time: 15 minutes
- Cook Time: 0 minutes
- Total Time: 15 minutes (plus chill time)
- Yield: 8 bars
- Category: Snack, No-Bake
- Method: No-Cook
- Cuisine: American
- Diet: Vegan
Description
Indulge in these delicious Raw Salted Chocolate Snack Bars for a healthy and energizing treat. Packed with wholesome ingredients, these bars are easy to make and perfect for a quick snack or dessert.
Ingredients
Dry Ingredients:
- 1 cup Medjool dates, pitted
- 1/2 cup raw almonds
- 1/2 cup raw cashews
- 1/4 cup unsweetened shredded coconut
- 1/4 cup cacao powder or unsweetened cocoa powder
- 1 tablespoon chia seeds (optional)
- 1/4 teaspoon sea salt
Wet Ingredients:
- 1 tablespoon coconut oil
- 1 teaspoon vanilla extract
Instructions
- Prepare the Mixture: In a food processor, combine dates, almonds, cashews, coconut, cacao powder, chia seeds (if using), and sea salt. Pulse until mixture resembles coarse crumbs.
- Add Wet Ingredients: Add coconut oil and vanilla. Blend until the mixture starts to clump together and is sticky enough to press into a bar. (If too dry, add 1–2 teaspoons of water and blend again.)
- Press and Chill: Line a loaf pan or small square dish with parchment paper. Press the mixture firmly and evenly into the bottom. Sprinkle flaky sea salt over the top and gently press it in.
- Chill and Slice: Chill in the fridge for at least 1 hour or until firm. Lift out and cut into bars or squares. Store in the fridge or freezer.
Notes
- Swap nuts with seeds (like sunflower or pumpkin) for a nut-free version.
- Use cacao nibs for crunch or add mini chocolate chips for a sweeter bar.
- Keeps well in the fridge up to 1 week, or freeze for longer storage.

