If you’ve ever craved sushi but wished for a lazy, weeknight-friendly twist, this Baked Salmon Sushi Bowl is about to become your new obsession. It takes all the elements people love about a classic salmon roll — creamy, savory salmon, tangy rice, crisp veggies, and a little kick of spice — and brings them together into a colorful, scoopable bowl. It’s approachable, totally customizable, and every bite bursts with that craveable sushi flavor, but without a single roll or bamboo mat in sight. Whether you’re hosting friends or treating yourself to a cozy night in, this Baked Salmon Sushi Bowl delivers pure sushi joy in a fraction of the time.
Ingredients You’ll Need
This simple ingredient list is proof that you don’t need a lot to create something delicious, but each item plays an important role—think creamy, crunchy, tangy, and umami all in one bowl. Here’s what you’ll need to make your Baked Salmon Sushi Bowl shine:
- Salmon fillets: Rich, flaky salmon is the star and adds satisfying protein and healthy fats. Opt for boneless, skinless pieces for easy prep.
- Sushi rice: This short-grain rice cooks up sticky and slightly sweet, making it the perfect base that grips all the toppings.
- Rice vinegar: Just a splash seasons the rice, giving it the signature tangy-sweet sushi rice flavor.
- Soy sauce: Adds umami depth and saltiness to both the salmon and the finishing drizzle.
- Mayonnaise: For the ultra-creamy spicy salmon topping—Japanese mayo is delicious here if you have it!
- Sriracha: A squeeze turns the creamy mayo topping into a subtly spicy, irresistible sauce.
- Avocado: Creamy, cooling avocado balances out the spiciness and gives every bite a buttery texture.
- Cucumber: Fresh and crunchy, cucumber adds the perfect contrast to the warm rice and salmon.
- Green onions: Sprinkle for a pop of color and a light, savory bite.
- Nori sheets: These roasted seaweed sheets add that signature sushi flavor and a touch of crispness.
- Sesame seeds: For toasted, nutty crunch and a pretty finishing touch.
How to Make Baked Salmon Sushi Bowl
Step 1: Cook the Sushi Rice
Start by rinsing your sushi rice until the water runs clear—this removes extra starch and helps the grains stay perfectly separate yet sticky. Cook the rice using your favorite method (rice cooker or stovetop both work well), then while it’s still warm, gently fold in rice vinegar and a pinch of sugar and salt. Let it cool slightly; this makes it easier to assemble without the rice turning mushy.
Step 2: Season and Bake the Salmon
Place your salmon fillets on a lined baking sheet and brush them with soy sauce, plus a touch of rice vinegar for brightness. Bake at 400°F until they’re tender, flaky, and just cooked through—about 12 to 15 minutes should do the trick. Once out of the oven, break the salmon up into big, juicy flakes using a fork. Set aside to cool slightly, so it doesn’t wilt your fresh toppings.
Step 3: Prep Your Veggies and Toppings
While the salmon is baking, slice the cucumber into thin half-moons and cube the avocado. Chop green onions finely and cut nori sheets into bite-sized strips or crumbles. Arrange your toppings assembly-style so you can pile them over your rice with ease. Toasting your sesame seeds in a dry pan for a few seconds will make them extra fragrant and flavorful.
Step 4: Make the Creamy Spicy Mayo
In a small bowl, mix mayonnaise with Sriracha (or more if you like extra heat) and a splash of soy sauce. This creamy-spicy sauce ties everything together in the Baked Salmon Sushi Bowl and takes just a minute to whip up. Adjust the spice level to your personal preference—taste as you go!
Step 5: Assemble Your Baked Salmon Sushi Bowl
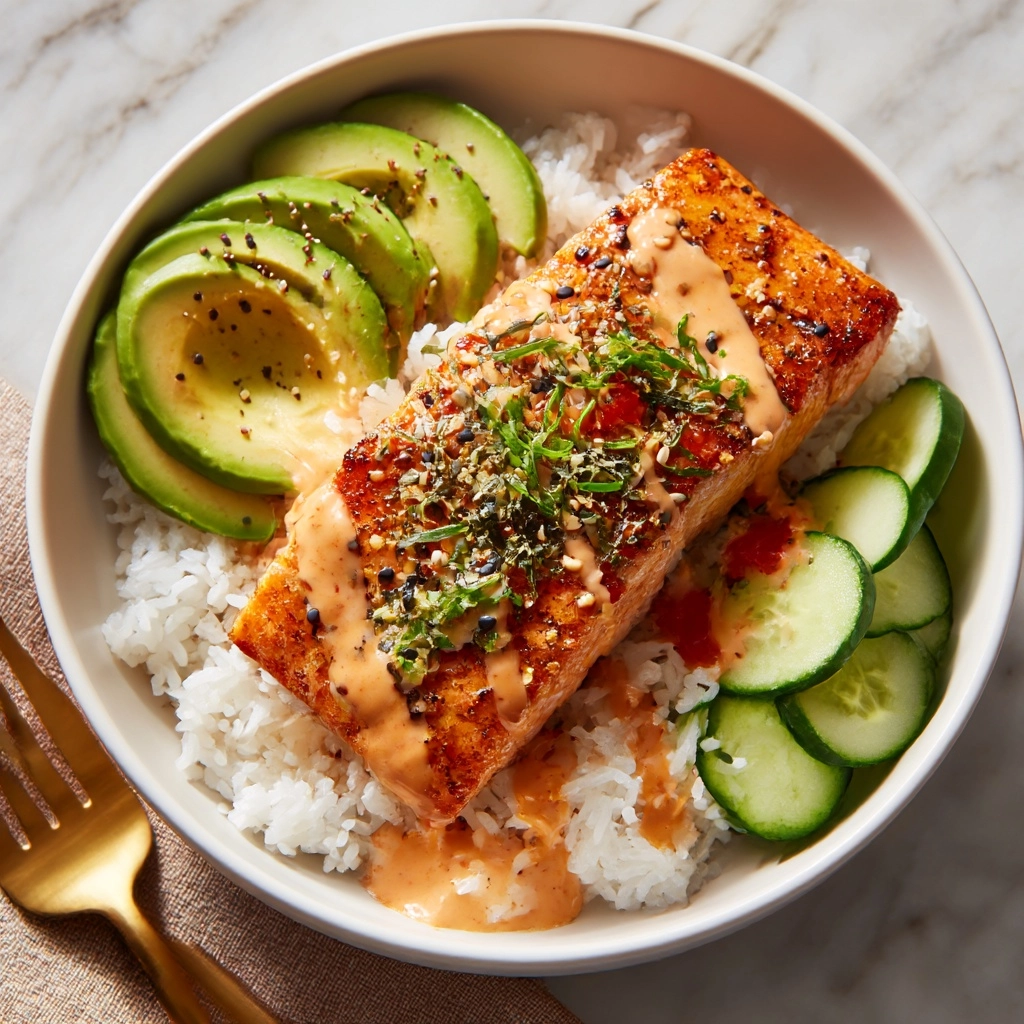
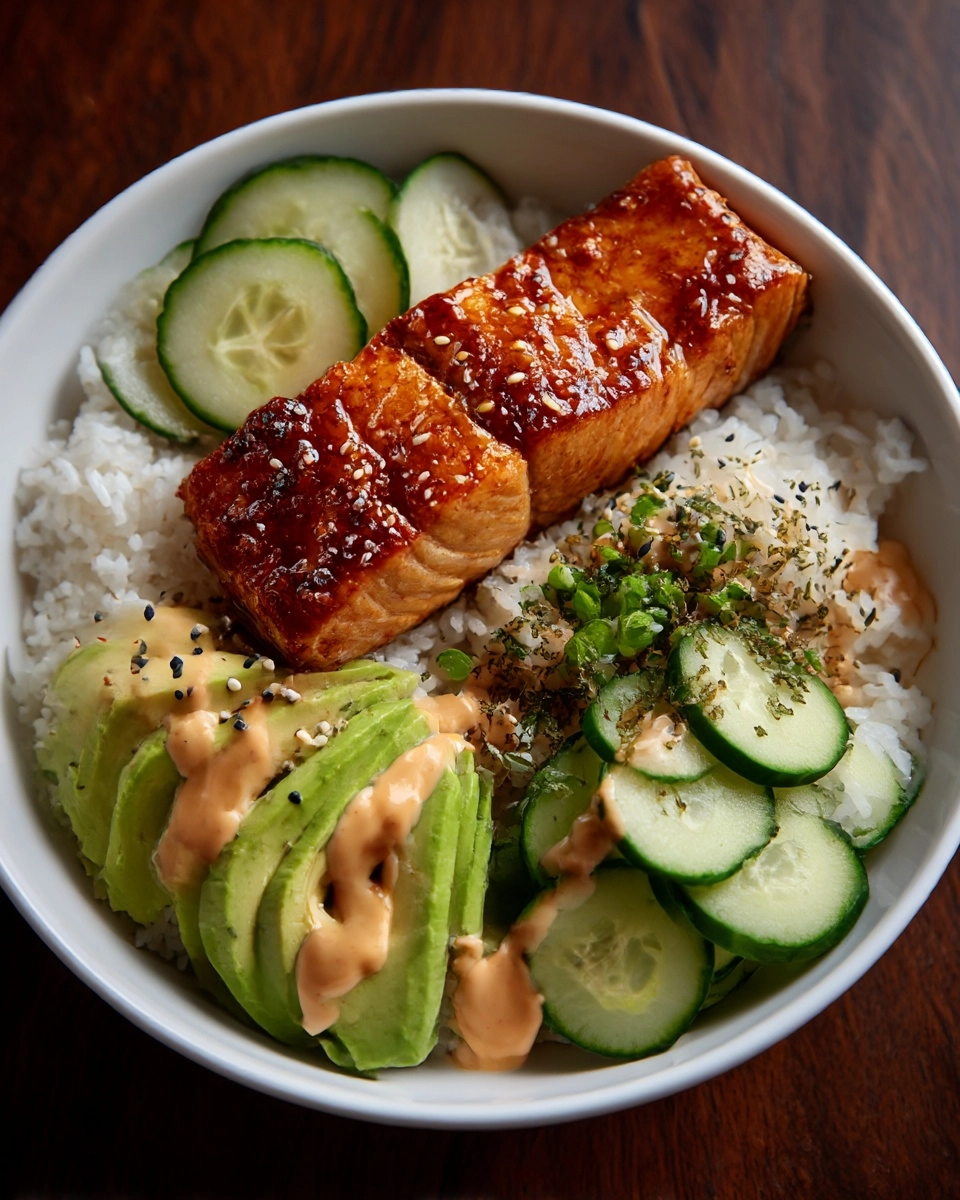
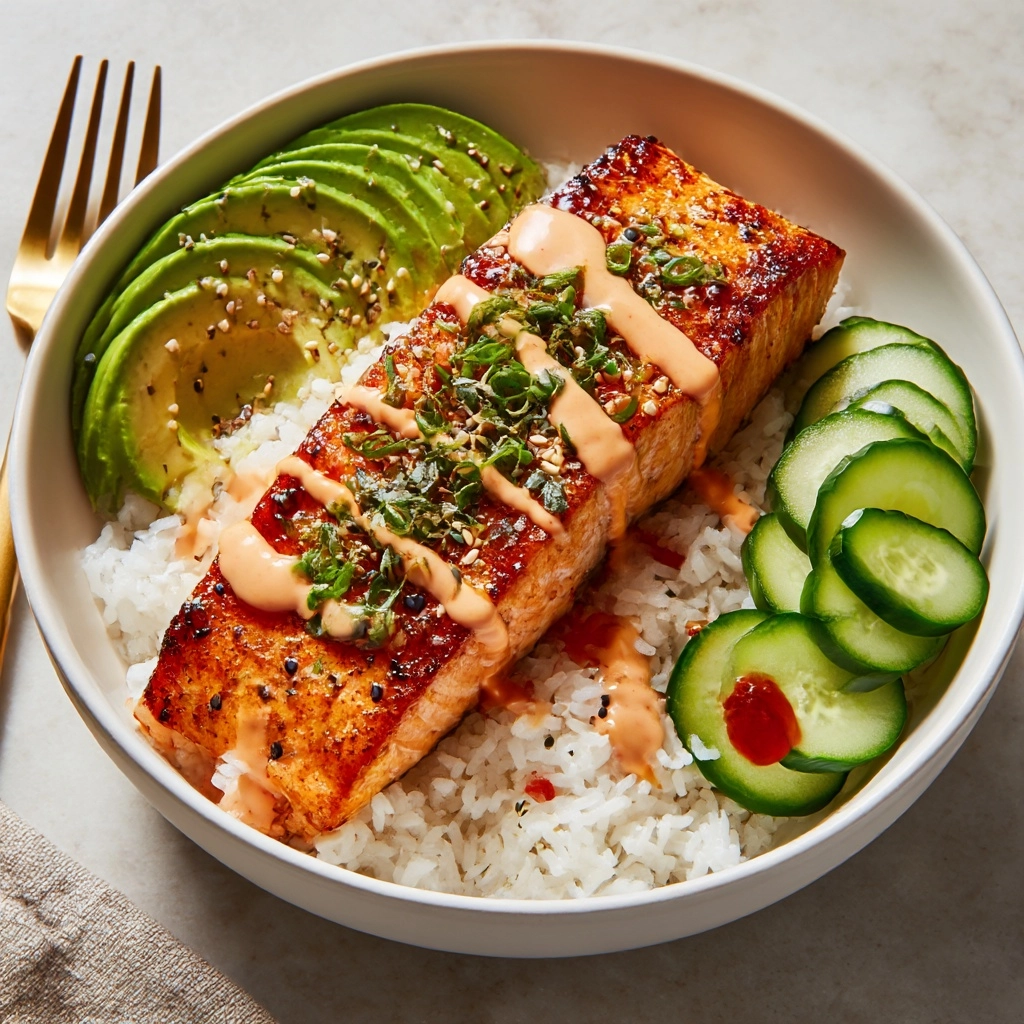
Now for the fun part: layer a generous scoop of seasoned sushi rice into each bowl. Top with salmon, spoon over that creamy spicy mayo, and arrange avocado, cucumber, and green onions however you like. Sprinkle with nori strips and toasted sesame seeds for the ultimate finishing touches. Every bite is a burst of flavor—warm, spicy, creamy, and fresh all at once.
How to Serve Baked Salmon Sushi Bowl

Garnishes
Don’t skip the garnishes—they take your Baked Salmon Sushi Bowl from tasty to restaurant-worthy! Scatter extra green onions, sesame seeds, and crumbled nori over the top. A drizzle of soy sauce or a tiny squirt of extra Sriracha adds instant flavor. For crunch, you can even sprinkle with crispy fried onions or panko crumbs.
Side Dishes
This bowl is plenty filling on its own, but if you want to make it a meal, serve with simple sides like miso soup, a crisp seaweed salad, or edamame sprinkled with flaky sea salt. These sides echo the fresh, light vibe of your sushi bowl and round out the experience perfectly.
Creative Ways to Present
Turn your Baked Salmon Sushi Bowl into a sushi bar at home! Set up all the components buffet-style and let everyone build their own custom bowl. Want to impress? Use individual serving bowls or beautiful bento boxes, or even roll a bit of the finished mix into nori sheets for impromptu hand rolls. It’s sushi night without the fuss.
Make Ahead and Storage
Storing Leftovers
Store any leftover Baked Salmon Sushi Bowl components separately for maximum freshness. Keep rice tightly sealed in the fridge, and store salmon and cut veggies in their own containers. This way, the veggies stay crisp and the rice doesn’t get soggy overnight.
Freezing
While you shouldn’t freeze the veggies or the rice, the baked salmon can be frozen for up to one month. Wrap cooled salmon tightly in plastic wrap, then pop into an airtight container or freezer bag. Thaw in the fridge when you’re ready to make another sushi bowl round.
Reheating
To bring your Baked Salmon Sushi Bowl back to life, microwave the rice gently with a splash of water to re-steam it, and warm the salmon briefly until just heated through. Add the fresh toppings and sauce after heating for the best taste and texture—never microwave the avocado or cucumber.
FAQs
Can I use a different type of fish in this recipe?
Absolutely! While salmon is a classic, you can swap in cooked shrimp, leftover grilled fish, or even canned tuna for a different but delicious spin on a Baked Salmon Sushi Bowl. Try to stick with mild, flaky fish for the best results.
Is this recipe gluten-free?
This Baked Salmon Sushi Bowl can easily be made gluten-free by using tamari or coconut aminos instead of regular soy sauce, and double-checking that your rice vinegar and other sauces are certified gluten-free. The rest of the bowl is naturally gluten-free!
Can I make the spicy mayo less spicy?
Yes! Start with a small amount of Sriracha or skip it altogether for a mild creamy sauce. You can add a squeeze of lime or even a touch of wasabi for a different flavor profile if you prefer less heat.
What can I use if I don’t have sushi rice?
If sushi rice isn’t available, try using another short-grain white rice, or even jasmine rice for a different flavor and texture. Just be sure to season the rice as you would for sushi—it’s where a lot of the flavor comes from in this Baked Salmon Sushi Bowl.
Can I meal-prep this bowl in advance?
This recipe is meal-prep friendly! Prepare all components in advance, keep the rice and salmon chilled in separate containers, and slice the veggies right before serving. Assembly takes just minutes for fresh and flavorful weekday lunches or quick dinners.
Final Thoughts
I can’t recommend this Baked Salmon Sushi Bowl enough—it’s everything I love about sushi night but way easier and perfect for sharing with friends and family. Give it a try and savor all those bold, fresh flavors in every spoonful. I hope it becomes one of your favorite weeknight wins!
Print
Baked Salmon Sushi Bowl Recipe
- Prep Time: 10 minutes
- Cook Time: 15 minutes
- Total Time: 25 minutes
- Yield: 2 servings
- Category: Main Course
- Method: Baked
- Cuisine: Japanese-Inspired
- Diet: Gluten Free
Description
This Baked Salmon Sushi Bowl packs all the bold, fresh flavors of sushi into a quick, weeknight-friendly bowl—creamy salmon, tangy rice, crunchy veggies, and a spicy mayo drizzle make every bite unforgettable.
Ingredients
- 2 salmon fillets (boneless, skinless)
- 1 cup sushi rice
- 2 tbsp rice vinegar
- 2 tbsp soy sauce (plus extra for drizzling)
- 2 tbsp mayonnaise (Japanese preferred)
- 1 tsp Sriracha (adjust to taste)
- 1 avocado, cubed
- 1/2 cucumber, thinly sliced
- 2 green onions, chopped
- 2 nori sheets, crumbled or cut into strips
- 1 tbsp sesame seeds
- Salt and sugar to taste
Instructions
- Rinse sushi rice until water runs clear. Cook according to package instructions. While warm, fold in rice vinegar, a pinch of sugar, and salt. Let cool slightly.
- Place salmon on a lined baking sheet. Brush with soy sauce and a splash of rice vinegar. Bake at 400°F for 12–15 minutes, until flaky. Flake into bite-sized pieces.
- While salmon bakes, prep toppings: cube avocado, slice cucumber, chop green onions, crumble nori, and toast sesame seeds in a dry pan for 30 seconds until fragrant.
- In a bowl, mix mayo with Sriracha and a splash of soy sauce to make spicy mayo. Adjust heat to taste.
- To assemble, scoop rice into bowls. Top with flaked salmon, spicy mayo, avocado, cucumber, green onions, crumbled nori, and sesame seeds. Serve with extra soy sauce or Sriracha if desired.
Notes
- Use tamari or coconut aminos for a gluten-free version.
- Make ahead by storing rice, salmon, and toppings separately; assemble when ready to eat.
- Substitute shrimp, tuna, or leftover grilled fish for the salmon.
- Create a sushi bowl bar for parties—let guests build their own bowls with various toppings.
- Microwave rice with a splash of water to re-steam before serving leftovers.


