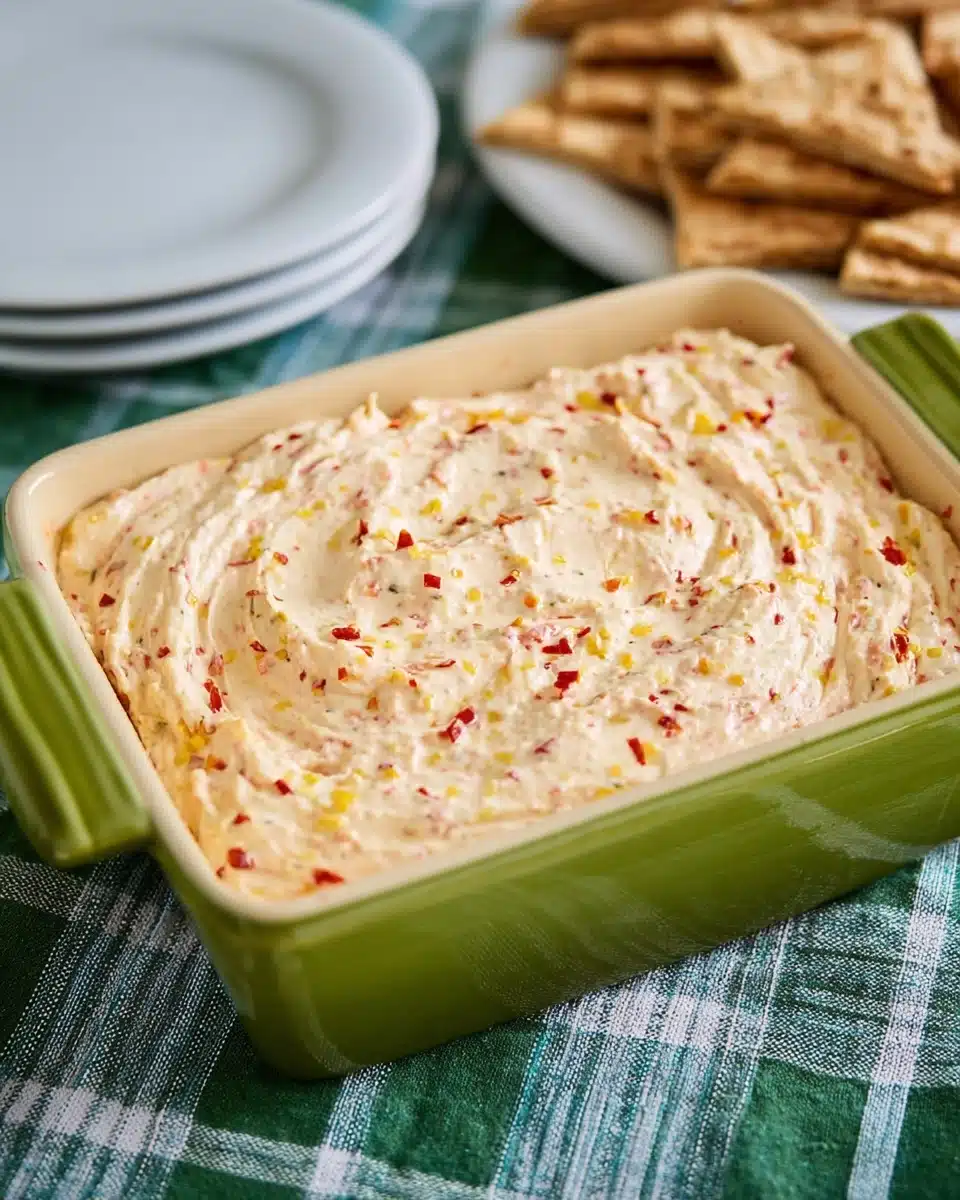
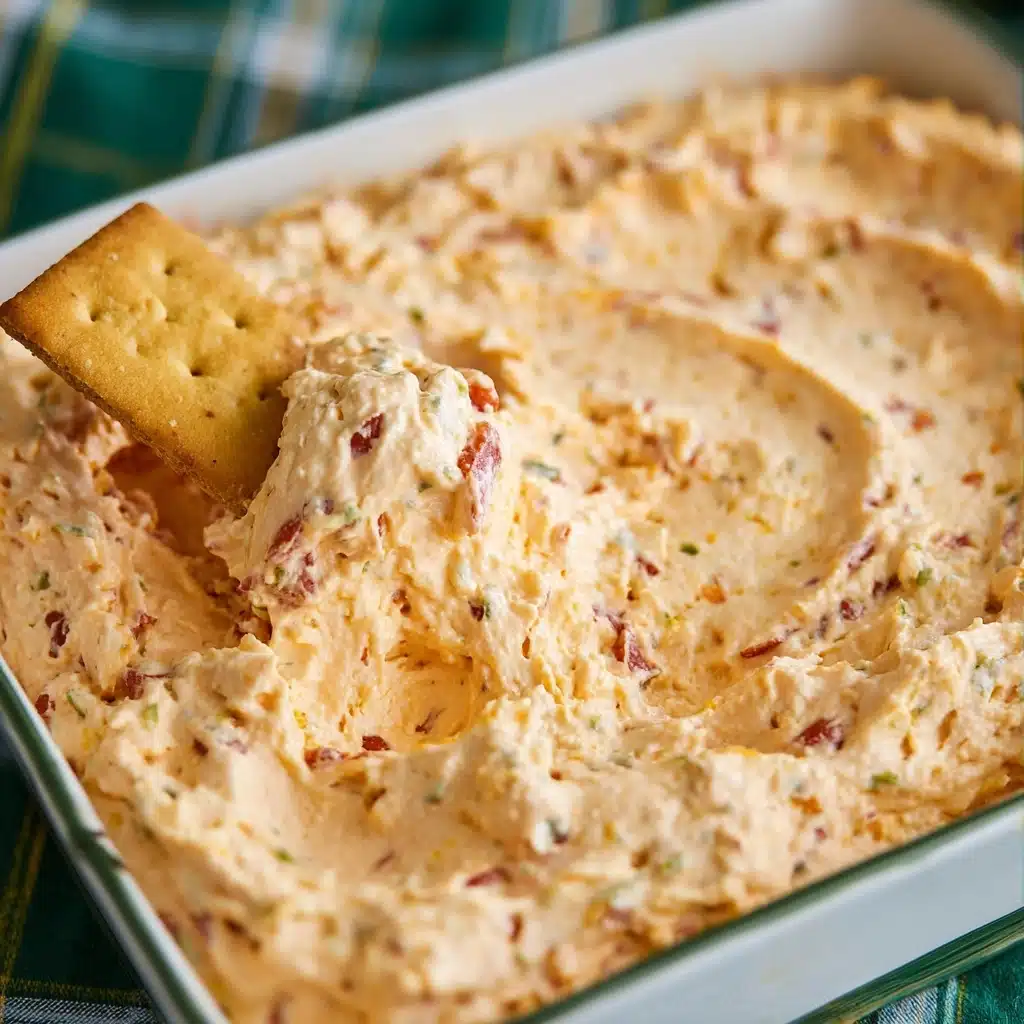
If you’re looking for the ultimate party pleaser, look no further than Pep Dip. This vibrant, zesty dip is a flavor explosion in every bite — tangy, creamy, and positively packed with personality. Whether you’re spreading it onto toasty crostini, dunking fresh veg, or using it as a colorful centerpiece for your snack board, Pep Dip never fails to steal the show and keep everyone coming back for more.
Ingredients You’ll Need
What makes Pep Dip irresistible is the incredible harmony of its simple ingredients. Each one adds something special — from creamy smoothness to bursts of color and gentle heat — making this recipe both effortless and unforgettable.
- Roasted red peppers: Bring bright color and bold, smoky-sweet flavor that forms the backbone of Pep Dip.
- Cream cheese: Smooth and tangy, this ingredient provides the creamy base that lets all the flavors shine.
- Garlic: A single clove delivers a punch of aromatic goodness without overpowering the other flavors.
- Lemon juice: Adds fresh zing and balances out the richness, making the dip irresistibly light and lively.
- Olive oil: Just a splash gives the dip a silky finish and enhances the natural flavors.
- Smoked paprika: Gives a little warmth and depth, perfectly complementing the peppers’ sweetness.
- Salt and pepper: The final touch to elevate every bite and bring all the ingredients together.
How to Make Pep Dip
Step 1: Gather and Prepare Your Ingredients
Start by making sure all your prep is done — this means draining the roasted red peppers, softening the cream cheese for easy blending, and getting your garlic peeled and ready to go. A bit of planning here ensures smooth sailing (and blending) later.
Step 2: Blend It All Together
Add the roasted red peppers, softened cream cheese, garlic, lemon juice, olive oil, smoked paprika, a pinch of salt, and black pepper to your food processor or blender. Blend on high until everything is velvety smooth and gloriously pink. Pause to scrape down the sides if needed, ensuring not a scrap gets missed.
Step 3: Taste and Adjust Seasoning
Give your Pep Dip a quick taste test. Need more brightness? Add another squeeze of lemon. Craving a little more smoke? Sprinkle in a touch more paprika. Don’t be shy — this is where you bring the dip to life, just the way you love it.
Step 4: Chill for Perfect Texture
Transfer your Pep Dip to a serving bowl and cover it. Pop it in the fridge for at least 30 minutes. This little rest lets the flavors mingle and the texture firm up, ensuring a delightful, scoopable dip that’s easy to grab and utterly addictive.
Step 5: Serve and Celebrate
When you’re ready to wow your crowd, take the dip out and finish with your favorite garnishes. Arrange some crunchy dippers on the side, and watch your Pep Dip disappear faster than you can say “seconds, please!”
How to Serve Pep Dip
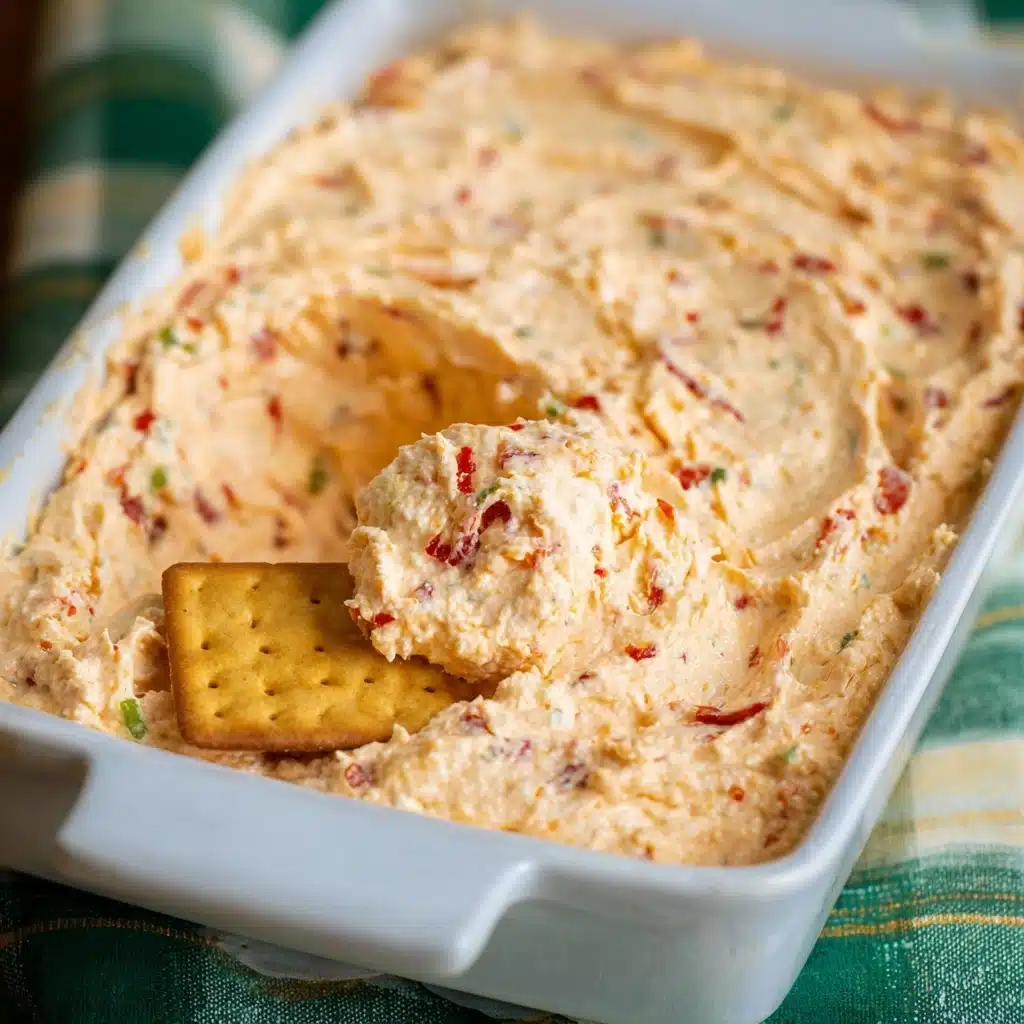
Garnishes
Give your Pep Dip extra flair with a sprinkle of smoked paprika, a swirl of olive oil, chopped fresh chives, or even a scattering of toasted pine nuts. Each garnish brings visual appeal and another pop of flavor, setting your dip apart from the ordinary.
Side Dishes
Pair Pep Dip with toasted baguette slices, crunchy pita chips, or an array of colorful raw veggies like cucumbers, carrots, and cherry tomatoes. Each side brings out a different element of the dip’s flavor, making it versatile enough for snack boards or cozy gatherings alike.
Creative Ways to Present
Serve Pep Dip in a hollowed bell pepper for a show-stopping centerpiece, or layer it into small jars for individual servings at parties. You can also use it as a spread for wraps, or swirl it into bowls of soup for a dramatic finishing touch!
Make Ahead and Storage
Storing Leftovers
If you’re lucky enough to have leftovers, scoop your Pep Dip into an airtight container and store it in the refrigerator. It will keep fresh for up to 4 days, making it a great addition to weekday lunches or impromptu snacks!
Freezing
While Pep Dip is at its creamy best when fresh, you can freeze it in a well-sealed container for up to a month. Let it thaw overnight in the fridge before giving it a fresh stir – the texture may loosen slightly, but the flavor will still shine.
Reheating
If you prefer your Pep Dip slightly warmed, pop a serving in the microwave for 10-15 seconds and give it a gentle stir. The cream cheese might soften a bit, but the taste becomes extra creamy and comforting.
FAQs
Can I use jarred peppers instead of roasting my own?
Absolutely! Jarred roasted red peppers save time and still deliver fantastic flavor, making it easy to whip up Pep Dip whenever the craving hits.
Is there a dairy-free option for Pep Dip?
Yes, you can substitute dairy-free cream cheese or blended silken tofu for the regular cream cheese — the result is just as luscious, and perfect for guests with dietary needs.
How spicy is Pep Dip?
Pep Dip is more zesty than spicy, with most of its kick coming from smoked paprika. If you’d like extra heat, toss in a pinch of cayenne or a dash of hot sauce.
Can I make Pep Dip in advance?
Definitely! In fact, making it a day ahead actually boosts the flavor as everything melds together in the fridge. Just garnish before serving for the freshest presentation.
What are the best dippers for Pep Dip?
Pep Dip loves crunchy companions — think pita chips, pretzel thins, crisp veggies, or even warm naan bread. It’s a true crowd-pleaser with almost anything.
Final Thoughts
Pep Dip is one of those magical recipes that’s equal parts easy, colorful, and unforgettable. Give it a try and share it with the people you love — trust me, you’ll want to have this gem on repeat for every gathering!
Print
Pep Dip Recipe
- Prep Time: 10 minutes
- Cook Time: 20 minutes
- Total Time: 30 minutes
- Yield: 4 servings
- Category: Main Course
- Method: Skillet
- Cuisine: Mediterranean
- Diet: Vegetarian
Description
Pep Dip is a creamy, zesty roasted red pepper and cream cheese spread that’s smoky, tangy, and utterly addictive—perfect for dipping, spreading, or starring on any snack board.
Ingredients
- 1 cup roasted red peppers, drained
- 8 oz cream cheese, softened
- 1 garlic clove, minced
- 1 tablespoon lemon juice
- 1 tablespoon olive oil
- 1/2 teaspoon smoked paprika
- Salt and black pepper, to taste
Instructions
- Prepare ingredients: drain red peppers, soften cream cheese, peel and mince garlic.
- Add red peppers, cream cheese, garlic, lemon juice, olive oil, paprika, salt, and pepper to a food processor or blender.
- Blend until smooth, scraping down sides as needed. Taste and adjust seasoning.
- Transfer to a bowl, cover, and chill for at least 30 minutes for best texture and flavor.
- Before serving, garnish with extra paprika, olive oil, herbs, or nuts. Serve with your favorite dippers.
Notes
- Garnish with smoked paprika, chives, or toasted pine nuts for added flair.
- Serve with pita chips, toasted baguette, or raw veggies like cucumbers and carrots.
- Use as a wrap spread or soup swirl for added flavor and color.
- Store in fridge for up to 4 days in an airtight container.
- Freeze up to 1 month; thaw and stir before serving—texture may soften.
- Microwave individual servings for 10–15 seconds for a warm variation.
- Use jarred roasted peppers to save time with no flavor loss.
- Swap in dairy-free cream cheese or silken tofu for vegan version.
- Add cayenne or hot sauce for extra heat if desired.
- Make ahead to enhance flavor; garnish just before serving.

