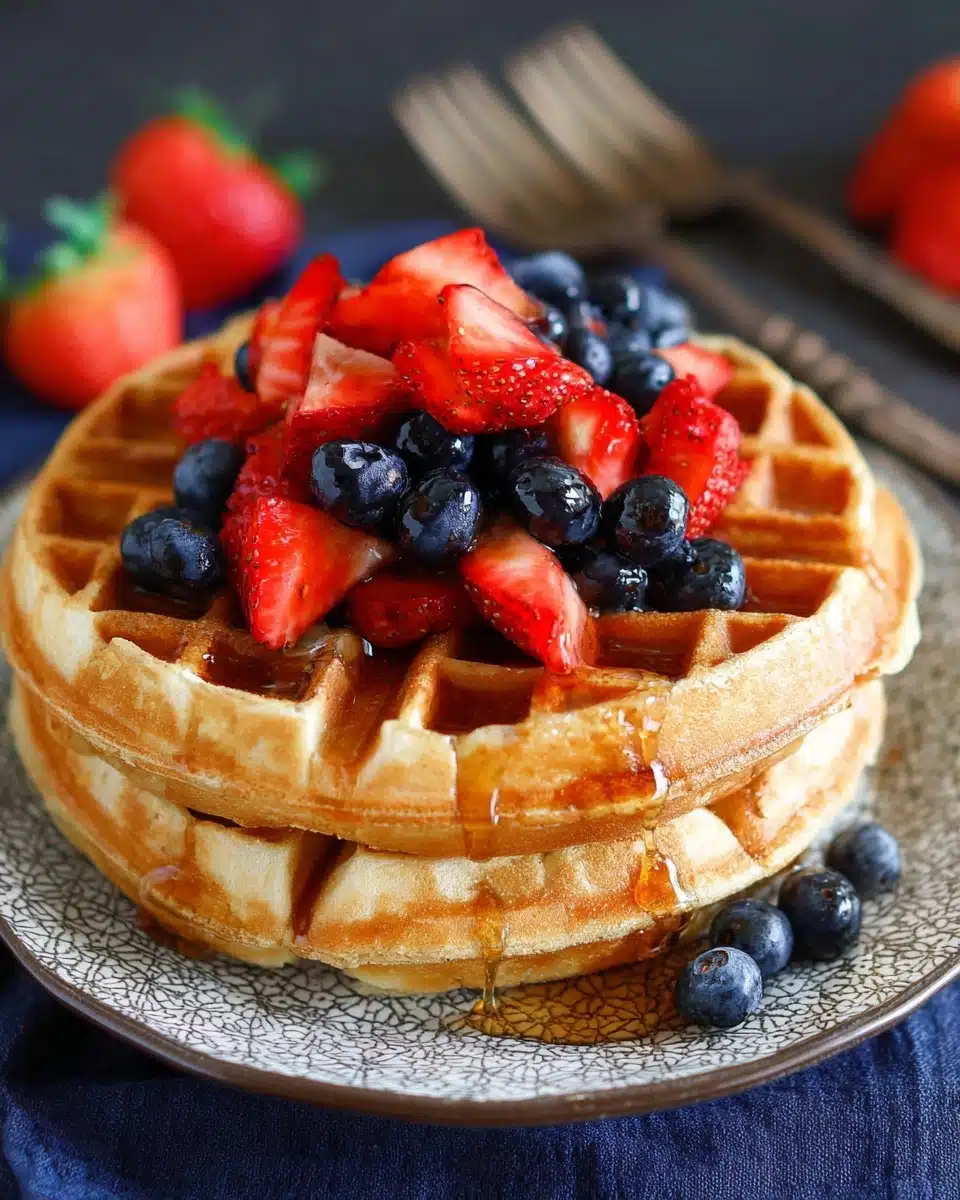
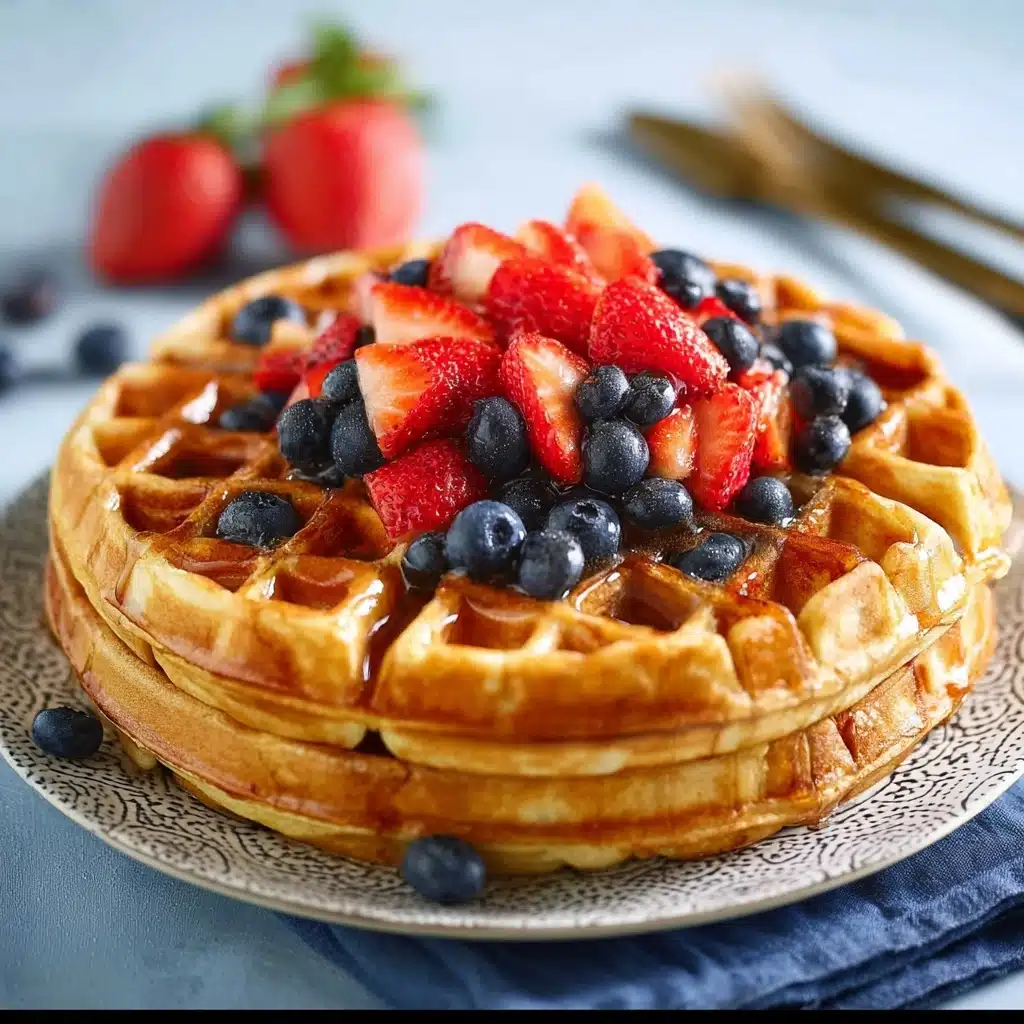
If there’s one breakfast dish that never fails to bring big smiles to the table, it’s Buttermilk Waffles. With a golden, crisp exterior and a tender, fluffy center, these classic waffles always feel like a special treat—even on an ordinary morning. Their tangy richness pairs beautifully with both sweet and savory toppings, making them a true crowd-pleaser. Whether you’re planning a cozy brunch or just want to spoil yourself with homemade comfort food, these Buttermilk Waffles promise to deliver that winning combination of flavor, nostalgia, and satisfaction.
Ingredients You’ll Need
These Buttermilk Waffles come together with a handful of straightforward, trusty staples. Each ingredient has a distinct purpose—some add structure, some create fluff, and others lend that irresistible flavor that sets homemade waffles apart.
- All-Purpose Flour: Provides the sturdy structure that lets your waffles hold their iconic shape and stay fluffy on the inside.
- Granulated Sugar: Adds just the right amount of sweetness and encourages beautiful golden browning.
- Baking Powder: Gives the batter its rise, leading to waffles that are light and airy instead of dense.
- Baking Soda: Reacts with buttermilk to boost fluffiness and add that signature tang.
- Salt: Balances the sweet elements and enhances each bite’s flavor.
- Buttermilk: The superstar ingredient that infuses the batter with a pleasant tang and extra tenderness.
- Unsalted Butter (melted): Brings richness and helps crisp the exterior while keeping the inside moist.
- Large Eggs: Bind everything together and contribute to that golden color and lift.
- Vanilla Extract: Rounds out the flavor with a touch of cozy sweetness.
- Cooking Spray or Oil: Keeps your waffles from sticking and guarantees easy release every time.
How to Make Buttermilk Waffles
Step 1: Preheat Your Waffle Iron
Switch on your waffle iron so it’s hot and ready when the batter is done. A properly heated iron ensures your Buttermilk Waffles cook evenly and emerge crisp and golden from the very first batch.
Step 2: Mix the Dry Ingredients
In a large bowl, whisk together the flour, sugar, baking powder, baking soda, and salt. This dry mix is the foundation of your waffles, making sure all those leaveners are perfectly distributed for an even rise.
Step 3: Whisk the Wet Ingredients
In a separate bowl, combine the buttermilk, melted butter, eggs, and vanilla extract. Give it a good whisk until everything looks smooth and unified. The buttermilk here is key to that signature tang and tender crumb everyone loves in Buttermilk Waffles.
Step 4: Combine Wet and Dry Mixtures
Pour the wet mixture into the dry ingredients. Gently stir everything together—just until combined. Don’t worry about some lumps; over-mixing can mean tougher waffles, and we want ours light as can be!
Step 5: Cook the Waffles
Spray your waffle iron with cooking spray or brush it with a little oil. Ladle the batter in (the amount will depend on your iron), close the lid, and let the waffle work its magic. Cook until the waffles are crisp and beautifully golden, then repeat with the remaining batter.
How to Serve Buttermilk Waffles
Garnishes
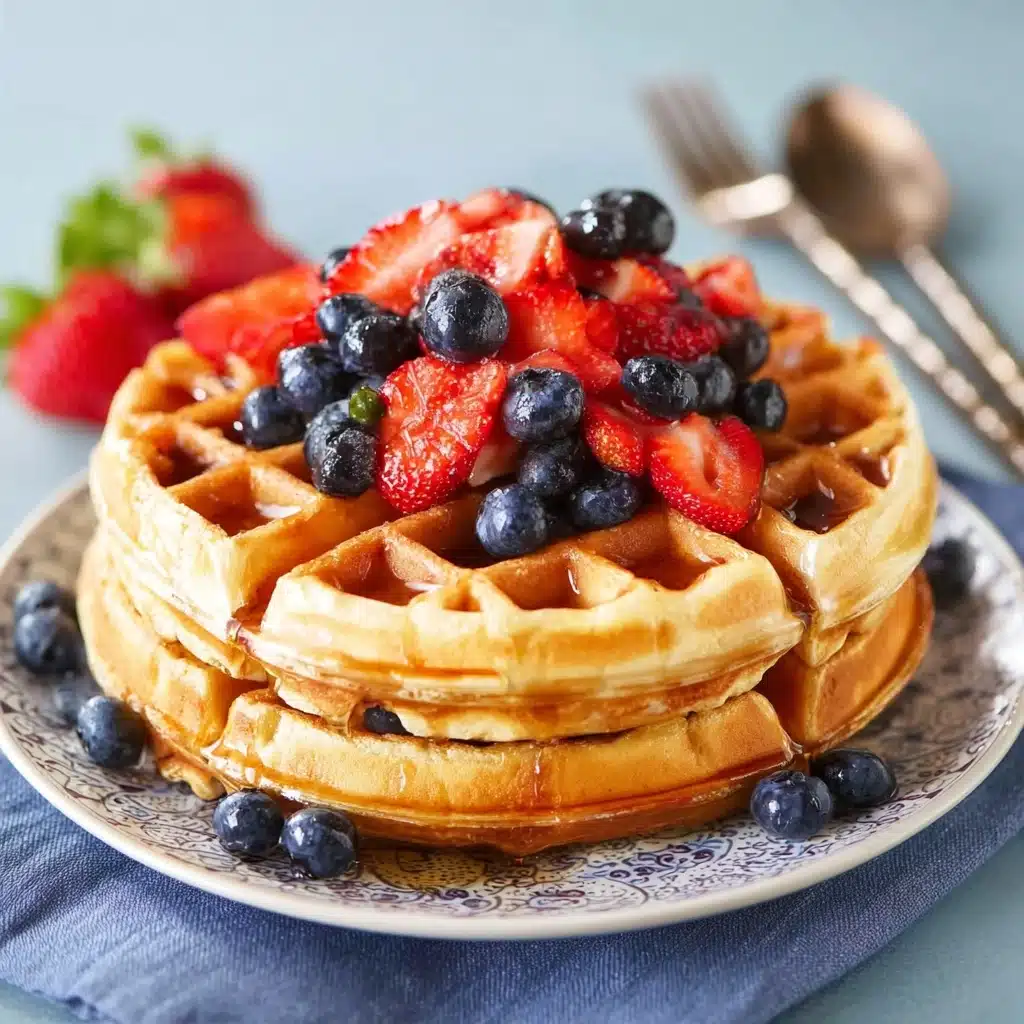
The best thing about Buttermilk Waffles is how well they play with a world of toppings! Go classic with warm maple syrup and a pat of butter, or add a shower of fresh berries, whipped cream, chopped nuts, or a dusting of powdered sugar. For a decadent touch, a drizzle of chocolate or caramel sauce never hurts, either.
Side Dishes
Round out your breakfast feast with crispy bacon, savory breakfast sausages, or a scoop of creamy scrambled eggs. Fresh fruit salad adds a splash of color and freshness for balance, making the meal even more satisfying and memorable.
Creative Ways to Present
Cut your Buttermilk Waffles into quarters for an easy-to-grab brunch platter. Try stacking them sandwich-style with flavored butter, nut spreads, or even fried chicken for a fun twist. Want to impress? Layer waffles with fruit and whipped cream for a dessert-worthy tower everyone will adore.
Make Ahead and Storage
Storing Leftovers
Leftover Buttermilk Waffles keep beautifully! Allow the extras to cool completely, then stack them in an airtight container with a piece of parchment between each to prevent sticking. They’ll stay fresh in the fridge for up to three days.
Freezing
If you want to prep even further ahead, stash Buttermilk Waffles in the freezer. Freeze them in single layers (again, with parchment in between) until solid, then transfer to a freezer-safe bag or container. They’ll last well for up to two months and make for speedy breakfasts on busy mornings.
Reheating
For the best texture, reheat waffles straight from the fridge or freezer in a toaster or oven until warmed through and crisped up. This brings back their signature crunch and ensures they taste nearly as good as fresh from the iron.
FAQs
Can I use regular milk instead of buttermilk?
While you can swap in regular milk if you’re in a pinch, you’ll miss out on the tang and tenderness that buttermilk brings to the table. For homemade buttermilk, simply add a tablespoon of lemon juice or vinegar to a cup of milk and let it sit for 5 minutes before using.
How do I prevent waffles from sticking to the iron?
Make sure to preheat your waffle iron well and give it a good coating of nonstick spray or a light brush of oil before adding batter. This helps guarantee your Buttermilk Waffles release easily with crisp, intact edges.
Can I make the batter ahead of time?
It’s best to cook waffles as soon as the batter is mixed, but if you’re prepping ahead, you can combine the dry ingredients in advance. Hold off on adding the wet ingredients until just before cooking for the best results and fluffiest texture.
What’s the best way to keep waffles warm for a crowd?
Preheat your oven to around 200°F and keep finished Buttermilk Waffles directly on the oven rack. This keeps them warm and crispy while you cook up multiple batches—no sogginess in sight!
Can I make these waffles gluten-free?
Absolutely! Substitute your favorite 1:1 gluten-free all-purpose flour blend for standard flour. The rest of the recipe stays the same, giving you deliciously golden gluten-free Buttermilk Waffles every time.
Final Thoughts
There’s nothing quite like the aroma of fresh Buttermilk Waffles wafting through your kitchen. Whether you’re treating yourself or feeding a hungry crowd, their cozy flavor and endless topping options will keep everyone coming back for more. Go ahead and give these a try—homemade breakfast happiness is only a waffle iron away!
Print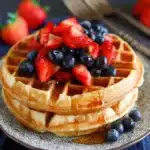
Buttermilk Waffles Recipe
- Prep Time: 10 minutes
- Cook Time: 20 minutes
- Total Time: 30 minutes
- Yield: 4 servings (8 waffles)
- Category: Breakfast
- Method: Waffle Iron
- Cuisine: American
Description
Golden and crisp on the outside, fluffy on the inside, these classic Buttermilk Waffles are everything a comforting breakfast should be. With a signature tang from buttermilk and versatile toppings, they’re a perfect treat for cozy mornings or celebratory brunches.
Ingredients
- 2 cups all-purpose flour
- 2 tablespoons granulated sugar
- 2 teaspoons baking powder
- 1/2 teaspoon baking soda
- 1/2 teaspoon salt
- 2 cups buttermilk
- 1/2 cup unsalted butter, melted
- 2 large eggs
- 1 teaspoon vanilla extract
- Cooking spray or oil, for the waffle iron
Instructions
- Preheat your waffle iron according to manufacturer’s instructions.
- In a large bowl, whisk together flour, sugar, baking powder, baking soda, and salt.
- In a separate bowl, whisk buttermilk, melted butter, eggs, and vanilla until smooth.
- Pour the wet ingredients into the dry ingredients and stir just until combined—some lumps are okay.
- Lightly grease the preheated waffle iron with cooking spray or oil.
- Ladle batter into the waffle iron (amount depends on the size of your iron), close the lid, and cook until waffles are golden and crisp.
- Repeat with remaining batter, keeping cooked waffles warm in a 200°F oven if needed.
Notes
- For best results, do not overmix the batter; a few lumps ensure a light texture.
- Customize with chocolate chips, blueberries, or cinnamon in the batter.
- Try stacking waffles with whipped cream and berries for a showstopping presentation.

