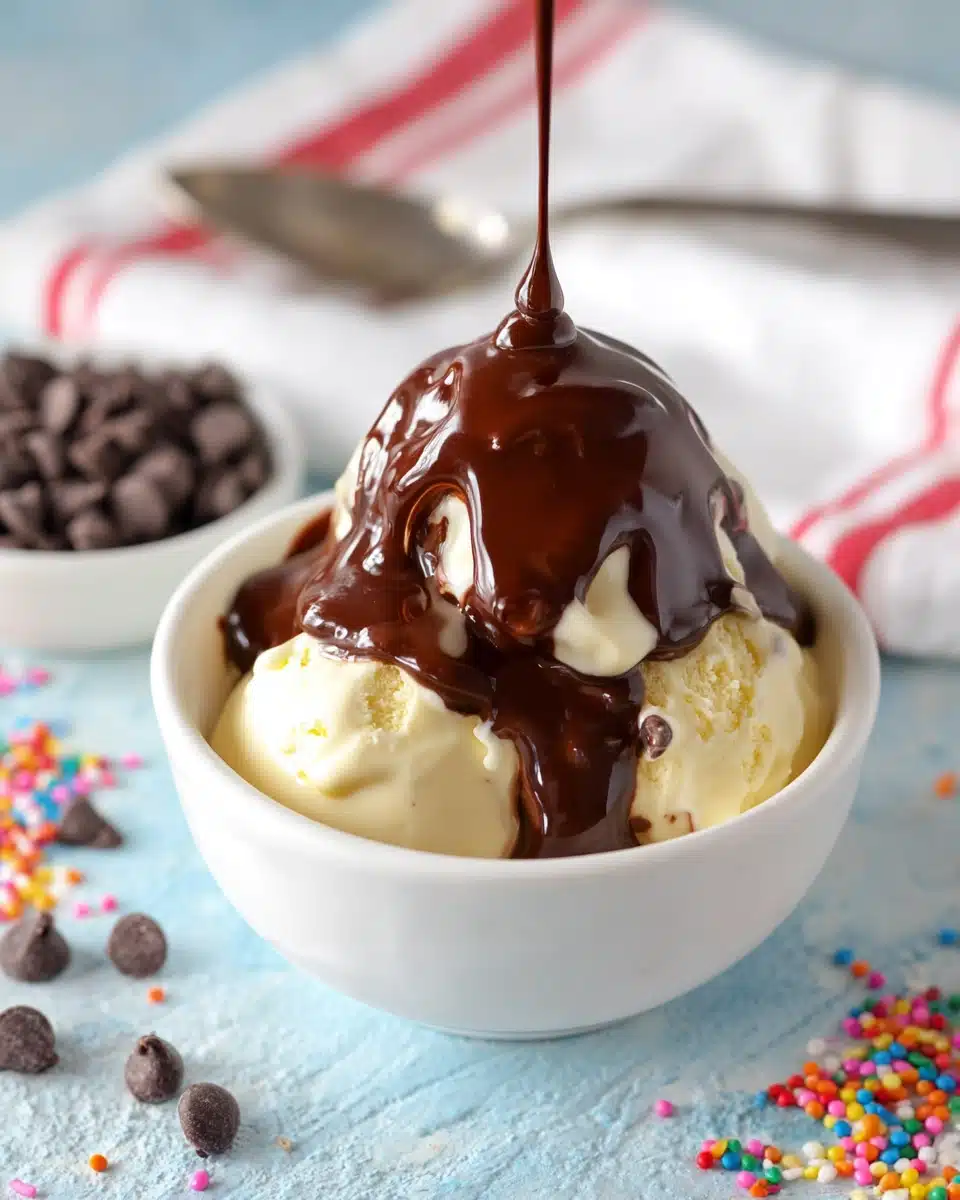
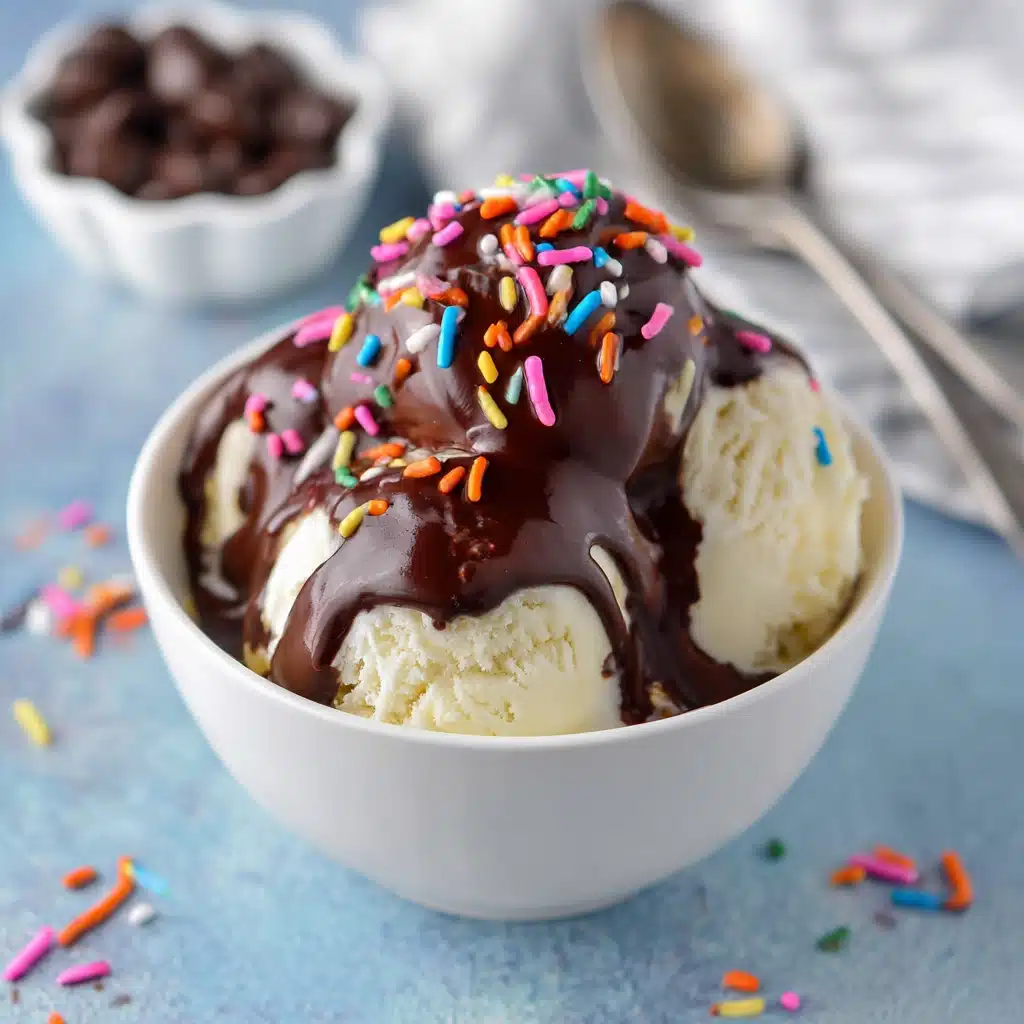
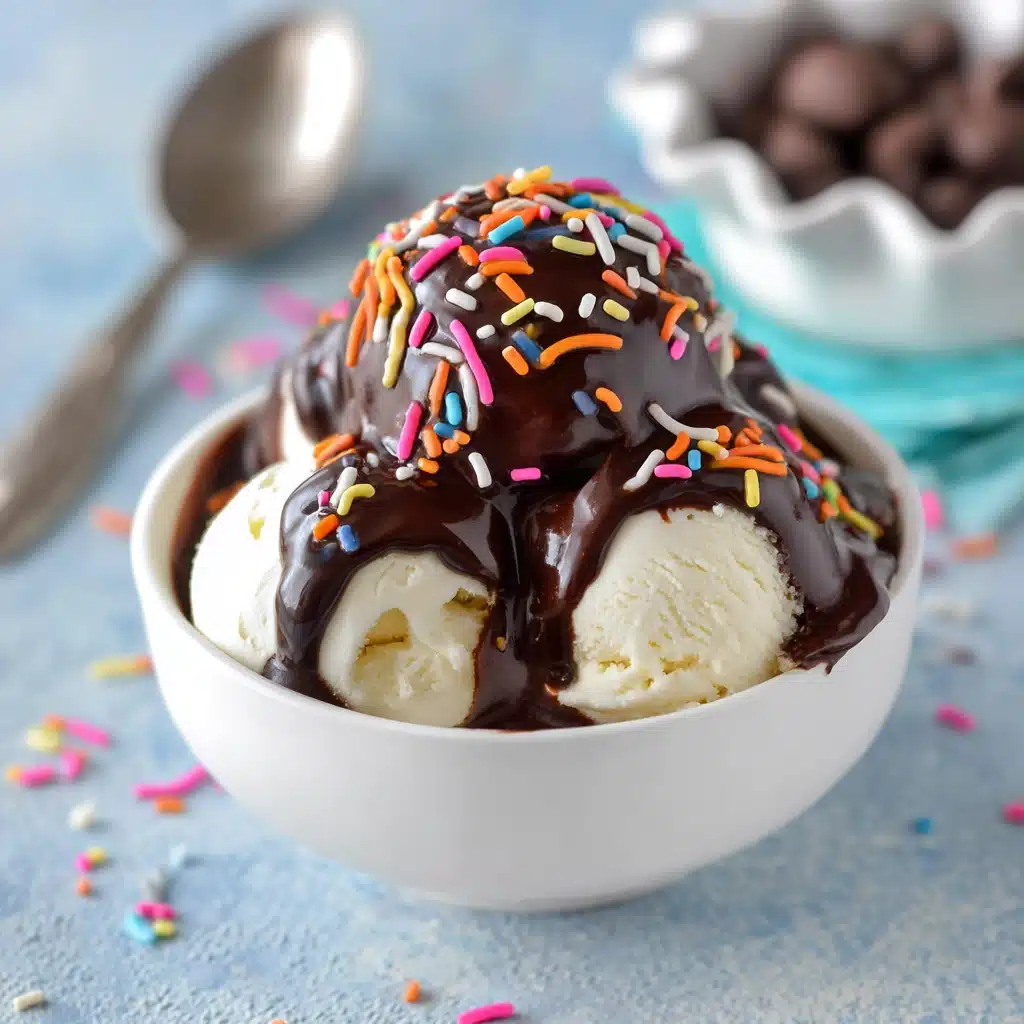
If you grew up mesmerized by watching chocolate instantly harden on your ice cream, you’ll adore Homemade Magic Shell. This easy, two-ingredient treat brings that touch of frozen dessert magic right into your kitchen—no fancy tools or preservatives required. It pours over scoops of ice cream as a warm, silky chocolate sauce, but within seconds, transforms into a perfectly crackable shell. Whether you go classic with vanilla or get creative with your own favorite flavors, this topping is the secret to elevating every bowl into a playful, nostalgic masterpiece.
Ingredients You’ll Need
It’s amazing how something this magical comes together from just a couple of pantry staples. Each ingredient in Homemade Magic Shell has a job to do, from creating that snappy coating to ensuring a rich cocoa punch. Let’s break down what you’ll need and why they matter:
- Semi-sweet chocolate chips or chopped chocolate: These bring the bold chocolate flavor and classic sheen you expect—use quality chocolate for best results.
- Coconut oil (refined or unrefined): This is the secret ingredient! Coconut oil solidifies at cooler temperatures, giving Homemade Magic Shell its signature crunch—refined for a neutral taste, or unrefined if you love a hint of coconut.
- Optional pinch of salt: A tiny bit of salt can wake up all those chocolatey flavors—try it if you love a sweet-salty finish.
- Optional vanilla extract: Just a few drops can round out the chocolate and add a subtle, sophisticated warmth.
How to Make Homemade Magic Shell
Step 1: Melt the Chocolate and Coconut Oil
Combine your chocolate and coconut oil in a microwave-safe bowl. Microwave in 20-second bursts, stirring well after each, until melted and smooth. If you prefer stovetop, set a heatproof bowl over a pan of simmering water and stir gently until the chocolate is lush and glossy—just don’t let any water sneak in or your chocolate might seize!
Step 2: Add Flavor Boosters (Optional)
Once fully melted, go ahead and stir in a pinch of salt or a splash of vanilla extract. These tweaks are optional, but they can make your Homemade Magic Shell even more delicious and dynamic, especially if you like a little extra depth to your dessert toppings.
Step 3: Cool Slightly Before Using
After all the stirring, let your magical mixture cool for just a couple of minutes. It should still be pourable but not piping hot—this helps prevent melting your beautiful ice cream as you drizzle it over the top.
Step 4: Pour and Watch the Magic
Spoon or drizzle your Homemade Magic Shell over scoops of ice cream, then sit back and let the show begin! In the blink of an eye, it’ll harden into a glossy, snappy shell that’s ready to crack beneath your spoon. If you want, add a second drizzle for extra thickness and drama.
How to Serve Homemade Magic Shell
Garnishes
Get playful with crunchy nuts, rainbow sprinkles, a scattering of sea salt, or even crushed freeze-dried berries right after pouring. The Homemade Magic Shell will grab hold of anything you sprinkle while it’s still wet, so you can add color, crunch, or an extra punch of flavor.
Side Dishes
For a true ice cream party, serve with classic sides your guests will love—try fresh fruit, waffle cones, chewy brownies, or homemade whipped cream. The contrast of cold, creamy, and crisp is absolutely irresistible paired with a snappy chocolate shell.
Creative Ways to Present
If you want to wow a crowd, dip whole ice cream bars, bananas, or even strawberries in Homemade Magic Shell and watch their eyes light up. Create swirled patterns with white and dark chocolate, or use cookie cutters as stencils to craft fun designs right on the plate.
Make Ahead and Storage
Storing Leftovers
Any extra Homemade Magic Shell can be poured into a jar or airtight container and stored at room temperature for up to a week, as long as your kitchen isn’t too warm. If it solidifies, just give it a quick zap in the microwave or a warm water bath to return it to pourable perfection.
Freezing
While you don’t need to freeze Homemade Magic Shell itself, you can use it to pre-dip ice cream bars or pops before storing them in the freezer. The shell stays crisp and delicious, so every bite is just as magical as the first.
Reheating
If your Homemade Magic Shell has become too thick or solid at room temperature, simply reheat it gently in the microwave (10–15 seconds at a time) until it returns to that smooth, pourable state—just don’t overheat or scorching can occur.
FAQs
Can I use other types of chocolate?
Absolutely! Dark, milk, or white chocolate all work beautifully; just swap them in for semi-sweet chocolate. Experiment with different blends to suit your own taste buds.
Is coconut oil necessary for Homemade Magic Shell?
Coconut oil is the magic that makes the shell crack, but if you absolutely can’t use it, try another fat that solidifies at room temperature, like cocoa butter. Oils that stay liquid, like canola, won’t give you the snappy shell.
Will the shell work on non-dairy or vegan ice cream?
Yes! Homemade Magic Shell is naturally dairy-free if you use dairy-free chocolate, so it’s perfect for topping vegan or non-dairy ice cream. Just check your chocolate’s ingredients if you’re avoiding all animal products.
Can I double or halve this recipe?
Definitely. Homemade Magic Shell is super flexible—scale the ingredients up or down depending on how much you need. Just be sure to keep the ratio of chocolate to coconut oil about the same for best results.
Does Homemade Magic Shell taste like coconut?
If you use refined coconut oil, there will be little to no coconut flavor. Unrefined (virgin) coconut oil does add a subtle coconut note, which some people adore—choose whichever suits your palate best.
Final Thoughts
Bringing a bit of dessert theater to your table couldn’t be easier—just a few pantry staples, a quick melt, and suddenly every scoop of ice cream is pure joy. Try making Homemade Magic Shell for your next gathering, or just when you need a delightful pick-me-up—it’s guaranteed to make any treat a little more special.

