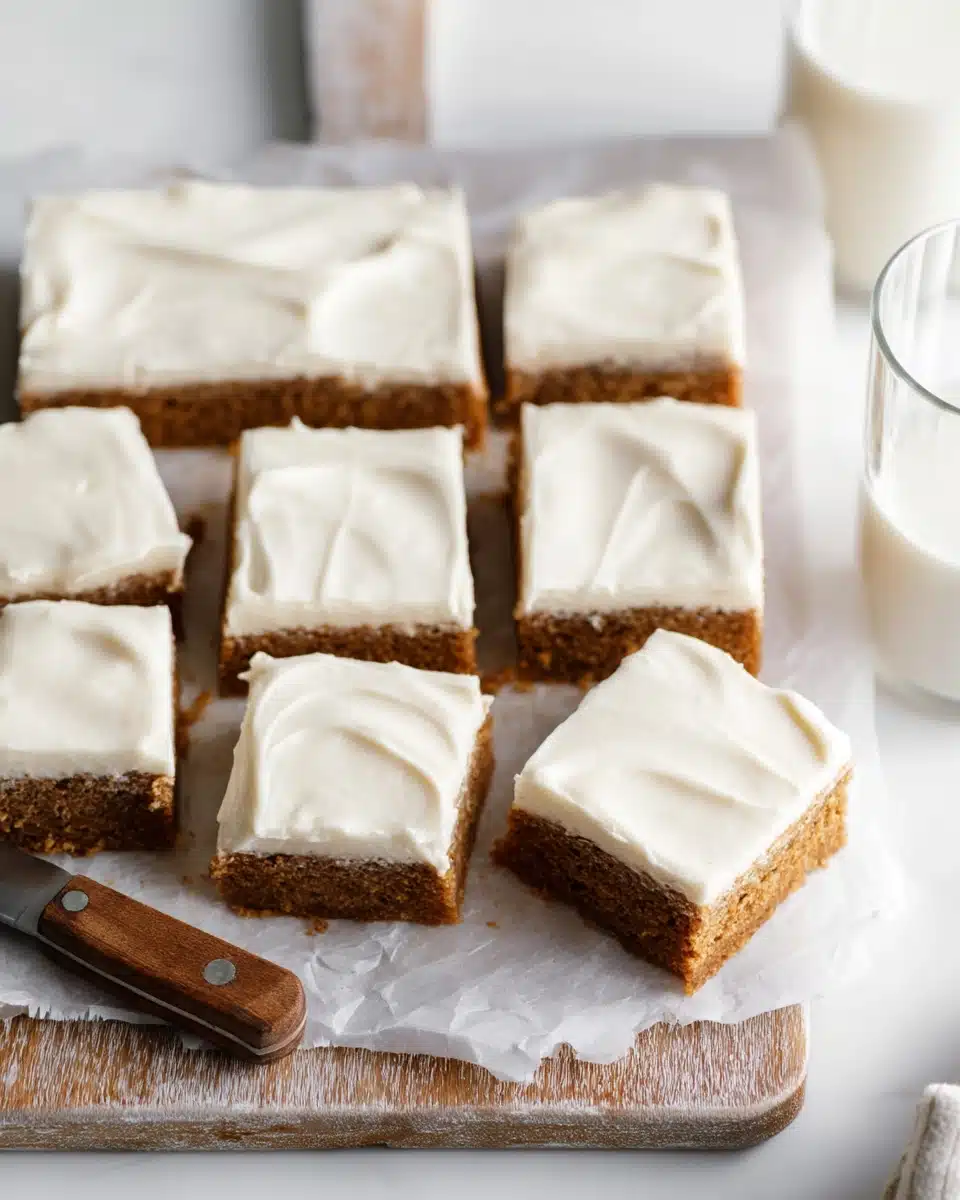
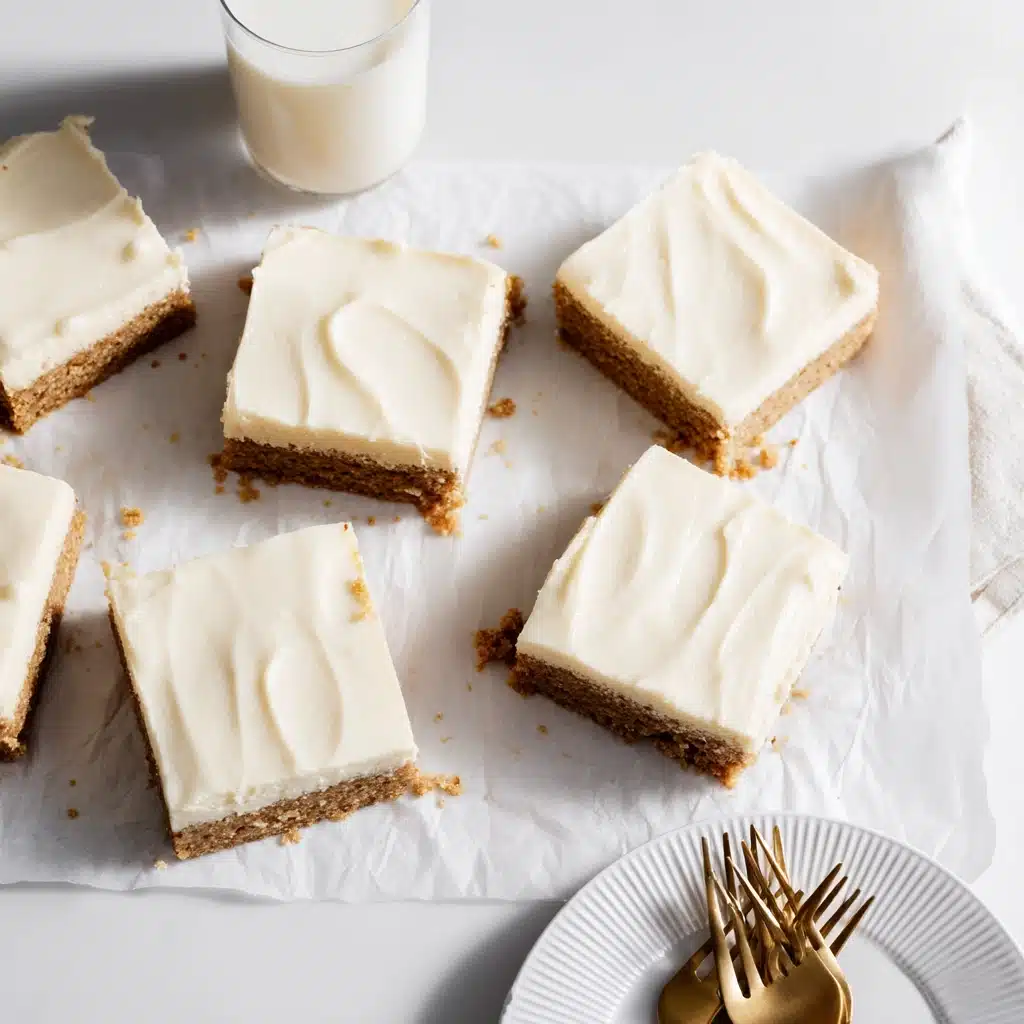
Looking for a festive treat that hits all the right notes of chewy, spicy, and sweet? These Easy Gingerbread Cookie Bars are the answer to your holiday sweet tooth prayers. In one pan, you get all the nostalgic flavors of classic gingerbread—molasses, warm spices, buttery crumb—without the fuss of rolling or cutting out cookies. The result is a thick, soft bar with delightfully crisped edges and a dessert that will disappear as fast as you can slice it. Whether you’re baking for a party or need a quick way to spread some cheer, this recipe is destined to become your go-to.
Ingredients You’ll Need
What makes these Easy Gingerbread Cookie Bars really shine is their use of pantry basics, elevated with a handful of stand-out flavors. Each ingredient plays a role in creating that signature texture and deep, aromatic taste that sets these bars apart from regular cookies.
- All-purpose flour: The sturdy backbone of the bars, giving them a chewy, tender base.
- Baking soda: A little lift works wonders for the light, cake-like texture.
- Salt: Just a pinch sharpens all the other flavors and balances the sweetness.
- Ground ginger: The star spice—bright, zippy, and impossible to miss.
- Ground cinnamon: For warmth and that classic gingerbread aroma you know and love.
- Ground cloves: This tiny pinch brings a rich, peppery depth that makes the bars irresistible.
- Unsalted butter: Melted for easy mixing and maximum richness in every bite.
- Brown sugar: Gives the bars their signature moistness and deep caramel notes.
- Egg: Binds everything together and adds a lovely, tender crumb.
- Molasses: The defining flavor of gingerbread, bringing sweetness, richness, and a hint of mystery.
- Vanilla extract: Adds that extra touch of warmth and rounds out the spicy flavors.
How to Make Easy Gingerbread Cookie Bars
Step 1: Prep Your Pan and Preheat the Oven
Start by preheating your oven to 350°F (175°C). Line an 8×8-inch baking pan with parchment paper or lightly grease it to ensure your Easy Gingerbread Cookie Bars come out with clean edges and no sticking. This little prep step makes both baking and cleanup a breeze.
Step 2: Whisk Together Your Dry Ingredients
In a medium bowl, combine the flour, baking soda, salt, ground ginger, cinnamon, and cloves. Give everything a thorough whisk so the spices are evenly distributed—no one wants a lonely pocket of ginger! Proper mixing here sets the stage for perfectly flavored bars.
Step 3: Mix the Wet Ingredients
Melt the butter (either on the stovetop or in the microwave), then transfer it to a large mixing bowl. Add the brown sugar, egg, molasses, and vanilla extract. Whisk until the mixture is glossy and smooth—the molasses gives it that tell-tale gingerbread hue and its signature aroma.
Step 4: Combine and Fold
Working gently, add half of the dry ingredients to the wet ingredients and stir until just combined. Fold in the rest of the flour mixture, being careful not to overmix. The batter will be thick and fragrant, promising chewy bars ahead.
Step 5: Spread and Bake
Scrape the batter into your prepared pan, smoothing it out evenly with a spatula. Pop it into the oven and bake for 22–26 minutes, or until the edges are set and the center looks slightly underbaked—that’s how you keep them soft! Let the bars cool completely before lifting them out and slicing.
How to Serve Easy Gingerbread Cookie Bars
Garnishes
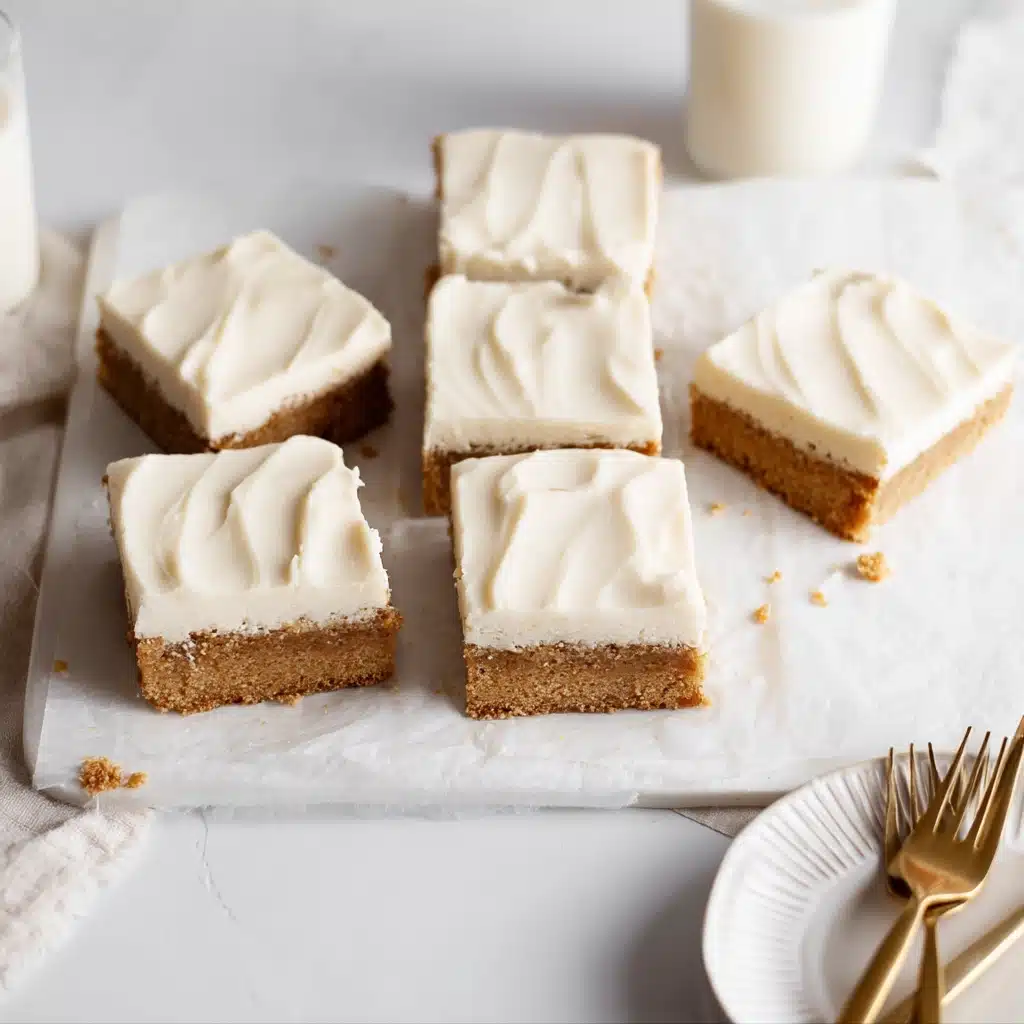
For an extra-special finish, dust the cooled bars with powdered sugar, drizzle with a simple vanilla glaze, or add festive sprinkles. A sprinkle of crystallized ginger or a few curls of white chocolate are perfect if you want these Easy Gingerbread Cookie Bars to stand out on a dessert tray.
Side Dishes
Serve your bars alongside a mug of hot cocoa, freshly brewed coffee, or a cozy spiced chai. For a holiday dessert board, pair with fresh fruit, caramel sauce, or a scoop of vanilla bean ice cream—you’ll have a winning combo for any crowd.
Creative Ways to Present
Instead of traditional squares, use a cookie cutter to punch out festive shapes, or stack the bars and tie them with ribbon for edible gifts. These Easy Gingerbread Cookie Bars can even be layered with cream cheese frosting for a decadent, cake-like treat that’s sure to impress.
Make Ahead and Storage
Storing Leftovers
Store any leftover Easy Gingerbread Cookie Bars in an airtight container at room temperature for up to 4 days. Their moist texture keeps them deliciously chewy, and the flavors seem to intensify overnight.
Freezing
These bars freeze beautifully! Wrap individual slices tightly in plastic wrap, then place them in a freezer-safe bag. They’ll keep for up to 2 months—just remember to thaw at room temperature before enjoying.
Reheating
To recapture that warm-from-the-oven magic, heat a bar in the microwave for 10–15 seconds. This softens the crumb and revives those holiday spices, making each bite taste freshly baked.
FAQs
Can I double this recipe for a bigger batch?
Absolutely! Just double all the ingredients and use a 9×13-inch pan. The baking time may increase slightly, so keep an eye on the center and adjust as needed.
Can I make Easy Gingerbread Cookie Bars gluten-free?
Yes, you can substitute a cup-for-cup gluten-free flour blend. The bars will still be chewy and moist, with all the spicy-sweet flavor you expect.
Do I have to use molasses?
Molasses is essential for authentic gingerbread flavor, but if you’re in a pinch, dark corn syrup or maple syrup can be used. The taste will be lighter and less traditional, but still delicious.
What’s the best way to cut neat squares?
Let the bars cool completely, then use a sharp knife (wiping clean after each slice). For ultra-neat edges, chill the bars in the fridge for 30 minutes before cutting.
How can I make these bars extra festive?
Top your Easy Gingerbread Cookie Bars with festive sprinkles, a drizzle of melted white chocolate, or tuck a few holiday candies into the batter before baking for a playful touch.
Final Thoughts
These Easy Gingerbread Cookie Bars are everything a holiday treat should be: effortless, comforting, and bursting with cozy flavor. I hope you’ll whip up a batch (or two) and make them a new favorite in your seasonal baking lineup. Happy baking and even happier sharing!

