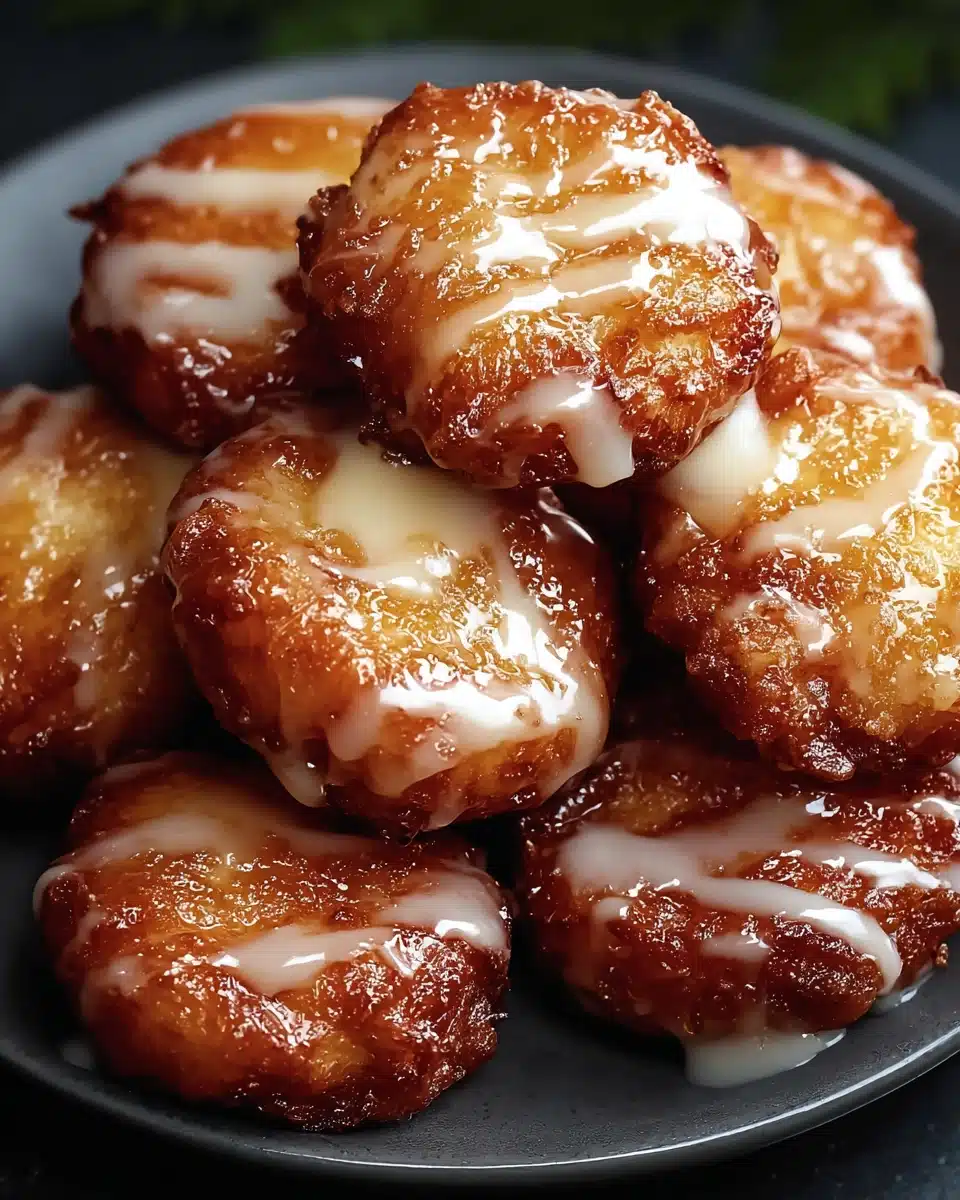
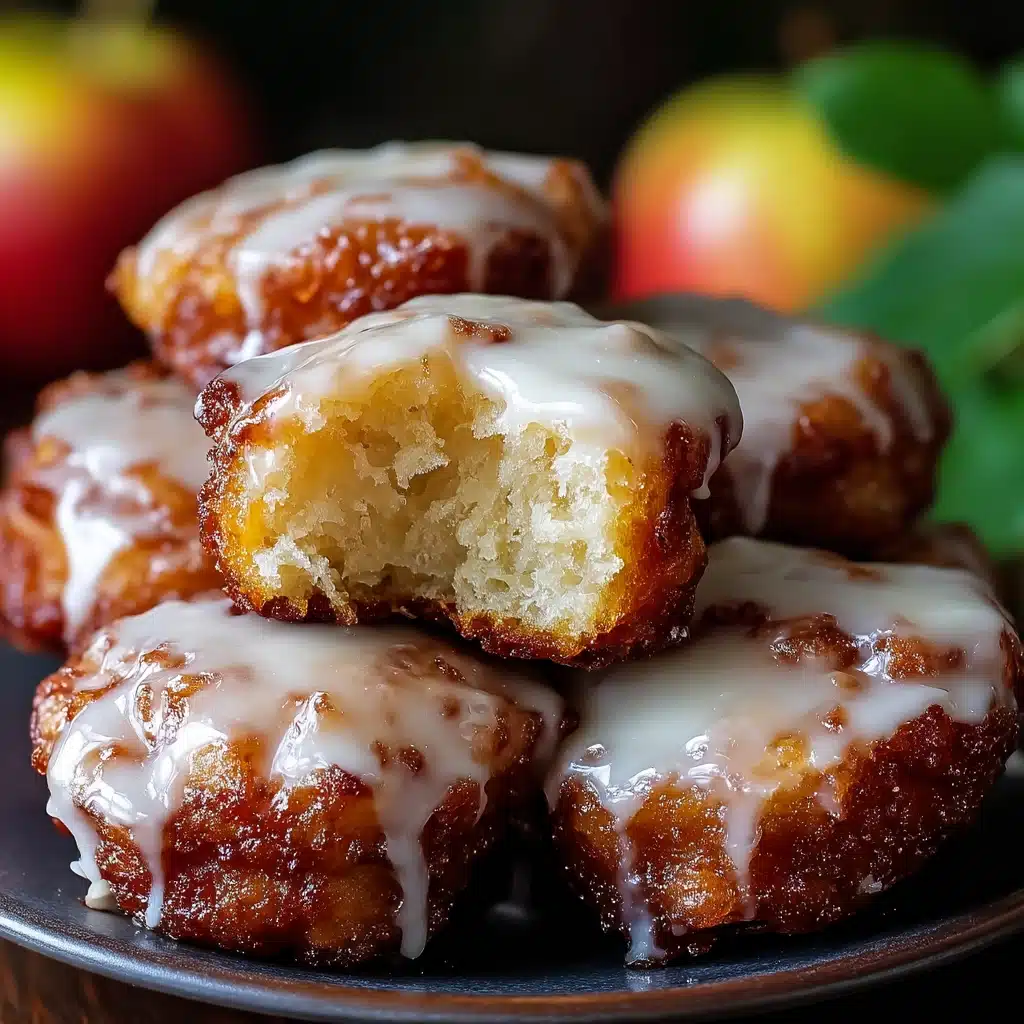
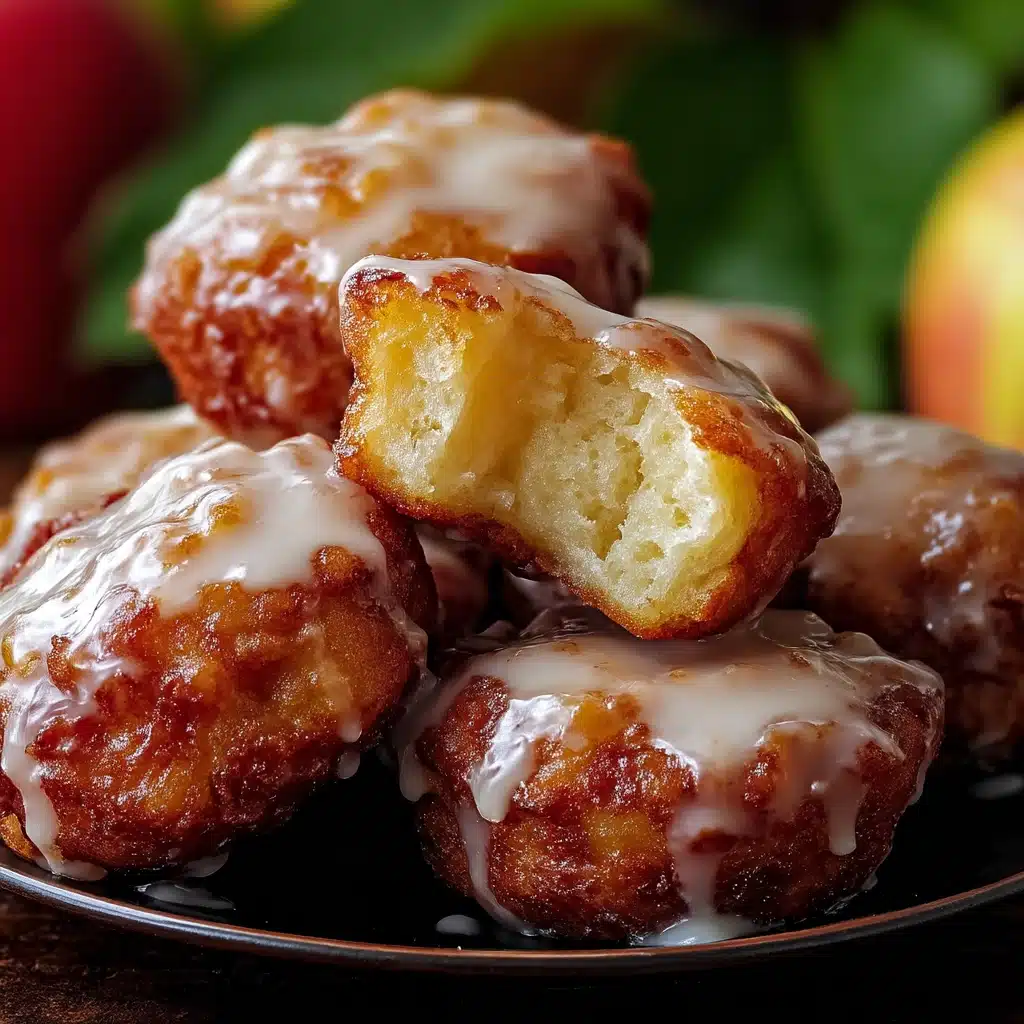
If you’re in the mood for cozy kitchen aromas, tender bites of apple, and just the right amount of sweet glaze, these Baked Apple Fritters are about to become a new favorite in your baking repertoire. Imagine everything you love about the classic fair treat, but lighter, easier, and oven-baked for maximum weeknight appeal. Whether you serve them up for breakfast, a coffee-break snack, or dessert, this recipe delivers all the nostalgic flavors with none of the fuss—or guilt. Trust me, once you taste one warm from the oven, you’ll want Baked Apple Fritters in your regular rotation.
Ingredients You’ll Need
What makes these fritters irresistible is how the ingredients work in harmony to create fluffy, apple-studded goodness with a crisp, golden edge. Most ingredients are pantry staples, but each plays a crucial role in taste, texture, or even that signature color.
- Apples: Fresh, tart apples like Granny Smith hold their shape and add juicy bursts of flavor in every bite.
- All-purpose flour: This acts as the structure for the fritters, keeping them pillowy but not dense.
- Granulated sugar: Adds sweetness and helps the fritters brown beautifully in the oven.
- Brown sugar: A touch for richer sweetness and a subtle caramel undertone.
- Baking powder: The key leavening agent, ensuring the fritters puff up instead of falling flat.
- Ground cinnamon: Essential for that warm, autumnal spice flavor—don’t skip it!
- Nutmeg: Just a pinch deepens the spice profile and rounds out the flavor.
- Salt: Balances out the sweetness and intensifies the apple flavor.
- Milk: Binds everything together for a moist, tender crumb.
- Egg: Helps give the fritters structure and a beautiful, golden finish.
- Vanilla extract: Infuses the batter with extra warmth and aroma.
- Powdered sugar: For that classic sweet glaze you drizzle on top when the fritters are still warm.
- Butter: A little melted butter delivers an extra layer of richness both inside and on top.
How to Make Baked Apple Fritters
Step 1: Prep and Preheat
Start by preheating your oven to 375°F (190°C) and lining a baking sheet with parchment paper or a silicone baking mat. Prepping your surface ensures the fritters won’t stick and makes clean-up a breeze. While the oven heats, core and dice your apples into small, even pieces. Bite-sized chunks guarantee you get juicy apple in every mouthful.
Step 2: Combine the Dry Ingredients
In a large mixing bowl, whisk together the all-purpose flour, granulated sugar, brown sugar, baking powder, ground cinnamon, nutmeg, and salt. Mixing the dry ingredients first guarantees an even distribution of the leavening agents and spices so every fritter comes out fluffy and fragrant.
Step 3: Make the Batter
In a separate bowl, beat together the egg, milk, melted butter, and vanilla extract until well combined. Pour this wet mixture into the bowl of dry ingredients. Stir until just combined—you don’t want to overmix, as this keeps the fritters delightfully airy.
Step 4: Fold in the Apples
Gently fold the diced apples into the batter with a spatula. The apple pieces should be coated but not crushed, preserving their lovely texture and juiciness. The batter will look quite chunky, which is exactly what you want for classic Baked Apple Fritters.
Step 5: Shape and Bake
Spoon heaping tablespoons of batter onto your prepared baking sheet, spacing them about two inches apart. For that signature fritter look, you can gently flatten the mounds with the back of your spoon. Bake for 14–17 minutes, or until puffed, golden, and a toothpick inserted into the center comes out clean.
Step 6: Glaze the Fritters
While the fritters are baking, whisk together powdered sugar with a splash of milk and a touch of vanilla to create a pourable glaze. Once the fritters are out of the oven and still warm, drizzle generously with the glaze. The heat will help the glaze set into that signature glossy finish. Let the fritters cool just long enough to handle—then dig in!
How to Serve Baked Apple Fritters
Garnishes
A little flourish goes a long way! I love adding a second drizzle of glaze once the fritters have cooled a bit, or a sprinkling of cinnamon over the top just before serving. For extra crunch and flair, try a few toasted pecans, a dusting of powdered sugar, or even a little lemon zest to brighten every bite.
Side Dishes
Baked Apple Fritters pair beautifully with so many cozy companions. Serve them alongside a mug of strong coffee, a pitcher of homemade apple cider, or creamy Greek yogurt for breakfast. If you’re leaning dessert, a scoop of vanilla ice cream turns them into a stunning finale for any dinner party.
Creative Ways to Present
Think beyond the plate! Stack your Baked Apple Fritters into a rustic, bakery-style tower and drizzle with extra glaze tableside. Or, for a brunch crowd, serve them as mini “sliders” filled with lightly whipped cream or caramel sauce. For parties, try portioning them into cupcake wrappers for easy grabbing—all the flavor, none of the fork drama.
Make Ahead and Storage
Storing Leftovers
If you’re lucky enough to have extras, cool your Baked Apple Fritters completely, then transfer them to an airtight container. They’ll keep well at room temperature for up to two days, or in the refrigerator for up to five days. Just make sure they’re fully cooled before storing so they don’t go soggy.
Freezing
Yes, you can absolutely freeze Baked Apple Fritters! Lay cooled fritters in a single layer on a baking sheet, freeze until solid, then transfer to a zip-top freezer bag. They’ll stay fresh for up to two months. For best results, hold off on glazing until after reheating.
Reheating
To reheat, simply pop the fritters in a 325°F oven for 6–8 minutes, or until warmed through and slightly crisp on the edges. If frozen, add a couple extra minutes. Top with fresh glaze for that just-baked magic, and they’ll taste like you made them this morning.
FAQs
Can I use a different type of apple in Baked Apple Fritters?
Absolutely! While Granny Smith apples are a top choice for their tartness and firm texture, feel free to use Honeycrisp, Fuji, or Gala apples for a sweeter bite. Mixing varieties adds even more delicious depth.
Why are my fritters not as puffy as I’d like?
Ensure your baking powder is fresh—if it’s old, the fritters might not rise properly. Also, mix the batter gently and avoid overworking it, which can make the fritters dense instead of light.
Do Baked Apple Fritters need to be served warm?
While nothing beats a fritter fresh from the oven, they’re just as tasty at room temperature. If you’ve made them ahead, a quick warm-up in the oven or microwave revives their texture and aroma.
Can I make these Baked Apple Fritters gluten-free?
Yes! Substitute the all-purpose flour with a good quality 1:1 gluten-free baking blend. Just be sure the texture of the batter stays similar to the original so you maintain that classic fritter bite.
What’s the best way to glaze Baked Apple Fritters?
For even coverage, drizzle the glaze over the fritters while they’re still a little warm so it spreads and sets into a glossy finish. If you love extra glaze, double the recipe and do a second drizzle after they cool!
Final Thoughts
There’s something irresistibly special about making Baked Apple Fritters at home—you get all the cozy aromas and nostalgic flavors with none of the deep-frying or fuss. Whether you bake them once or a hundred times, they’re sure to bring a smile to every apple lover at your table. Give this recipe a try and let your kitchen be filled with the warmth and joy only a homemade apple fritter can bring!
Print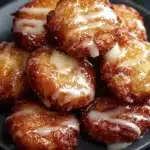
Baked Apple Fritters Recipe
- Prep Time: 15 minutes
- Cook Time: 17 minutes
- Total Time: 32 minutes
- Yield: 12 fritters
- Category: Dessert, Breakfast
- Method: Baking
- Cuisine: American
- Diet: Vegetarian
Description
Flaky, golden pastries filled with tender apple bites, warm spices, and a sweet glaze. These Baked Apple Fritters are a cozy, lighter take on the classic, perfect for breakfast, dessert, or as a coffee-break treat.
Ingredients
- 2 large apples (Granny Smith, Honeycrisp, or Gala work best), peeled, cored, and diced
- 1 1/2 cups all-purpose flour
- 1/4 cup granulated sugar
- 1/4 cup brown sugar
- 2 tsp baking powder
- 1 tsp ground cinnamon
- 1/4 tsp ground nutmeg
- 1/4 tsp salt
- 1/2 cup milk
- 1 large egg
- 1/4 cup melted butter
- 1 tsp vanilla extract
- 1/2 cup powdered sugar (for glaze)
- 1–2 tsp milk (for glaze)
- 1 tsp vanilla extract (for glaze)
Instructions
- Preheat your oven to 375°F (190°C) and line a baking sheet with parchment paper or a silicone baking mat.
- Core, peel, and dice the apples into small, bite-sized pieces. Set aside.
- In a large mixing bowl, whisk together the flour, granulated sugar, brown sugar, baking powder, cinnamon, nutmeg, and salt.
- In a separate bowl, beat together the milk, egg, melted butter, and vanilla extract until combined.
- Pour the wet ingredients into the dry ingredients and stir until just combined (do not overmix).
- Gently fold in the diced apples with a spatula, ensuring they’re evenly distributed throughout the batter.
- Spoon heaping tablespoons of the batter onto the prepared baking sheet, spacing the fritters about 2 inches apart. You can flatten the mounds slightly with the back of a spoon if you prefer a more traditional fritter shape.
- Bake for 14–17 minutes, or until the fritters are golden and puffed. A toothpick inserted should come out clean.
- While the fritters bake, whisk together powdered sugar, milk, and vanilla extract for the glaze. Adjust the consistency by adding more milk if needed.
- Once the fritters are out of the oven, drizzle them with the glaze while they are still warm. Let them cool slightly before serving.
Notes
- If you want a richer glaze, add a little butter or maple syrup for extra flavor.
- You can make these fritters ahead of time and store them in an airtight container for up to two days.
- For a gluten-free version, substitute the all-purpose flour with a gluten-free 1:1 baking blend.

