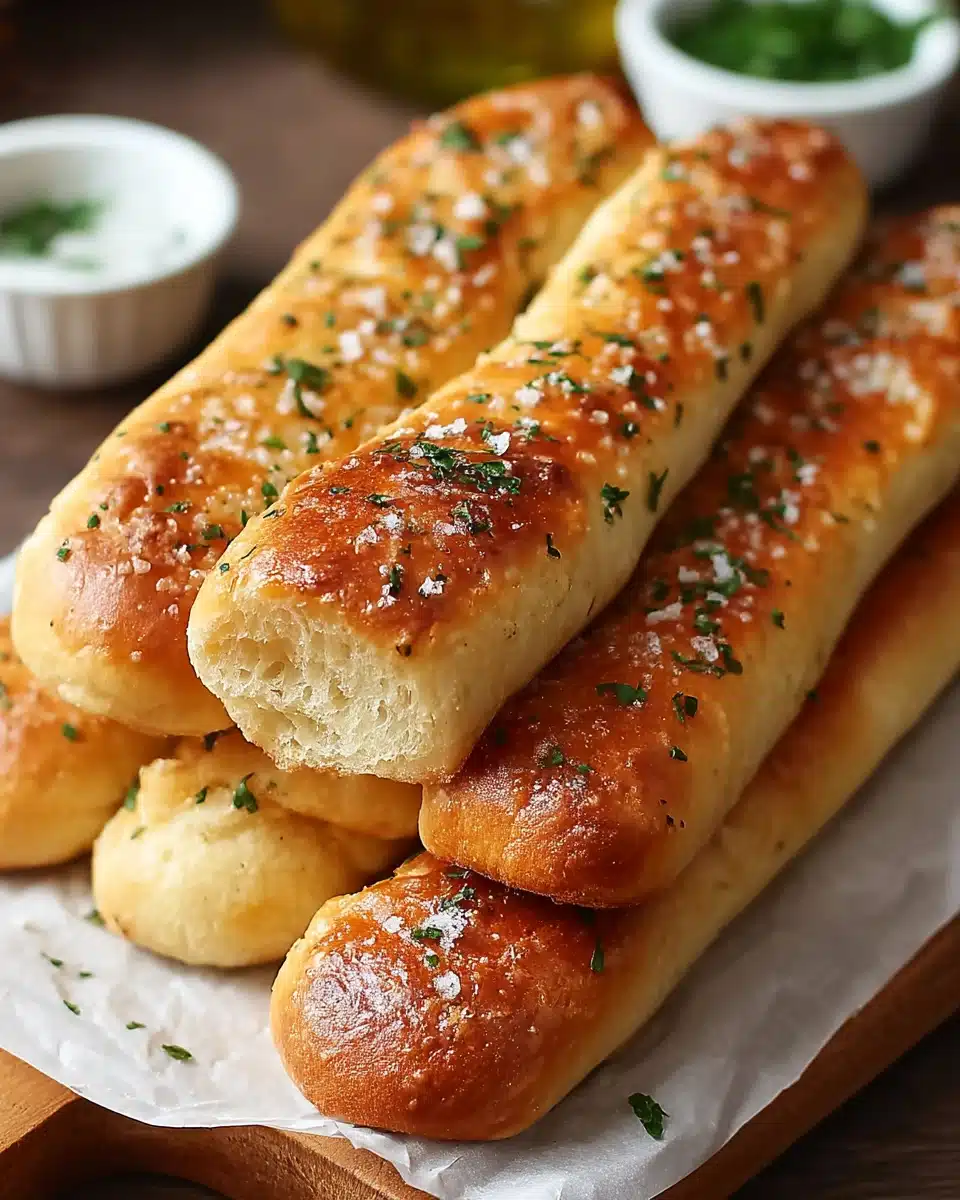
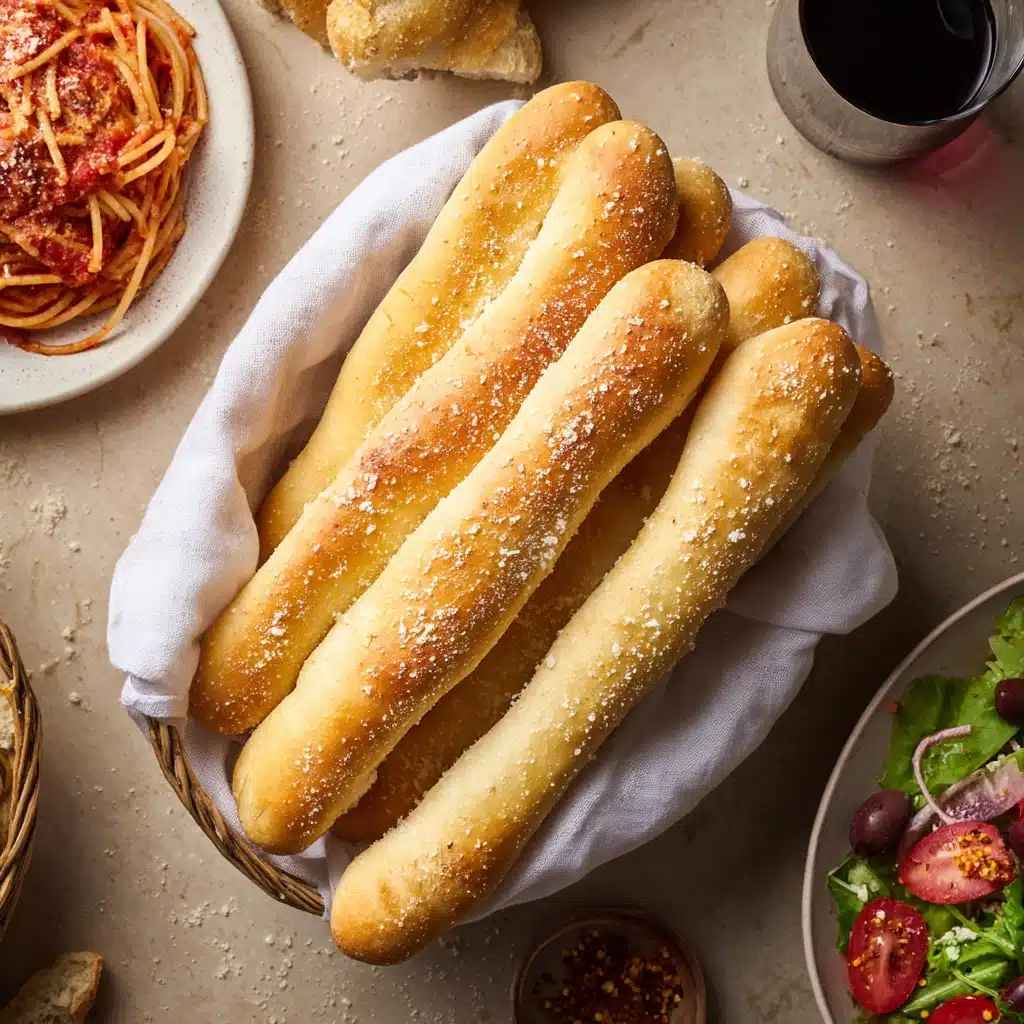
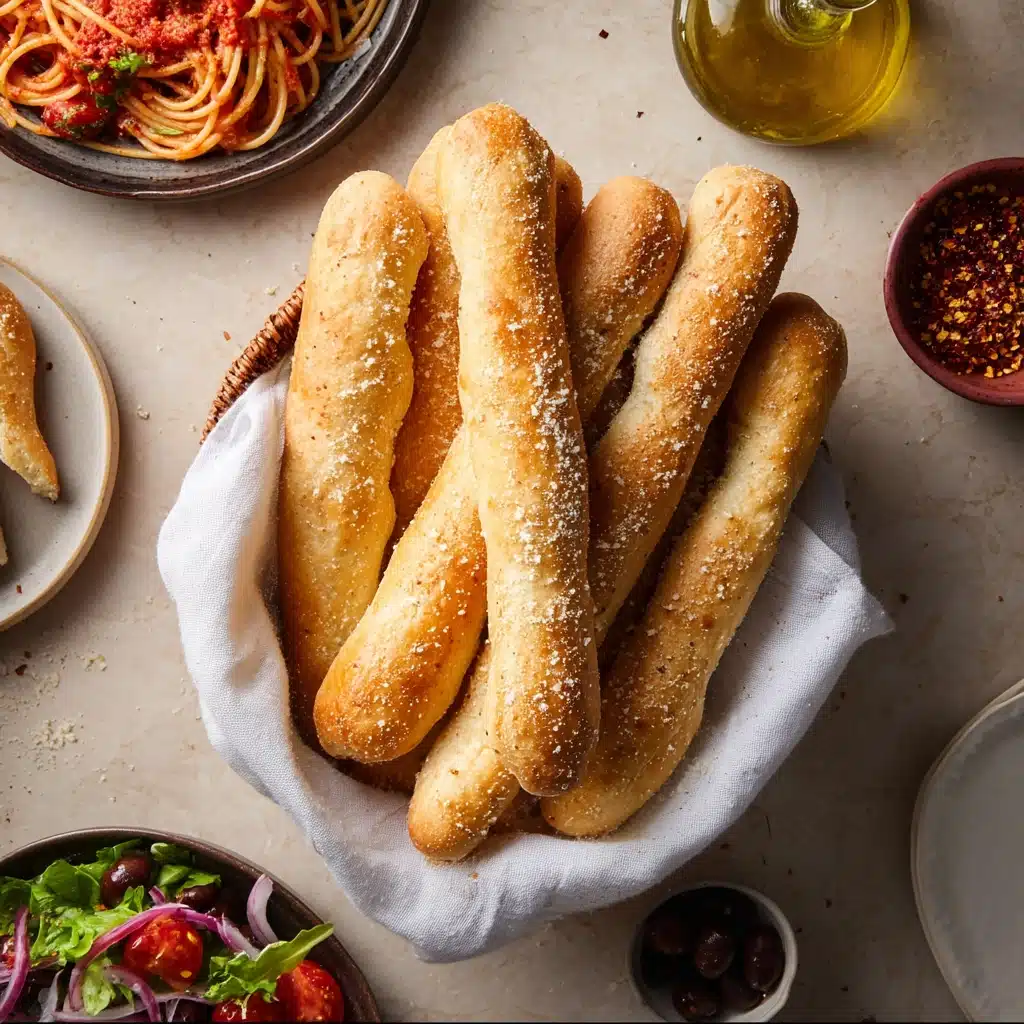
If you love dining out but crave bringing a little bit of restaurant magic to your own kitchen, you’re in for a treat. This Olive Garden Breadsticks Recipe unlocks the secret to those famously soft, buttery sticks you can never get enough of. Perfectly golden, lightly salted, and brushed with garlic-infused butter, these breadsticks are wildly addictive and delightfully easy to whip up at home. Whether you’re planning a cozy family dinner or a laid-back gathering with friends, these breadsticks deliver restaurant-quality comfort straight from your oven.
Ingredients You’ll Need
You’ll be amazed at how a handful of simple ingredients combine to create such irresistible results. Every element here serves an important purpose, from building structure and flavor to creating that signature fluffy texture and tempting aroma. Here’s what you’ll need:
- Bread flour: Gives the breadsticks their classic chewy bite and loft.
- Active dry yeast: Provides lift and lightness, so the breadsticks are soft and airy.
- Sugar: Just a little helps feed the yeast and gives the bread a touch of sweetness.
- Warm water: Activates the yeast and brings the dough together.
- Salt: Balances flavor and gives each bite that essential savory finish.
- Unsalted butter: Adds richness to both the dough and the final golden topping.
- Garlic powder: Creates that signature savory, aromatic finish we all crave.
- Olive oil: Keeps the dough supple and adds subtle flavor complexity.
How to Make Olive Garden Breadsticks Recipe
Step 1: Proof the Yeast
Start by dissolving sugar in your warm water, then sprinkle the yeast over the top and let it stand for 5 to 10 minutes until it’s foamy. This little bubbling science experiment assures you your yeast is alive and ready to create light, pillowy breadsticks that rise beautifully.
Step 2: Make and Knead the Dough
Add bread flour, salt, a bit of melted butter, and a splash of olive oil to your proofed yeast. Mix until a dough comes together, then turn it out onto a lightly floured surface. Knead for about 7-10 minutes, until the dough feels smooth and elastic. This step may look simple, but it’s the secret to getting the structure and classic chew of the Olive Garden Breadsticks Recipe.
Step 3: Let the Dough Rise
Place your dough in a lightly oiled bowl, cover it, and let it rise in a warm spot until doubled in size, about 1 to 1.5 hours. This patient pause is what gives your breadsticks that airy softness everyone loves. Don’t rush it—the wait is well worth it!
Step 4: Shape the Breadsticks
Punch down the risen dough, divide it into equal pieces, and roll each into a rope about 7 inches long. Arrange these on a parchment-lined baking sheet, making sure to leave room for them to puff up during the second rise. This is where your kitchen starts to smell like a real bakery.
Step 5: Second Rise
Cover the breadsticks and let them rise again for about 30-45 minutes, until they look plush and puffy. This second rise gives the Olive Garden Breadsticks Recipe its signature lightness—and just a little patience makes all the difference!
Step 6: Bake to Perfection
Preheat your oven to 400°F (200°C). Bake the breadsticks for 12–15 minutes until they’re just turning golden on top. Keep an eye on them so they don’t over-brown; their beauty is in that gentle, even color.
Step 7: Brush with Garlic Butter
While still warm, brush each breadstick generously with a mixture of melted butter and garlic powder, then sprinkle lightly with salt. This finishing touch transforms each breadstick from simple dough to restaurant-level deliciousness—be generous!
How to Serve Olive Garden Breadsticks Recipe
Garnishes
A classic brush of garlic butter and a light sprinkle of sea salt is all you really need, but don’t be shy about adding a little finely chopped parsley or an extra dusting of parmesan for a cheesy finish. These garnishes truly help customize the Olive Garden Breadsticks Recipe to suit your taste or occasion.
Side Dishes
Nothing completes a hearty Italian meal quite like breadsticks. Pair them with a steaming bowl of minestrone, your favorite pasta dish, or even a simple Caesar salad. The buttery, pillowy texture is the perfect companion to just about any comfort food you crave.
Creative Ways to Present
For special occasions, try weaving the dough into knots or braiding for a pretty twist. Or, serve the Olive Garden Breadsticks Recipe as dippable bites alongside a variety of sauces: classic marinara, creamy Alfredo, or zesty pesto all make stunning accompaniments for a breadstick-centric appetizer platter.
Make Ahead and Storage
Storing Leftovers
Have extras? Once cooled, store your breadsticks in an airtight container at room temperature for up to two days. Slip in a paper towel to help absorb any excess moisture and keep them tasting bakery-fresh.
Freezing
The Olive Garden Breadsticks Recipe freezes beautifully. Simply wrap individual breadsticks tightly in plastic wrap and store in a zip-top freezer bag for up to two months. This way, you can treat yourself to fresh breadsticks anytime you like.
Reheating
To restore that just-baked aroma and irresistible texture, reheat breadsticks in a 350°F (175°C) oven for 5-7 minutes. A quick brush with more garlic butter right after reheating takes them to next-level goodness every single time.
FAQs
Can I use all-purpose flour instead of bread flour?
Absolutely! The breadsticks will still turn out wonderfully soft, though using bread flour gives them a littler chewier texture and a more authentic restaurant-style bite.
How do I make the breadsticks vegan?
Swap the butter for a plant-based alternative and double-check that your sugar is vegan-friendly. Olive oil can also replace some of the butter without losing that irresistible shine and flavor.
Can I make the dough in advance?
Definitely! Prepare the dough, let it rise once, then cover and stash it in the refrigerator overnight. When you’re ready, bring it to room temperature, shape, and proceed with the rest of the Olive Garden Breadsticks Recipe as usual.
How do I keep them from getting hard?
Make sure not to overbake, and always store them in an airtight container. If yours lose their softness, a quick warm-up in the oven or microwave with a damp paper towel brings them right back to life.
Can I add cheese or herbs to the dough?
Absolutely! Mixing in a handful of grated parmesan or some Italian herbs will add extra flavor and a homemade twist to the Olive Garden Breadsticks Recipe.
Final Thoughts
Making the Olive Garden Breadsticks Recipe at home is a true delight—easy, fun, and guaranteed to impress anyone who sneaks just one (or three) from the basket before dinner. Give these golden breadsticks a try, and you’ll see why they’re everyone’s favorite side. Happy baking!
Print
Olive Garden Breadsticks Recipe
- Prep Time: 20 minutes
- Cook Time: 15 minutes
- Total Time: 2 hours 30 minutes (including rise time)
- Yield: 12 breadsticks
- Category: Side Dish
- Method: Baking
- Cuisine: Italian-American
- Diet: Vegetarian
Description
Soft, buttery breadsticks brushed with garlic-infused butter—just like the ones from Olive Garden. Perfect for pairing with pasta, salad, or dipping sauces.
Ingredients
- 3 1/2 cups bread flour
- 1 packet (2 1/4 tsp) active dry yeast
- 2 tbsp granulated sugar
- 1 1/2 cups warm water (about 110°F)
- 1 1/2 tsp salt
- 2 tbsp unsalted butter, melted (plus more for brushing)
- 1 tbsp olive oil
- 1 tsp garlic powder
- Salt for sprinkling
Instructions
- Dissolve sugar in warm water, sprinkle yeast over the top, and let sit for 5–10 minutes until foamy.
- Add bread flour, salt, melted butter, and olive oil to the yeast mixture. Mix until dough forms, then knead for 7–10 minutes until smooth and elastic.
- Place dough in an oiled bowl, cover, and let rise in a warm spot until doubled in size (1 to 1.5 hours).
- Punch down dough, divide into equal pieces, and roll each into a 7-inch rope. Arrange on a parchment-lined baking sheet.
- Cover and let rise again for 30–45 minutes until puffy.
- Preheat oven to 400°F (200°C). Bake breadsticks for 12–15 minutes until lightly golden.
- While warm, brush with melted butter mixed with garlic powder. Sprinkle lightly with salt.
Notes
- Optional garnishes include finely chopped parsley or grated parmesan.
- Braid or knot dough for special presentations.
- Serve with marinara, Alfredo, or pesto for dipping.
- Store cooled breadsticks in an airtight container with a paper towel to maintain freshness.
- To freeze, wrap breadsticks individually and store in a freezer bag for up to two months.
- Reheat at 350°F for 5–7 minutes and brush with garlic butter.

