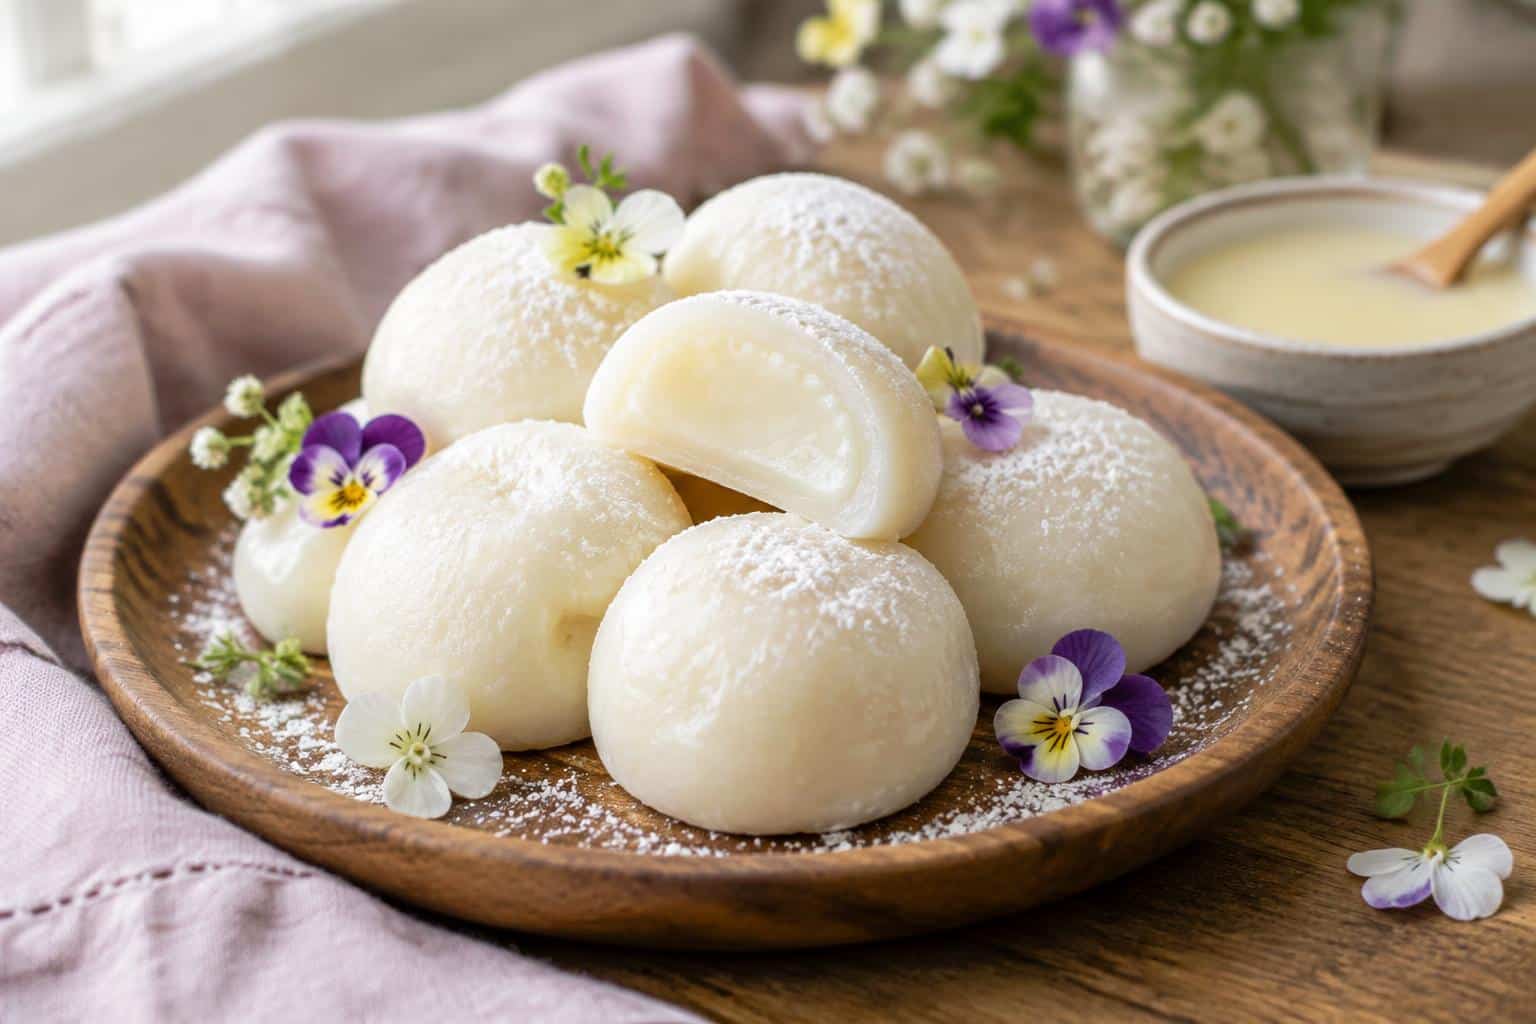
If you’ve ever wanted to try your hand at making milk mochi, now’s your chance. This homemade milk mochi recipe uses only 5 simple ingredients and yields a chewy, sweet treat that you’ll love making and sharing. You don’t need any special equipment or fancy ingredients — just a few pantry staples and a little patience.

Milk mochi is a delightful dessert that never disappoints. With its soft, chewy texture and subtle sweetness, it’s a snack that satisfies both kids and adults alike. Let me walk you through this easy recipe so you can enjoy homemade milk mochi anytime.
Why You’ll Love This Recipe
- Uses only 5 common, easy-to-find ingredients.
- Quick and straightforward stovetop method.
- Soft, chewy texture with a mildly sweet flavor.
- Perfect bite-sized treats ideal for snacks or dessert.
- Great for making ahead and sharing with friends or family.
Ingredients
Gather these simple ingredients to make your milk mochi from scratch. This recipe focuses on keeping it easy and delicious.
- 1 cup glutinous rice flour (mochiko)
- 1 cup whole milk
- 1/2 cup granulated sugar
- 2 tablespoons unsalted butter, melted
- 1/4 cup cornstarch (for dusting)
Recipe Details
- Prep Time: 10 minutes
- Cook Time: 15 minutes
- Total Time: 25 minutes
- Servings: 12 pieces
- Calories: Approximately 90 per piece
How to Make Homemade Milk Mochi (5 Ingredients Only) – Recipe You’ll Love – That Never Disappoints
- In a medium mixing bowl, combine the glutinous rice flour and sugar. Stir well to evenly distribute the sugar.
- Add the whole milk and melted butter into the dry ingredients. Mix thoroughly until a smooth, slightly runny batter forms.
- Pour the batter into a heatproof dish or pan, spreading the mixture evenly. Cover the dish with aluminum foil or a lid.
- Steam the mochi batter over boiling water for about 15 minutes on medium heat, or until the mochi is translucent and set but still soft to the touch.
- Remove the mochi from the steamer and let it cool slightly to make handling easier.
- Dust your work surface and hands generously with cornstarch to prevent sticking.
- Transfer the mochi onto the dusted surface and gently flatten it to about 1/2-inch thickness.
- Use a sharp knife or cookie cutter to cut the mochi into 12 bite-sized pieces.
- Roll each piece lightly in cornstarch to finish and store in an airtight container until ready to enjoy.
Tips for the Best Results
- Make sure to use glutinous rice flour, not regular rice flour, for the right sticky texture.
- Steam gently on medium heat to avoid drying out or overcooking the mochi.
- Work quickly when shaping the mochi; it’s easiest to handle when still warm but not too hot.
- Use plenty of cornstarch when shaping and storing to prevent sticking.
- Experiment by adding flavors like matcha or sesame powder for variety once you’ve mastered the basic recipe.
Storage and Reheating
Store your homemade milk mochi in an airtight container at room temperature for up to 2 days. For longer storage, keep them in the refrigerator for up to a week, but be aware the texture may firm up slightly.
To enjoy mochi fresh and soft again, warm them in a microwave for 10-15 seconds or steam briefly before serving. Dust with a little extra cornstarch after reheating to prevent sticking.
Frequently Asked Questions
What makes milk mochi different from regular mochi?
Milk mochi incorporates milk and butter in the batter, giving it a creamier taste and softer texture compared to traditional mochi made with just glutinous rice flour and water.
Can I substitute the milk with a non-dairy alternative?
Yes, you can use almond milk, coconut milk, or soy milk as a substitute, but the flavor and texture might vary slightly. Coconut milk adds richness, while almond milk offers a lighter taste.
How long does homemade milk mochi last?
Milk mochi is best enjoyed fresh within two days at room temperature. Refrigerated mochi lasts up to a week but may become firmer. Proper storage in airtight containers helps maintain freshness.
Can I freeze milk mochi?
Freezing is possible but not ideal as mochi’s texture changes when frozen and thawed. If you do freeze, thaw them slowly in the refrigerator and reheat gently before eating.