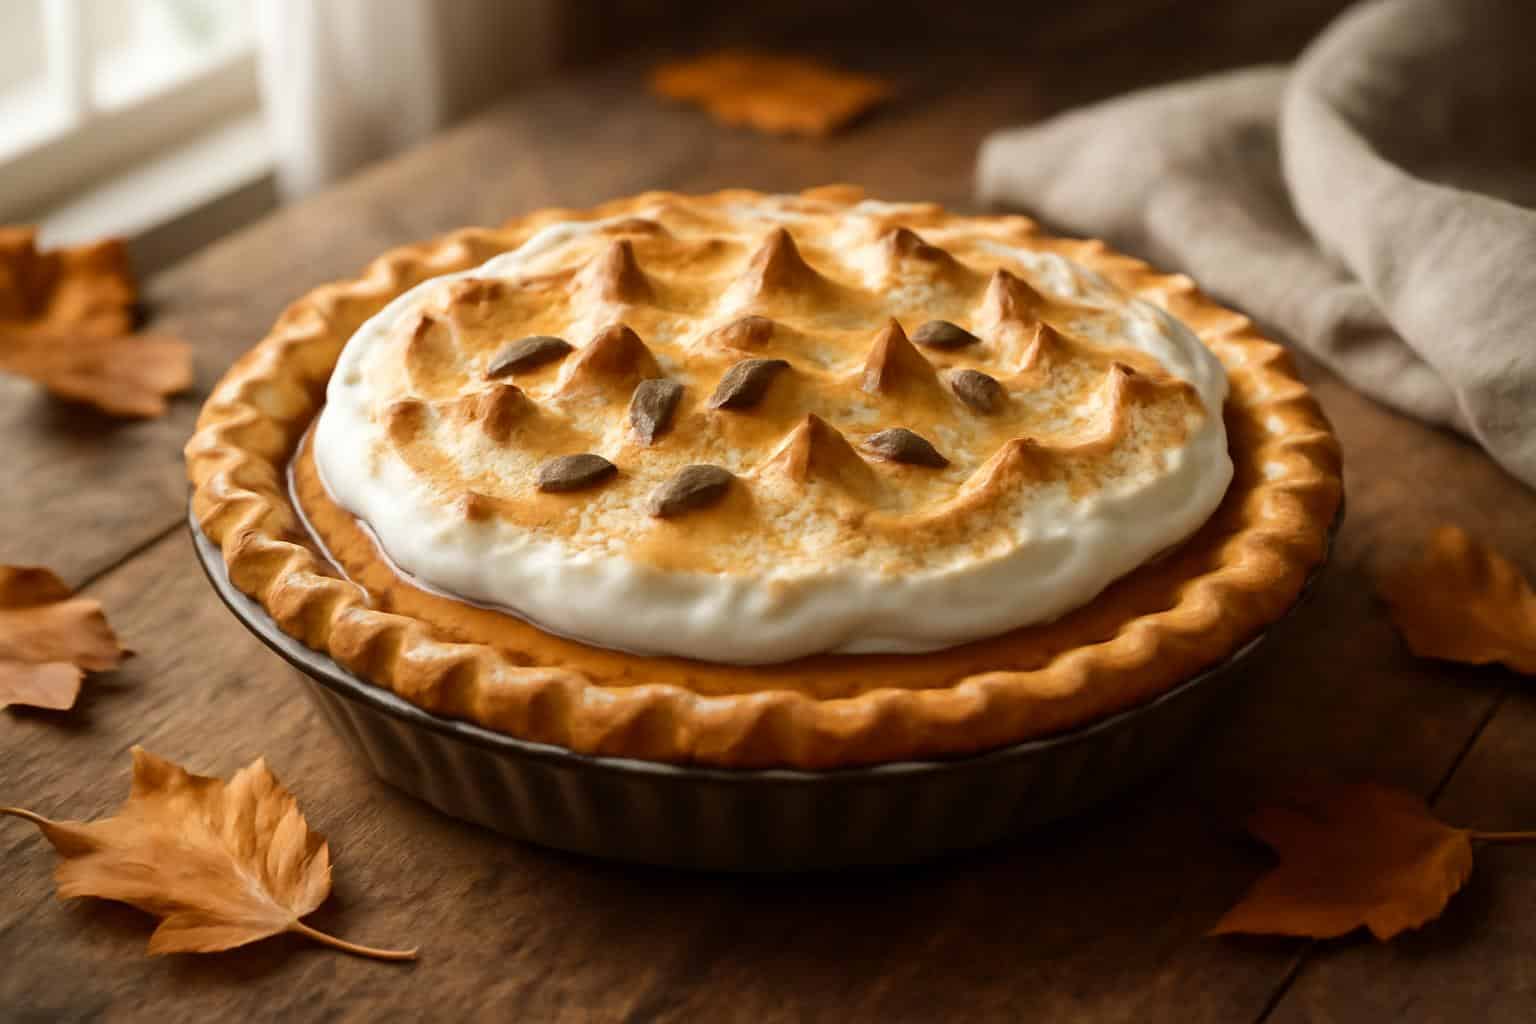
There’s something truly special about a dessert that feels like a warm hug, and this marshmallow pumpkin pie recipe is exactly that. Combining the rich, creamy texture of classic pumpkin pie with a fluffy, toasted marshmallow topping, it’s a showstopper for any fall gathering or holiday table. Whether you’re a pumpkin pie traditionalist or looking to try a delightful twist, this recipe will bring smiles around the table.

You’ll love how easy it is to bake and how the marshmallow layer adds a beautiful golden finish that’s both sweet and slightly toasted. This marshmallow pumpkin pie is perfect for sharing with family, friends, or just indulging yourself with a comforting slice.
Why You’ll Love This Recipe
- Classic pumpkin pie flavor enhanced with a light, toasted marshmallow topping.
- Simple ingredients and straightforward baking steps for home cooks of all levels.
- Perfect balance of creamy custard and fluffy sweetness for a unique texture.
- Great for holiday gatherings, potlucks, or cozy fall evenings.
- Can be made ahead and stored easily for convenience.
Ingredients
Gather everything you need for this delicious marshmallow pumpkin pie. The ingredients are simple and easy to find, making this recipe a breeze to prepare.
- 1 9-inch unbaked pie crust (store-bought or homemade)
- 3/4 cup granulated sugar
- 1/2 teaspoon salt
- 1 teaspoon ground cinnamon
- 1/2 teaspoon ground ginger
- 1/4 teaspoon ground nutmeg
- 2 large eggs
- 1 can (15 ounces) pumpkin puree, not pumpkin pie filling
- 1 cup heavy cream
- 1/2 cup whole milk
- 1 teaspoon vanilla extract
- 2 cups mini marshmallows
Recipe Details
- Prep Time: 15 minutes
- Cook Time: 50 minutes
- Total Time: 1 hour 5 minutes
- Servings: 8
- Calories: Approximately 320 per serving
How to Make Marshmallow Pumpkin Pie Recipe
- Preheat your oven to 350°F (175°C). Place the pie crust in a 9-inch pie dish and set aside.
- In a large mixing bowl, whisk together the sugar, salt, cinnamon, ginger, and nutmeg until combined.
- Beat in the eggs, then stir in the pumpkin puree, heavy cream, milk, and vanilla extract until smooth and fully blended.
- Pour the pumpkin filling into the prepared pie crust, smoothing the top with a spatula.
- Bake the pie for 40-45 minutes or until the center is just set but still slightly jiggly.
- Remove the pie from the oven and immediately sprinkle the mini marshmallows evenly over the top.
- Return the pie to the oven and bake for an additional 5-7 minutes, or until the marshmallows are melted and golden brown.
- For extra toasting, you can place the pie under the broiler for 30 seconds to 1 minute—watch carefully to avoid burning.
- Allow the pie to cool completely on a wire rack before serving to let the filling set fully.
Tips for the Best Results
- Use pure pumpkin puree, not pumpkin pie filling, for the best flavor and texture.
- Chill your pie crust before baking to prevent shrinkage and sogginess.
- Sprinkle marshmallows evenly and avoid overbaking to keep them soft with a toasted top.
- Let the pie cool completely to get clean slices when serving.
- For a richer taste, substitute half-and-half for the milk if preferred.
Storage and Reheating
Store leftover marshmallow pumpkin pie covered tightly in the refrigerator for up to 4 days. The marshmallow topping may soften, but the flavors will remain delicious.
You can freeze the pie (without marshmallow topping) for up to 1 month. Thaw overnight in the fridge, then add fresh marshmallows and toast them just before serving for the best experience.
Frequently Asked Questions
Can I make this pie ahead of time?
Yes! You can prepare the pie a day in advance. Bake the pie and add the marshmallow topping just before serving for the freshest texture and flavor.
What can I use instead of marshmallows?
If you prefer, you can top the pie with whipped cream or a streusel topping instead. However, the marshmallows provide a signature toasted sweetness that complements the pumpkin beautifully.
Is this pie gluten-free?
Traditional pie crust contains gluten, but you can substitute a gluten-free pie crust to make this recipe gluten-free. Just ensure the crust you choose is suitable for baking.
How do I prevent the marshmallows from burning?
Keep a close eye when toasting the marshmallows under the broiler. It only takes seconds to go from golden brown to burnt, so watch carefully and remove as soon as they achieve a light golden color.