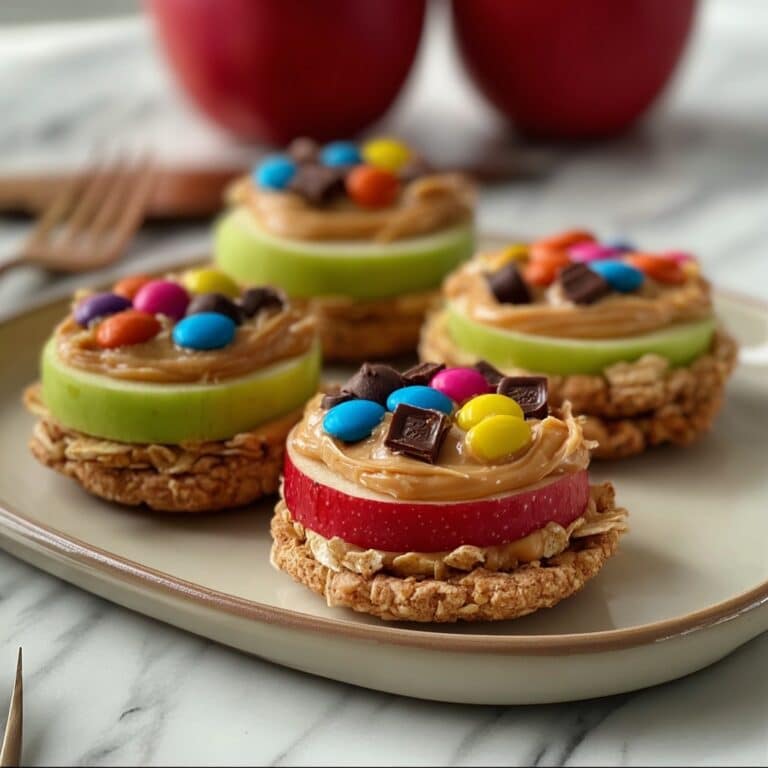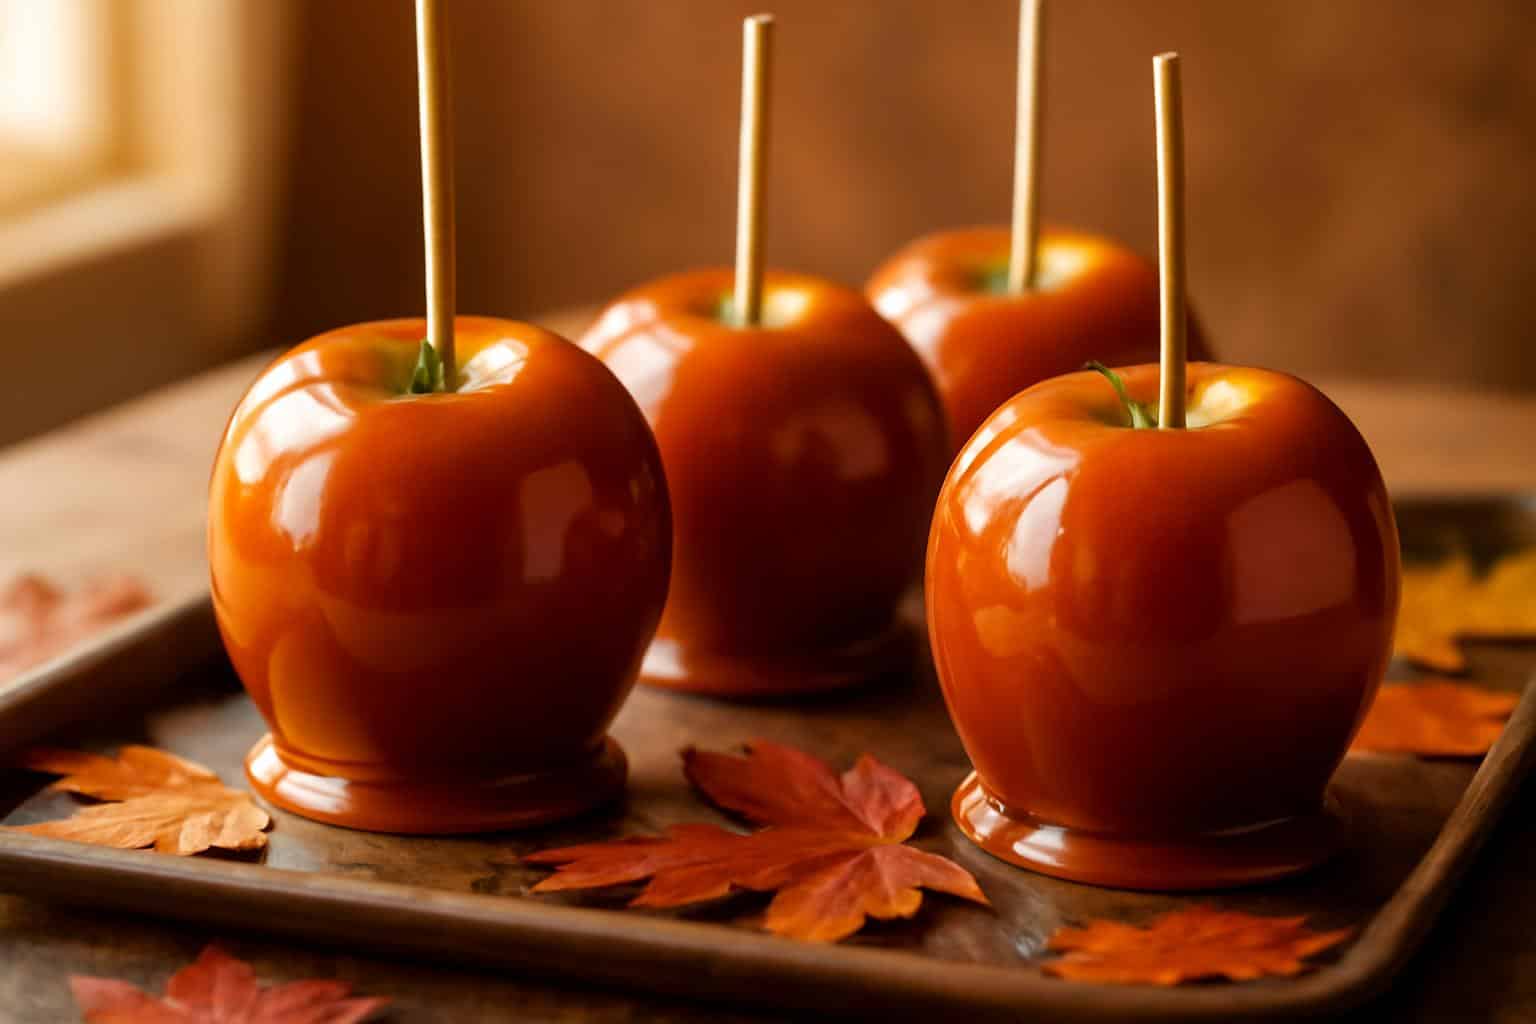
Caramel apples are a fall classic, but making them on a sheet pan is a game changer. This method lets you create perfectly coated, evenly baked treats with minimal mess and fuss. Whether you’re craving a quick dessert or prepping for a festive gathering, these sheet pan caramel apples offer a simple, delicious way to satisfy that sweet tooth.

With just a handful of ingredients and straightforward steps, you can enjoy homemade caramel apples that boast a rich, buttery caramel coating and crisp apple inside. Let’s dive into this easy recipe so you can whip up these irresistible treats in no time.
Why You’ll Love This Recipe
- Simple ingredients you likely have on hand.
- Sheet pan baking reduces cleanup and keeps apples intact.
- Perfectly even caramel coating on every apple.
- Quick prep and bake time—ready in under an hour.
- Customizable toppings for added texture and flavor.
Ingredients
Gather these fresh and pantry staples to make your sheet pan caramel apples come to life:
- 6 medium crisp apples (Honeycrisp or Granny Smith work best)
- 1 cup packed light brown sugar
- 1/2 cup unsalted butter (1 stick)
- 1/4 cup light corn syrup
- 1/2 cup heavy cream
- 1 tsp pure vanilla extract
- 1/4 tsp kosher salt
- Optional toppings: chopped nuts, sprinkles, mini chocolate chips
- 6 wooden sticks or popsicle sticks
Recipe Details
- Prep Time: 15 minutes
- Cook Time: 15 minutes
- Total Time: 45 minutes (including chilling)
- Servings: 6 caramel apples
- Calories: Approximately 320 per apple
How to Make Easy and Delicious Sheet Pan Caramel Apples
- Wash and dry the apples thoroughly, then insert a wooden stick firmly into the stem end of each apple.
- Line a rimmed sheet pan with parchment paper or a silicone baking mat for easy cleanup and to prevent sticking.
- In a medium saucepan over medium heat, combine the brown sugar, butter, and corn syrup. Stir constantly until the butter melts and the mixture comes to a boil.
- Allow the caramel to boil for 3-4 minutes without stirring, then remove from heat and carefully whisk in the heavy cream, vanilla extract, and salt until smooth and glossy.
- Dip each apple into the warm caramel, using a spoon to coat evenly if needed, then place onto the prepared sheet pan. If desired, sprinkle immediately with nuts or toppings before the caramel sets.
- Place the sheet pan in the refrigerator and chill the apples for at least 20 minutes until the caramel is firm and set.
- Serve immediately or store as directed below for later enjoyment.
Tips for the Best Results
- Use crisp, tart apples like Granny Smith to balance sweetness and maintain crunch.
- Make sure apples are completely dry before dipping so caramel sticks properly.
- Work quickly when coating apples, as the caramel sets fast once off heat.
- For thicker caramel, let it cook a little longer but avoid burning.
- Experiment with toppings like crushed pretzels or sea salt for extra flavor contrast.
Storage and Reheating
Store caramel apples in an airtight container in the refrigerator for up to 3 days. Keeping them chilled helps maintain the caramel’s texture and prevents melting.
If the caramel softens or gets too firm, let apples sit at room temperature for 10-15 minutes before serving to soften slightly. Avoid reheating in the microwave as this can make caramel sticky and uneven.
Frequently Asked Questions
Can I use different types of apples for this recipe?
Absolutely! While tart apples like Granny Smith are preferred for their firm texture and balanced flavor, you can use sweeter varieties like Fuji or Gala if you prefer a less tangy treat. Just ensure they are fresh and firm.
How do I prevent caramel from sticking to the pan?
Line your sheet pan with parchment paper or a silicone baking mat before placing the caramel-coated apples on it. This prevents sticking and makes cleanup much easier.
Can I prepare caramel apples without wooden sticks?
Wooden sticks make the apples easier to handle and eat, but if you don’t have any, you can simply serve sliced caramel apple wedges or use sturdy skewers as an alternative.
Is it okay to add toppings after chilling the caramel?
For best adhesion, apply toppings immediately after dipping the apples in caramel before chilling. Adding toppings after chilling won’t stick well to the hardened caramel.