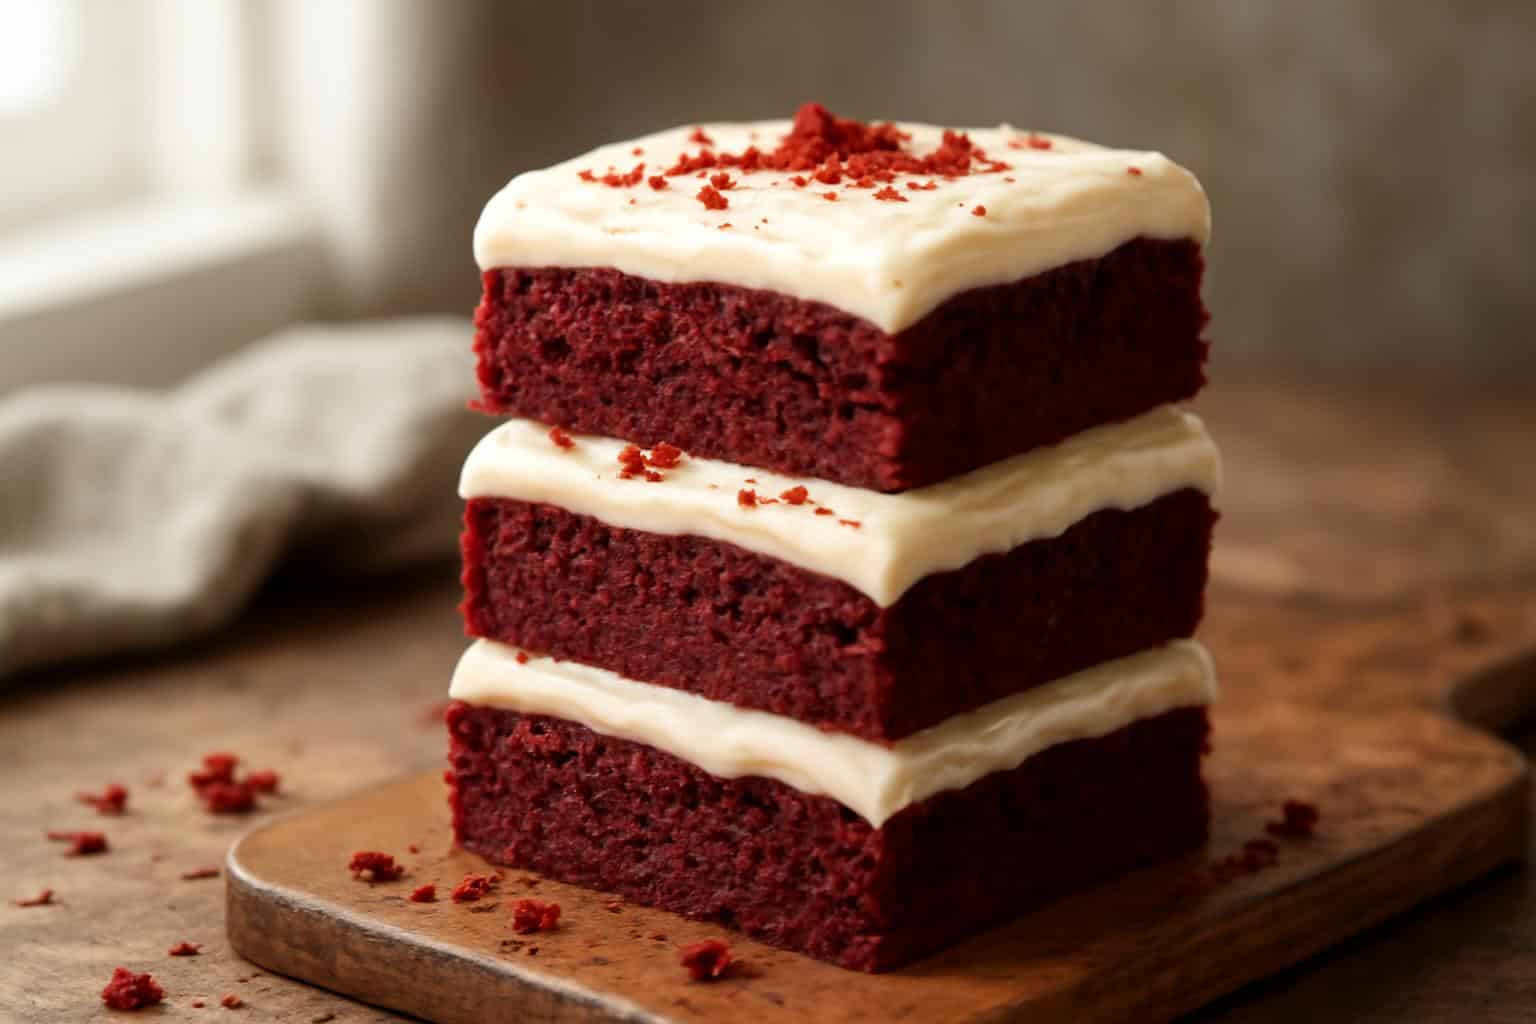
There’s nothing quite like biting into rich, moist red velvet brownies topped with a luscious creamy cream cheese frosting. This recipe combines the best of both worlds—the classic deep red velvet flavor and the fudgy texture of brownies—to create a dessert that’s irresistible and perfect for any occasion. Whether you’re baking for a crowd or indulging in a sweet treat just for yourself, these red velvet brownies will quickly become a favorite.

When you make these red velvet brownies at home, you’ll enjoy a decadent dessert that’s both simple to prepare and wonderfully indulgent. The creamy cream cheese frosting adds the perfect tangy balance to the sweet, chocolatey base, making every bite a delight. Let’s dive into how you can create this mouthwatering dessert in your own kitchen.
Why You’ll Love This Recipe
- Rich, fudgy texture with classic red velvet flavor.
- Creamy cream cheese frosting complements the brownies perfectly.
- Easy to make with simple ingredients you likely have on hand.
- Perfect for celebrations, gifts, or everyday indulgence.
- Bright red color makes it visually stunning and festive.
Ingredients
Gather these ingredients to make the brownies and the creamy cream cheese frosting.
- 1/2 cup unsalted butter, melted
- 1 cup granulated sugar
- 2 large eggs
- 1 teaspoon vanilla extract
- 1 tablespoon unsweetened cocoa powder
- 1 1/4 cups all-purpose flour
- 1/4 teaspoon baking powder
- 1/4 teaspoon salt
- 2 tablespoons red food coloring
- 1/2 teaspoon white vinegar
- 1/2 teaspoon baking soda
Cream Cheese Frosting
- 4 ounces cream cheese, softened
- 1/4 cup unsalted butter, softened
- 1 1/2 cups powdered sugar
- 1/2 teaspoon vanilla extract
- 1-2 tablespoons heavy cream or milk (optional, for consistency)
Recipe Details
- Prep Time: 15 minutes
- Cook Time: 25 minutes
- Total Time: 40 minutes
- Servings: 12 brownies
- Calories: Approximately 320 per serving
How to Make Best Homemade Red Velvet Brownies with Creamy Cream Cheese Frosting
- Preheat your oven to 350°F and lightly grease a 9×9-inch baking pan or line it with parchment paper for easy removal.
- In a large bowl, combine melted butter and granulated sugar. Beat in the eggs one at a time, then stir in the vanilla extract until smooth and creamy.
- Sift together the cocoa powder, flour, baking powder, and salt in a separate bowl. Gradually add the dry ingredients to the wet mixture, stirring until just combined.
- Add the red food coloring, white vinegar, and baking soda to the batter. Mix gently until the batter turns a vibrant red color and is fully incorporated.
- Pour the batter evenly into the prepared pan and smooth the top with a spatula. Bake for 23-25 minutes or until a toothpick inserted into the center comes out with a few moist crumbs.
- While the brownies are baking, prepare the cream cheese frosting. Beat the softened cream cheese and butter together until smooth and fluffy. Gradually add the powdered sugar and vanilla extract, mixing well. Add heavy cream or milk one tablespoon at a time to reach your desired consistency.
- Once the brownies are completely cooled, spread the creamy frosting evenly over the top with a spatula or knife.
- For extra flair, sprinkle some leftover red velvet crumbs or a pinch of cocoa powder on the frosting.
- Cut into 12 squares and serve. Enjoy the rich, velvety texture balanced with the tangy cream cheese frosting!
Tips for the Best Results
- Use room temperature eggs and cream cheese for a smoother batter and frosting.
- Don’t overmix the batter to keep the brownies fudgy and tender.
- Let the brownies cool completely before frosting to avoid melting the cream cheese layer.
- Adjust red food coloring to get a deeper color without affecting flavor.
- Store leftovers covered to keep brownies moist and frosting fresh.
Storage and Reheating
Store your red velvet brownies in an airtight container in the refrigerator for up to 4 days. This keeps the cream cheese frosting fresh and prevents it from drying out. If you prefer room temperature, let them sit out for 20-30 minutes before serving.
For longer storage, wrap the brownies tightly in plastic wrap and place them in a freezer-safe container. Freeze for up to 2 months. To enjoy, thaw the brownies overnight in the refrigerator and bring to room temperature before serving.
Frequently Asked Questions
Can I use a different size pan for these brownies?
Yes, but baking time may vary. If you use a larger pan, the brownies will be thinner and cook faster. A smaller pan will yield thicker brownies that may need extra baking time. Adjust accordingly and use a toothpick test for doneness.
What can I use instead of red food coloring?
You can try natural alternatives like beet juice or powder for a red hue, though the color may be less vibrant. Keep in mind these substitutes can slightly alter the flavor and texture.
Can I make these brownies dairy-free?
For dairy-free brownies, substitute the butter with a plant-based alternative and use dairy-free cream cheese for the frosting. The texture might differ slightly but should still be delicious.
How should I cut the brownies for the best presentation?
Use a sharp knife cleaned between cuts to create neat edges. Cutting brownies into 12 squares is ideal for serving, but you can adjust size based on preference.