

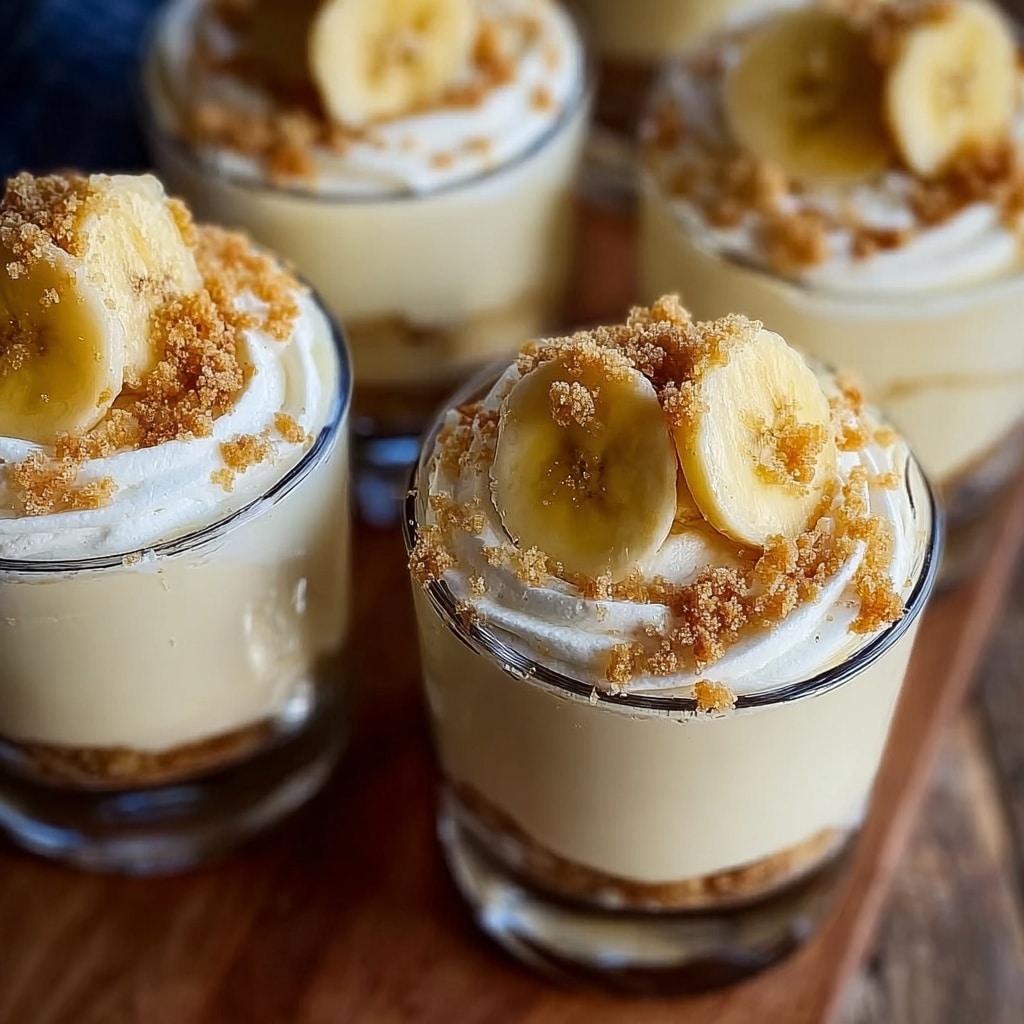
If you are looking for a delightful, creamy dessert that’s as charming as it is delicious, this Banana Pudding Cups Recipe is an absolute must-try. It combines the smooth richness of vanilla pudding with sweet, fresh bananas and the satisfying crunch of vanilla wafer cookies, all layered into individual cups that are perfect for any occasion. Whether you’re serving guests or just craving a comforting treat, these pudding cups bring together simplicity and indulgence in a way that feels both nostalgic and fresh.

Ingredients You’ll Need
This Banana Pudding Cups Recipe calls for simple and accessible ingredients, each playing a key role in delivering the perfect balance of flavors and textures. From the creamy pudding to the crisp vanilla wafers and sweet bananas, every element is essential to creating that classic, dreamy taste and an inviting presentation.
- Instant vanilla pudding mix: Adds the creamy, sweet base that thickens quickly for convenience without sacrificing flavor.
- Cold milk: Helps the pudding mix reach the perfect silky consistency when whisked in.
- Whipped topping: Lightens the pudding mixture, creating a fluffy, mousse-like texture that melts in your mouth.
- Ripe bananas: Bring natural sweetness and soft texture, essential for that beloved banana pudding character.
- Crushed vanilla wafer cookies: Provide a buttery crunch and nostalgic note that contrasts beautifully with the smooth pudding.
- Whole vanilla wafers for garnish: Add a charming finishing touch that makes each cup feel special.
- Optional whipped cream: For an extra creamy topping to elevate the visual appeal and taste.
How to Make Banana Pudding Cups Recipe
Step 1: Prepare the pudding mixture
Start by whisking the instant vanilla pudding mix with cold milk. This step is crucial as vigorous whisking for about 2 minutes ensures the pudding thickens perfectly, creating a smooth, creamy base for your dessert.
Step 2: Fold in the whipped topping
Once your pudding has thickened, gently fold in the whipped topping. This adds a lighter, airy texture to the pudding, transforming it into a wonderfully fluffy mousse that will make your Banana Pudding Cups Recipe stand out.
Step 3: Layer the ingredients
Start layering your dessert in small cups or jars by placing crushed vanilla wafer cookies at the bottom. Next, add a layer of fresh banana slices followed by a generous layer of the pudding mixture. Repeat the layers, finishing off with a top layer of pudding to seal in that creamy goodness.
Step 4: Garnish and chill
Top each cup with a dollop of whipped cream and place a whole vanilla wafer elegantly on top. Chill the cups in the refrigerator for at least one hour to let the flavors meld and the pudding to set perfectly before serving.
How to Serve Banana Pudding Cups Recipe
Garnishes
While the classic whole vanilla wafer on top is iconic, feel free to add extra flair with a sprinkle of crushed wafers or a drizzle of caramel sauce. Fresh mint leaves or a dusting of cinnamon can also add color and a hint of aromatic freshness.
Side Dishes
These Banana Pudding Cups shine as a standalone dessert but pair wonderfully with simple sides like fresh fruit salad or a scoop of vanilla bean ice cream. Their lightness complements richer desserts if you want a variety of sweets on your table.
Creative Ways to Present
For special occasions, serve the Banana Pudding Cups Recipe in clear glassware or mason jars to showcase the beautiful layers. Adding decorative ribbons around the cups or small dessert spoons tied with twine can elevate the experience. You might even try making bite-sized versions in mini tart shells for a playful party treat.
Make Ahead and Storage
Storing Leftovers
If you have any leftovers, cover the pudding cups tightly with plastic wrap or airtight lids and refrigerate. They keep best for up to one day before the bananas start to brown and the wafers lose their crunch.
Freezing
Freezing banana pudding cups is not recommended since the pudding texture and fresh bananas can become watery and mushy after freezing and thawing, which would diminish the quality of this delicious dessert.
Reheating
This no-cook dessert is best enjoyed chilled and does not require reheating. Serving it cold maintains the creamy texture and fresh flavor that makes this Banana Pudding Cups Recipe so irresistible.
FAQs
Can I use homemade pudding instead of instant mix?
Absolutely! Homemade pudding adds a fresh, rich flavor though it requires more time to prepare. Just make sure it’s fully chilled before folding in the whipped topping to maintain the right texture.
What’s the best way to keep bananas from browning?
Using ripe bananas right before assembling and serving quickly is key. You can also toss banana slices in a little lemon juice to slow browning, but in this recipe, quick assembly and chilling work well to keep them fresh.
Can I substitute the whipped topping with homemade whipped cream?
Yes! Homemade whipped cream can be whipped to your desired sweetness and texture, offering a natural flavor boost and a more personalized touch to your Banana Pudding Cups Recipe.
How long do I need to chill the pudding cups?
Chilling for at least one hour is essential to let the pudding firm up and the flavors meld. Longer chilling is fine, but best enjoyed the same day for optimal freshness.
Can these be made gluten-free?
Definitely! You can swap the vanilla wafers for gluten-free cookies, and the rest of the recipe remains the same, keeping the delicious taste intact without gluten.
Final Thoughts
This Banana Pudding Cups Recipe is truly one of those desserts that warms the heart and pleases the palate every time. It’s quick to make, beautiful to present, and utterly delicious to eat, making it perfect for family dinners, potlucks, or even a quiet night in. I hope you enjoy creating and savoring this delightful treat as much as I do!
Print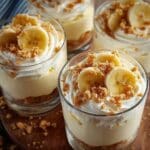
Banana Pudding Cups Recipe
- Prep Time: 15 minutes
- Cook Time: 0 minutes
- Total Time: 15 minutes
- Yield: 6 servings
- Category: Dessert
- Method: No-Cook
- Cuisine: American
- Diet: Vegetarian
Description
These Banana Pudding Cups are a quick and delicious no-bake dessert featuring layers of creamy vanilla pudding, ripe banana slices, and crunchy vanilla wafer cookies. Perfectly portioned for individual servings, they are easy to assemble and chilled to set, making them an ideal sweet treat for any occasion.
Ingredients
Banana Pudding Mixture
- 1 (3.4 oz) box instant vanilla pudding mix
- 2 cups cold milk
- 1 (8 oz) container whipped topping, thawed
Additional Ingredients
- 3 ripe bananas, sliced
- 1 cup crushed vanilla wafer cookies
- 12 whole vanilla wafers for garnish
- Optional whipped cream for topping
Instructions
- Prepare the pudding: In a medium bowl, whisk together the instant vanilla pudding mix and cold milk vigorously for 2 minutes until the mixture thickens.
- Fold in whipped topping: Gently fold the thawed whipped topping into the thickened pudding until fully combined, creating a smooth and creamy mixture.
- Assemble the cups: In small cups or jars, begin layering by adding a portion of crushed vanilla wafers, followed by banana slices, then a layer of the pudding mixture.
- Repeat layers: Continue layering crushed wafers, bananas, and pudding until the containers are filled, ensuring you finish with a layer of pudding on top.
- Garnish and chill: Top each cup with a dollop of whipped cream if desired, then place a whole vanilla wafer on top for garnish. Chill the cups for at least 1 hour before serving to allow flavors to meld and the pudding to set.
Notes
- Best served the same day to prevent banana slices from browning.
- You can substitute homemade whipped cream for the store-bought whipped topping if desired.
- For extra flavor, drizzle caramel sauce between the layers.


