
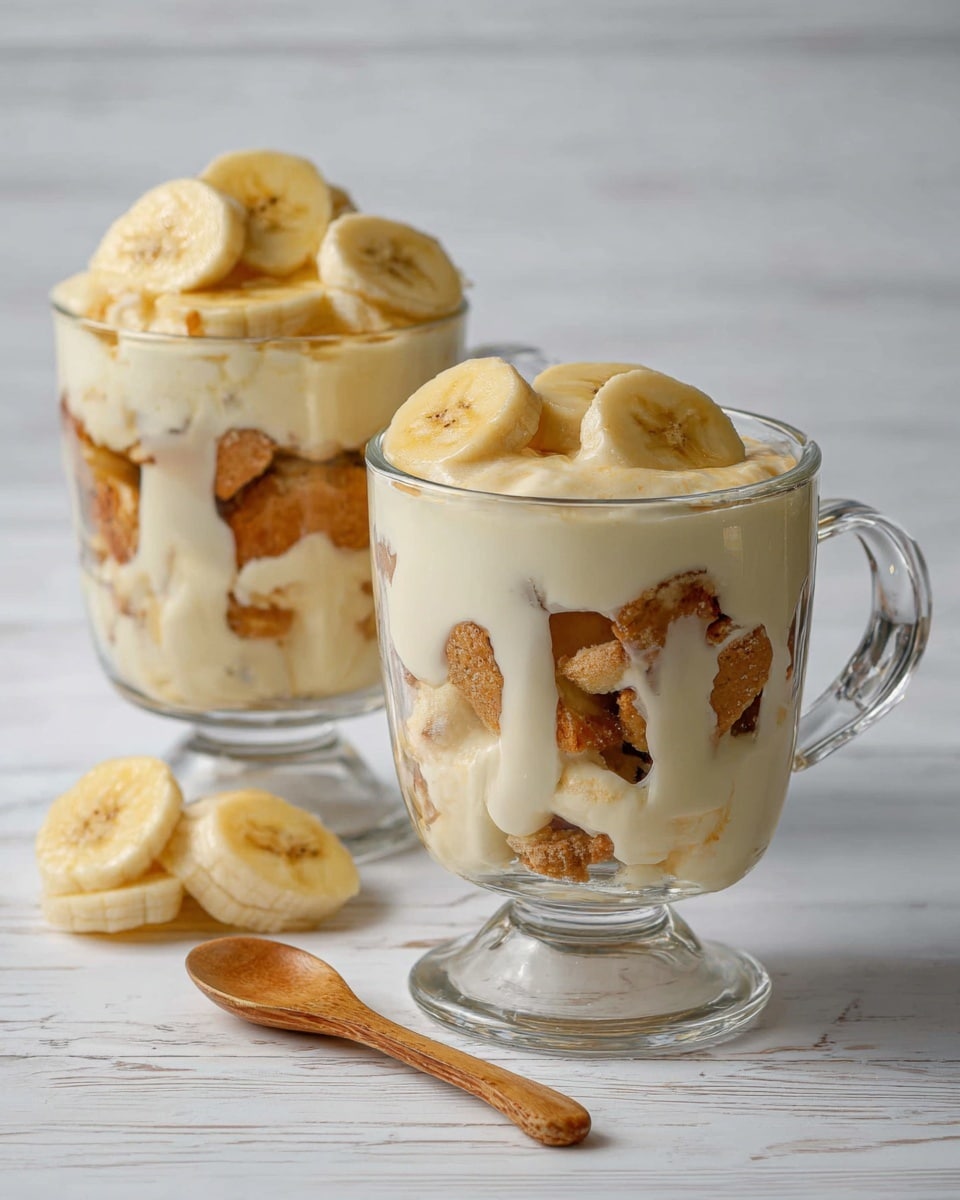
If you’ve ever dreamed of a dessert that is both effortless and irresistibly delicious, then this Creamy No-Bake Banana Pudding with Vanilla Wafers Recipe is going to become your new best friend. This luscious pudding combines silky layers of smooth vanilla pudding, fresh banana slices, and the perfect crunch of vanilla wafers, all held together by fluffy whipped cream. It’s a nostalgic, crowd-pleasing treat that somehow manages to be elegant and comforting all at once. Whether you’re making it for a family gathering or just a sweet treat to savor, this recipe delivers pure joy in every spoonful.

Ingredients You’ll Need
Every ingredient in this recipe plays an essential role, creating the perfect balance of flavor, texture, and color. From the sweetened condensed milk’s richness to the fresh bananas’ natural sweetness, these simple ingredients come together to make a show-stopping dessert that’s as easy as it is elegant.
- Sweetened condensed milk: Adds creamy sweetness and body without needing extra sugar.
- Cold water: Helps dissolve the pudding mix to achieve a smooth texture.
- Instant vanilla pudding mix: Brings that signature vanilla flavor and thickens the dessert perfectly.
- Heavy whipping cream: Whipped to stiff peaks to lighten the pudding and add luxurious creaminess.
- Vanilla wafers: Provide a delightful crunch and subtle vanilla flavor that complements the creamy pudding.
- Ripe bananas: The star of the show, offering natural sweetness and soft texture that meld beautifully with the pudding.
How to Make Creamy No-Bake Banana Pudding with Vanilla Wafers Recipe
Step 1: Prepare the Pudding Base
Start by whisking together the sweetened condensed milk and cold water in a large bowl until everything is smooth and silky. Then, add the instant vanilla pudding mix and whisk vigorously for about two minutes. This is key because it activates the pudding’s thickening power to get that perfect creamy consistency. Cover the bowl and refrigerate this mixture for at least four hours or overnight—this waiting step allows it to fully set and deepen in flavor.
Step 2: Whip the Cream
While the pudding sets, take your heavy whipping cream and whip it until it holds stiff peaks. This airy whipped cream is going to lighten up your pudding, making each bite feel fluffy and dreamy. Gently fold the whipped cream into the chilled pudding mixture, combining the two carefully to keep that airy texture intact.
Step 3: Layer the Ingredients
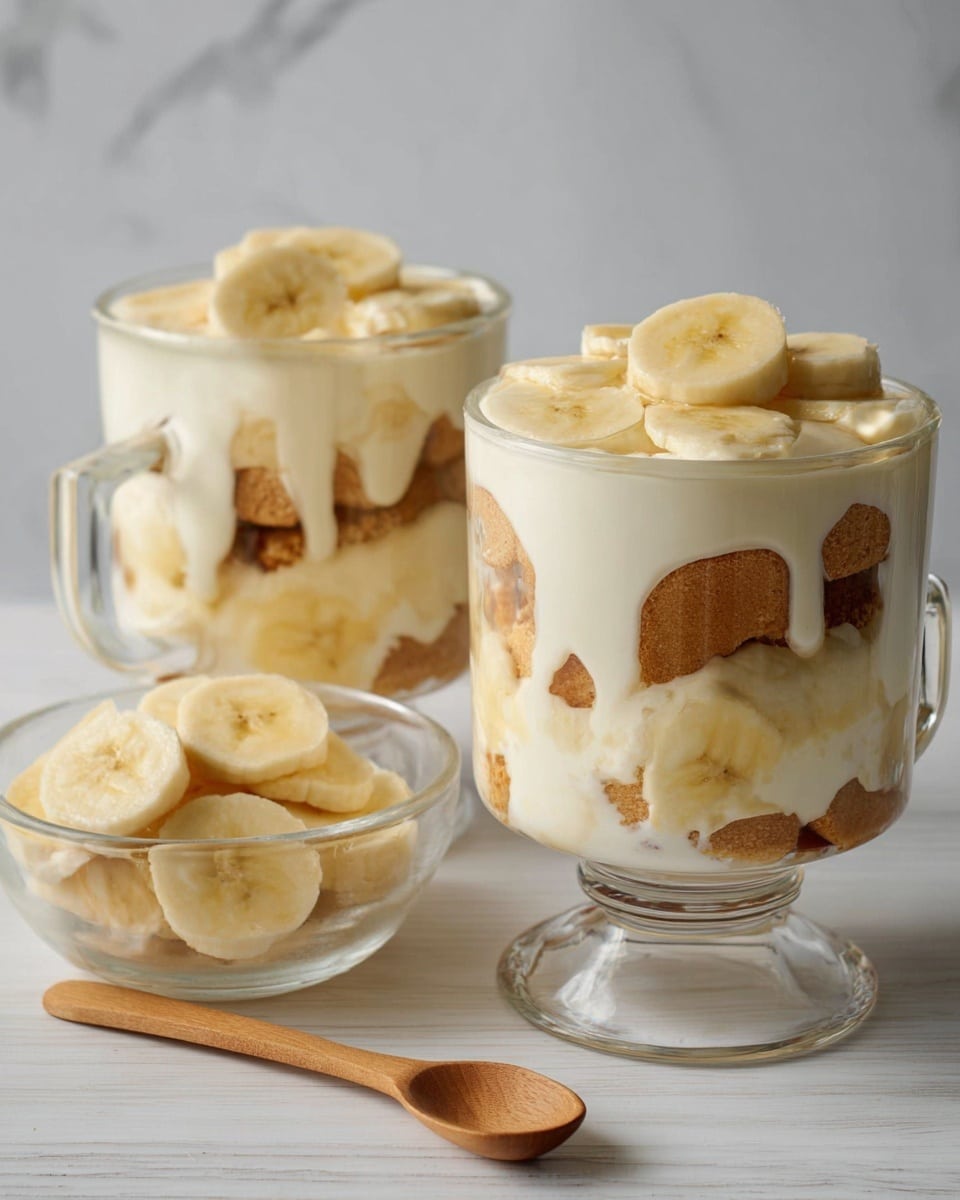
Grab a 9×13-inch dish or a large trifle bowl and start layering. Begin with a layer of vanilla wafers, followed by a generous spread of banana slices, and then spoon over the luscious pudding mixture. Repeat this layering process until you’ve used all your ingredients, making sure the pudding forms the topmost layer.
Step 4: Garnish and Chill
For the final touch, gently crush a few vanilla wafers and sprinkle them over the top. This gives the pudding a lovely textured finish that’s as pretty as it is tasty. Cover and refrigerate the entire dessert for at least four hours—this chilling time is crucial for allowing all the flavors to meld together beautifully.
How to Serve Creamy No-Bake Banana Pudding with Vanilla Wafers Recipe
Garnishes
A simple sprinkle of crushed vanilla wafers adds both texture and visual appeal, but you can also elevate your pudding with a few fresh banana slices or some finely chopped toasted pecans for a pleasant nutty crunch. A light dusting of cinnamon or freshly grated nutmeg can bring additional warmth and complexity to each spoonful.
Side Dishes
This pudding shines brightly on its own, making it an excellent end to any meal. Pair it with a light cup of coffee or a chilled glass of milk to balance the sweetness. For a summer BBQ or picnic, serving alongside fresh fruit salad or simple cookies rounds out the dessert table luxuriantly without overshadowing the star pudding.
Creative Ways to Present
Try assembling the layers in individual glass jars or clear cups for a stunning presentation perfect for parties or potlucks. Adding a dollop of whipped cream and a wafer stick on top creates an elegant touch. You can also experiment with layering crushed chocolate cookies instead of vanilla wafers for a fun twist on this classic.
Make Ahead and Storage
Storing Leftovers
Because this Creamy No-Bake Banana Pudding with Vanilla Wafers Recipe is served chilled, leftovers can be stored in an airtight container in the refrigerator for up to 3 days. Keep the lid tightly sealed to prevent the pudding from absorbing other fridge odors and to maintain its freshness.
Freezing
Freezing this banana pudding is not recommended since the texture of the bananas and whipped cream can change dramatically after thawing, resulting in a less creamy experience. It’s best enjoyed fresh or within a few days of preparing.
Reheating
Since this is a no-bake, chilled dessert, reheating isn’t necessary or advised. Keep it nice and cold right up until serving to ensure every bite is delightfully smooth and refreshing.
FAQs
Can I use regular milk instead of heavy whipping cream?
Regular milk won’t whip up into stiff peaks like heavy cream, so it can’t replace the whipped cream component. For the light, airy texture, heavy whipping cream is essential. However, whipped topping can be used as a substitute if needed.
How ripe should the bananas be for the best pudding?
Use firm yet fully ripe bananas. They should have a golden yellow color with minimal brown spots. This ensures sweetness and prevents the bananas from browning too quickly once sliced.
Can I prepare this pudding without refrigeration?
Refrigeration is crucial for setting the pudding and maintaining its texture and flavor. Without chilling, the pudding won’t thicken properly, and the dessert won’t hold together as well.
Is this recipe gluten-free?
The pudding itself is gluten-free, but the vanilla wafers typically contain gluten. To make the dessert gluten-free, substitute the wafers with a certified gluten-free cookie or wafer alternative.
Can I add other fruits besides bananas?
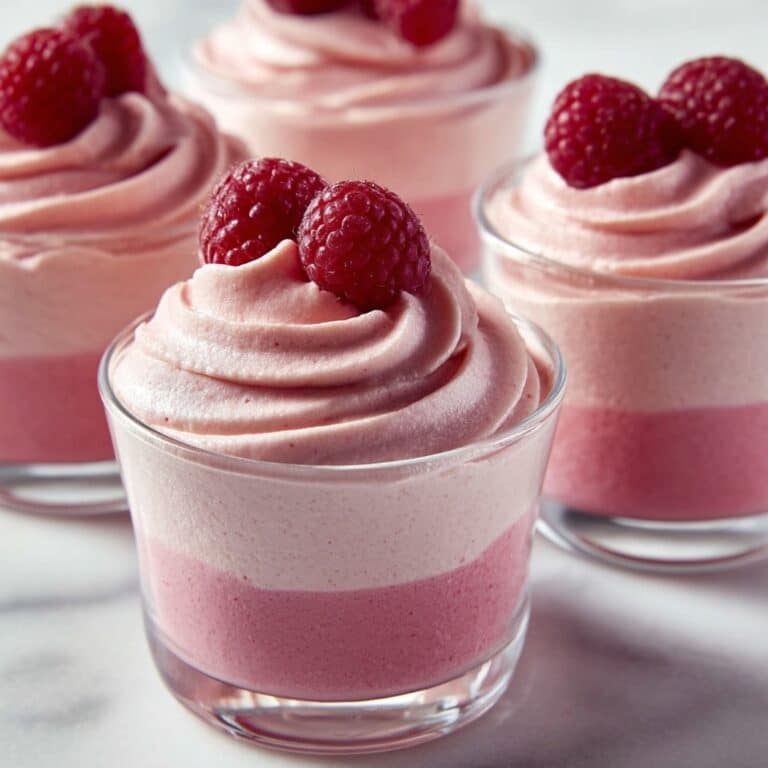
Absolutely! While bananas are traditional and the highlight here, adding slices of strawberries, blueberries, or even peaches can introduce exciting flavors and colors. Just remember that bananas are part of what makes this pudding unique, so try to keep them as the main fruit.
Final Thoughts
This Creamy No-Bake Banana Pudding with Vanilla Wafers Recipe is the kind of dessert that feels like a warm hug from the inside out. It’s simple to prepare, requiring no oven time, yet it brings layers of flavor and texture that delight every sense. Whether you’re a seasoned baker or just starting out, this recipe is sure to become a beloved staple in your dessert rotation. Grab your ingredients, roll up your sleeves, and get ready to enjoy a truly unforgettable treat that your friends and family will rave about!
Print
Creamy No-Bake Banana Pudding with Vanilla Wafers Recipe
- Prep Time: 25 minutes
- Cook Time: 0 minutes
- Total Time: 4 hours 25 minutes
- Yield: 10 servings
- Category: Dessert
- Method: No-Cook
- Cuisine: American
- Diet: Vegetarian
Description
This classic American banana pudding recipe is a creamy, indulgent no-bake dessert featuring layers of vanilla pudding, ripe bananas, and crunchy vanilla wafers. It’s a perfect treat for any occasion that combines smooth, rich flavors with a delightful texture contrast. Easy to prepare and best served after overnight chilling, it’s a Southern favorite that delights family and friends.
Ingredients
Pudding Mixture
- 1 (14-ounce) can sweetened condensed milk
- 1½ cups cold water
- 1 (3.4-ounce) package instant vanilla pudding mix
Whipped Cream
- 3 cups heavy whipping cream
Layers
- 1 (12-ounce) box vanilla wafers
- 4–5 ripe bananas, sliced
Instructions
- Prepare the pudding base: In a large mixing bowl, whisk together the sweetened condensed milk and cold water until smooth. Add the instant vanilla pudding mix and whisk vigorously for about 2 minutes until the mixture is well blended and begins to thicken. Cover the bowl and refrigerate the pudding mixture for at least 4 hours or overnight, allowing it to set and develop flavor.
- Whip the cream: While the pudding sets, pour the heavy whipping cream into a separate chilled bowl. Using a hand mixer or stand mixer, whip the cream until stiff peaks form—this means the cream holds firm peaks when the beaters are lifted.
- Combine pudding and whipped cream: Gently fold the stiff whipped cream into the chilled pudding mixture using a spatula. Be careful to fold rather than stir vigorously to maintain the light and airy texture of the mixture until fully incorporated.
- Assemble the layers: In a 9×13-inch dish or a large trifle bowl, create layers by first placing a single layer of vanilla wafers, followed by a layer of sliced bananas, and then spooning over a layer of the pudding and whipped cream mixture. Repeat these layers until you reach the top of the dish, finishing with a final layer of pudding.
- Garnish and chill: Crush a few vanilla wafers and sprinkle them evenly over the top layer of pudding to add texture and visual appeal. Cover the dish with plastic wrap and refrigerate for at least 4 hours before serving, allowing all flavors to meld together and the dessert to firm up.
- Serve: Once chilled, serve the banana pudding cold, using a large spoon to scoop out portions ensuring a balance of pudding, banana, and wafer in every bite.
Notes
- For the best flavor and texture, prepare the pudding the day before and chill overnight.
- You can substitute store-bought whipped topping for the heavy whipping cream if desired for convenience.
- Use firm, ripe bananas to minimize browning and maintain fresh flavor and appearance.
- Ensure the whipped cream is whipped to stiff peaks to maintain the light and fluffy texture of the pudding mixture.


