
If you’ve ever wondered how to capture the magic of fresh, creamy goodness right in your own kitchen, then you are in for a treat! Learning to Make Homemade Butter Recipe is one of those beautifully simple culinary adventures that turns just a few basic ingredients into a rich, velvety spread bursting with flavor. This isn’t just any butter; it’s a fresh, custom-made delight that you control from start to finish, making every dish you pair it with taste that much better. Plus, it’s surprisingly easy and downright fun, bringing a little bit of old-fashioned charm to your modern kitchen.

Ingredients You’ll Need
Believe it or not, making this luscious homemade butter requires just a few simple ingredients. Each plays a crucial role in delivering that perfect texture, the rich flavor, and the classic buttery color you crave.
- 2 cups cold heavy cream: The star of the show, providing all the fat needed to create luscious butter with a creamy texture.
- ¼ teaspoon salt (optional): Adds a hint of savory balance if you want salted butter, just like from the store.
- Ice water (for rinsing): Essential for washing away excess buttermilk, ensuring your butter stays fresh longer and tastes clean.
How to Make Make Homemade Butter Recipe
Step 1: Bring Your Cream to Life
Start by pouring your chilled heavy cream into a stand mixer, food processor, or even a large bowl if you’re using a hand mixer. Beat it on medium-high speed—you’ll first notice it fluffing up into whipped cream, which is always a fun stage to watch! But keep going beyond that.
Step 2: Watch the Butter Begin to Form
After about 8 to 10 minutes of continuous beating, you’ll witness the magic—your cream will separate into butterfat and liquid buttermilk. You’ll see a pale yellow solid accompanied by a clear liquid. This transformation is exactly what you want!
Step 3: Separate and Save
Once separation occurs, stop your mixer and carefully pour off the buttermilk—it’s traditional, tangy, and perfect for baking, so consider saving it for your next muffin or pancake batch. Then, transfer the butter into a fine mesh strainer or cheesecloth.
Step 4: Rinse Away the Buttermilk
Rinsing here is key! Use cold water and press the butter with a spatula or spoon, folding it to wash out any lingering buttermilk. Repeat this until the water runs clear. This step helps prevent spoilage and keeps your butter tasting fresh and pure.
Step 5: Add Salt and Knead
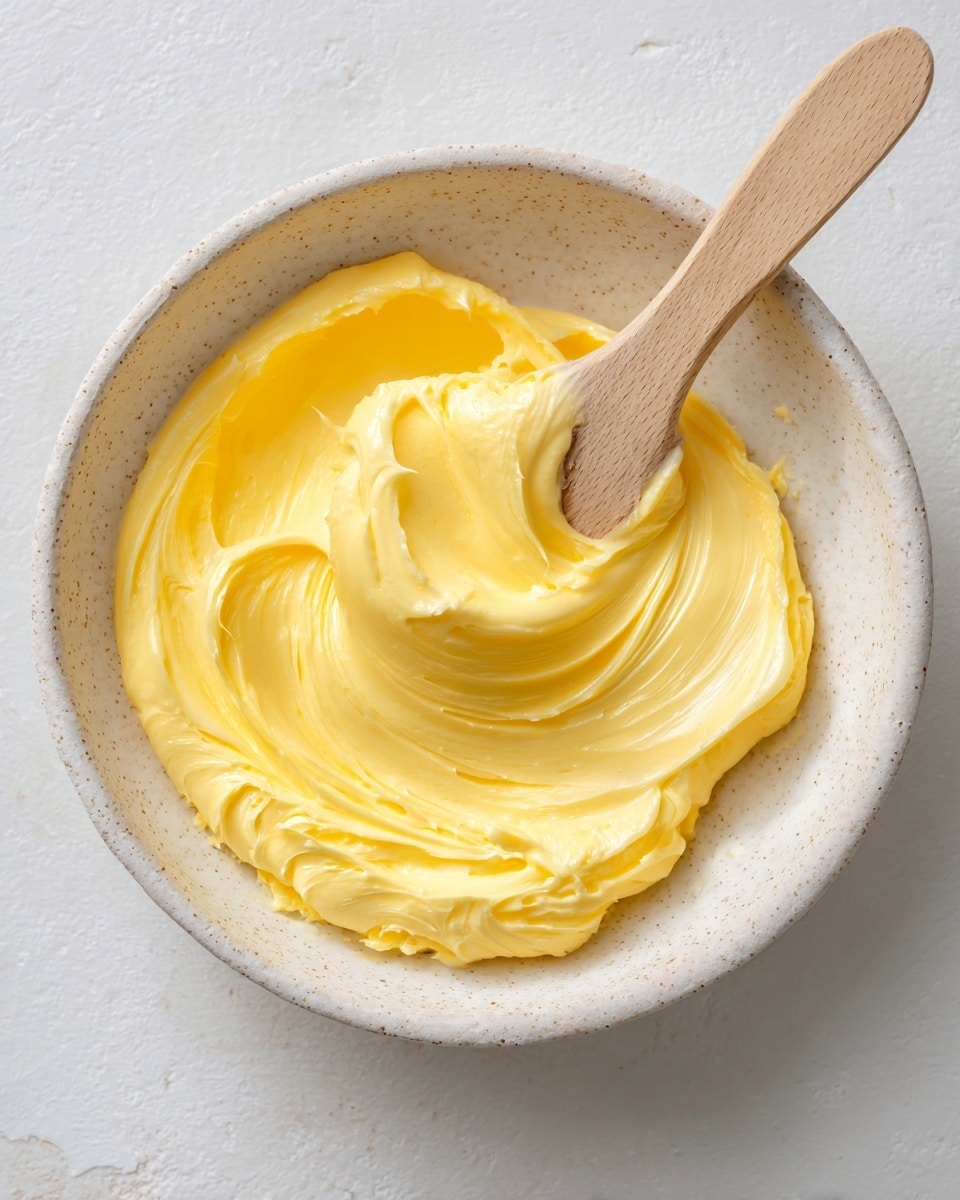
If you choose to make salted butter, sprinkle in the salt now and knead it gently into the butter for an even flavor. This is also the perfect time to get creative by adding herbs or garlic if you want a flavored twist.
Step 6: Store Your Creation
Pop your beautiful homemade butter into an airtight container and chill it in the refrigerator for up to a week. For longer preservation, freezing is an excellent option, too.
How to Serve Make Homemade Butter Recipe
Garnishes
A sprinkle of flaky sea salt or a dusting of freshly ground black pepper can elevate the natural sweetness and creaminess in your homemade butter. Fresh herbs like chives or dill stirred in after the rinsing step transform it into a superstar spread just waiting to complement your favorite meals.
Side Dishes
Butter and bread are a timeless pair. Slather it on warm crusty rolls, buttery mashed potatoes, or steamed seasonal vegetables. It also shines beautifully melted over corn on the cob or tossed with freshly cooked pasta for an ultra-rich finish.
Creative Ways to Present
Shape your butter into small discs or logs and wrap in parchment paper tied with twine for a charming, rustic presentation. These little bundles are fantastic for entertaining or gifting, making your homemade butter feel extra special and gourmet.
Make Ahead and Storage
Storing Leftovers
Keep your butter fresh by storing it in an airtight container and refrigerating it promptly. This helps maintain its flavor and texture for up to one week, so you’re always ready with a delicious spread on hand.
Freezing
If you want to keep your homemade butter for longer, freezing is a fantastic option. Wrap it tightly in plastic wrap or parchment, then place it in a freezer-safe bag or container. Properly stored, it can last for several months, allowing you to enjoy your hard work well into the future.
Reheating
Butter doesn’t require reheating like some foods but can be softened quickly by setting it out at room temperature for 15 to 20 minutes. For melting, a gentle low heat on the stove works best to preserve its delicate flavor without burning.
FAQs
Can I use ultra-pasteurized cream instead of pasteurized?
It’s best to avoid ultra-pasteurized cream for making homemade butter because it doesn’t whip up properly and may not separate correctly. Stick with pasteurized cream to get beautiful, fresh butter every time.
What can I do with the leftover buttermilk?
Don’t toss that precious liquid! Use it in pancakes, biscuits, salad dressings, or even homemade breads—it adds a wonderful tang and helps with tenderness in baked goods.
How long does homemade butter last?
When properly refrigerated, homemade butter lasts about one week. Freezing can extend its life to several months, so plan accordingly based on how quickly you’ll use it.
Can I add flavors to my homemade butter?
Absolutely! After rinsing and before chilling, stir in finely chopped herbs, minced garlic, honey, or spices to create custom flavored butters perfect for special occasions or everyday enjoyment.
Is making homemade butter difficult?
Not at all! Though it might sound intimidating, this Make Homemade Butter Recipe is surprisingly straightforward and even fun. It takes about 15 minutes and gives you a fresh, wholesome product you’ll be proud to serve.
Final Thoughts
There’s something truly satisfying about transforming simple ingredients into such a rich and flavorful homemade staple. Whether you’re a seasoned cook or a curious beginner, I encourage you to try this Make Homemade Butter Recipe soon. It’s a charming little kitchen project that brings a warm, personal touch to your meals and an undeniable taste of homemade love. Enjoy every buttery bite!
Print
Make Homemade Butter Recipe
- Prep Time: 15 minutes
- Cook Time: 0 minutes
- Total Time: 15 minutes
- Yield: About ¾ cup butter + 1 cup buttermilk
- Category: Condiment
- Method: Whipping
- Cuisine: American
- Diet: Gluten Free,Vegetarian
Description
Learn how to make fresh, creamy homemade butter using cold heavy cream with a simple whipping method. This easy recipe produces delicious butter and traditional buttermilk with no special equipment needed.
Ingredients
Ingredients
- 2 cups cold heavy cream
- ¼ teaspoon salt (optional, for salted butter)
- Ice water (for rinsing)
Instructions
- Prepare the cream: Pour the cold heavy cream into a stand mixer, food processor, or a large bowl if using a hand mixer.
- Whip the cream: Beat on medium-high speed. The cream will first turn into whipped cream. Continue beating past this stage for about 8–10 minutes until the butterfat separates from the buttermilk, appearing as pale yellow solid and liquid.
- Drain the buttermilk: Stop the mixer and pour off the liquid buttermilk, saving it for baking if desired.
- Rinse the butter: Scoop the butter into a fine mesh strainer or cheesecloth and rinse under cold water. Press and fold the butter with a spatula or spoon to remove excess buttermilk. Continue rinsing until the water runs clear.
- Add salt and knead: Add salt if desired and knead it into the butter thoroughly.
- Store the butter: Place the butter in an airtight container. Refrigerate for up to 1 week or freeze for longer storage.
Notes
- Use pasteurized (not ultra-pasteurized) cream for the best results.
- For flavored butter, add herbs, garlic, or honey after rinsing.
- This is a fun and easy project to do with kids or for special homemade gifts.


