
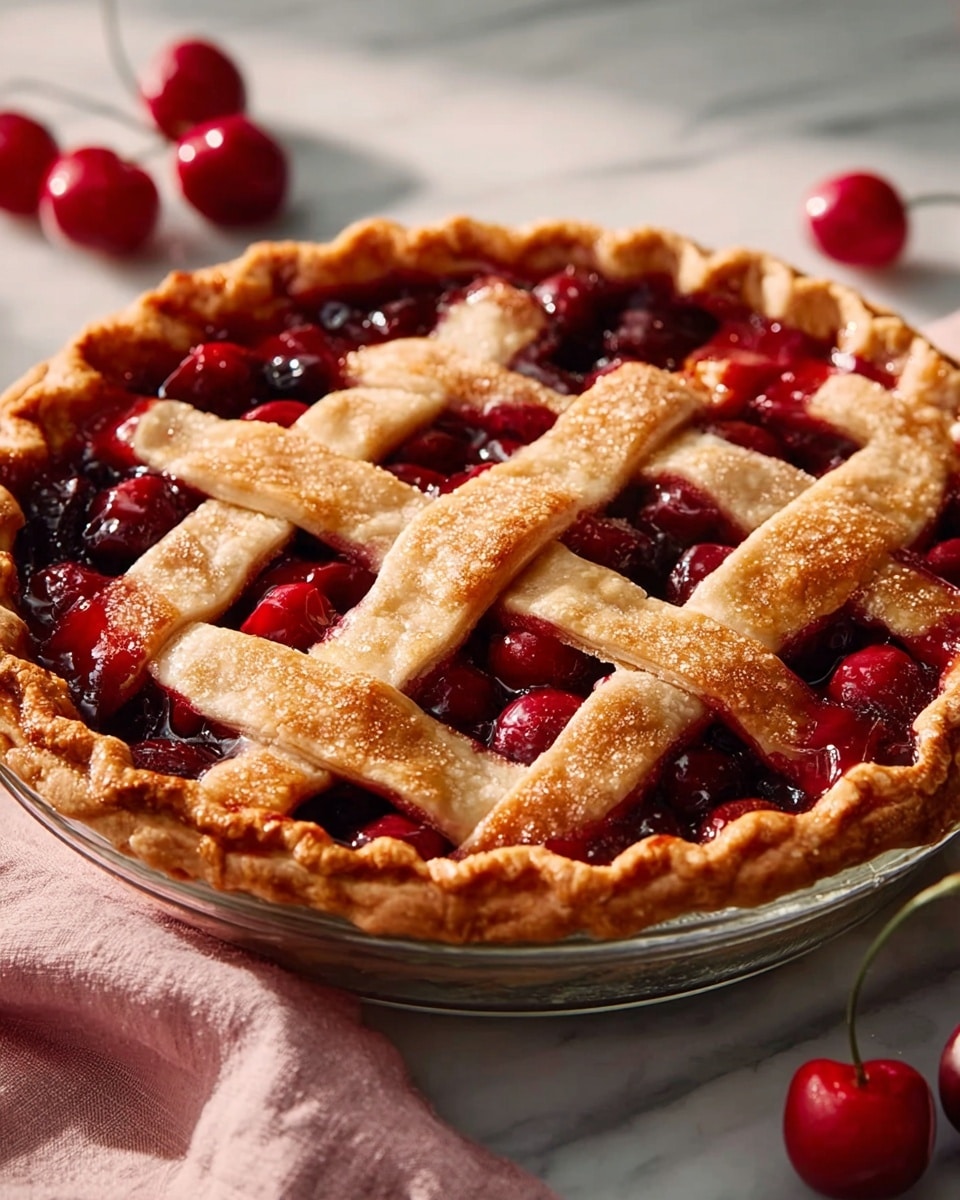
If you’re looking for a dessert that perfectly blends that irresistible golden crust with luscious, fruity goodness, then you have to try this Cherry Pie with a Flaky Crust and Sweet Cherry Filling Recipe. It’s the ultimate comfort food that evokes cozy feelings and happy memories with every bite. From the tender, buttery layers of crust to the vibrant and juicy cherry filling bursting with just the right amount of sweetness, this pie manages to strike that perfect balance that keeps everyone coming back for seconds. Whether it’s for a family gathering, holiday treat, or simply a weekend indulgence, this recipe will quickly become your go-to for cherry pie bliss.

Ingredients You’ll Need
Don’t let the simplicity of these ingredients fool you; each one plays an essential role in creating the magic of this pie. Combining pantry staples with fresh or frozen cherries, this recipe is easy to pull together but delivers incredible flavor, texture, and that beautiful color which is so inviting.
- All-purpose flour: The base for the crust, giving it structure and tenderness when handled right.
- Salt: Enhances the overall flavor and balances sweetness in both crust and filling.
- Sugar: Adds just the right touch of sweetness to the crust and intensifies the cherry filling’s natural sugars.
- Unsalted butter: Cold and cubed for a flaky texture with layers that melt in your mouth.
- Ice water: Keeps the dough cool, helping to create that flaky crust we all love.
- Cherries (fresh or frozen): The star of the show—pitted and packed with juicy, bright-tart flavor.
- Granulated sugar: Adjusted to balance the cherries’ sweetness perfectly.
- Cornstarch: Thickens the cherry juices into a luscious, glossy filling.
- Lemon juice: Adds brightness and a subtle zing to infuse freshness.
- Almond extract: Optional, but highly recommended for a gentle nutty aroma that complements the cherries beautifully.
- Vanilla extract: Rounds out the complex flavors with warm, sweet undertones.
- Heavy cream or milk: For brushing the crust to get a golden, shiny finish.
- Coarse sugar: Sprinkled on top to add a sparkling texture and delightful crunch.
How to Make Cherry Pie with a Flaky Crust and Sweet Cherry Filling Recipe
Step 1: Make the Pie Crust
Start by mixing the flour, salt, and sugar in a large bowl to build the base for that perfect crust. Cut in the cold butter using a pastry cutter or your fingers until the mixture resembles coarse crumbs—this is key to creating layers that flake beautifully. The cold butter pockets melt during baking, creating that dreamy texture everyone loves.
Step 2: Bring the Dough Together
Gradually add ice water, one tablespoon at a time, mixing gently with a fork until the dough just starts to come together. Remember, less is more here; overworking the dough can lead to a tough crust. Once it lightly holds when pressed, stop adding water.
Step 3: Chill the Dough
Divide the dough into two equal discs, wrap them tightly in plastic wrap, and chill in the refrigerator for at least 30 minutes. This resting period helps the gluten relax and keeps the butter cold—both crucial for a tender, flaky crust.
Step 4: Prepare the Cherry Filling
In a saucepan, combine cherries with sugar, cornstarch, lemon juice, almond extract, vanilla extract, and a pinch of salt. Stir it all together to lay the foundation for your filling’s flavor. Heating this mixture gently helps the cherries release their juices and allows the cornstarch to thicken the filling to a lush consistency that will hold up once baked.
Step 5: Cook the Filling
Cook over medium heat, stirring constantly for about 5 to 7 minutes until bubbling and thickened. The sweet and slightly tangy filling will be fragrant and glossy. Remove from heat and let it cool while you prepare the pie crust.
Step 6: Assemble the Pie
Preheat your oven to 375°F (190°C). Roll out one dough disc on a lightly floured surface until it fits your 9-inch pie dish. Gently press the dough into the dish’s bottom and sides to form the base crust.
Step 7: Add the Filling
Pour the cooled cherry mixture evenly into the prepared crust, spreading it out so every bite is packed with fruity goodness.
Step 8: Create the Top Crust
Roll out the second dough disc. You can choose to make a lattice top by cutting the dough into strips and weaving them over the cherries, or simply cover the pie with the full crust disc, making sure to cut slits for steam ventilation. Trim and crimp the edges to seal everything neatly.
Step 9: Final Touches Before Baking
Brush the crust top with heavy cream or milk to encourage a golden sheen and sprinkle coarse sugar to add a sparkly, crunchy texture as it bakes.
Step 10: Bake the Pie
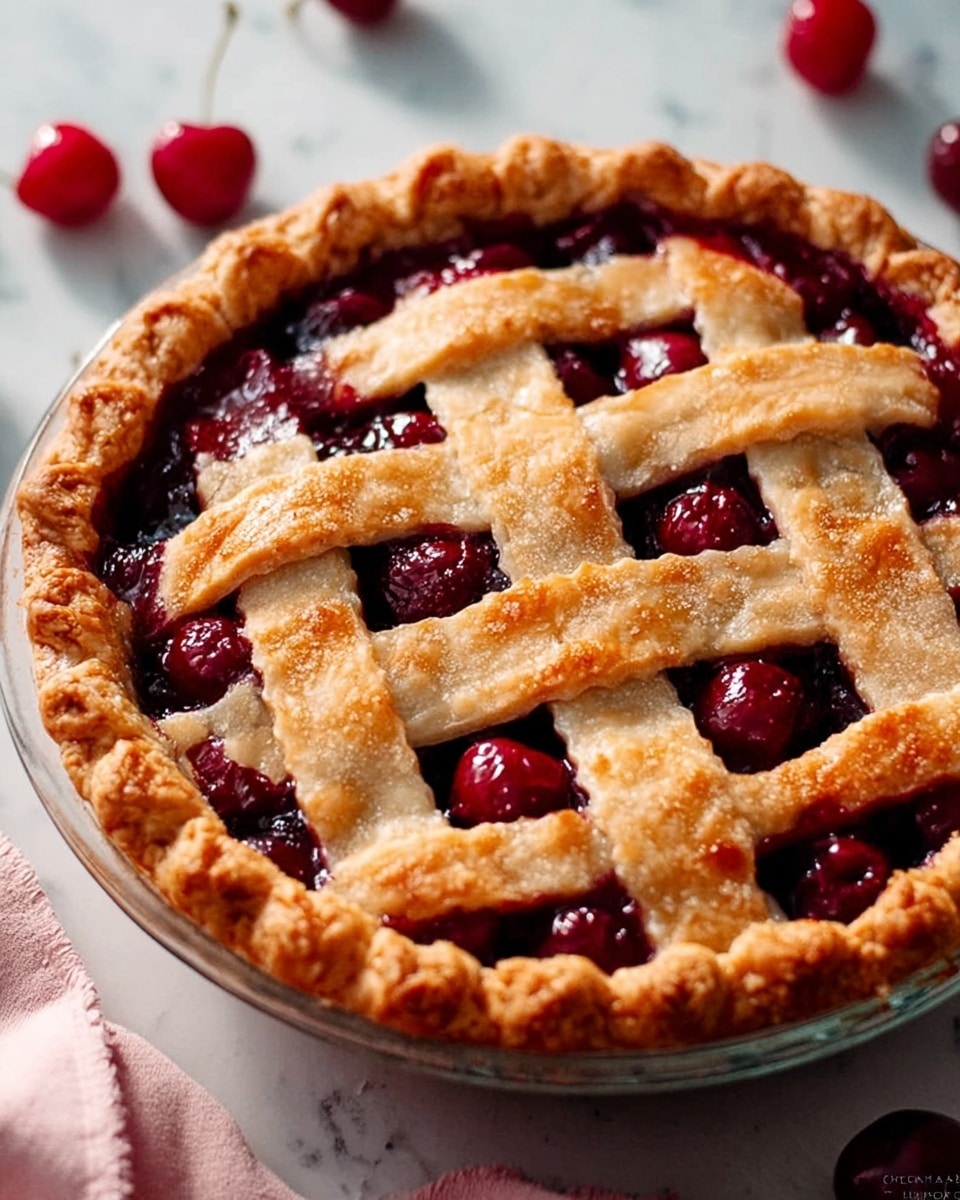
Place the pie on a baking sheet to catch drips, then bake for 45-55 minutes until the crust is a radiant golden brown and the filling is bubbling through the lattice or vent slits. If the edges brown too fast, tent them with foil to prevent burning.
Step 11: Cool and Set
Once baked, allow your pie to cool for at least 2 hours before cutting. This resting time allows the filling to set, making slicing neat and beautiful. Your homemade cherry masterpiece is now ready to enjoy!
How to Serve Cherry Pie with a Flaky Crust and Sweet Cherry Filling Recipe
Garnishes
Serving your cherry pie is just as fun as baking it. A scoop of vanilla ice cream gently melting over a warm slice adds creamy balance, while whipped cream lends a light, airy texture contrast. For an extra special touch, sprinkle toasted almond slivers on top for crunch and flavor that dance with that almond extract hint inside the filling.
Side Dishes
This pie pairs wonderfully with simple sides like a cup of robust coffee or a fragrant herbal tea, enhancing the experience with warm, comforting sips. For a festive occasion, consider serving it alongside a light salad or cheese plate to mix savory and sweet notes on the palate.
Creative Ways to Present
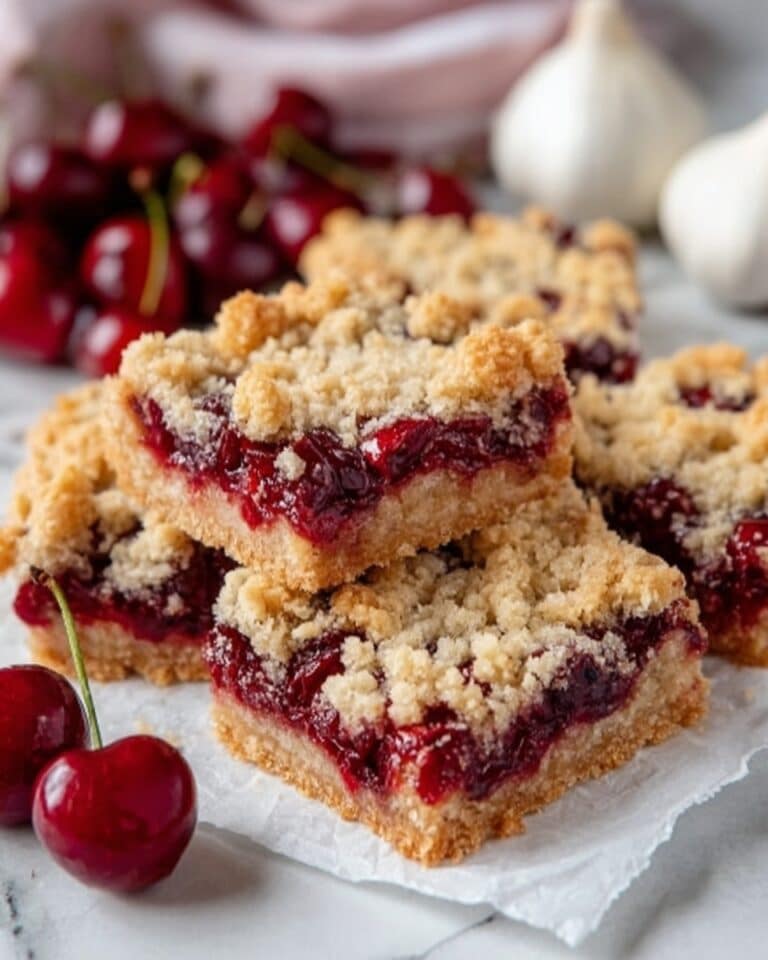
Break from tradition by turning your pie into mini individual servings using ramekins or pie tins—perfect for sharing or gifting. You can also drizzle warm cherry pie filling over ice cream or pancakes to bring that cherry pie magic to breakfast or brunch table conversations.
Make Ahead and Storage
Storing Leftovers
Wrap any leftover cherry pie tightly with plastic wrap or foil and refrigerate. It stays fresh for up to 3 days, making it a perfect indulgence to enjoy for a few days after baking without losing any charm.
Freezing
You can freeze an unbaked pie fully assembled or slices of baked pie. For the unbaked pie, wrap tightly in plastic and foil, then store for up to 2 months. Baked slices freeze best when wrapped individually to preserve freshness. Thaw overnight in the refrigerator before reheating.
Reheating
To bring your cherry pie back to life, reheat slices in the oven at 350°F (175°C) for about 15-20 minutes until warm and the crust re-crisps beautifully. Microwaving is quicker but can compromise the crust’s flakiness, so the oven is preferred for the best experience.
FAQs
Can I use frozen cherries in this recipe?
Absolutely! Frozen cherries work wonderfully well in this Cherry Pie with a Flaky Crust and Sweet Cherry Filling Recipe. Just be sure to thaw and drain them to avoid excess liquid, which could make the filling too runny.
How do I keep the crust from getting soggy?
Using cornstarch to thicken the filling and chilling the dough before baking are key steps to prevent sogginess. Also, baking the pie on a sheet pan helps catch drips and ensures the crust bakes evenly.
Is almond extract necessary in the filling?
It’s optional but highly recommended! Almond extract complements the cherries perfectly and gives the filling a subtle depth of flavor that elevates this cherry pie.
Can I make the crust ahead of time?
Definitely! The dough can be prepared and chilled for up to 2 days in advance. Just keep it well wrapped in the refrigerator, then roll and assemble when you’re ready to bake.
What’s the best way to cut a slice without the filling spilling?
Letting the pie cool for at least 2 hours is crucial to allow the filling to set firmly. Use a sharp knife dipped in hot water and wiped dry between cuts for clean, neat slices.
Final Thoughts
At the end of the day, few things compare to the joy of baking and sharing this Cherry Pie with a Flaky Crust and Sweet Cherry Filling Recipe. Its delightful blend of flaky crust and sweet, tangy cherries is comforting, nostalgic, and unforgettable. So go ahead, gather those simple ingredients, and treat yourself and your loved ones to a homemade pie that fills your kitchen with love and flavor. You’ll be so glad you did!
Print
Cherry Pie with a Flaky Crust and Sweet Cherry Filling Recipe
- Prep Time: 30 minutes
- Cook Time: 50 minutes
- Total Time: 1 hour 20 minutes
- Yield: 8 servings
- Category: Dessert
- Method: Baking
- Cuisine: American
Description
This classic Cherry Pie features a buttery, flaky crust filled with sweet and tangy cherry filling, enhanced with a hint of almond and vanilla extracts. Perfectly baked until golden and bubbly, this pie is a delightful dessert for any occasion.
Ingredients
Pie Crust
- 2 1/2 cups all-purpose flour
- 1 teaspoon salt
- 1 tablespoon sugar
- 1 cup (2 sticks) unsalted butter, cold and cut into cubes
- 1/4 cup ice water (more if needed)
Cherry Filling
- 4 cups fresh or frozen cherries (pitted)
- 3/4 cup granulated sugar (adjust based on cherry sweetness)
- 2 tablespoons cornstarch
- 1 tablespoon lemon juice
- 1/4 teaspoon almond extract (optional, but adds great flavor)
- 1/4 teaspoon vanilla extract
- Pinch of salt
Topping
- 1 tablespoon heavy cream or milk
- 1 tablespoon coarse sugar (for sprinkling on top)
Instructions
- Make the Pie Crust: In a large bowl, mix the flour, salt, and sugar together. Add the cold, cubed butter and use a pastry cutter or your fingers to work the butter into the flour mixture until it resembles coarse crumbs.
- Add Ice Water: Gradually add ice water, one tablespoon at a time, mixing with a fork until the dough begins to come together. Be careful not to overwork the dough.
- Chill the Dough: Divide the dough into two equal portions, shape into discs, wrap tightly in plastic wrap, and chill in the refrigerator for at least 30 minutes.
- Prepare Cherry Filling: In a medium saucepan, combine cherries, sugar, cornstarch, lemon juice, almond extract, vanilla extract, and a pinch of salt. Stir to combine.
- Cook Filling: Cook over medium heat, stirring constantly, until cherries release juices and the mixture thickens, about 5-7 minutes.
- Cool Filling: Remove from heat and let the cherry filling cool while rolling out the dough.
- Preheat Oven: Preheat the oven to 375°F (190°C).
- Roll Out Bottom Crust: Roll one dough disc on a lightly floured surface into a circle that fits a 9-inch pie dish. Place it into the dish, pressing gently into bottom and sides.
- Add Filling: Pour cooled cherry filling evenly into the crust.
- Prepare Top Crust: Roll out the second dough disc. For lattice, cut into strips and arrange in a criss-cross pattern over filling; trim and crimp edges. For full crust, place it over filling, cut steam vents, and crimp edges.
- Brush and Sugar: Brush top crust with heavy cream or milk and sprinkle with coarse sugar.
- Bake the Pie: Place pie on a baking sheet and bake for 45-55 minutes until crust is golden brown and filling bubbles.
- Protect Edges: If crust edges brown too quickly, cover them with foil to prevent burning.
- Cool and Serve: Let pie cool for at least 2 hours to set filling before slicing. Serve plain or with ice cream or whipped cream.
Notes
- Adjust sugar in filling according to the sweetness of the cherries used.
- Use frozen cherries if fresh are unavailable; thaw and drain excess liquid before cooking.
- Almond extract is optional but adds depth to the flavor.
- Chilling the dough is essential for a tender, flaky crust.
- Cover crust edges with foil midway through baking if they brown too fast.
- Allow the pie to cool thoroughly to prevent a runny filling.
- Serve with vanilla ice cream or whipped cream for extra indulgence.


