

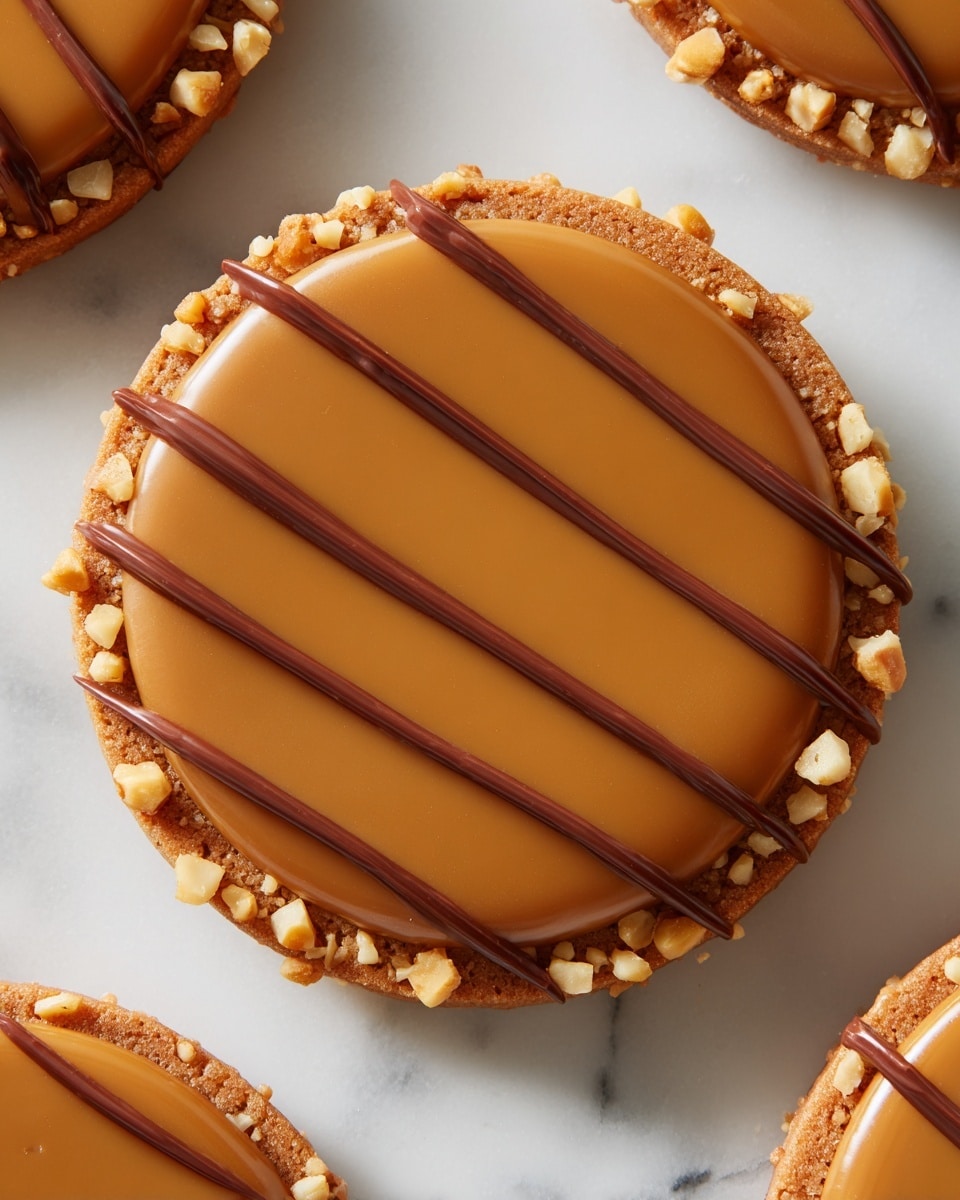
If you are craving a sweet, chewy treat that comes together effortlessly, you’re going to love this No-Bake Caramel Cookies Recipe. It’s that perfect blend of buttery caramel goodness, rich peanut butter, and hearty oats that creates a texture and flavor combo that’s simply irresistible. Whether you need a quick dessert fix or a snack to impress guests without turning on the oven, these cookies deliver comfort and delight in every bite.

Ingredients You’ll Need
Every ingredient in this No-Bake Caramel Cookies Recipe plays a crucial role in building its delicious flavor and texture. From the smoothness of the peanut butter to the molasses depth in the brown sugar, each element complements the other perfectly, making this recipe surprisingly simple but wonderfully rich.
- Unsalted butter: Provides a creamy, rich base and helps develop the caramel flavor when melted with sugars.
- Brown sugar: Adds a deep, molasses sweetness essential for that classic caramel taste.
- Granulated sugar: Balances sweetness and contributes to the caramel’s body.
- Milk: Creates the perfect consistency and smoothness for the caramel mixture.
- Vanilla extract: Enhances the overall flavor, bringing warmth and complexity.
- Quick oats: Adds texture and substance, making the cookies hearty and chewy.
- Creamy peanut butter: Gives richness and a nutty flavor that ties everything together.
- Chocolate chips (optional): Introduce bursts of melty chocolate for extra indulgence.
- Chopped nuts (optional): Provide a satisfying crunch and enhance flavor variety.
How to Make No-Bake Caramel Cookies Recipe
Step 1: Melt the Butter
Start by melting 1 cup of unsalted butter in a medium saucepan over medium heat. Stir occasionally and let it melt completely to create the smooth, buttery foundation for your caramel base.
Step 2: Add Sugars and Milk
Once the butter is melted, add 1 cup of packed brown sugar and 1/2 cup of granulated sugar to the pan. Pour in 1/2 cup of milk and stir continuously. The sugars will begin dissolving into the butter and milk, creating a rich mixture that is soon ready to be transformed into caramel.
Step 3: Boil the Mixture
Allow the mixture to come to a gentle boil, stirring constantly for about 2 minutes. This step is vital because boiling ensures the sugars combine fully and caramelize, bringing out the lush, deep flavor you want in your cookies. Once done, remove the pan from heat.
Step 4: Incorporate Vanilla
Stir in 1 teaspoon of vanilla extract immediately after removing the pan from heat. This small addition adds a layer of aromatic sweetness that enhances and rounds out the caramel flavor beautifully.
Step 5: Add Quick Oats
Gradually fold in 3 cups of quick oats, stirring until every oat is coated with that luscious caramel mixture. The oats are what provide the chewy body to these no-bake cookies and make each bite satisfyingly substantial.
Step 6: Incorporate Peanut Butter
Add 1 cup of creamy peanut butter and stir until fully incorporated. The peanut butter thickens the mixture and lends a smooth, nutty richness that balances the caramel’s sweetness perfectly.
Step 7: Add Chocolate Chips and Nuts (Optional)
If you want to jazz up your cookies with added flavors and textures, fold in 1 cup of chocolate chips and 1/2 cup of chopped nuts. These ingredients add delightful pops of chocolate and crunch, making each bite more exciting.
Step 8: Prepare the Baking Sheet
Line a baking sheet with parchment paper to prevent sticking and make cleanup a breeze. This simple prep step keeps your cookies intact during chilling.
Step 9: Scoop the Mixture
Use a spoon to drop generous scoops of the caramel oat mixture onto the lined baking sheet. Be sure to leave some space between each to make flattening easier.
Step 10: Flatten the Cookies
Gently press down each scoop with the back of a fork or your fingers to flatten them slightly. This helps them set evenly and makes for a classic cookie shape you know and love.
Step 11: Chill the Cookies
Place the baking sheet into the refrigerator and chill for 30 minutes to 1 hour. Chilling allows the cookies to firm up, locking in their chewy texture and making them easy to handle.
Step 12: Check for Firmness
After cooling, check to ensure your cookies are set but still slightly soft in the center. If they feel too soft, pop them back in the refrigerator for longer until they reach the perfect firmness.
Step 13: Transfer to a Plate
Once set, carefully transfer your no-bake caramel cookies to a serving plate. They can be enjoyed right away, but letting them sit for a few hours only intensifies the flavors, if you can wait that long.
How to Serve No-Bake Caramel Cookies Recipe
Garnishes
For an extra special touch, sprinkle your cookies with a light dusting of sea salt or a drizzle of melted chocolate. The contrast between sweet and salty or smooth chocolate elevates these treats from everyday cookies to a gourmet delight.
Side Dishes
Serve these cookies alongside a creamy cup of coffee, a glass of cold milk, or even a scoop of vanilla ice cream. Their chewy texture and sticky caramel flavor pair wonderfully with beverages and creamy desserts, making a well-rounded indulgent snack or dessert.
Creative Ways to Present
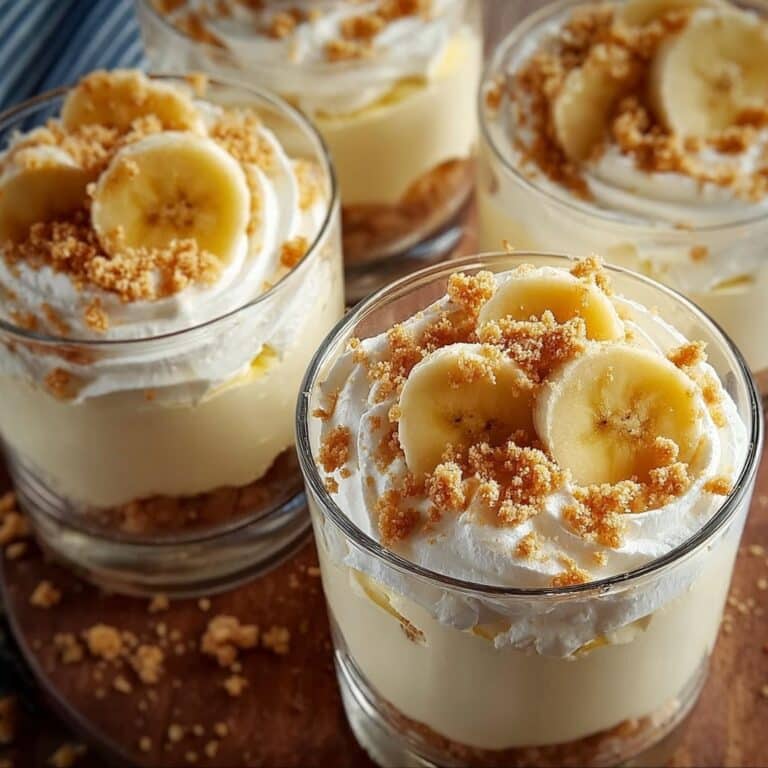
Try stacking these no-bake caramel cookies with layers of whipped cream or layering crumbled cookies into parfait glasses with fresh fruit and yogurt for a creative dessert twist. These cookies are also fantastic as a mix-in for milkshakes or crumbled over pudding for added texture and flavor.
Make Ahead and Storage
Storing Leftovers
Keep any leftover no-bake caramel cookies in an airtight container at room temperature. They will stay fresh and chewy for up to a week, making them a perfect make-ahead snack you can reach for throughout the week.
Freezing
If you want to store them longer, freeze the cookies in a sealed container or freezer bag. When properly wrapped, they can last for up to 3 months. Thaw them at room temperature before serving to enjoy that perfect chewy texture.
Reheating
Since these cookies are no-bake, reheating isn’t necessary. However, if you prefer your cookies a bit softer, you can warm them gently in the microwave for 10 to 15 seconds. This will make the peanut butter and caramel more gooey and delightful without losing their shape.
FAQs
Can I substitute peanut butter with another nut butter?
Absolutely! Almond butter, cashew butter, or sunflower seed butter work well in this recipe and offer a slightly different flavor profile while keeping the same creamy consistency.
Do I have to use quick oats or can I use old-fashioned oats?
Quick oats are best because they absorb the caramel mixture evenly, resulting in a better texture. Using old-fashioned oats could make the cookies a bit too chewy or dry.
Is it necessary to chill the cookies?
Yes, chilling is essential to help the cookies firm up and hold their shape. Without this step, the cookies might be too sticky and fall apart when handled.
Can I make these cookies gluten-free?
Definitely! Just be sure to use certified gluten-free oats, as sometimes oats can be cross-contaminated with gluten during processing.
How long do these cookies last at room temperature?
Stored in an airtight container, these cookies will stay fresh and delicious for up to one week, perfect for enjoying over several days without losing their texture or flavor.
Final Thoughts
This No-Bake Caramel Cookies Recipe is a fabulous way to whip up a deliciously sweet and chewy treat without heating up your kitchen. It’s ideal for busy days, unexpected guests, or anytime you need a comforting snack in a flash. I promise once you try these, they’ll become a beloved go-to in your dessert rotation, just like they are in mine. Give it a try and enjoy every sticky, caramel-coated bite!
Print
No-Bake Caramel Cookies Recipe
- Prep Time: 15 minutes
- Cook Time: 10 minutes
- Total Time: 1 hour 25 minutes
- Yield: 24 cookies
- Category: Dessert
- Method: Stovetop
- Cuisine: American
- Diet: Vegetarian
Description
These no-bake caramel cookies offer an easy and delicious treat that combines rich caramel flavor with the chewiness of oats and creamy peanut butter. Perfect for quick preparation without turning on the oven, these cookies are enhanced by optional chocolate chips and nuts, creating a delightful balance of textures and flavors suitable for any occasion.
Ingredients
Base Ingredients
- 1 cup unsalted butter
- 1 cup brown sugar, packed
- 1/2 cup granulated sugar
- 1/2 cup milk
- 1 teaspoon vanilla extract
Dry Ingredients
- 3 cups quick oats
Mix-ins
- 1 cup creamy peanut butter
- 1 cup chocolate chips (optional)
- 1/2 cup chopped nuts (optional)
Instructions
- Melt the Butter: In a medium saucepan, melt 1 cup of unsalted butter over medium heat while stirring occasionally until fully melted.
- Add Sugars and Milk: Stir in 1 cup of packed brown sugar, 1/2 cup granulated sugar, and 1/2 cup milk into the melted butter. Continue stirring until sugars dissolve and the mixture reaches a gentle boil.
- Boil the Mixture: Let the mixture boil for about 2 minutes, stirring constantly to develop the caramel flavor, then remove from heat.
- Incorporate Vanilla: Stir 1 teaspoon vanilla extract into the hot caramel mixture to enhance flavor.
- Add Quick Oats: Gradually mix in 3 cups quick oats, ensuring they are evenly coated with the caramel mixture.
- Incorporate Peanut Butter: Add 1 cup creamy peanut butter and stir thoroughly until the mixture becomes thick and sticky.
- Add Chocolate Chips and Nuts: If desired, fold in 1 cup chocolate chips and 1/2 cup chopped nuts for extra texture and taste.
- Prepare the Baking Sheet: Line a baking sheet with parchment paper for easy cleanup and shaping.
- Scoop the Mixture: Drop spoonfuls of the sticky mixture onto the prepared baking sheet, spacing them apart.
- Flatten the Cookies: Gently press each scoop flat using the back of a fork or your fingers to form cookie shapes.
- Chill the Cookies: Place the baking sheet in the refrigerator for 30 minutes to 1 hour, allowing cookies to firm up.
- Check for Firmness: Make sure cookies are set but still slightly soft in the center; if necessary, chill longer.
- Transfer to a Plate: Once firm, move the cookies onto a serving plate. They can be enjoyed immediately or after a few hours for richer flavor.
- Store Leftovers: Keep any remaining cookies in an airtight container at room temperature for up to one week to maintain freshness.
Notes
- Use quick oats for the best texture; rolled oats can be substituted but may alter the chewiness.
- Peanut butter adds creaminess but can be replaced with almond or sunflower seed butter for allergy alternatives.
- Chocolate chips and nuts are optional but add delightful richness and crunch.
- Chilling time can be adjusted based on desired firmness; longer chilling produces firmer cookies.
- Store cookies in a cool, dry place to prevent melting or spoilage.


