
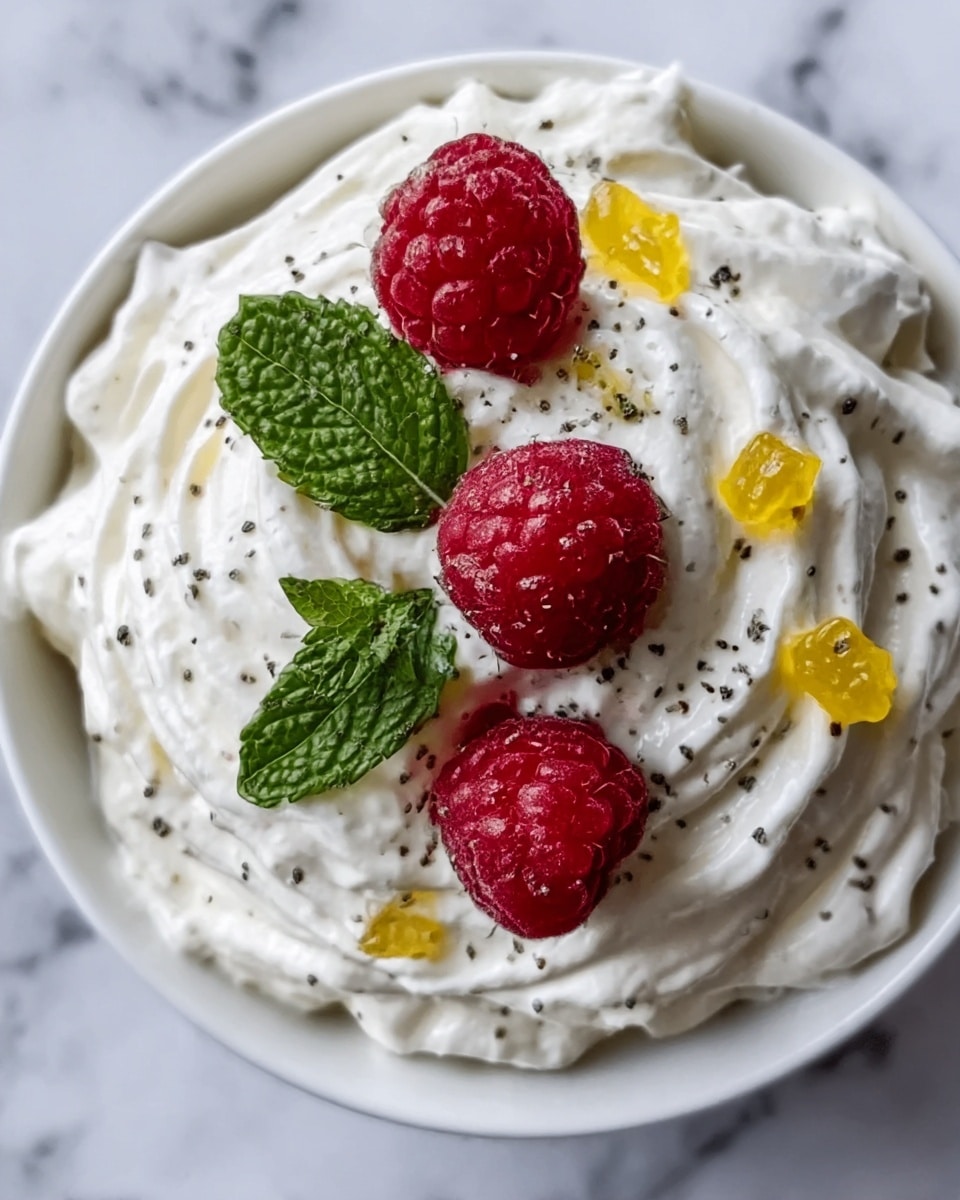
If you’ve been searching for the perfect creamy, rich, and luscious yogurt to brighten up your breakfasts or boost your snacks, then you’re going to fall in love with this Homemade Thick Strained Yogurt Recipe. It’s an incredibly satisfying way to make yogurt at home that feels indulgent yet wholesome, with a velvety texture that rivals your favorite store-bought varieties but without any additives. This recipe turns simple ingredients into a wonderfully thick and tangy treat, perfect for everything from spooning into bowls with fresh fruit to using in recipes that call for luxurious Greek-style yogurt.

Ingredients You’ll Need
Making this Homemade Thick Strained Yogurt Recipe calls for just a few straightforward ingredients, but each plays an important role in the final taste, texture, and creaminess of your yogurt. Simplicity at its best!
- Whole milk or 2% milk: The foundation for your yogurt, whole milk brings creaminess while 2% milk offers a lighter option without sacrificing too much richness.
- Plain yogurt (with live active cultures): This acts as your starter culture, jumpstarting the fermentation to create that tangy flavor and thick texture you love.
- Cheesecloth or a fine mesh strainer: The essential tool needed to strain out the whey and achieve that luscious thickness.
- Cold water (optional, for rinsing): Handy for rinsing the cheesecloth or to gently cool the milk during preparation.
How to Make Homemade Thick Strained Yogurt Recipe
Step 1: Heat the Milk
Begin by gently warming your milk over medium heat until it reaches about 180°F (82°C). Stir occasionally to prevent it sticking to the pan or scorching. This heating stage is vital because it denatures the proteins, which helps the yogurt develop a smoother, creamier texture.
Step 2: Cool the Milk to Perfect Temperature
Remove the milk from the heat and let it cool to around 110°F (43°C). To speed this cooling process, placing the saucepan in a cold water bath works wonders. This temperature is just right to activate the live cultures without killing them.
Step 3: Stir in the Yogurt Starter
Add about two tablespoons of plain yogurt containing live active cultures into the cooled milk. Stir gently but thoroughly until the yogurt is completely dissolved, ensuring a good mix to kickstart fermentation evenly.
Step 4: Incubate the Yogurt Mixture
Pour your milk and yogurt mixture into a clean container, cover it with a lid or plastic wrap, and place it somewhere warm and draft-free. You can use a yogurt maker, the oven with the light on, or wrap the container in towels to keep cozy. This gentle warmth encourages the cultures to work their magic and turn the milk into yogurt.
Step 5: Let It Set
Allow your yogurt to incubate undisturbed for anywhere between 4 to 12 hours. If you prefer thick and tangy, lean towards the longer end of this range. The smell and thickness will deepen over time, so taste it periodically to find your perfect balance.
Step 6: Strain to Achieve Thickness
Once your yogurt has set, it’s time to turn it into that thick, velvety delight by straining out the whey. Use a cheesecloth or fine mesh strainer placed over a bowl and let the yogurt drain for 1 to 2 hours, or until it reaches your desired consistency. Don’t toss the leftover whey—it’s a fantastic addition to smoothies or baking projects!
Step 7: Chill and Store
Transfer your strained yogurt to a clean container and refrigerate it. Chilling helps it firm up a little bit more and develop fuller flavor. Keep it stored for up to 1-2 weeks, making it perfect for batch prepping your homemade snack.
Step 8: Enjoy Your Creation!
Your Homemade Thick Strained Yogurt Recipe is now ready to be enjoyed as a creamy snack or ingredient in your favorite dishes. The satisfaction of making your own rich Greek-style yogurt is truly unbeatable.
How to Serve Homemade Thick Strained Yogurt Recipe

Garnishes
Adding garnishes is one of the most fun ways to customize your Homemade Thick Strained Yogurt Recipe. Fresh berries, a drizzle of honey, a sprinkle of nuts, or even a touch of cinnamon can add exciting textures and layers of flavor. Toasted seeds add crunch, while a spoonful of fruit jam or a handful of granola can elevate your yogurt from simple to spectacular.
Side Dishes
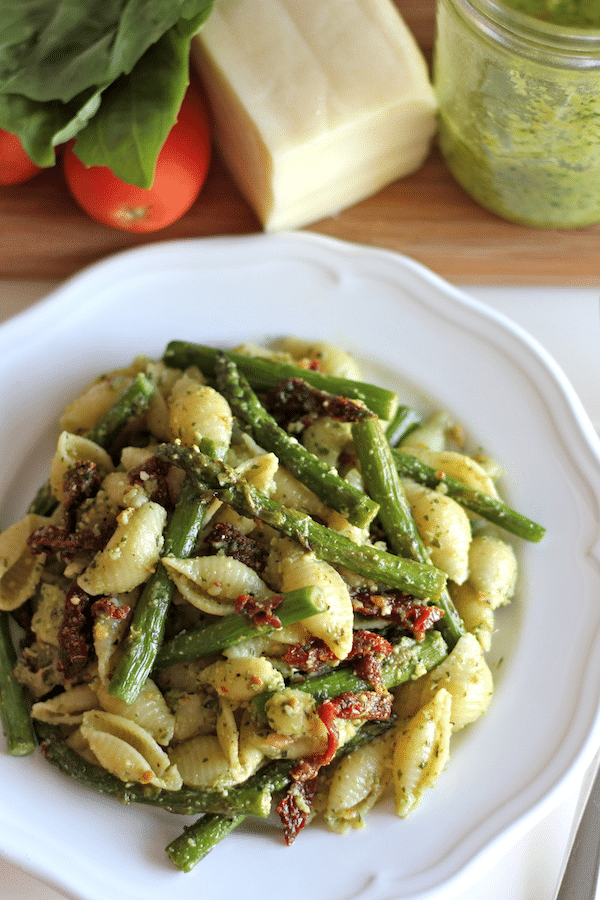
This thick yogurt is wonderfully versatile alongside savory dishes. Pair it with spicy grilled meats, as a cooling dip with roasted vegetables, or alongside warm flatbreads. Its creamy tanginess balances flavors beautifully and adds a fresh, wholesome touch to any meal.
Creative Ways to Present
If you want to impress guests or treat yourself to a visual feast, think outside the bowl! Layer your yogurt with fruit purees and crunchy toppings in a glass parfait. Serve dollops atop oatmeal or pancakes, or swirl into sauces and dressings to add that indulgent, creamy texture that only homemade strained yogurt can bring.
Make Ahead and Storage
Storing Leftovers
Your Homemade Thick Strained Yogurt Recipe keeps beautifully in the fridge for up to two weeks when stored in an airtight container. This makes it perfect for meal prepping or keeping on hand for quick breakfasts or additions to recipes.
Freezing
While freezing yogurt can sometimes alter the texture, if you have leftover portions you won’t use immediately, freezing is an option. Freeze in smaller portions and thaw in the fridge overnight before using. The texture may become slightly grainy but will still be great for cooking or smoothies.
Reheating
This yogurt is best enjoyed cold or at room temperature, so reheating isn’t usually necessary. If you’re incorporating it into warm dishes, stir it in off the heat to avoid curdling and preserve its smooth, creamy consistency.
FAQs
Can I use low-fat milk to make this homemade thick strained yogurt?
Yes, you can, but keep in mind that the yogurt will be less creamy and thick compared to using whole or 2% milk. For best results, whole milk is recommended to achieve that luscious texture.
How do I know when the yogurt has set enough?
The yogurt is ready when it has a custard-like firmness on top and a tangy aroma. You can gently tilt the container to see if it jiggles like jelly but holds its shape. If it’s too runny, let it incubate longer.
What can I do with the leftover whey?
Whey is packed with protein and nutrients. Use it in smoothies for an extra boost, substitute it for water in bread recipes, or add it to soups and sauces to enhance flavor and nutrition.
Is it normal for yogurt to get more tangy the longer it incubates?
Absolutely! The longer the fermentation period, the more the bacteria produce lactic acid, which increases the tanginess. Adjust incubation time to suit your taste preferences.
Can I use flavored yogurt as a starter?
It is best to use plain yogurt with live active cultures as a starter because flavored or sweetened yogurts often contain additives that can interfere with fermentation and yield unpredictable results.
Final Thoughts
There’s truly nothing quite like the satisfaction of making your own Homemade Thick Strained Yogurt Recipe. It’s a simple, rewarding process that transforms just a few humble ingredients into something unbelievably creamy and delicious. Whether you’re spooning it over fruit, using it in cooking, or simply enjoying it by the spoonful, this yogurt is a delightful staple worth making time and again. Give it a go — your taste buds will thank you for it!
Print
Homemade Thick Strained Yogurt Recipe
- Prep Time: 15 minutes
- Cook Time: 12 hours
- Total Time: 12 hours 15 minutes
- Yield: 1 quart (about 4 cups) of strained yogurt
- Category: Dairy
- Method: Stovetop
- Cuisine: International
- Diet: Vegetarian
Description
This homemade strained yogurt recipe guides you through making thick, creamy yogurt by heating milk, fermenting it with live cultures, and then straining to remove whey for a rich texture. Perfect as a snack or an ingredient, this method ensures smooth, tangy yogurt tailored to your preference.
Ingredients
Ingredients
- Whole milk or 2% milk – 4 cups (1 liter)
- Plain yogurt with live active cultures – 2 tablespoons
- Cheesecloth or fine mesh strainer – 1 piece
- Cold water (optional, for rinsing)
Instructions
- Heat the milk: In a medium saucepan over medium heat, warm the milk until it reaches about 180°F (82°C), stirring occasionally to prevent scorching. Heating denatures proteins, which helps produce smoother yogurt.
- Cool the milk: Remove the saucepan from heat and let the milk cool down to approximately 110°F (43°C). To speed cooling, place the pan in a cold water bath while monitoring the temperature.
- Inoculate with yogurt: Stir in about 2 tablespoons of plain yogurt containing live active cultures into the cooled milk, mixing gently but thoroughly to incorporate the cultures evenly.
- Ferment the mixture: Pour the milk and yogurt blend into a clean container. Cover it with a lid or plastic wrap, then place it in a warm, draft-free environment such as an oven with the light on, a yogurt maker, or wrapped in towels to maintain warmth.
- Set the yogurt: Allow the mixture to ferment for 4 to 12 hours depending on your thickness and tang preference. Longer fermentation yields thicker and tangier yogurt. Check periodically until desired consistency is reached.
- Strain the yogurt: After fermentation, set a cheesecloth or fine mesh strainer over a bowl and pour the yogurt in to drain the whey liquid. Let it strain for 1 to 2 hours or until it reaches your desired thickness. Save the whey for smoothies or baking if desired.
- Refrigerate: Transfer the strained yogurt into a clean container and refrigerate for 1 to 2 weeks to keep fresh.
- Serve: Enjoy the thick homemade yogurt as a snack, paired with fruit, or used in any recipes calling for thick yogurt or Greek yogurt.
Notes
- Use full-fat milk for creamier yogurt; 2% works for a lighter consistency.
- Make sure the plain yogurt contains live active cultures to properly ferment the milk.
- Maintaining a warm, stable temperature during fermentation is crucial for proper yogurt setting.
- Straining time affects thickness, so adjust based on preference.
- Reserved whey can be used in smoothies, soups, or baking as a nutritious liquid.
- Always store yogurt covered in the refrigerator to maintain freshness and prevent contamination.


