

“`html
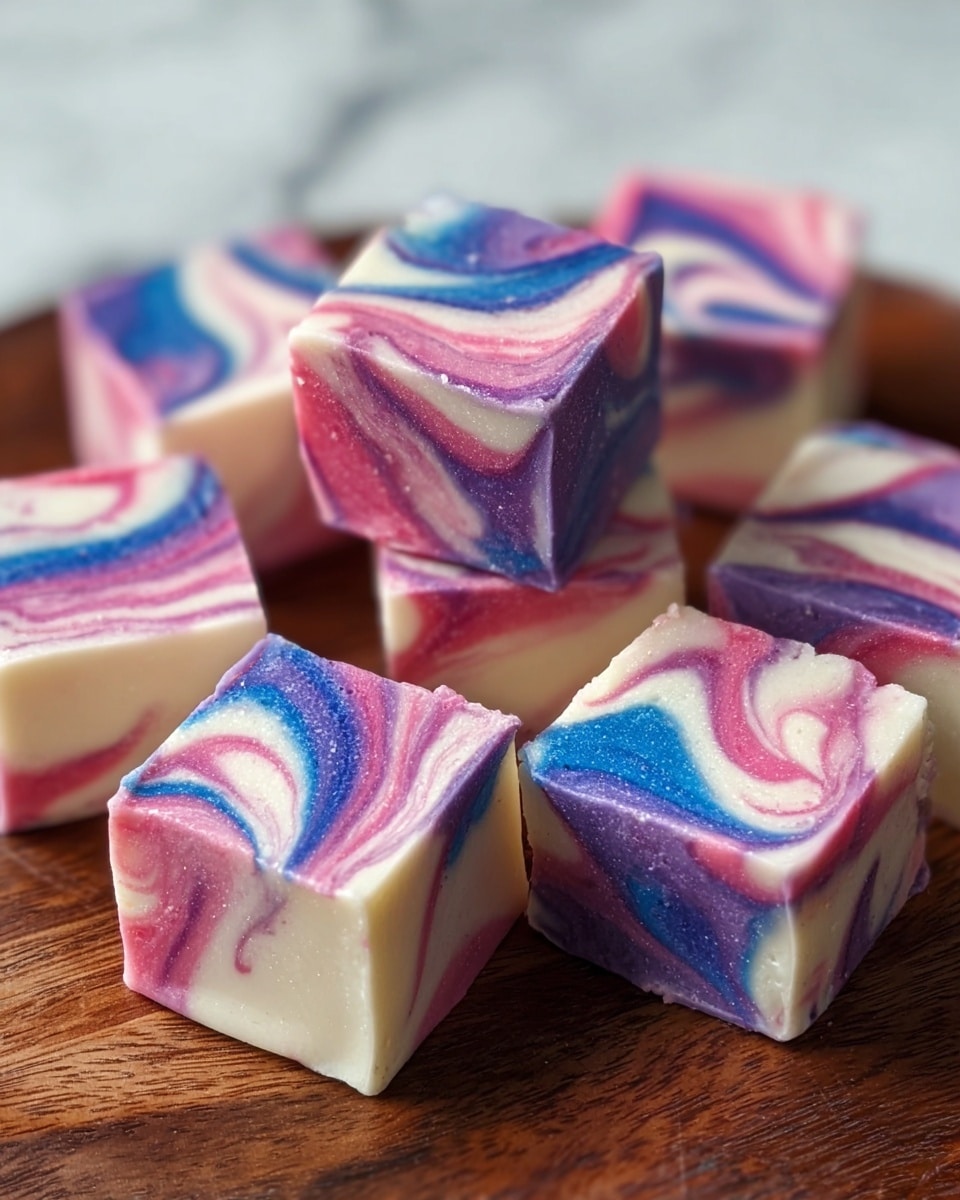
If you have a sweet tooth and a love for whimsical treats, this Cotton Candy Fudge Recipe will quickly become a favorite in your dessert arsenal. Imagine rich, creamy white chocolate fudge infused with delicate cotton candy flavor, swirling with playful shades of pink and blue, and crowned with bright unicorn sprinkles that make every bite feel like a little celebration. It’s an easy, eye-catching confection that delivers both nostalgia and joy in every square.

Ingredients You’ll Need
These ingredients are simple, yet each one is vital to creating that soft, dreamy fudge with the perfect cotton candy twist and irresistible texture.
- White chocolate chips: The creamy base that melts smoothly and gives fudge its luscious texture.
- Sweetened condensed milk: Adds sweetness and a tender, melt-in-your-mouth consistency to the fudge.
- Vanilla extract: Enhances the flavor depth, balancing the sugary notes beautifully.
- Cotton candy flavoring: The star ingredient that infuses the fudge with its signature, nostalgic taste.
- Pink and blue food coloring: Brings the magic of pastel swirls reminiscent of cotton candy clouds to life.
- Unicorn or rainbow sprinkles: Adds a whimsical, colorful finish that makes the fudge extra special.
How to Make Cotton Candy Fudge Recipe
Step 1: Prepare Your Pan
Start by lining an 8×8-inch baking dish with parchment paper, leaving plenty of overhang on the sides. This is a small but game-changing step because it makes removing the fudge later so much easier and keeps your squares looking clean and neat.
Step 2: Melt the Base
In a medium saucepan, gently combine the white chocolate chips and sweetened condensed milk over low heat. Stir constantly until the mixture becomes smooth and fully melted—this ensures your fudge will have that flawlessly creamy texture without any graininess.
Step 3: Flavor and Color
Once the chocolate mixture is silky, remove it from the heat and stir in the vanilla extract and cotton candy flavoring. Then divide the mixture into two separate bowls so you can add your colors. Mix pink food coloring into one bowl and blue into the other until the hues are vivid and evenly blended.
Step 4: Create the Swirls
Spoon dollops of the pink and blue fudge into the lined baking dish, alternating colors. Use a toothpick or butter knife to gently swirl the colors together, creating that lovely marble effect that makes this fudge feel so magical and unique.
Step 5: Add the Sprinkles
Generously sprinkle your unicorn or rainbow sprinkles over the top to add bursts of color and a playful crunch—plus, they make your fudge look like a treat from a fairytale.
Step 6: Chill and Set
Place the dish in the refrigerator for at least 2 hours. This chilling step allows the fudge to fully set so you can slice it into perfect squares that hold their shape but melt on your tongue.
Step 7: Slice and Enjoy
Once firm, lift out the fudge using the parchment paper overhang, cut it into 16 squares, and get ready to be delighted by each colorful, creamy bite.
How to Serve Cotton Candy Fudge Recipe
Garnishes
Adding a sprinkle or two of edible glitter or additional unicorn sprinkles right before serving can elevate the charm of your cotton candy fudge. For special occasions, a light dusting of powdered sugar can also add a soft, snowy look that offsets the bright colors perfectly.
Side Dishes
This fudge pairs wonderfully with simple accompaniments like a scoop of vanilla ice cream or a cup of light, floral tea. The creamy richness of the fudge balances a lightly brewed jasmine or chamomile tea making this a delightful treat that’s both fun and refined.
Creative Ways to Present
For parties or gifting, try arranging your cotton candy fudge squares in clear jars or cellophane bags tied with pastel ribbons. You can also layer pieces between wax paper for a colorful, easy-to-grab snack pack. These playful presentations make your fudge just as joyful to share as it is to eat.
Make Ahead and Storage
Storing Leftovers
Keep your leftover fudge in an airtight container at room temperature or in the fridge to maintain freshness. Fudge tends to hold up well for up to a week without losing its texture, so you can enjoy it over time without worry.
Freezing
If you want to make a batch ahead of time or save some for later, cotton candy fudge freezes wonderfully. Wrap the squares tightly in plastic wrap, then place them in a freezer-safe bag or container. When you’re ready to enjoy, thaw in the fridge overnight for best texture.
Reheating
Because fudge is best enjoyed cool or at room temperature, reheating isn’t necessary. If your fudge feels too firm after refrigeration or freezing, simply let it sit at room temperature for 10–15 minutes before serving to soften up a bit.
FAQs
Can I use other types of chocolate in this Cotton Candy Fudge Recipe?
While white chocolate is essential for that sweet, creamy base and vibrant colors, you can experiment with white almond bark or other similar coatings, but the flavor and texture may vary slightly.
Where can I find cotton candy flavoring?
Cotton candy flavoring is often available at specialty baking stores or online. Look for food-grade extracts specifically labeled for baking to get the best results.
Can I make this fudge without food coloring?
Absolutely! The fudge will still taste amazing without the color, though it won’t have the signature pastel cotton candy look that makes it so fun and festive.
How long does the fudge last once made?
Stored properly in an airtight container at room temperature or refrigerated, the fudge should stay fresh for about one week.
Is this recipe kid-friendly to make?
Definitely! The steps are simple and colorful, making it a fun activity to do with kids under supervision, especially when it comes to swirling the colors and adding sprinkles.
Final Thoughts
There’s something so joyful about making and sharing this Cotton Candy Fudge Recipe. It brings back the carefree whimsy of cotton candy in a creamy, melt-in-your-mouth form that’s sure to brighten anyone’s day. Whether it’s for a party, a gift, or just a special treat, give this recipe a try and watch the smiles grow with every colorful, delicious bite.
“`
Print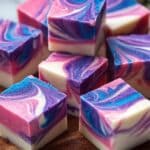
Cotton Candy Fudge Recipe
- Prep Time: 10 minutes
- Cook Time: 10 minutes
- Total Time: 2 hours 20 minutes
- Yield: 16 squares
- Category: Dessert
- Method: Stovetop
- Cuisine: American
- Diet: Vegetarian
Description
This delightful Cotton Candy Fudge recipe combines creamy white chocolate with sweetened condensed milk and whimsical cotton candy flavoring, creating a fun and colorful treat perfect for any celebration. The fudge is swirled with pink and blue colors for a marble-like effect and topped with rainbow sprinkles to add a festive touch.
Ingredients
Fudge Base
- 3 cups white chocolate chips
- 1 (14 oz) can sweetened condensed milk
- 1/2 teaspoon vanilla extract
- 1/2 teaspoon cotton candy flavoring
Coloring and Decoration
- Pink food coloring
- Blue food coloring
- Unicorn or rainbow sprinkles (for decoration)
Instructions
- Prepare Baking Dish: Line an 8×8-inch baking dish with parchment paper, ensuring there’s extra hanging over the sides. This will make removing the fudge easier once it has set.
- Melt Chocolate Mixture: In a medium saucepan over low heat, combine the white chocolate chips and sweetened condensed milk. Stir continuously until the chocolate is fully melted and the mixture is smooth. Remove from heat and stir in the vanilla extract and cotton candy flavoring until evenly incorporated.
- Divide and Color: Pour the fudge mixture evenly into two separate bowls. Add pink food coloring to one bowl and blue to the other, mixing each until the color is uniform and vibrant.
- Create Marble Effect: Spoon alternating dollops of the pink and blue fudge mixtures into the prepared baking dish. Use a toothpick or butter knife to gently swirl the two colors together, creating a beautiful marbled pattern.
- Add Sprinkles: Generously sprinkle unicorn or rainbow sprinkles on top of the fudge to add a colorful and festive finish.
- Chill to Set: Place the baking dish in the refrigerator for at least 2 hours, or until the fudge is fully set and firm to the touch.
- Slice and Serve: Once set, use the parchment paper overhang to lift the fudge out of the dish. Cut into 16 squares and enjoy this creamy, sweet, and visually stunning cotton candy fudge!
Notes
- Make sure to stir the chocolate mixture continuously while melting to prevent burning.
- Use gel food coloring for more vibrant colors without affecting the fudge’s texture.
- Store fudge in an airtight container in the refrigerator for up to 1 week.
- Allow fudge to come to room temperature for a few minutes before serving for easier biting.
- Feel free to experiment with other flavor extracts to customize the fudge.


